in Shiga Japan, in autumn.")
Nikon D4 + Nikkor 24-70mm f/2.8 @ 24mm — 1/125 sec, f/5.6, ISO 100 — map & image data — nearby photos
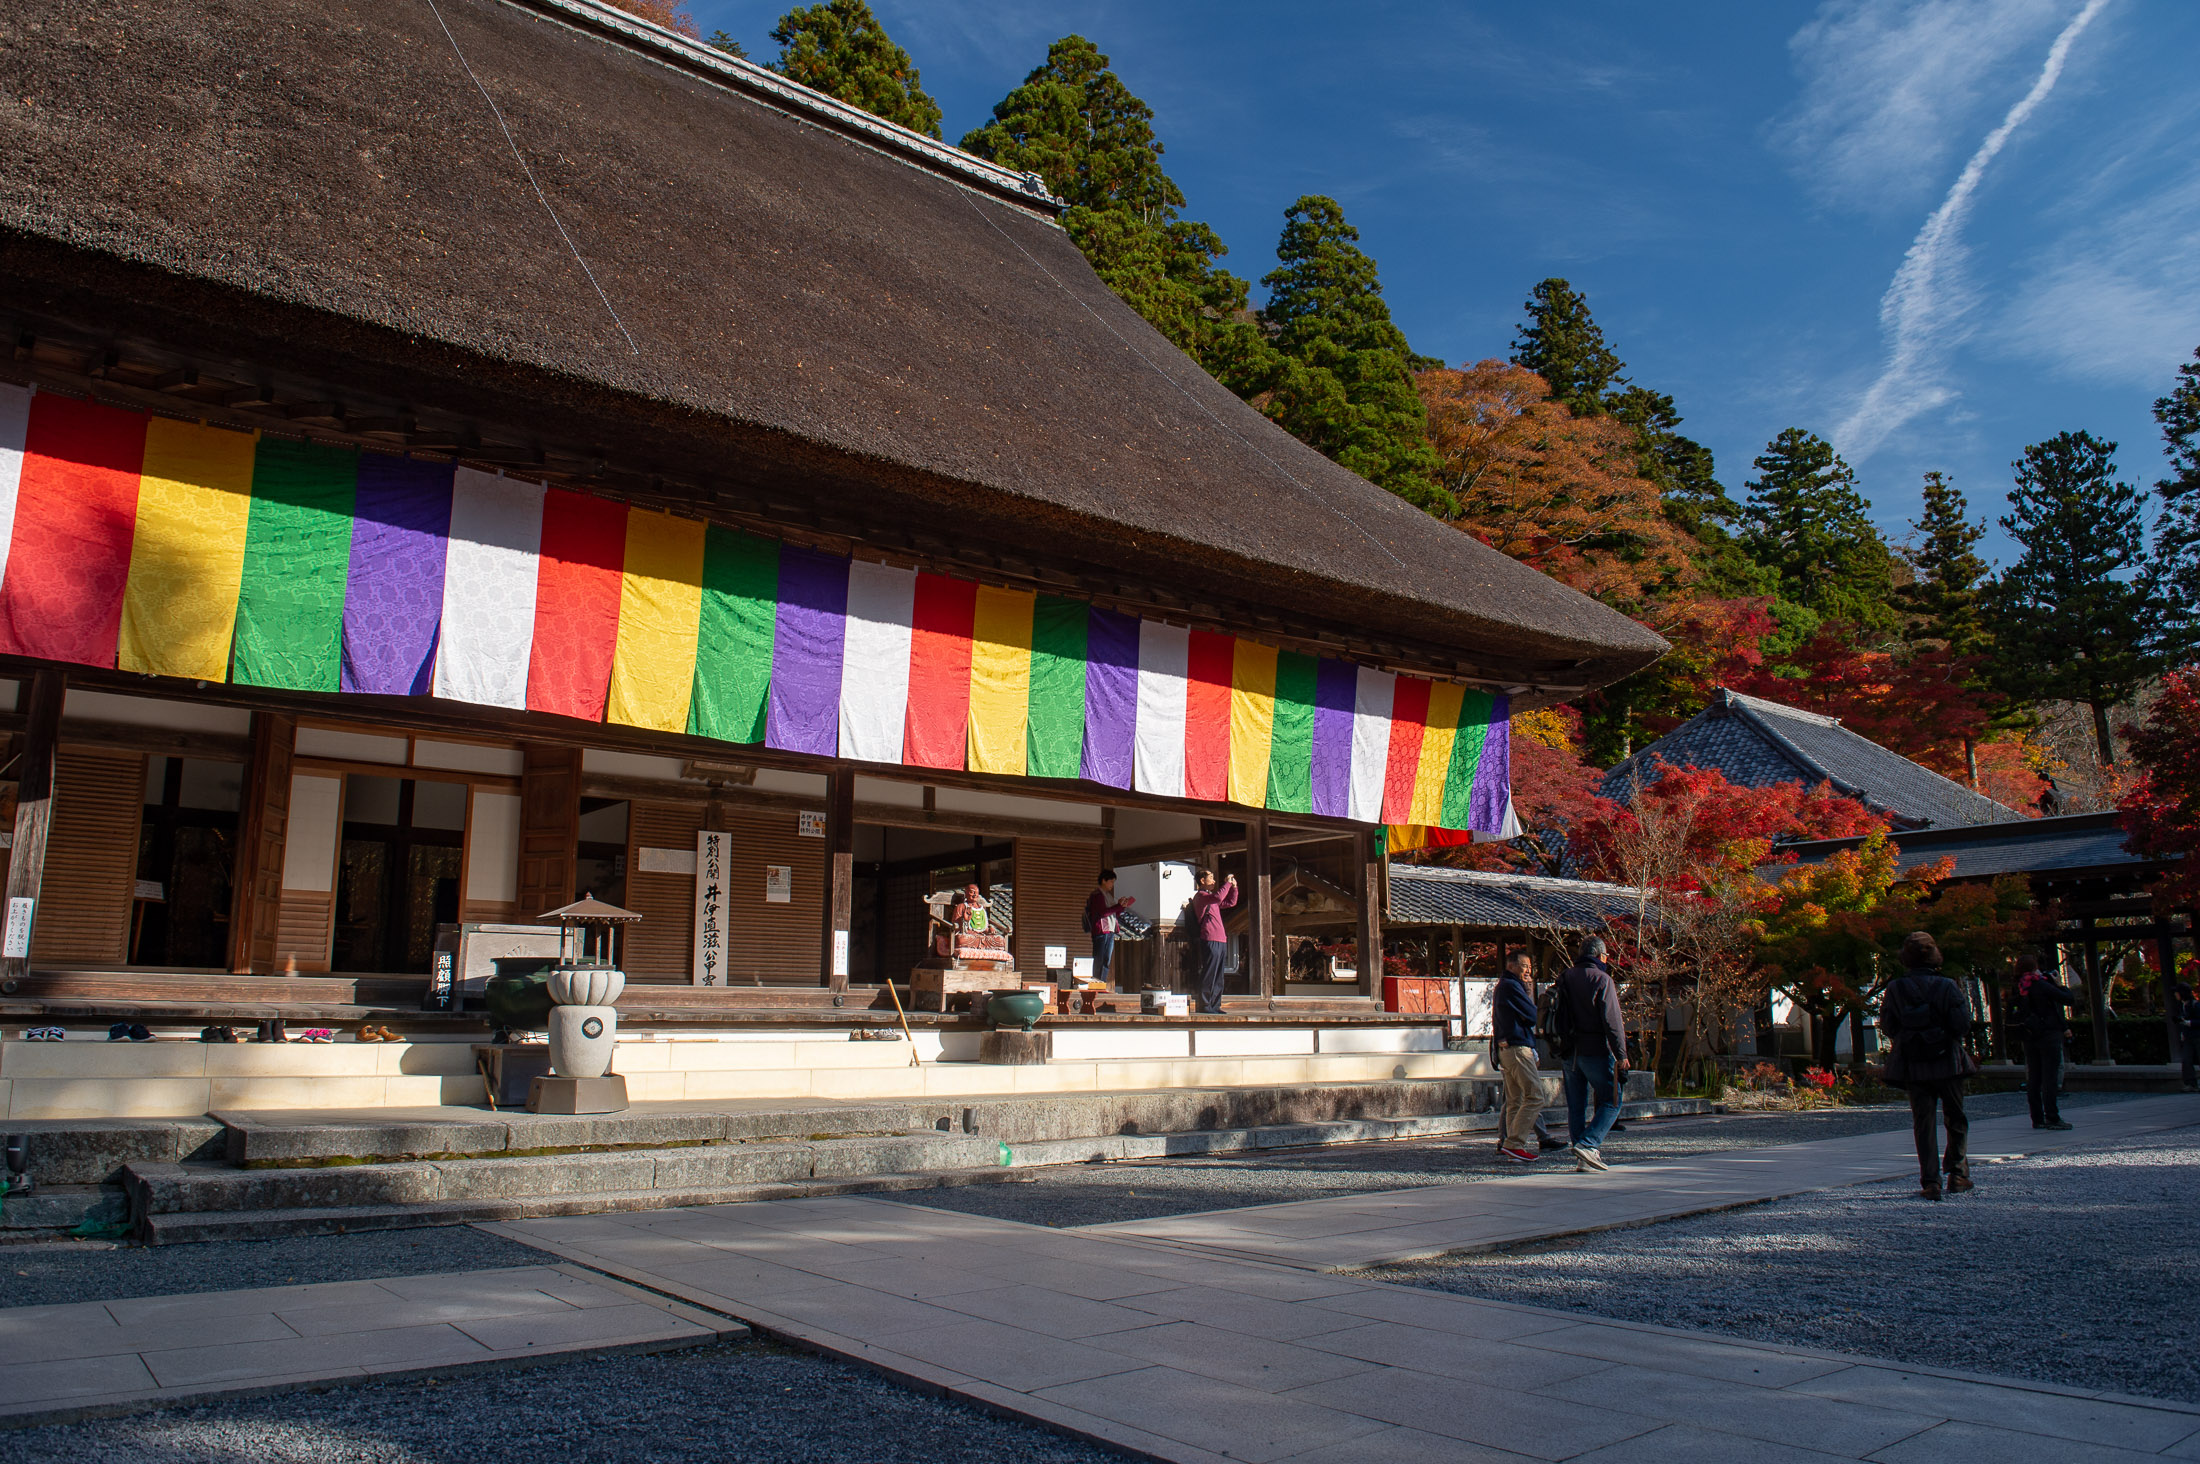
Eigenji Temple (永源寺)in Shiga Japan
early morning, fall 2018
Considering that my last blog post was more than five months ago, I guess it's safe to say that for the most part I'm taking a break from blogging. But having recently came across photos from a last-year outing to temples in Shiga, Japan, I thought I'd post a few.
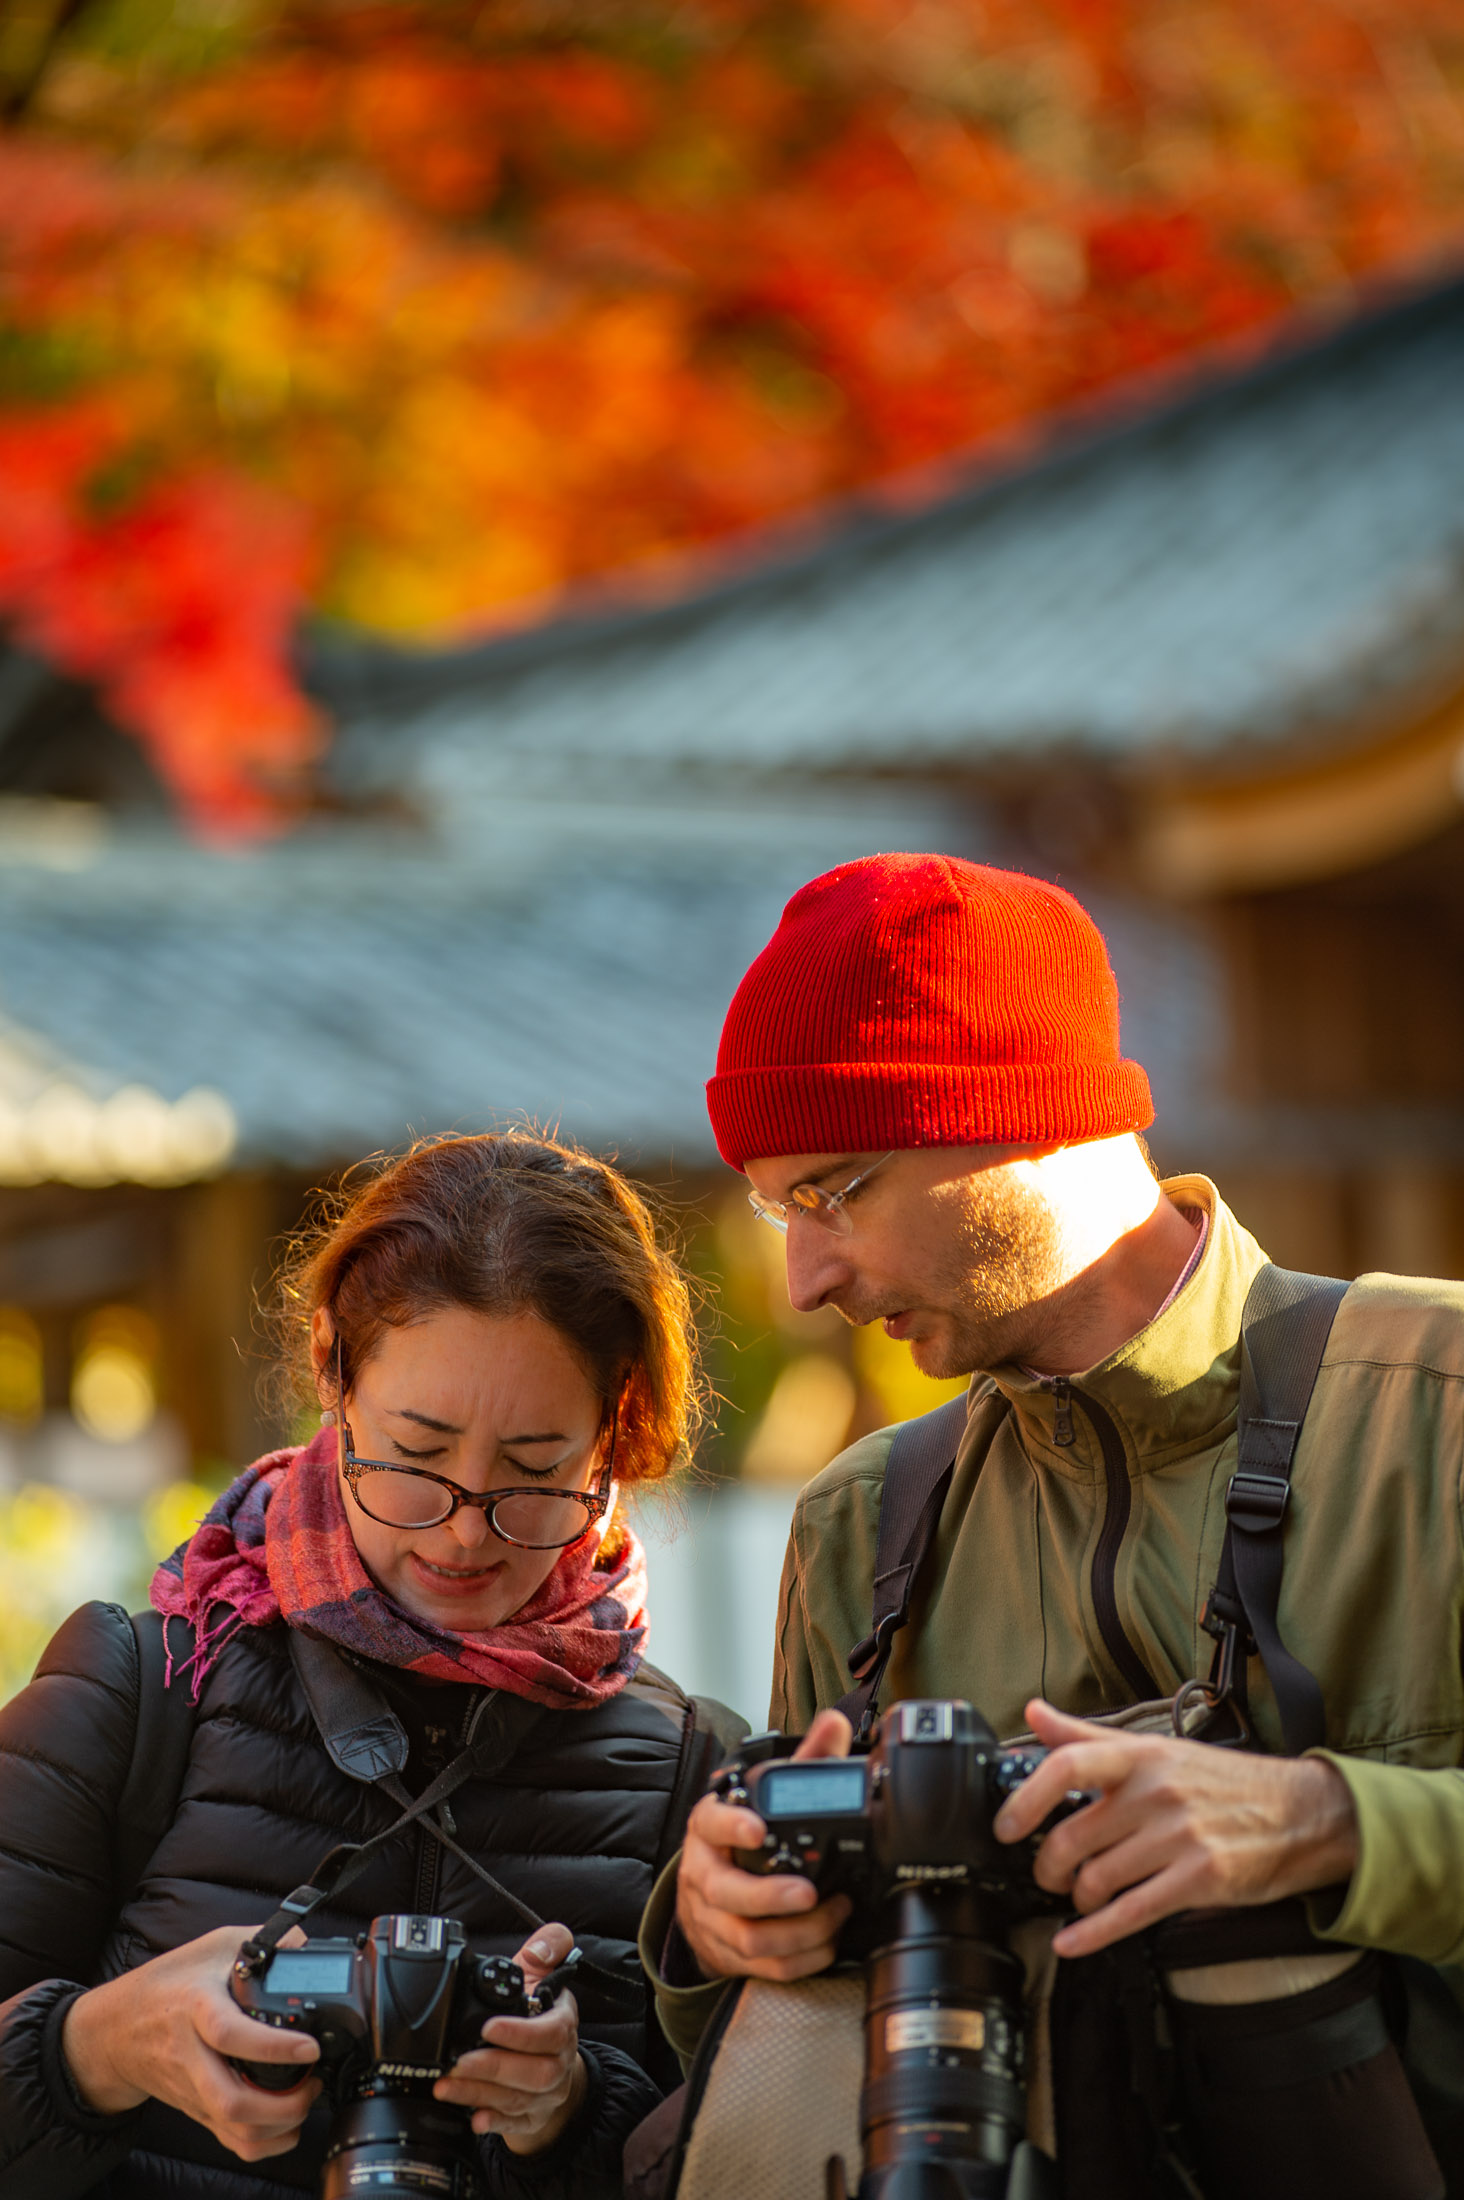
Nikon D4 + Voigtländer 125mm f/2.5 — 1/40 sec, f/2.5, ISO 100 — map & image data — nearby photos
Valerie and Damien
Comparing Settings
Nikon D4 + Voigtländer 125mm f/2.5 — 1/400 sec, f/2.5, ISO 2000 — map & image data — nearby photos
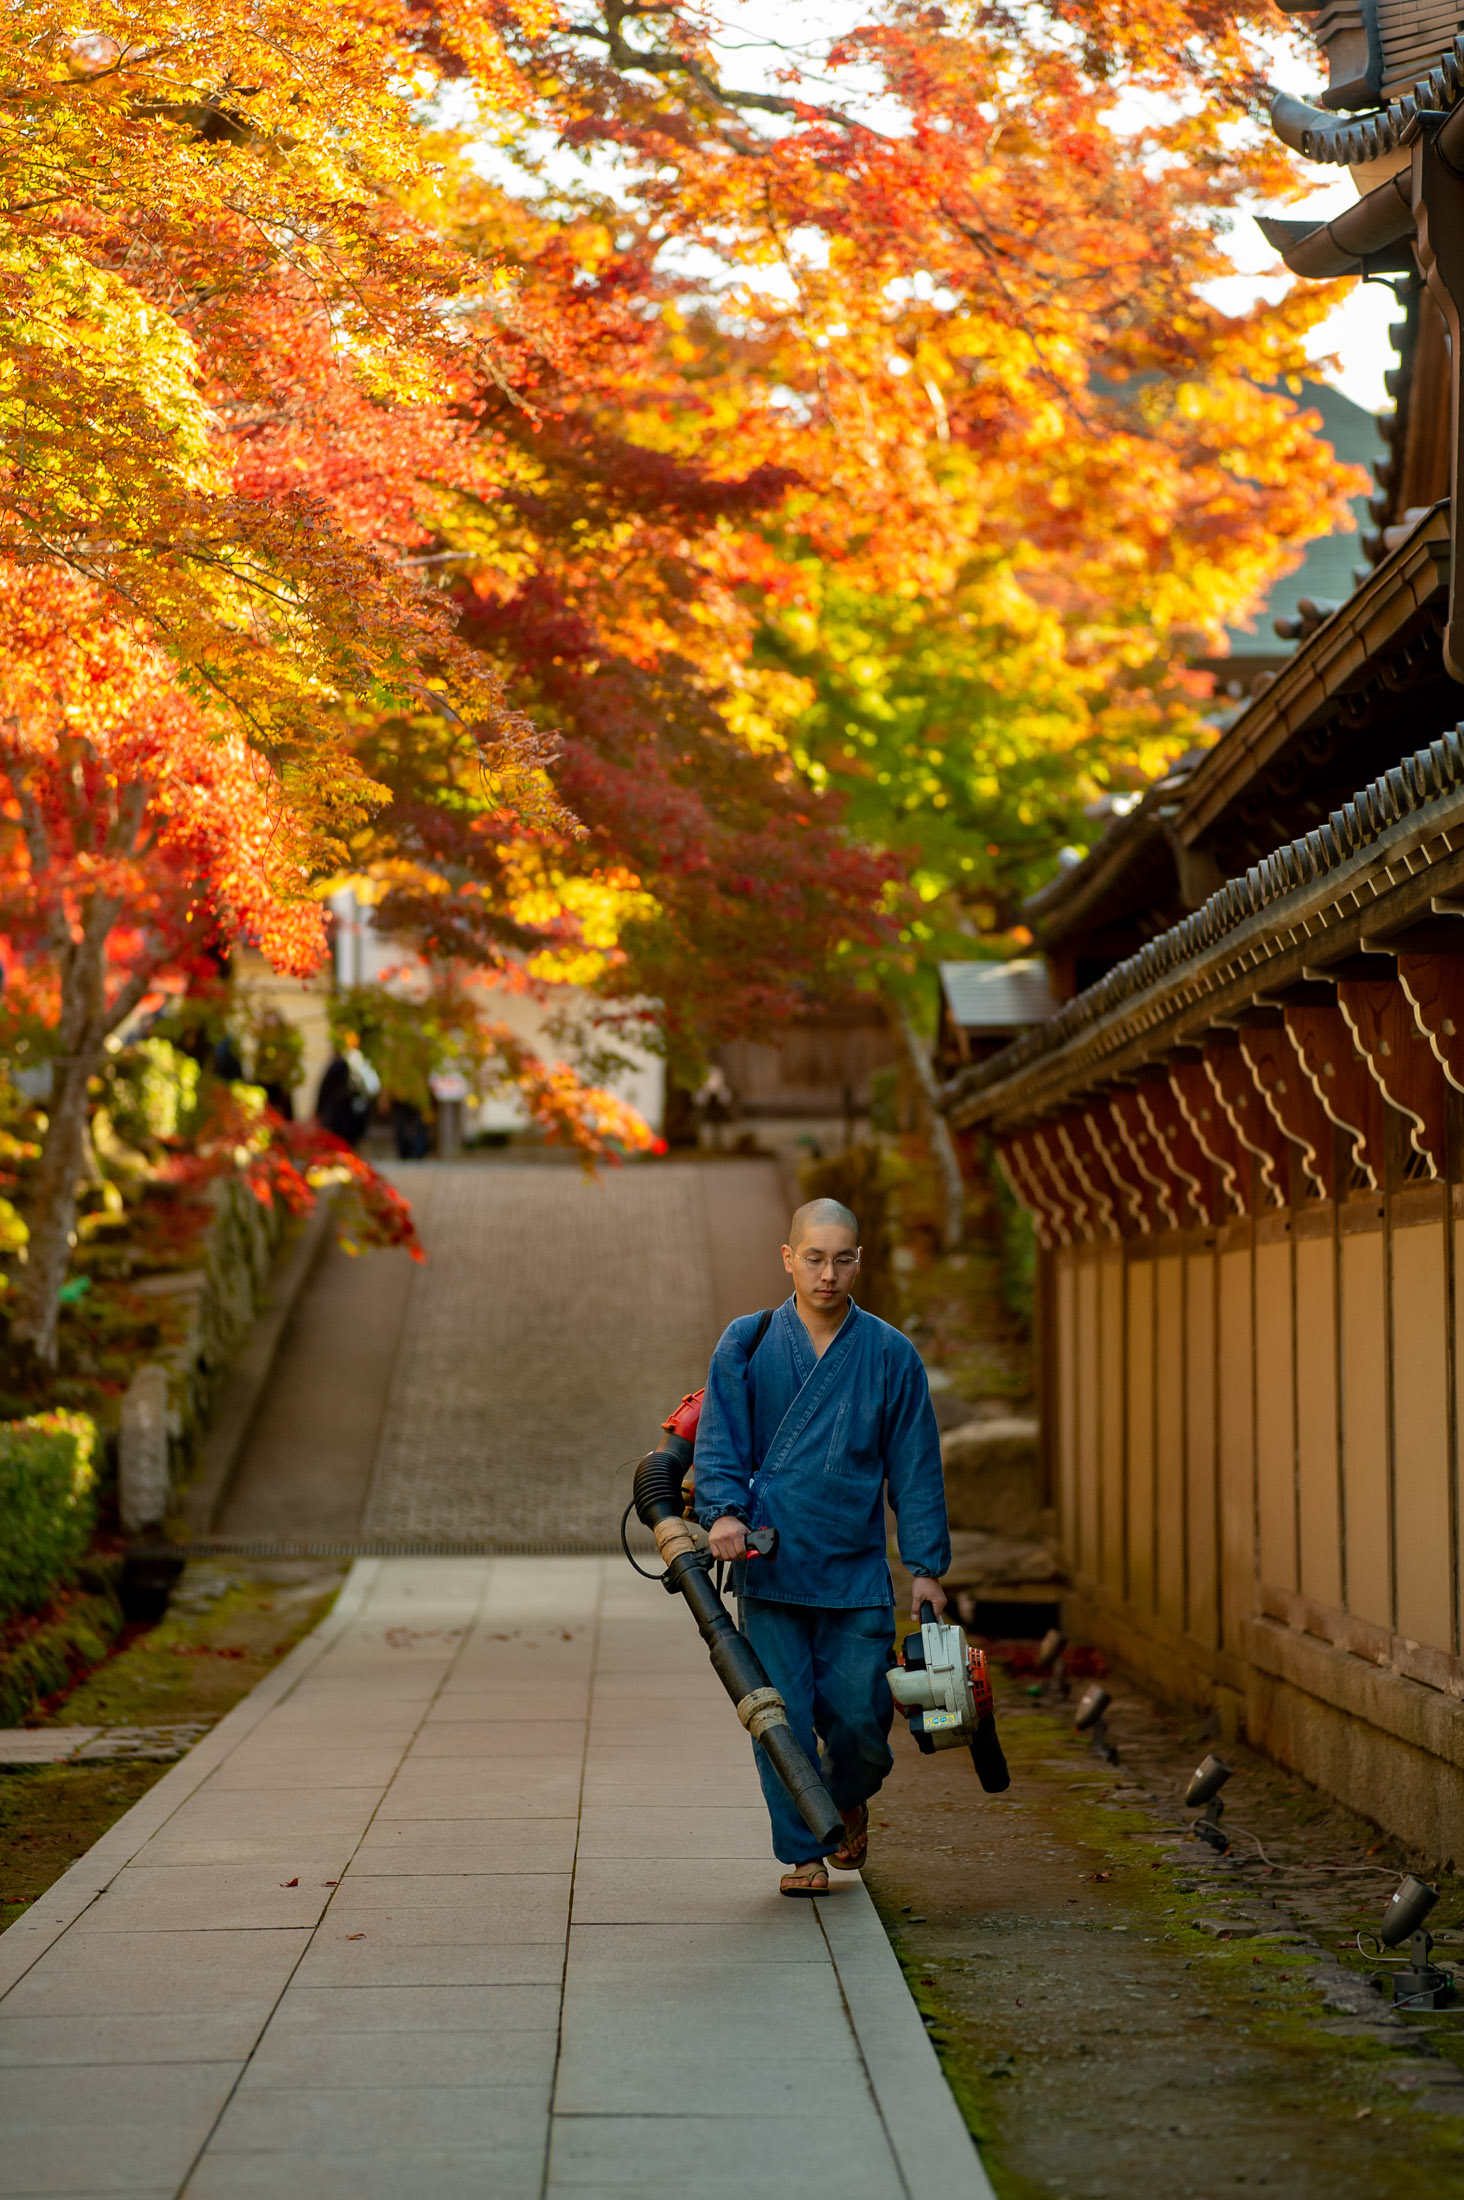
Tidying Up
Nikon D4 + Voigtländer 125mm f/2.5 — 1/400 sec, f/2.5, ISO 800 — map & image data — nearby photos
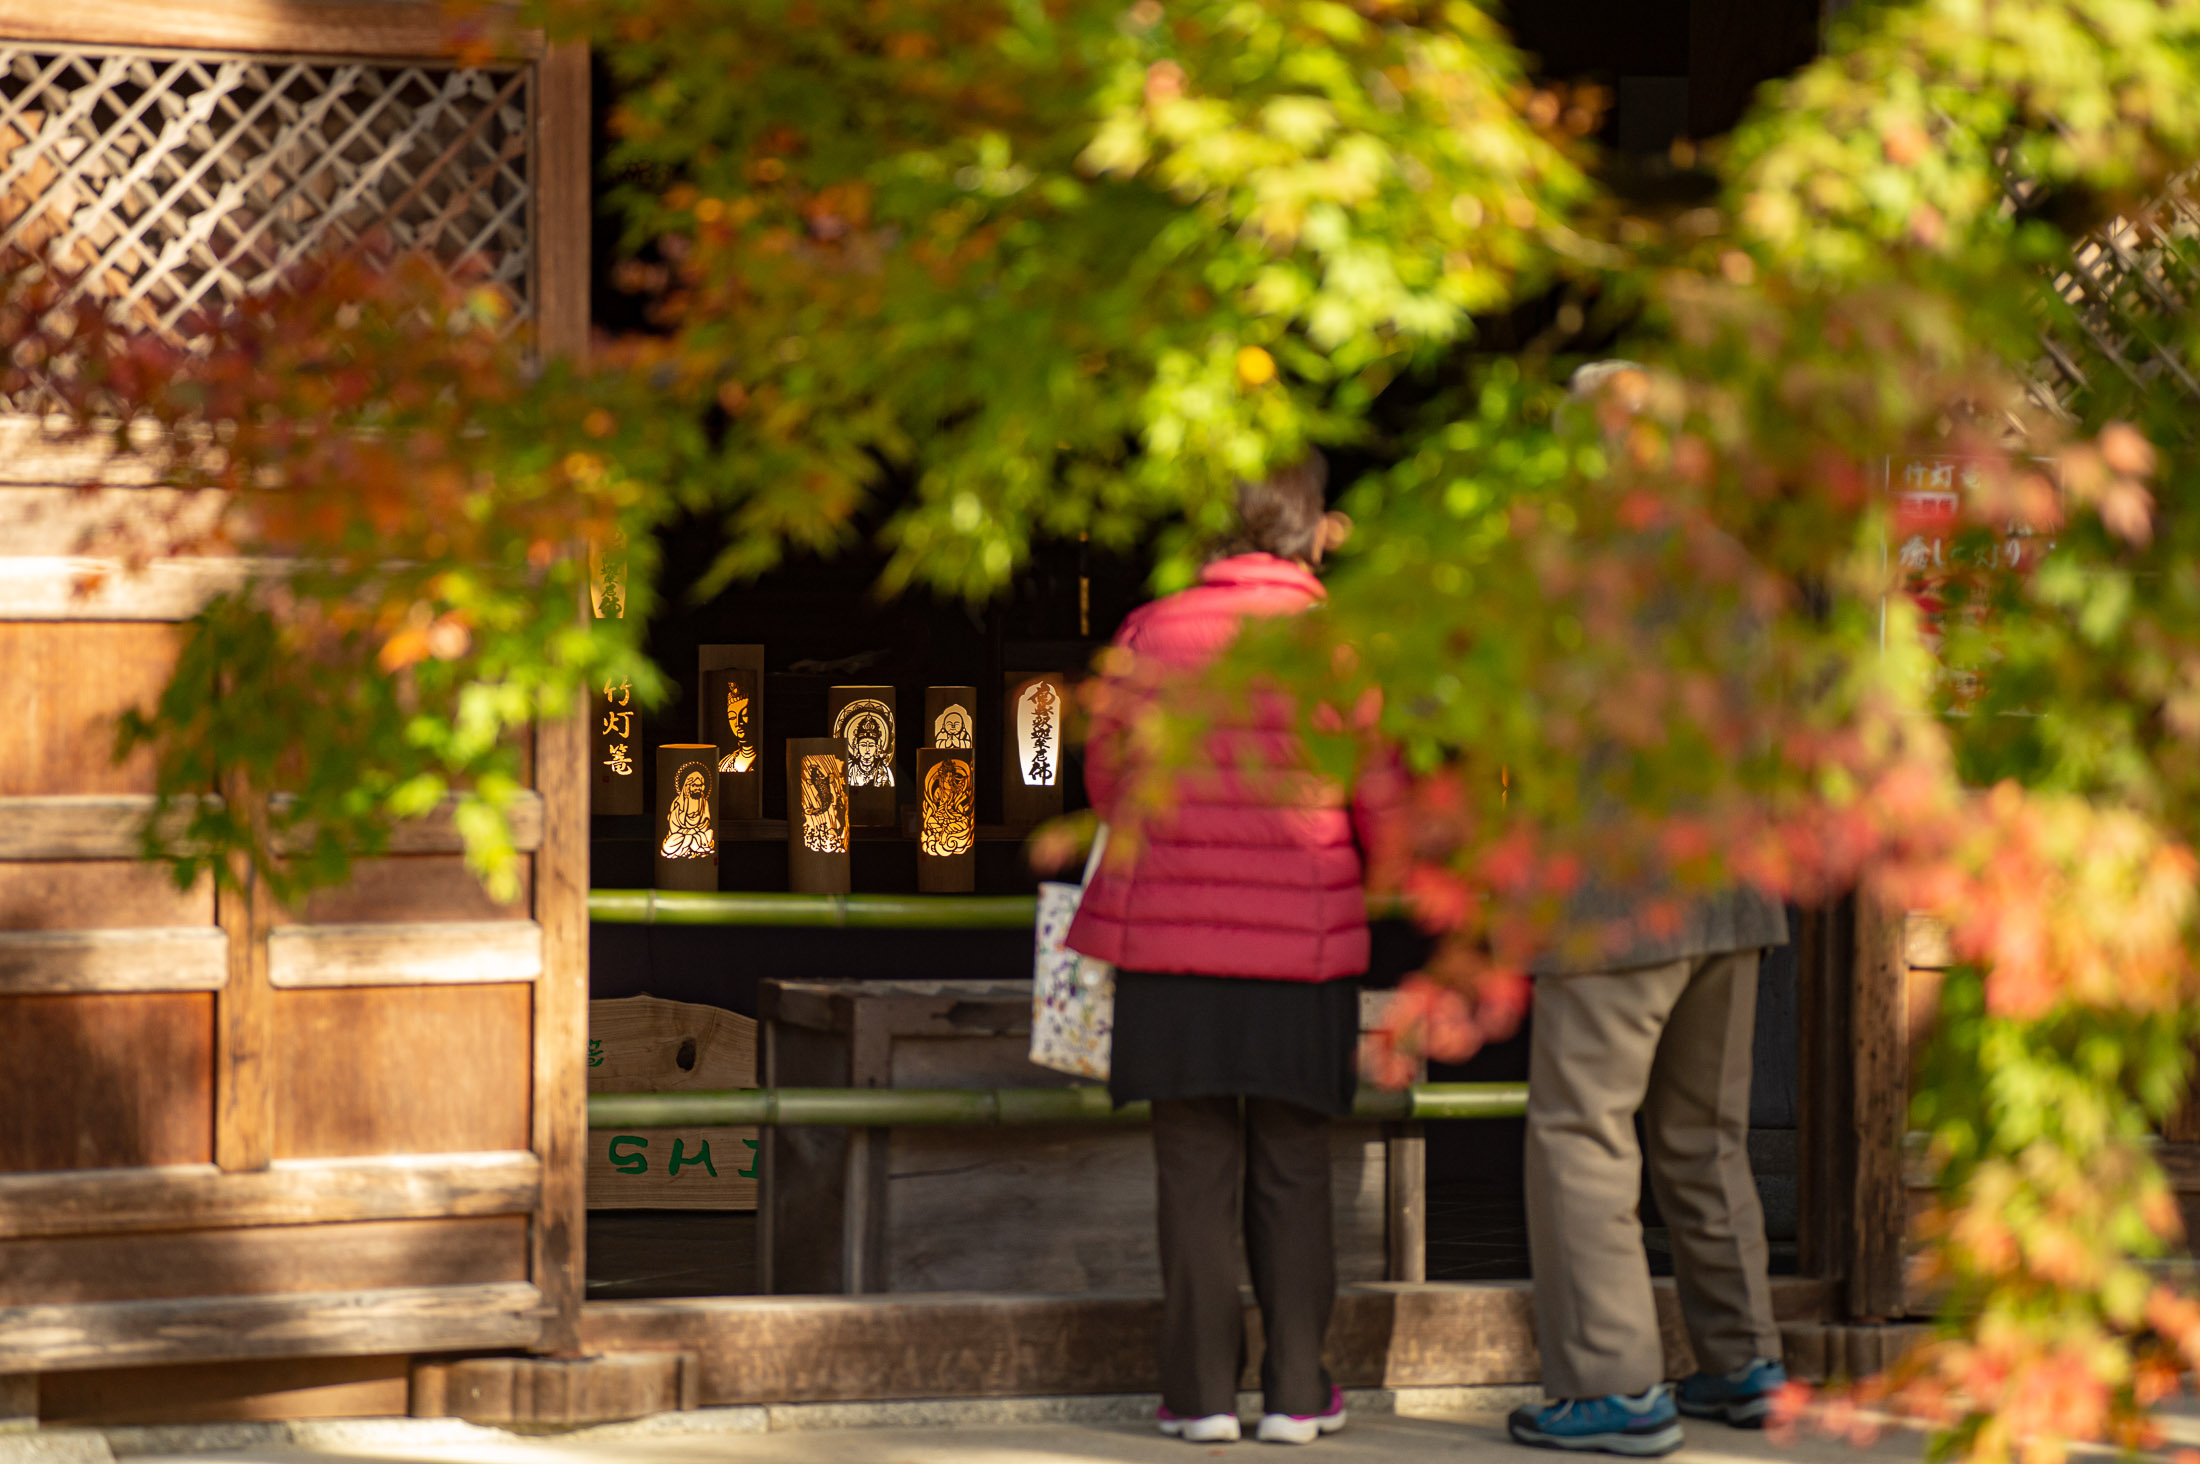
Art Display
Nikon D4 + Voigtländer 125mm f/2.5 — 1/400 sec, f/5.6, ISO 3200 — map & image data — nearby photos
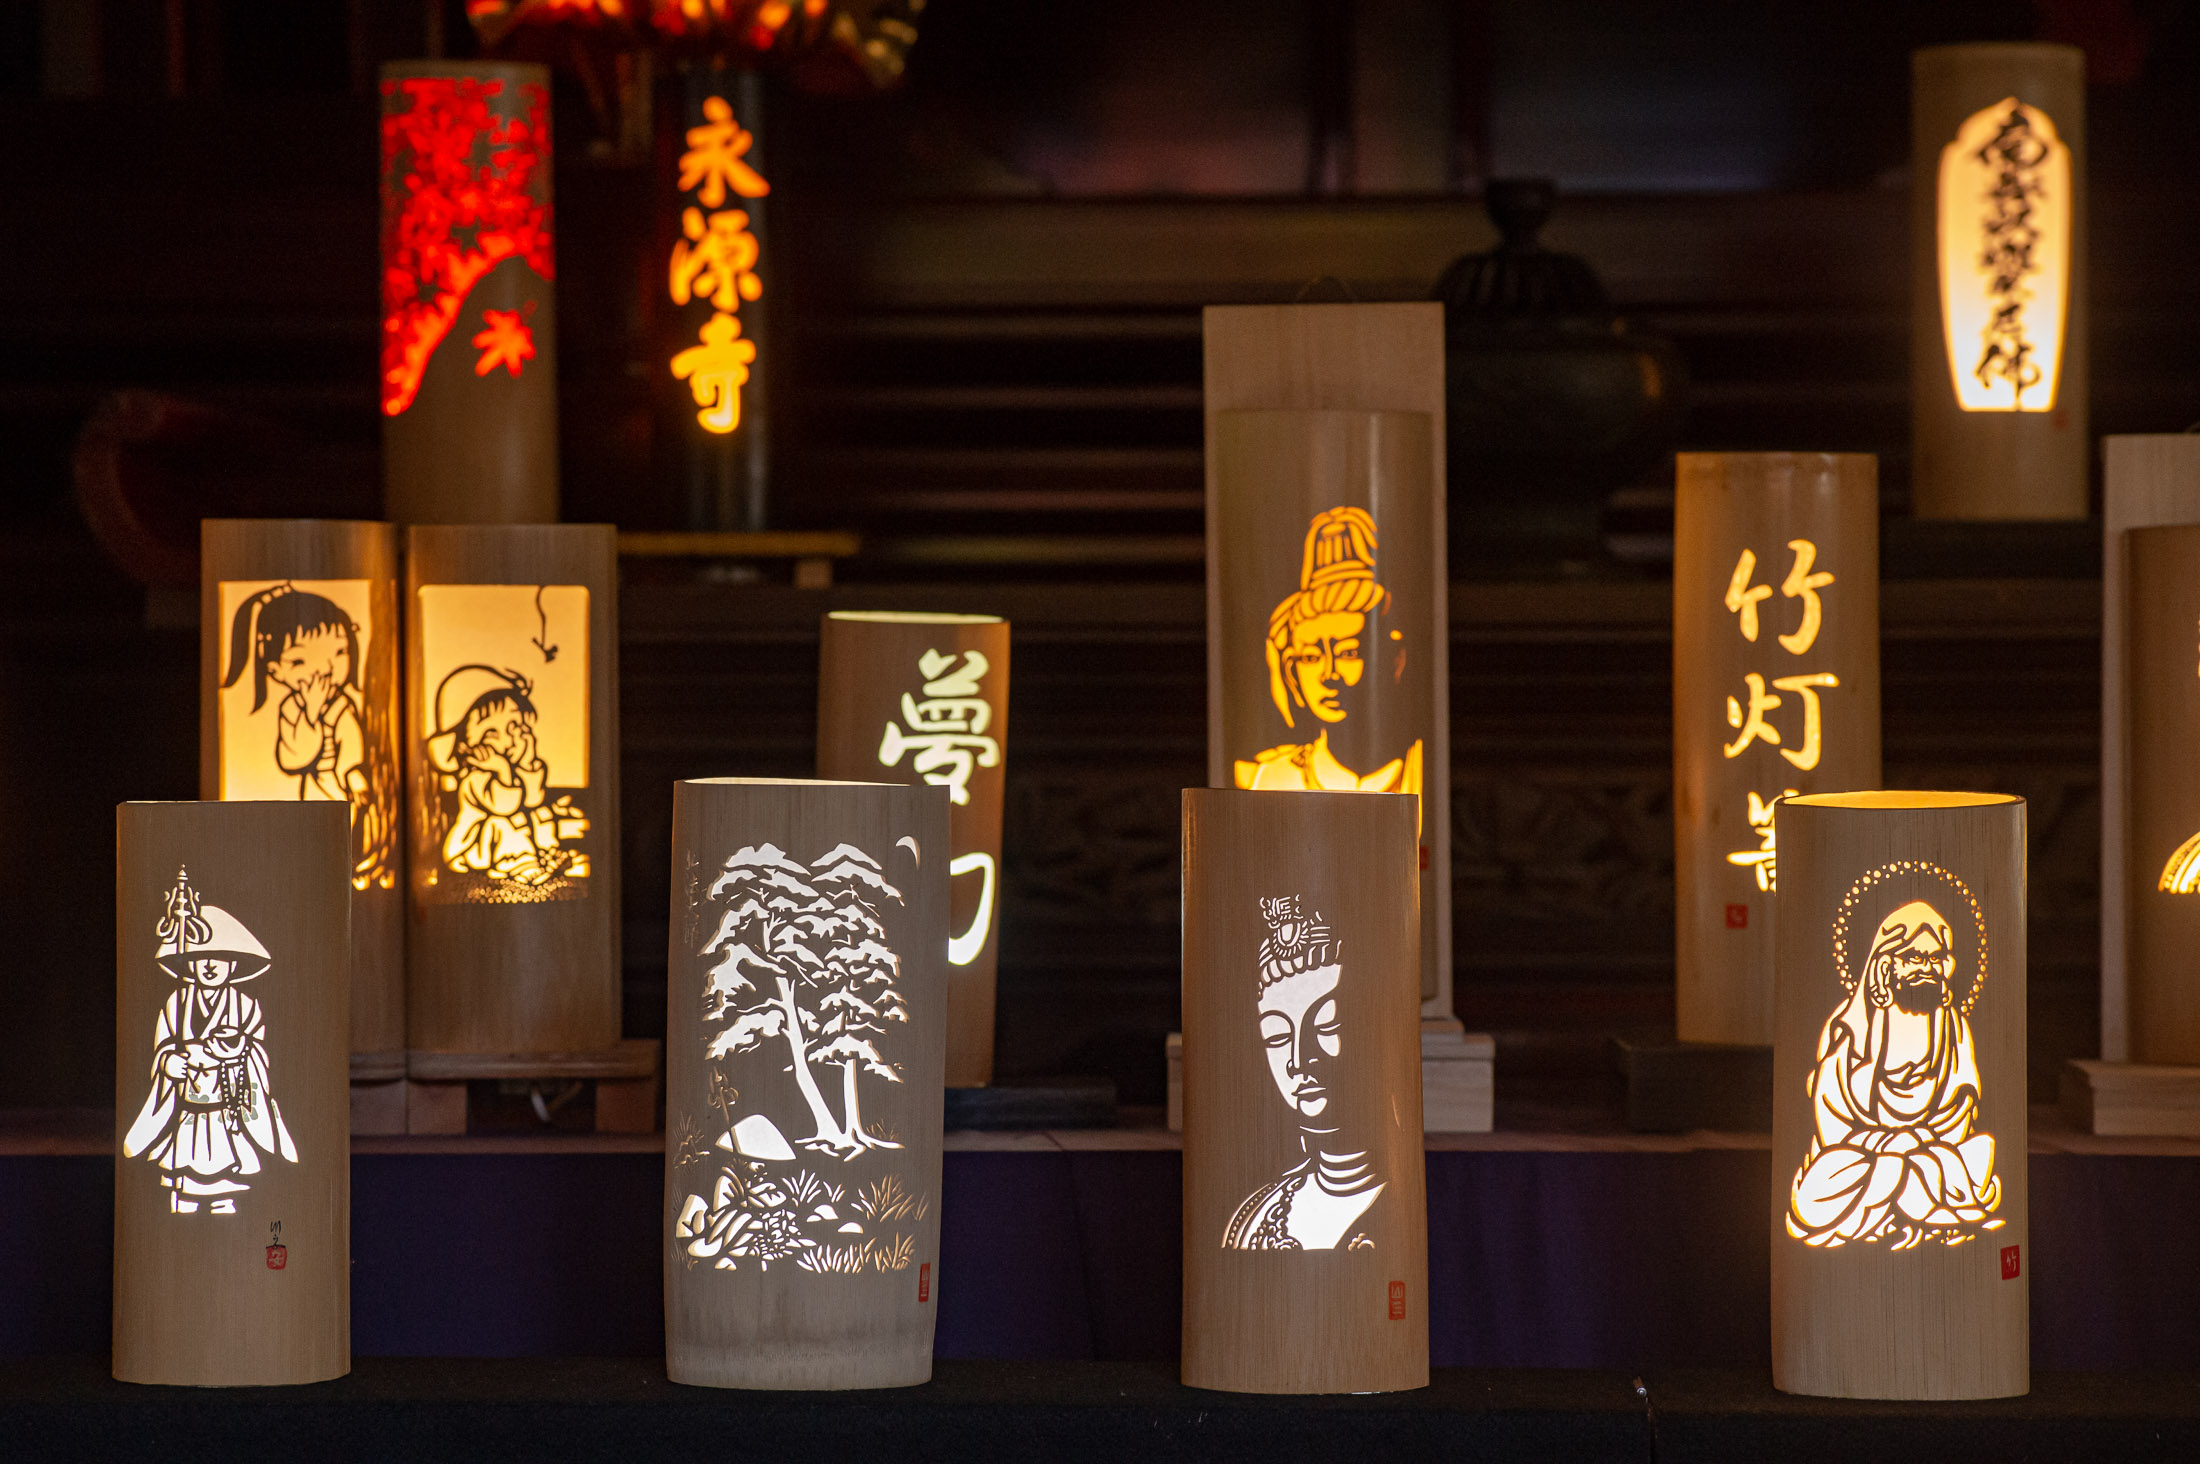
Bamboo-Carved Lamps
Nikon D4 + Voigtländer 125mm f/2.5 — 1/400 sec, f/2.5, ISO 500 — map & image data — nearby photos
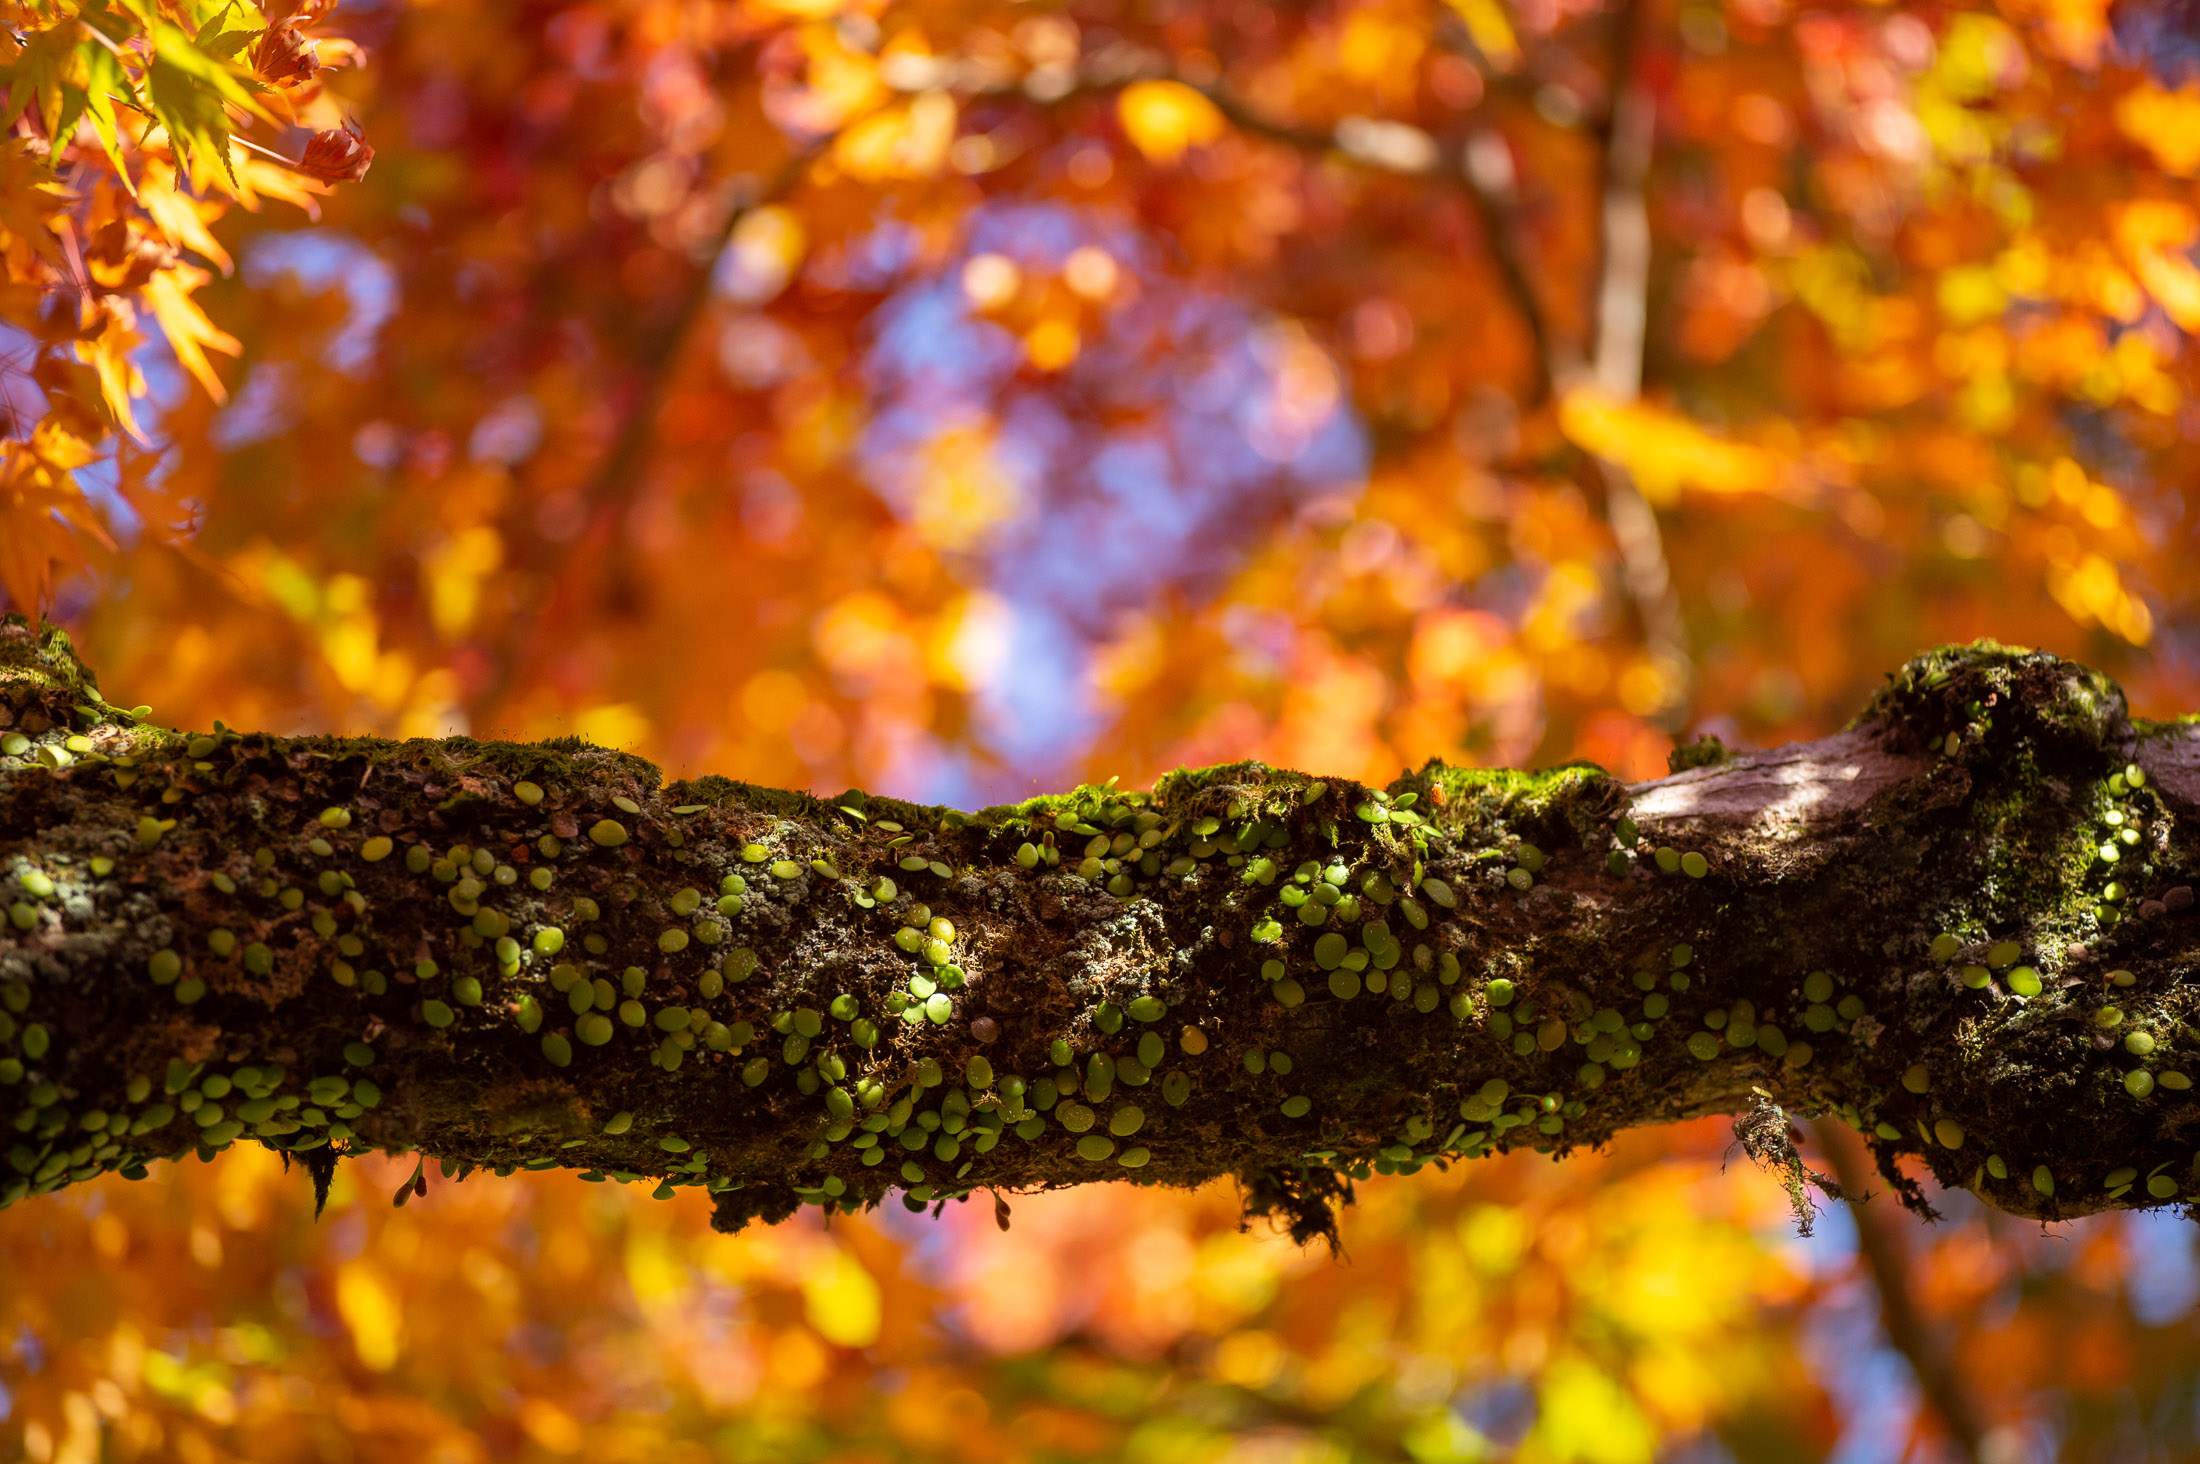
Rich Moss
Nikon D4 + Voigtländer 125mm f/2.5 — 1/400 sec, f/2.5, ISO 180 — map & image data — nearby photos
Rich Light

Nikon D4 + Nikkor 24-70mm f/2.8 @ 24mm — 1/400 sec, f/10, ISO 560 — map & image data — nearby photos
Nikon D4 + Voigtländer 125mm f/2.5 — 1/400 sec, f/2.5, ISO 250 — map & image data — nearby photos
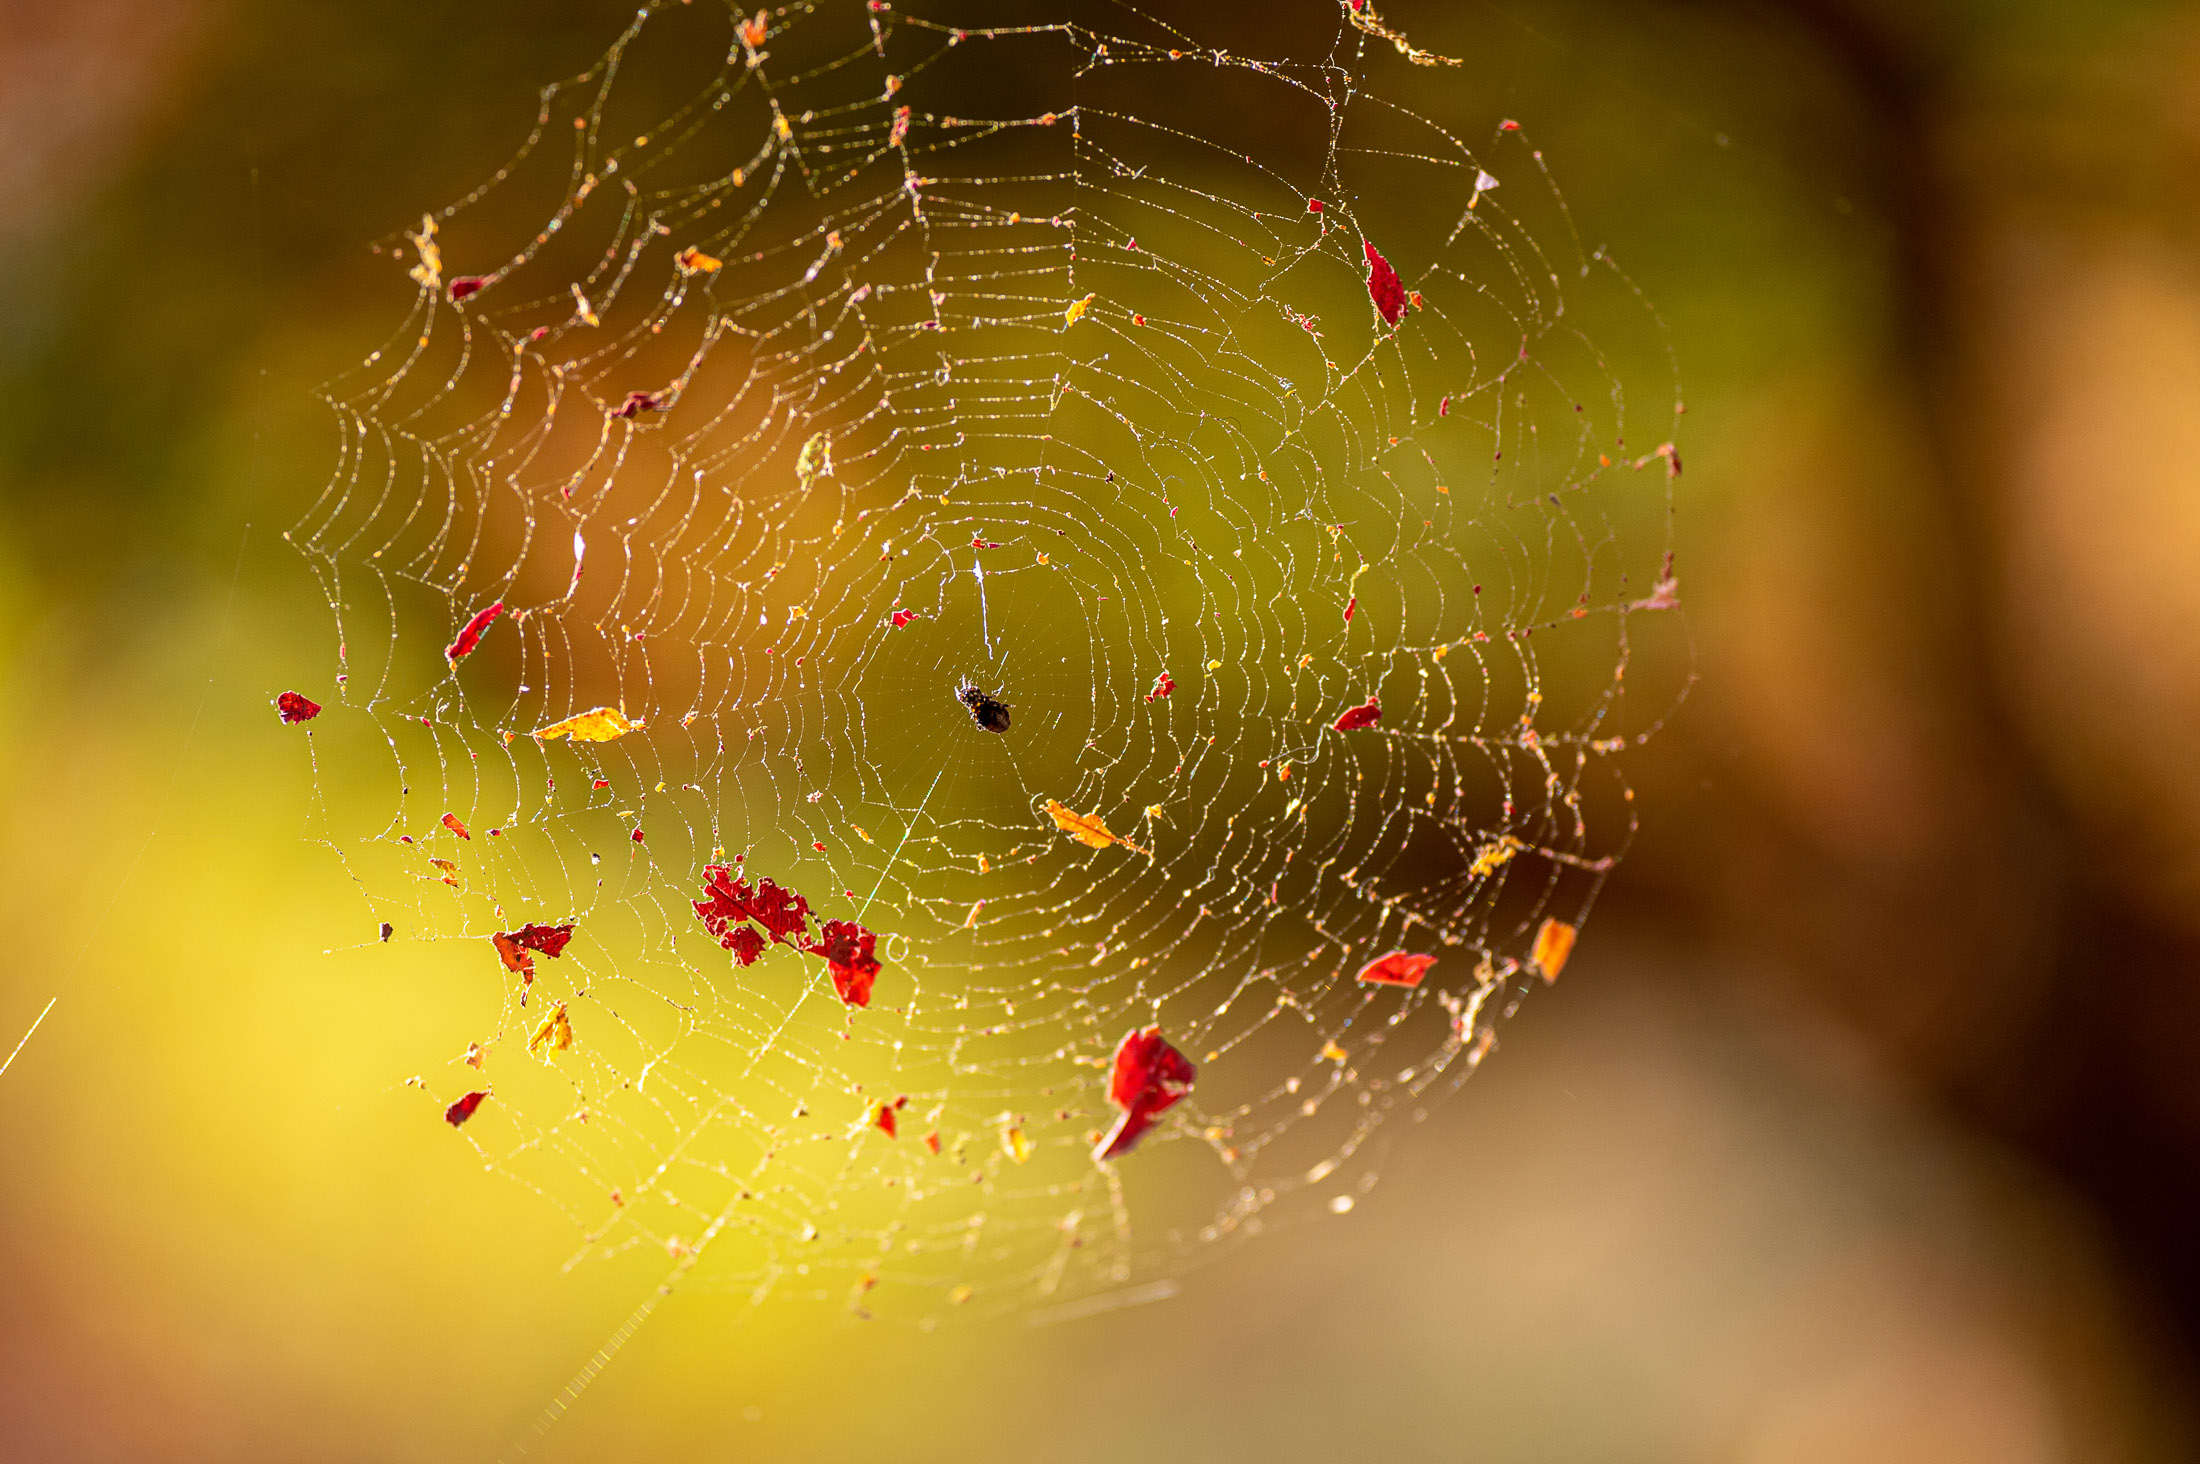
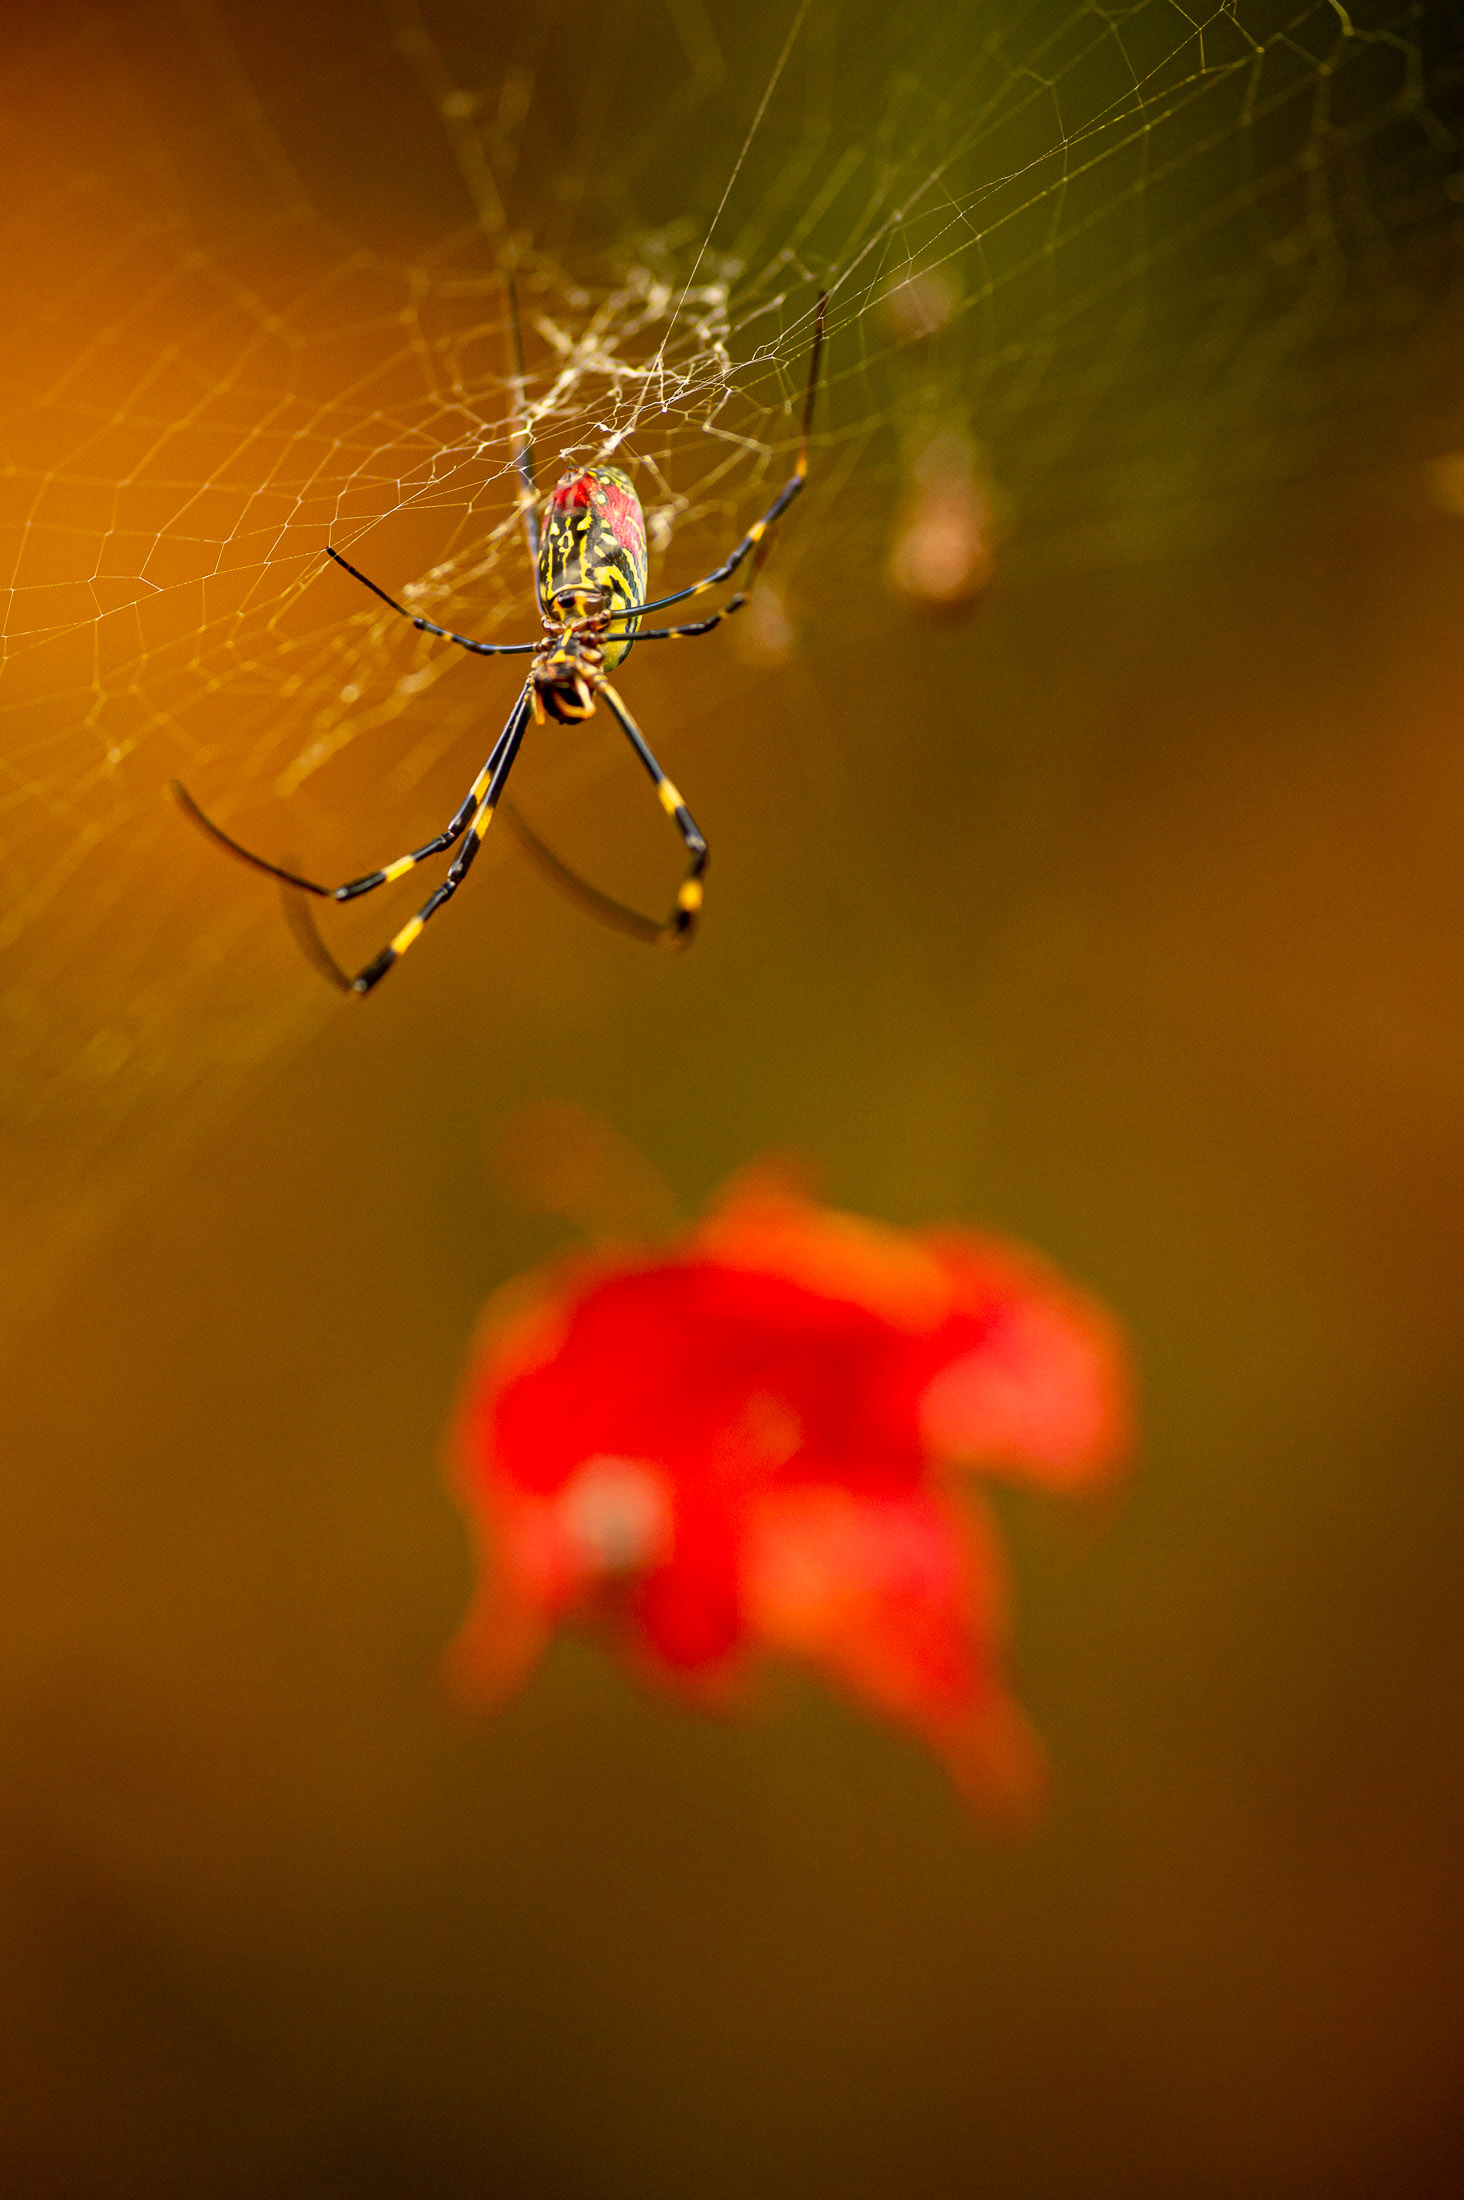
Messy Spider
Nikon D4 + Voigtländer 125mm f/2.5 — 1/400 sec, f/2.5, ISO 1400 — map & image data — nearby photos
Subtle Light

Nikon D4 + Voigtländer 125mm f/2.5 — 1/400 sec, f/2.5, ISO 280 — map & image data — nearby photos
Edge
of the roof in the next photo, from directly below
Nikon D4 + Nikkor 24-70mm f/2.8 @ 24mm — 1/400 sec, f/6.3, ISO 250 — map & image data — nearby photos
Nikon D4 + Voigtländer 125mm f/2.5 — 1/400 sec, f/2.5, ISO 2000 — map & image data — nearby photos
Busy
An hour after we arrived
Nikon D4 + Nikkor 24-70mm f/2.8 @ 70mm — 1/400 sec, f/2.8, ISO 1800 — map & image data — nearby photos
Path Back to the Driveway

Nikon D4 + Nikkor 70-200mm f/2.8 @ 95mm — 1/250 sec, f/2.8, ISO 1000 — map & image data — nearby photos
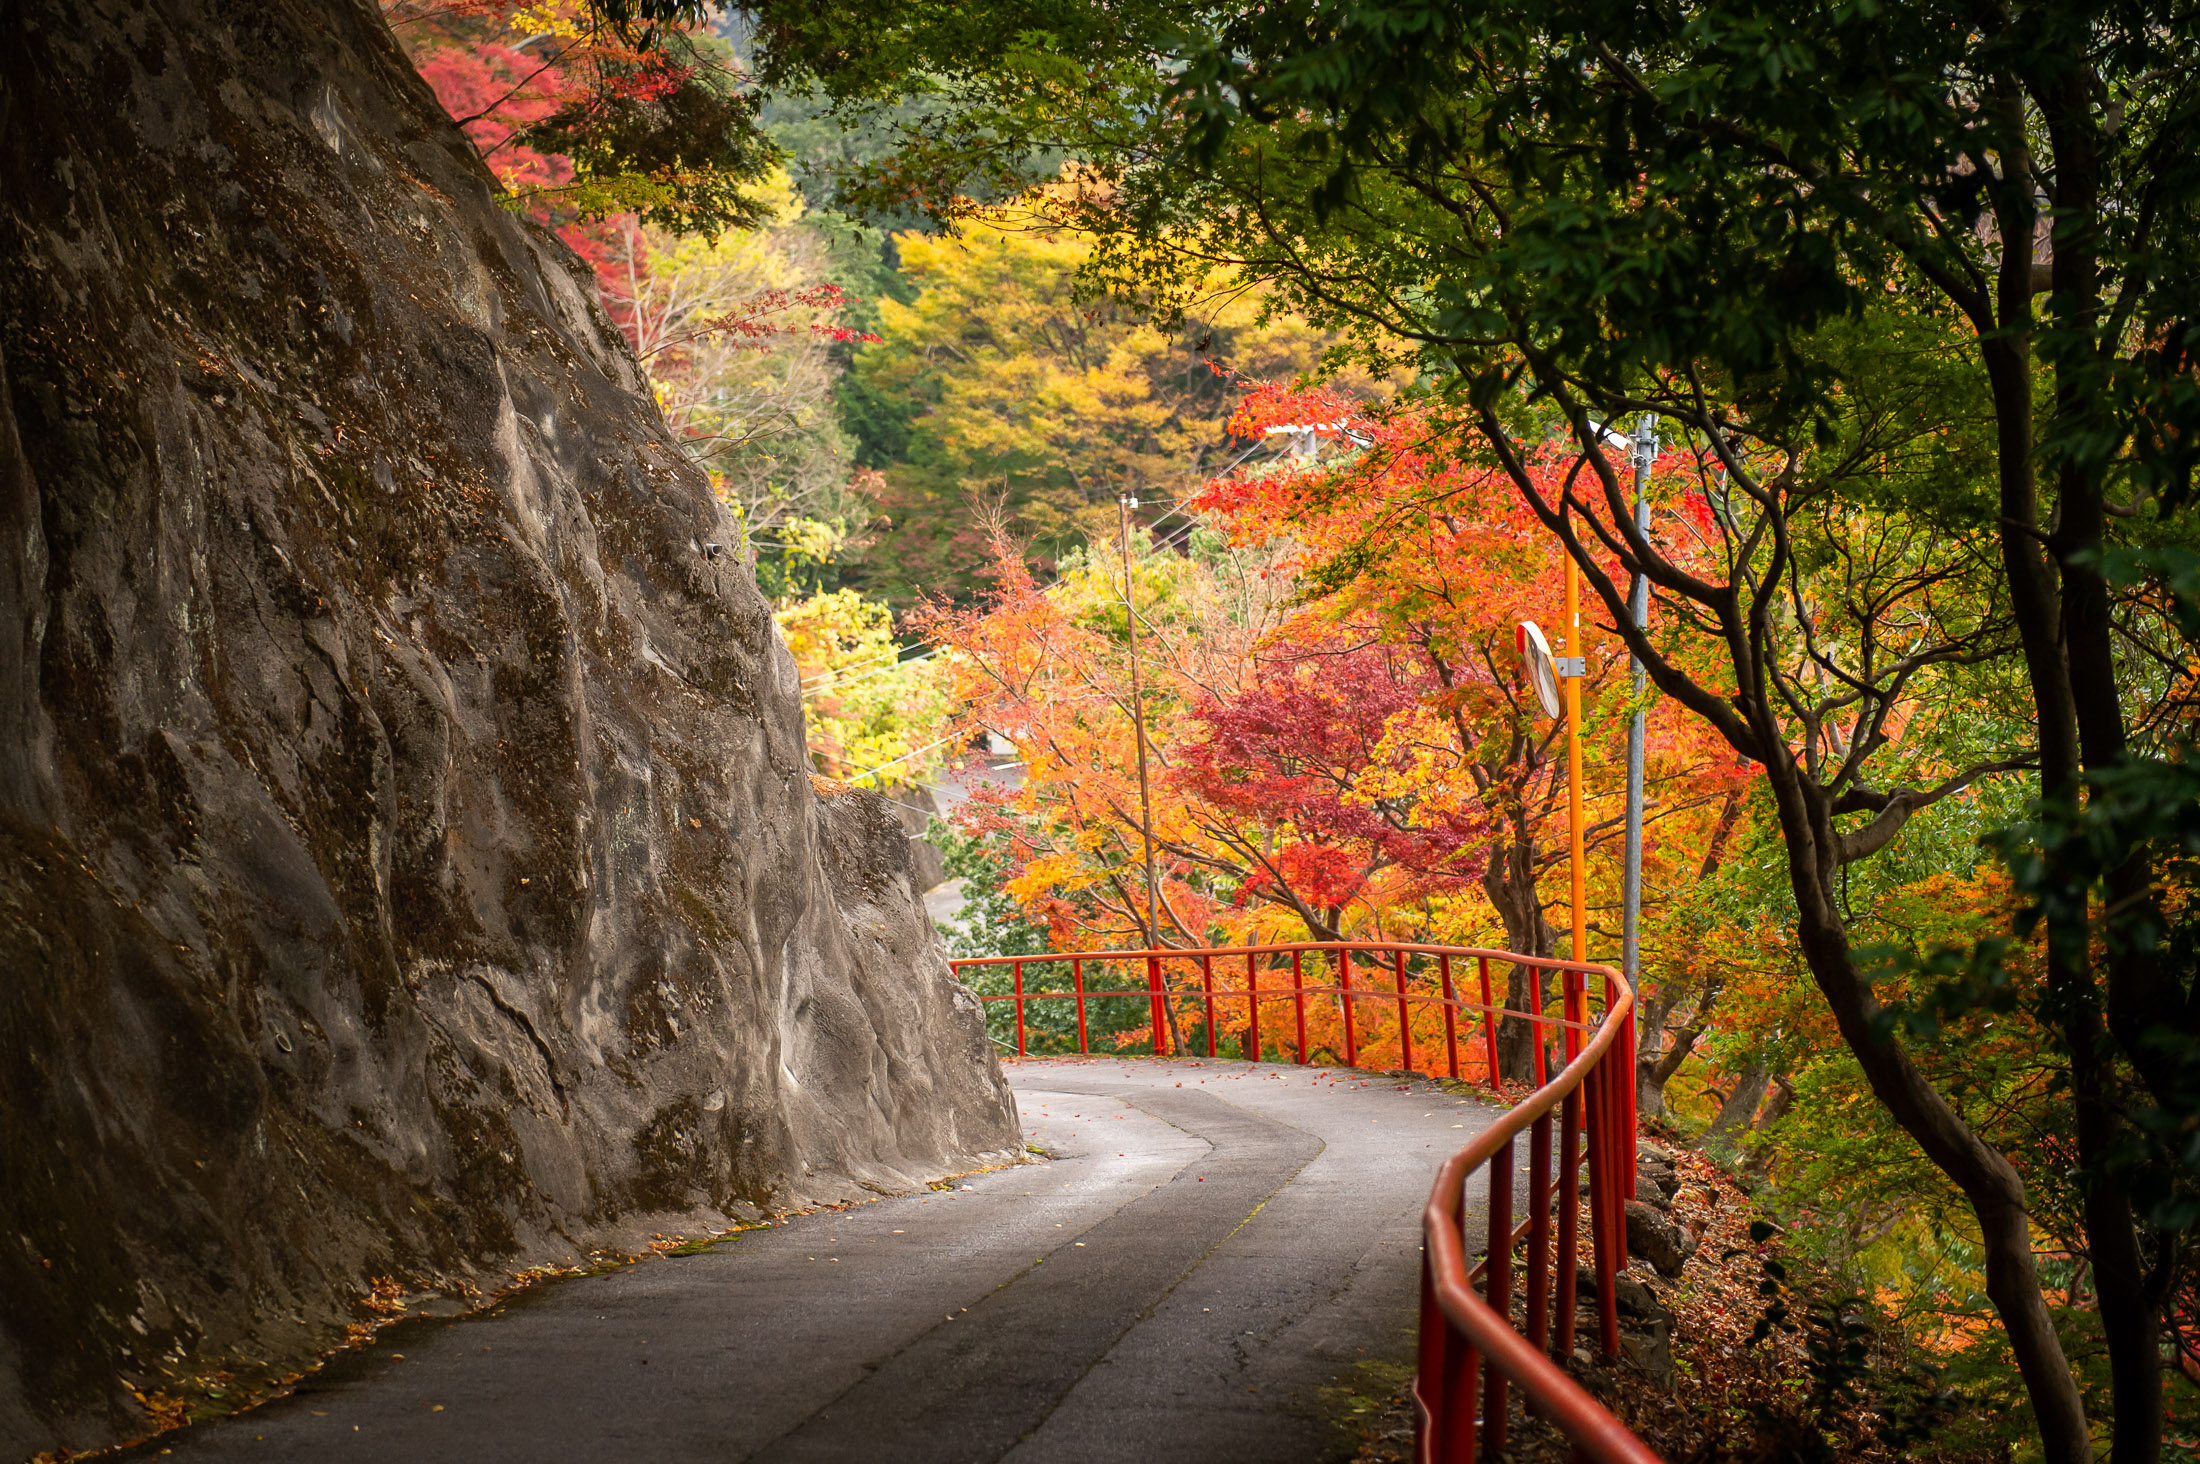
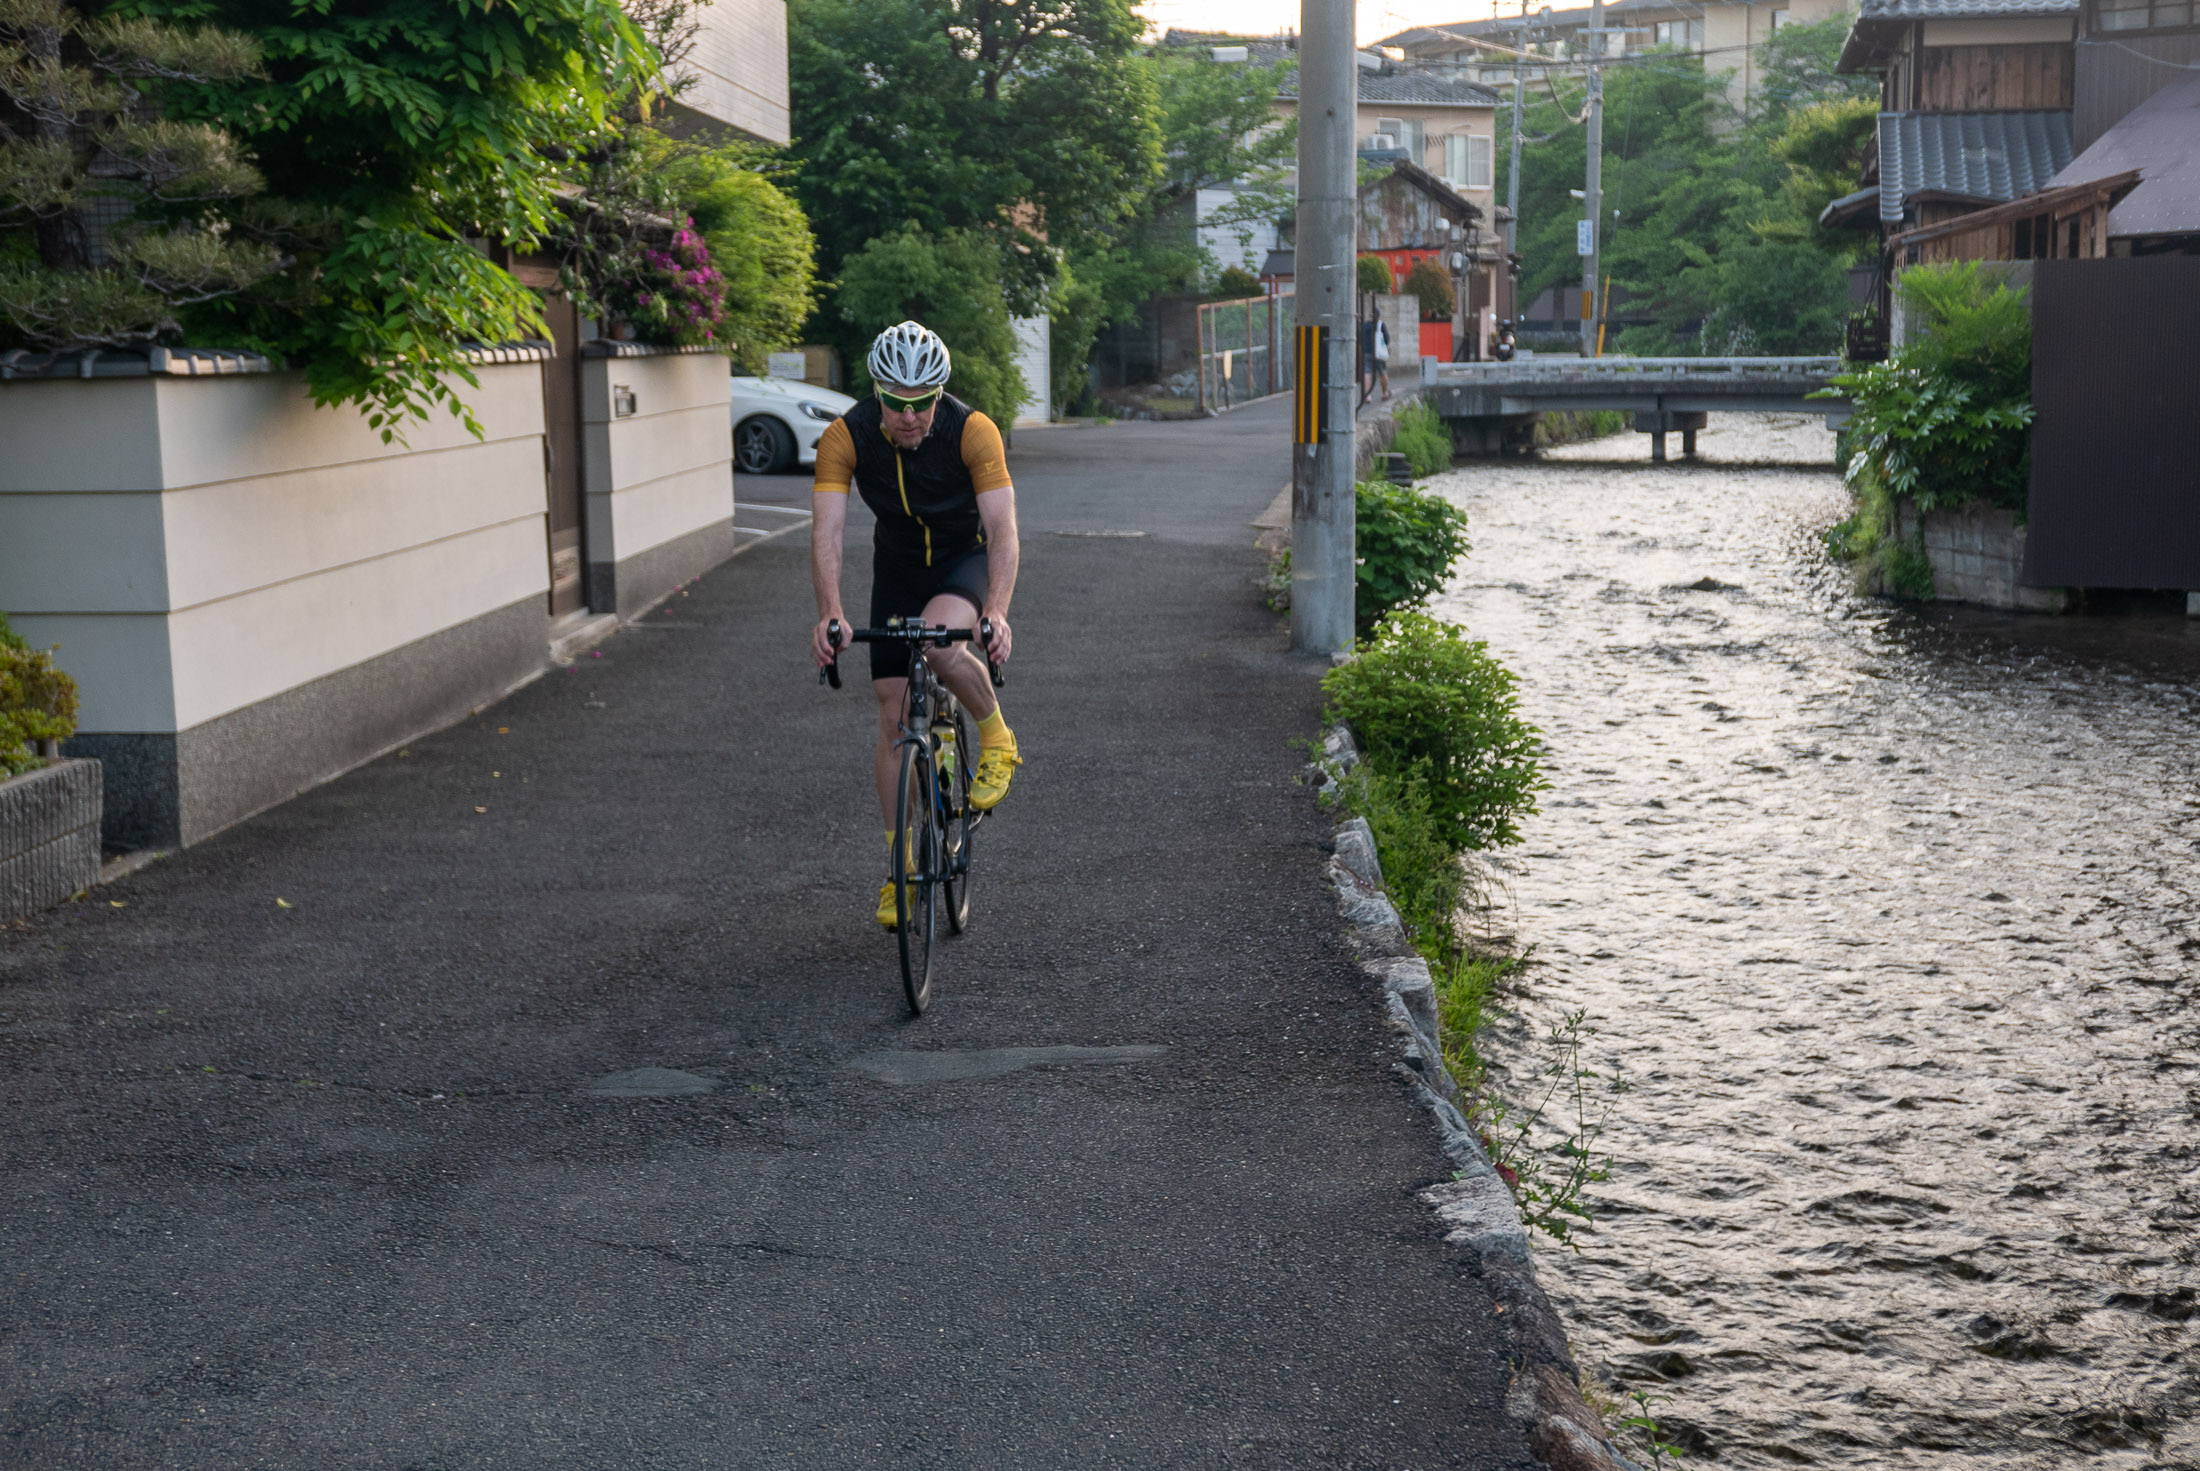
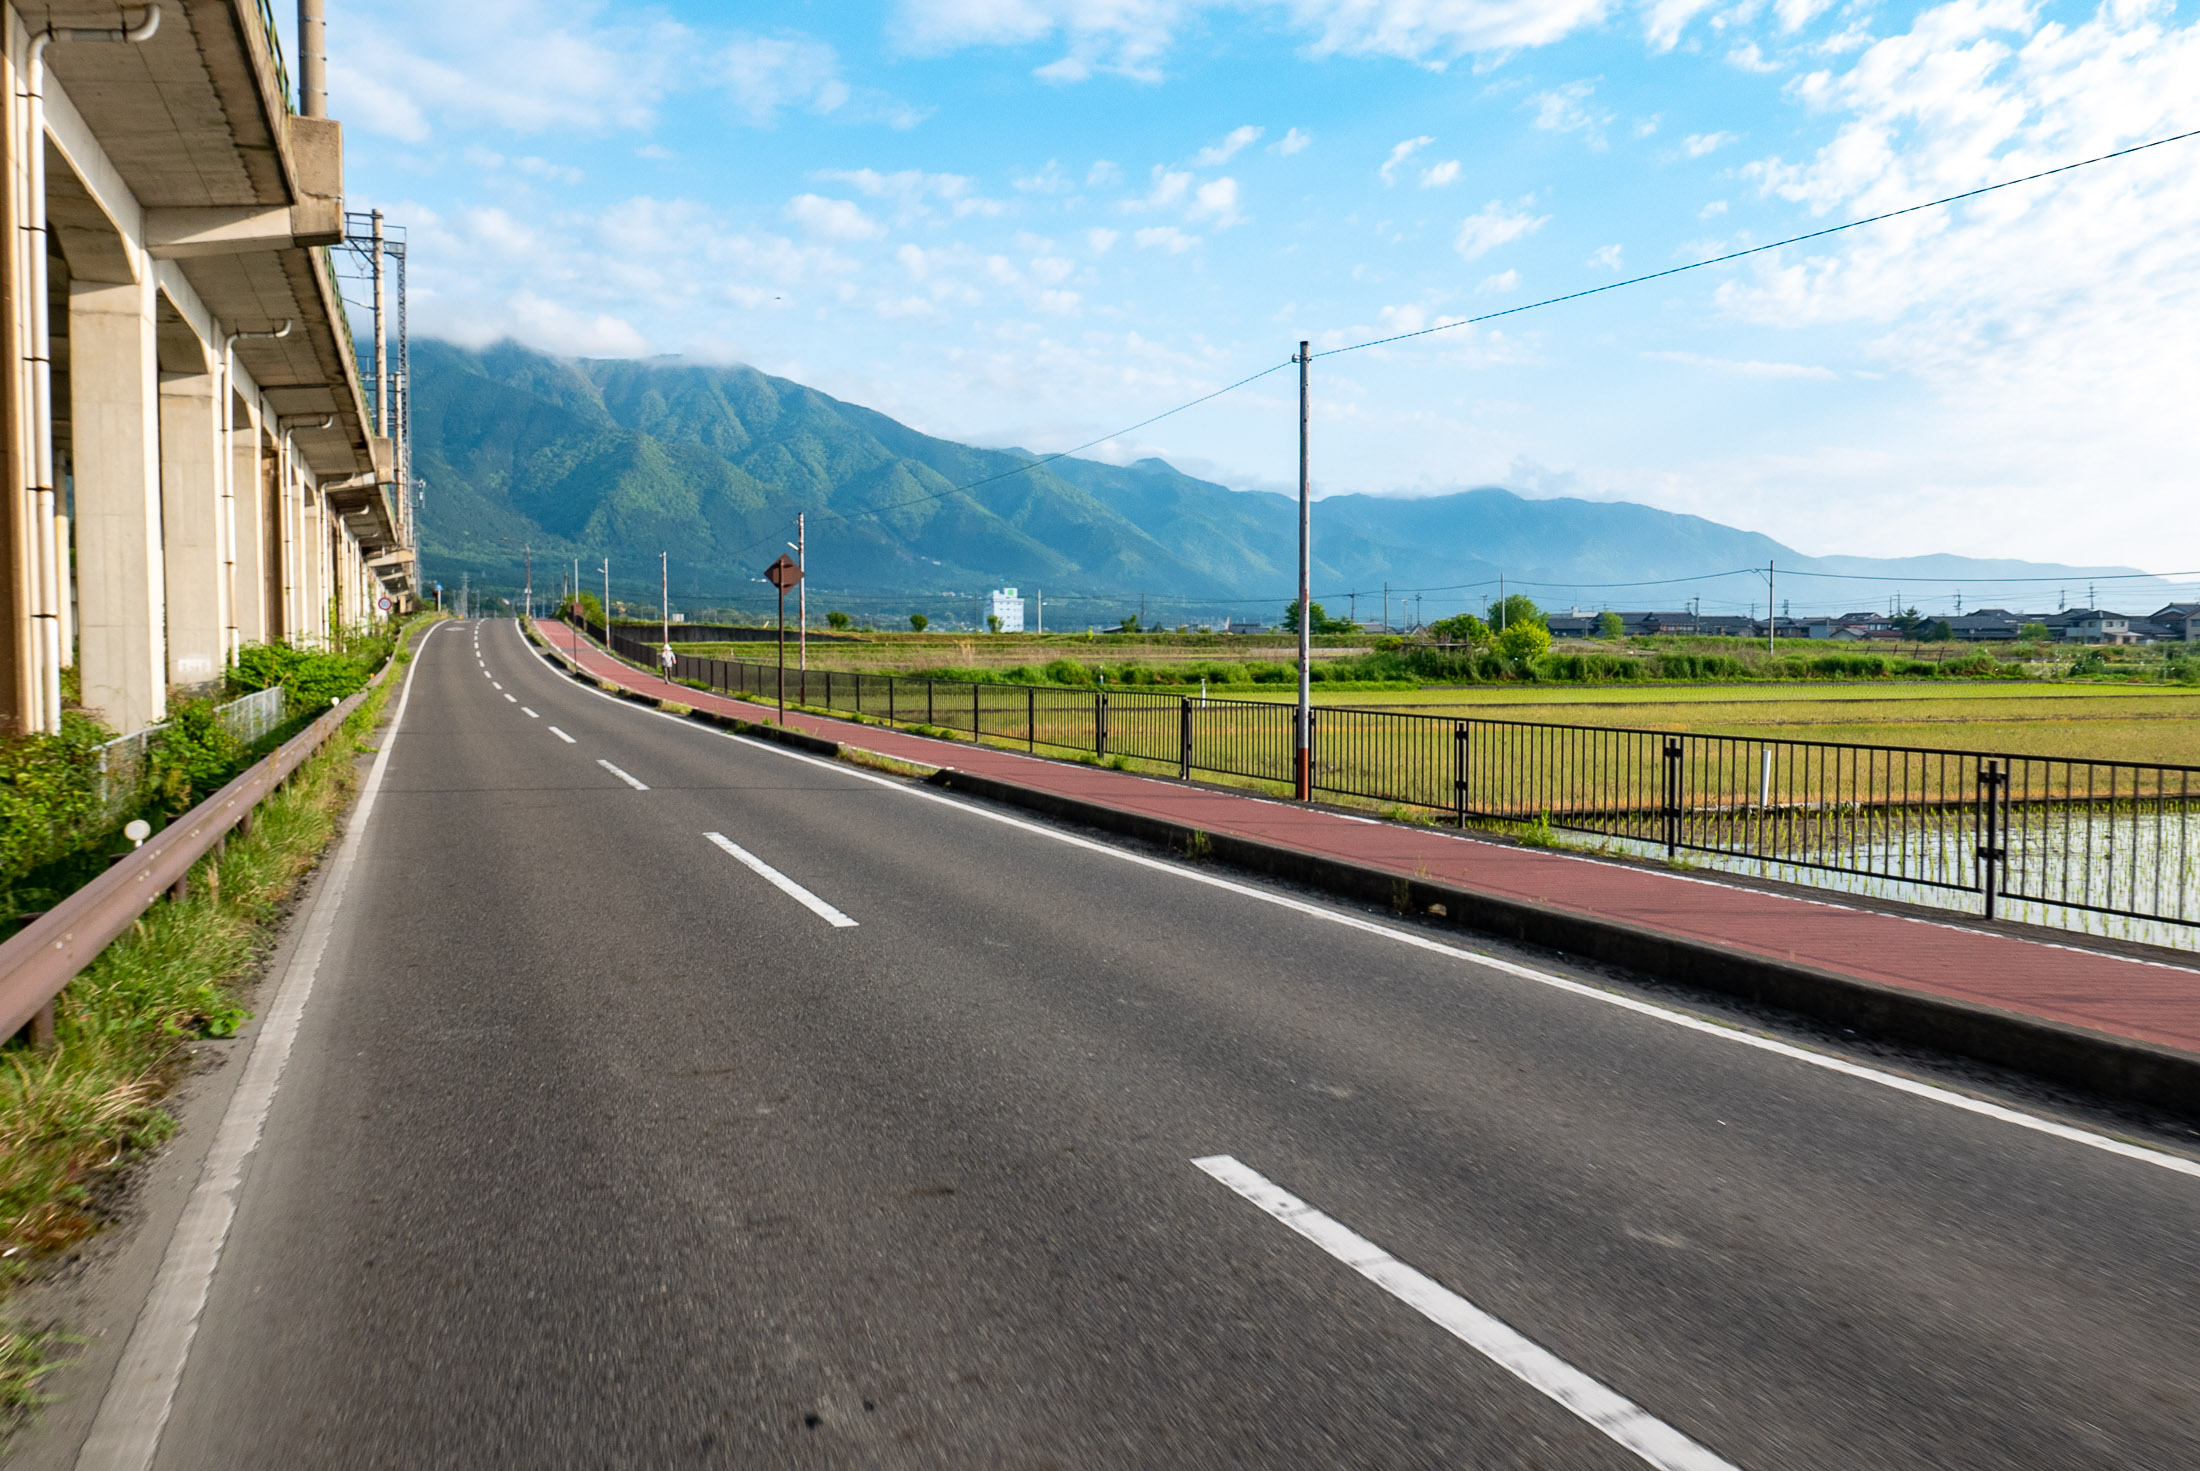
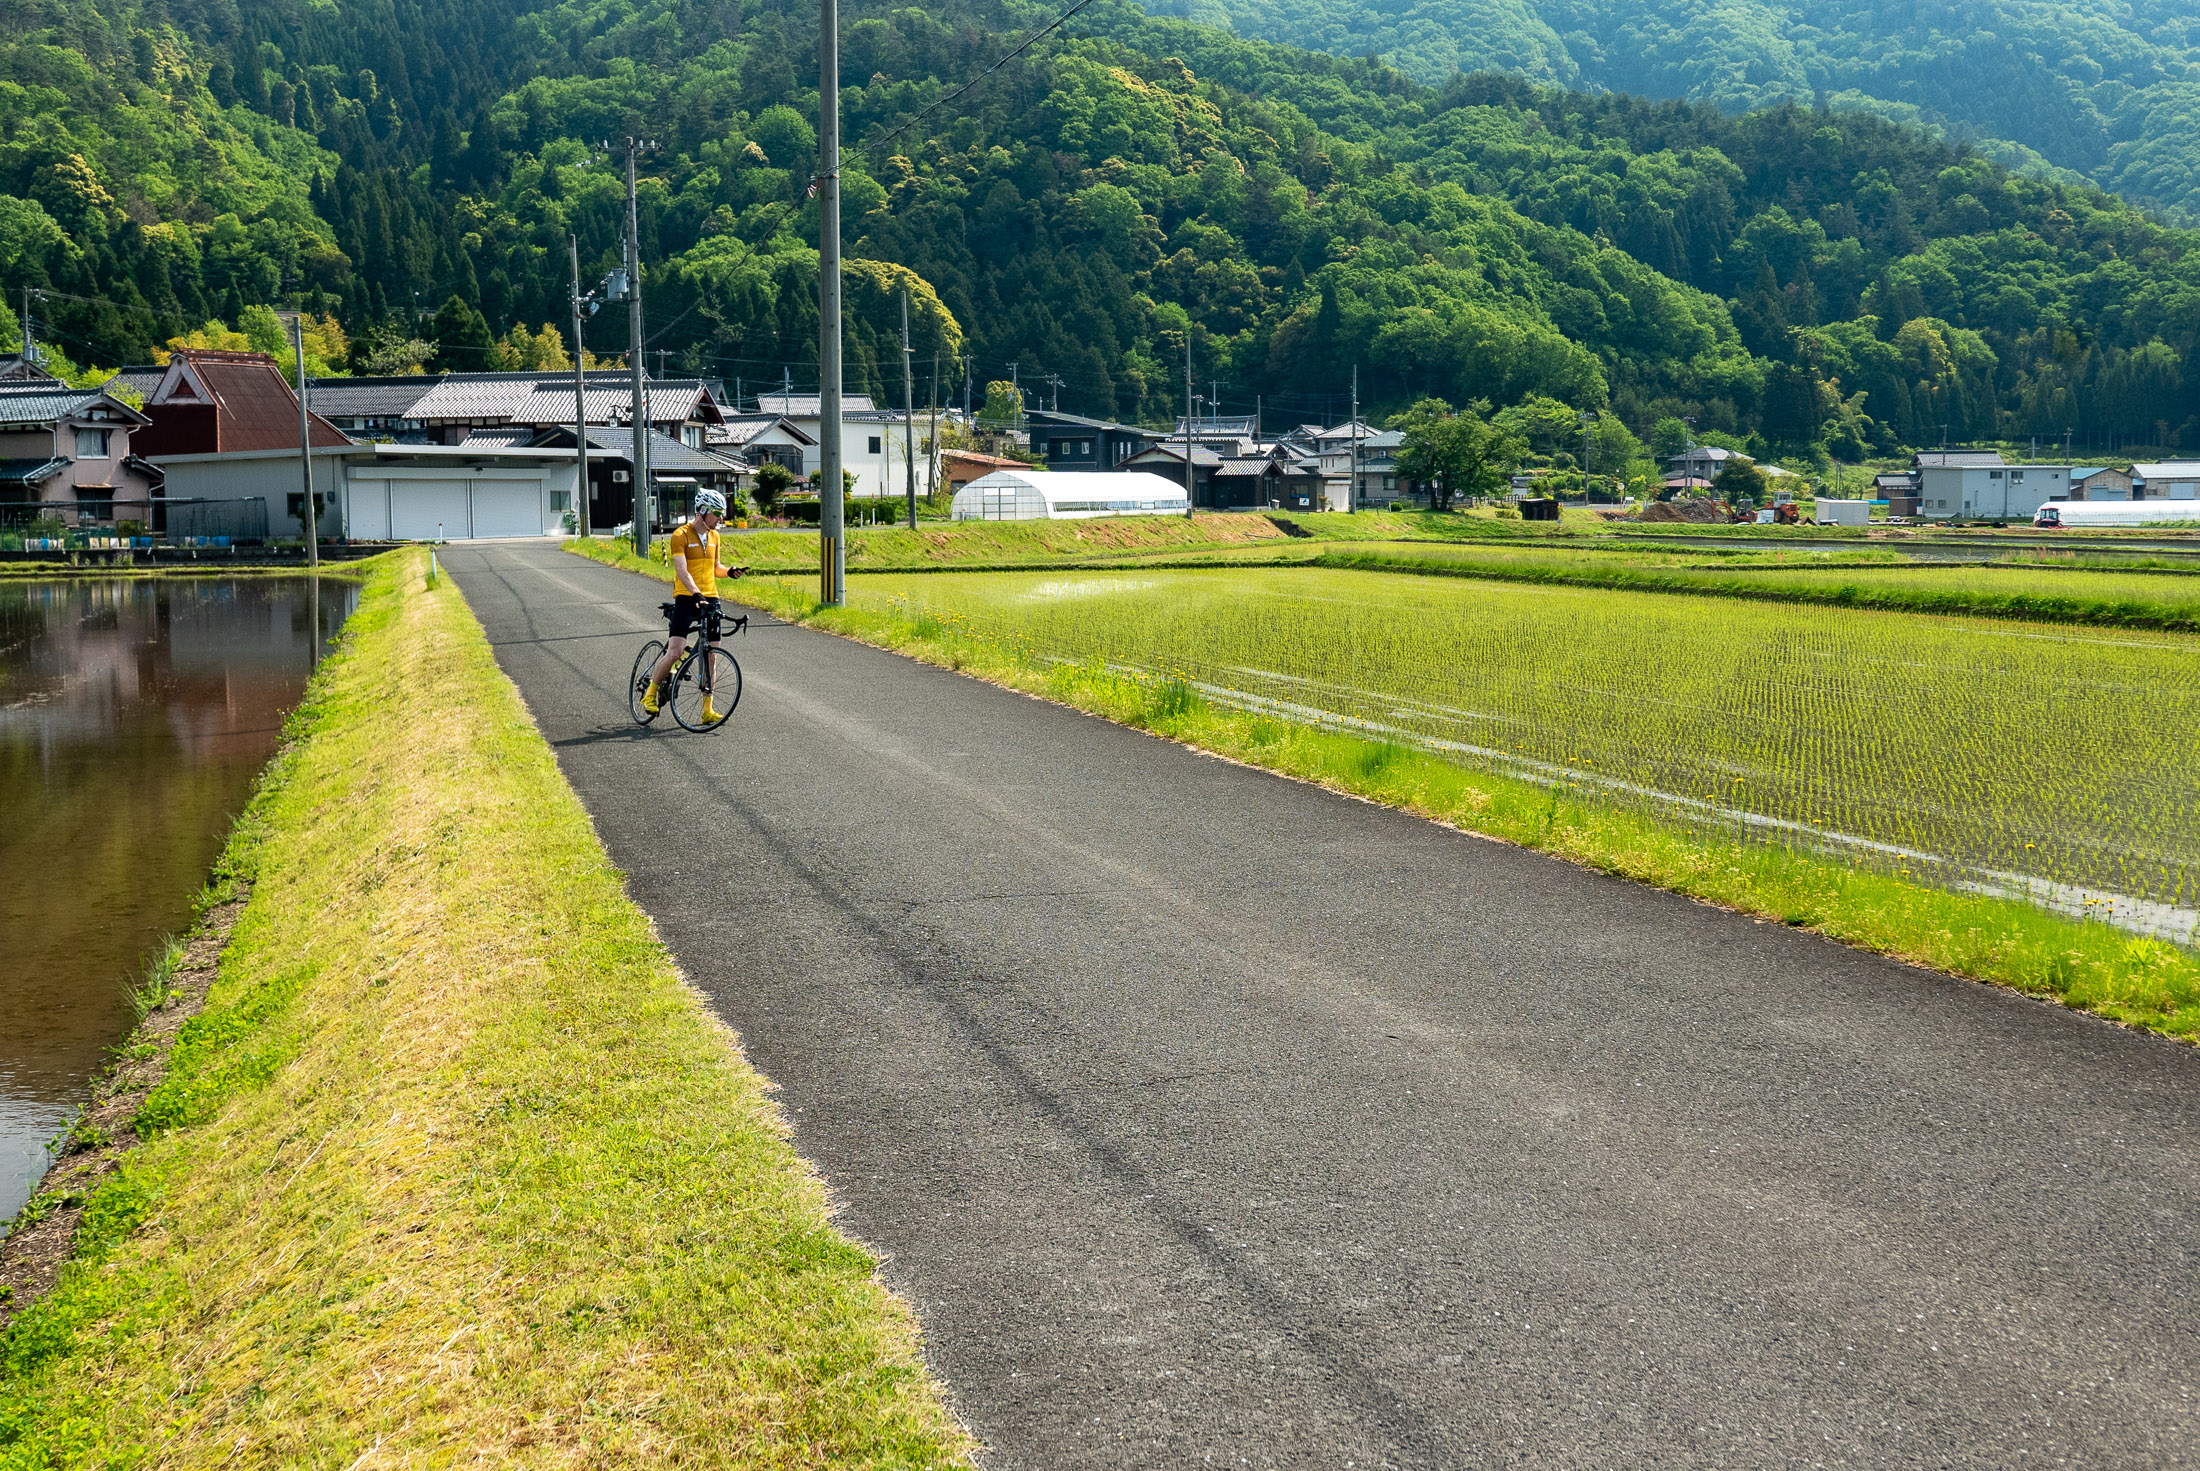
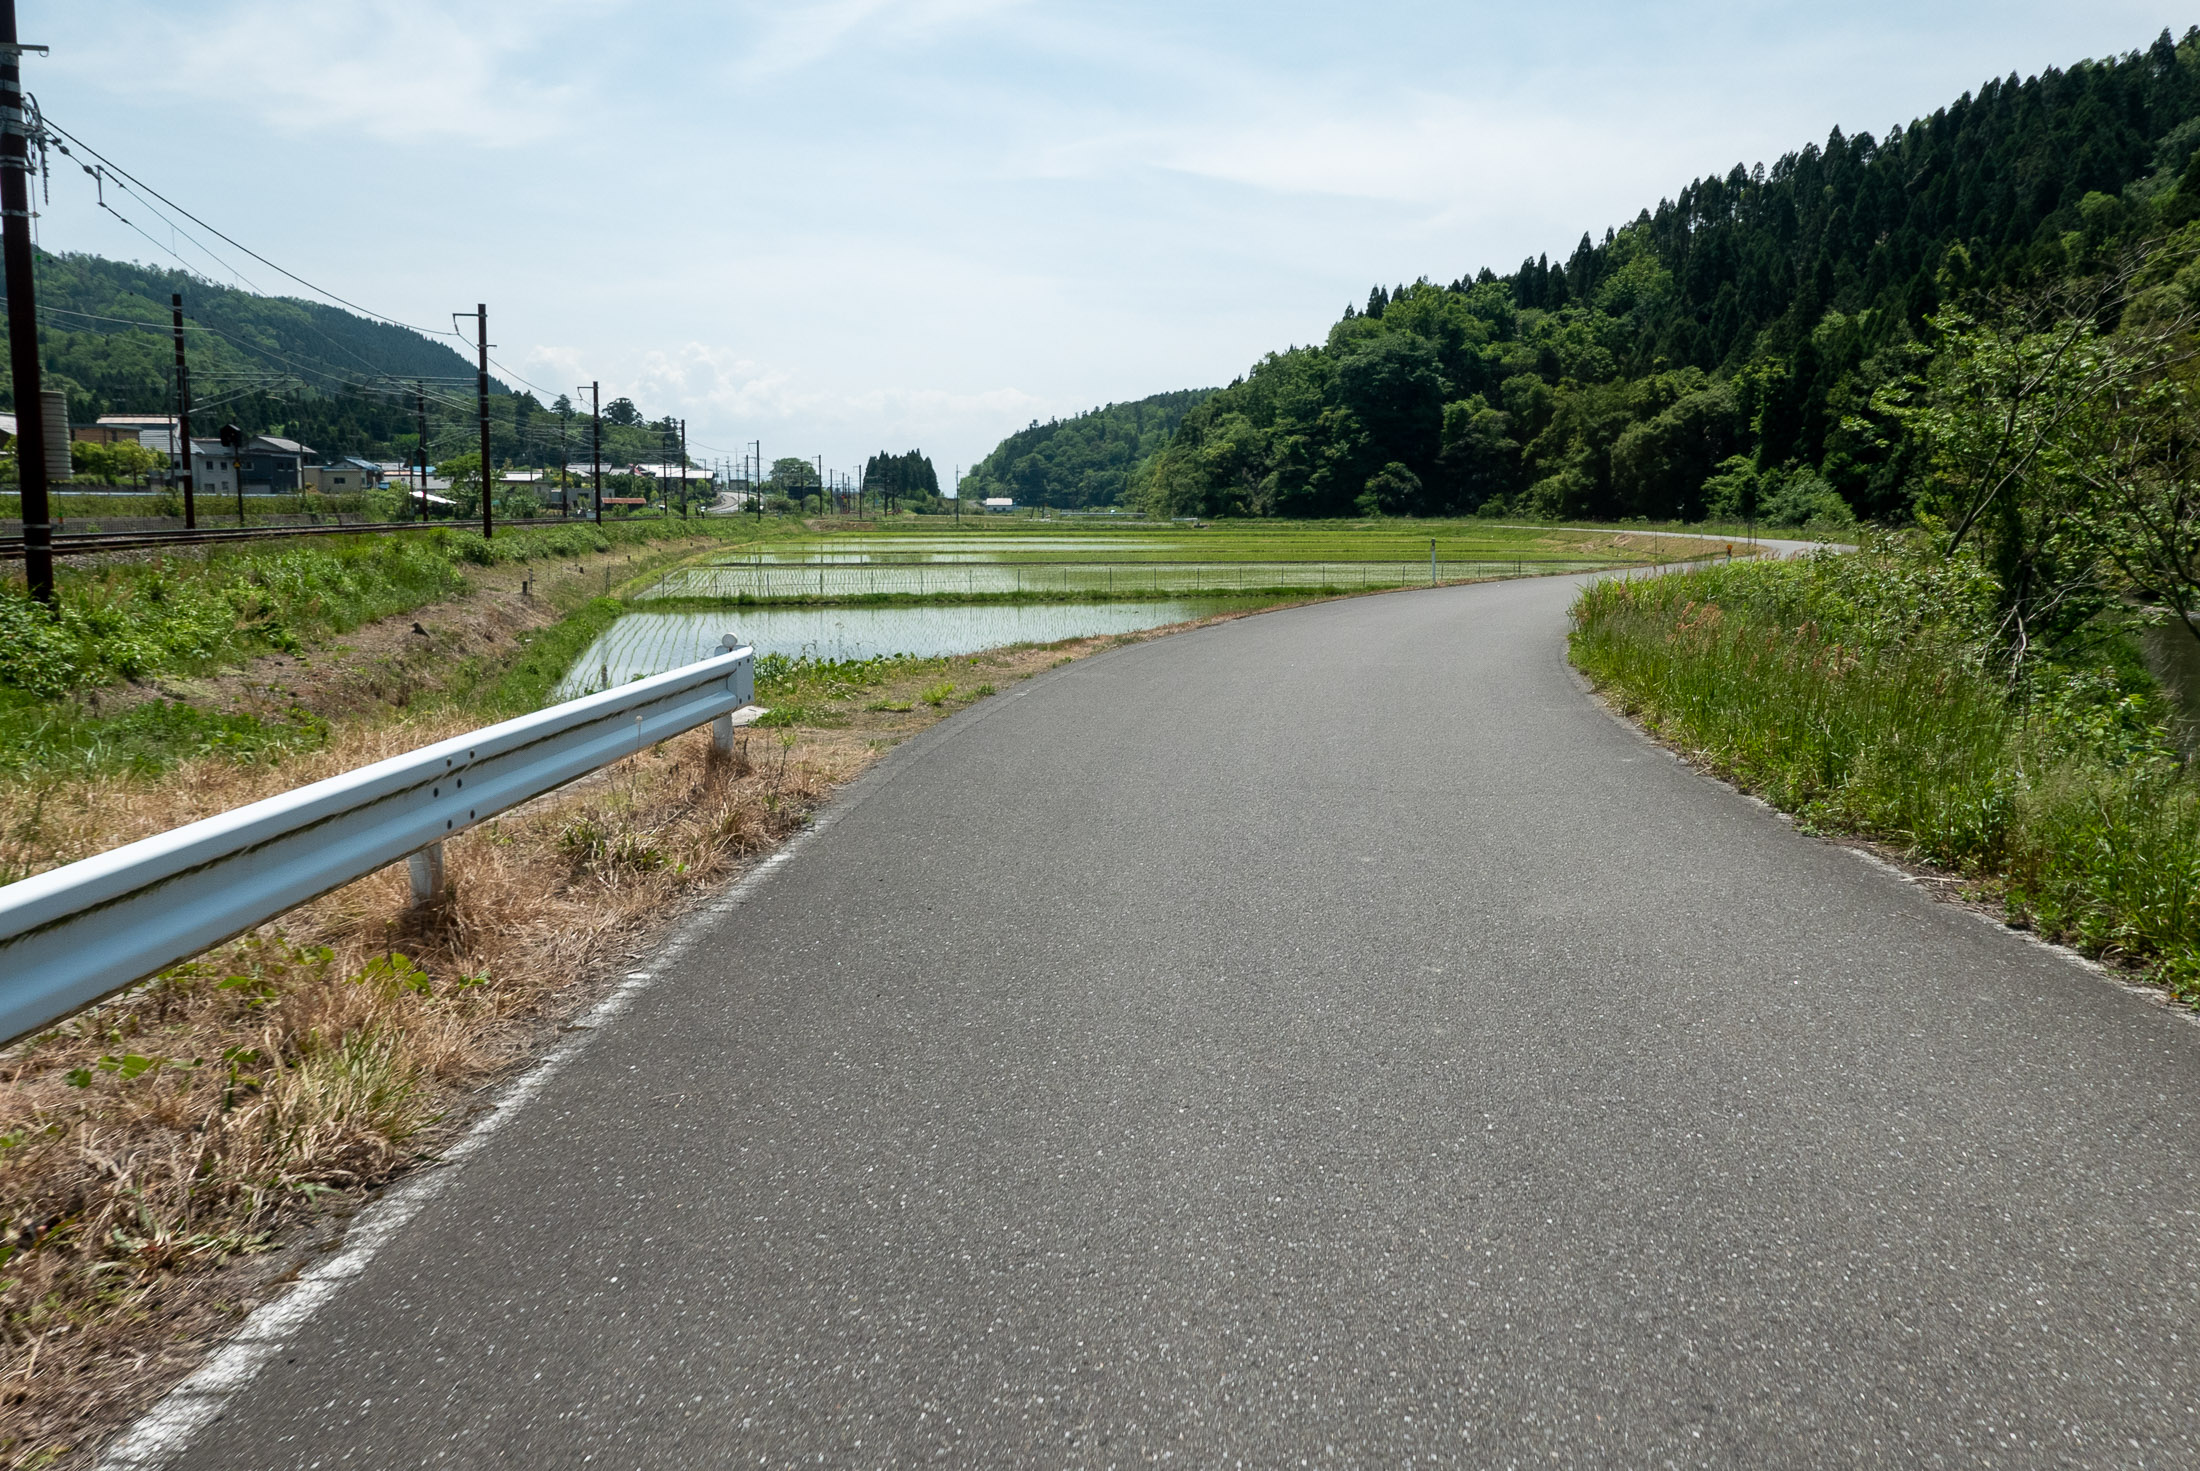
Rural Road
(when I'm out cycling, I get scenes like this all day)
Nikon D4 + Nikkor 24-70mm f/2.8 @ 24mm — 1/250 sec, f/2.8, ISO 2500 — map & image data — nearby photos
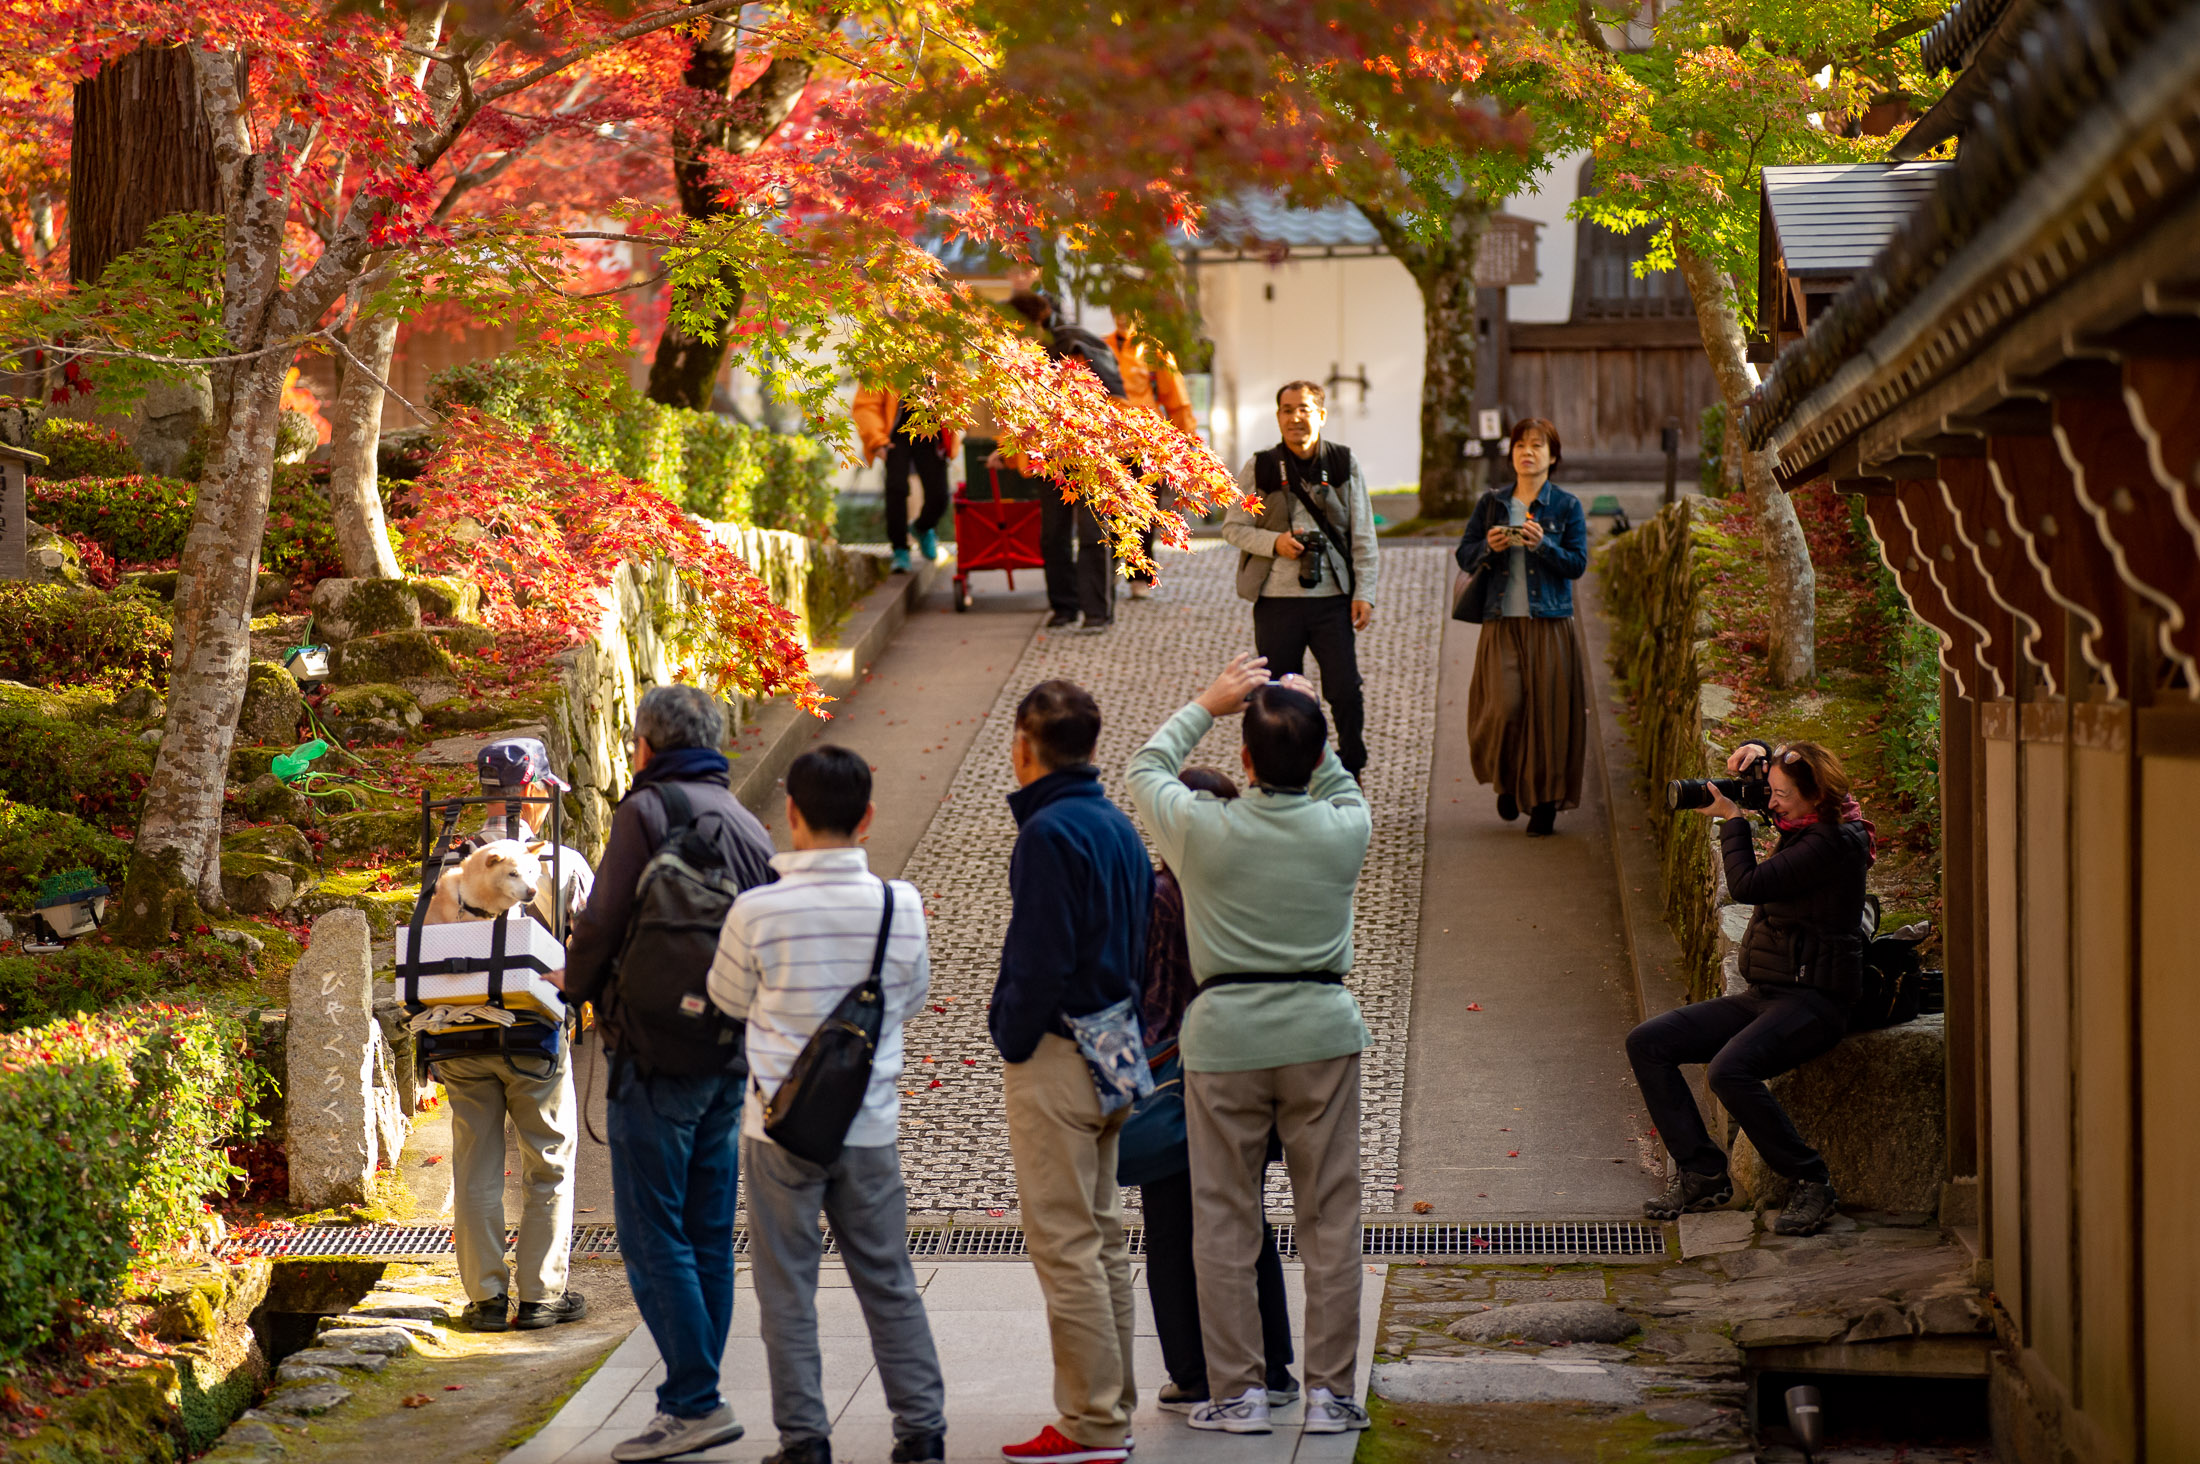
Common Photo Spot
at the Kongorinji Temple (金剛輪寺)
Nikon D4 + Nikkor 24-70mm f/2.8 @ 24mm — 1/40 sec, f/6.3, ISO 6400 — map & image data — nearby photos
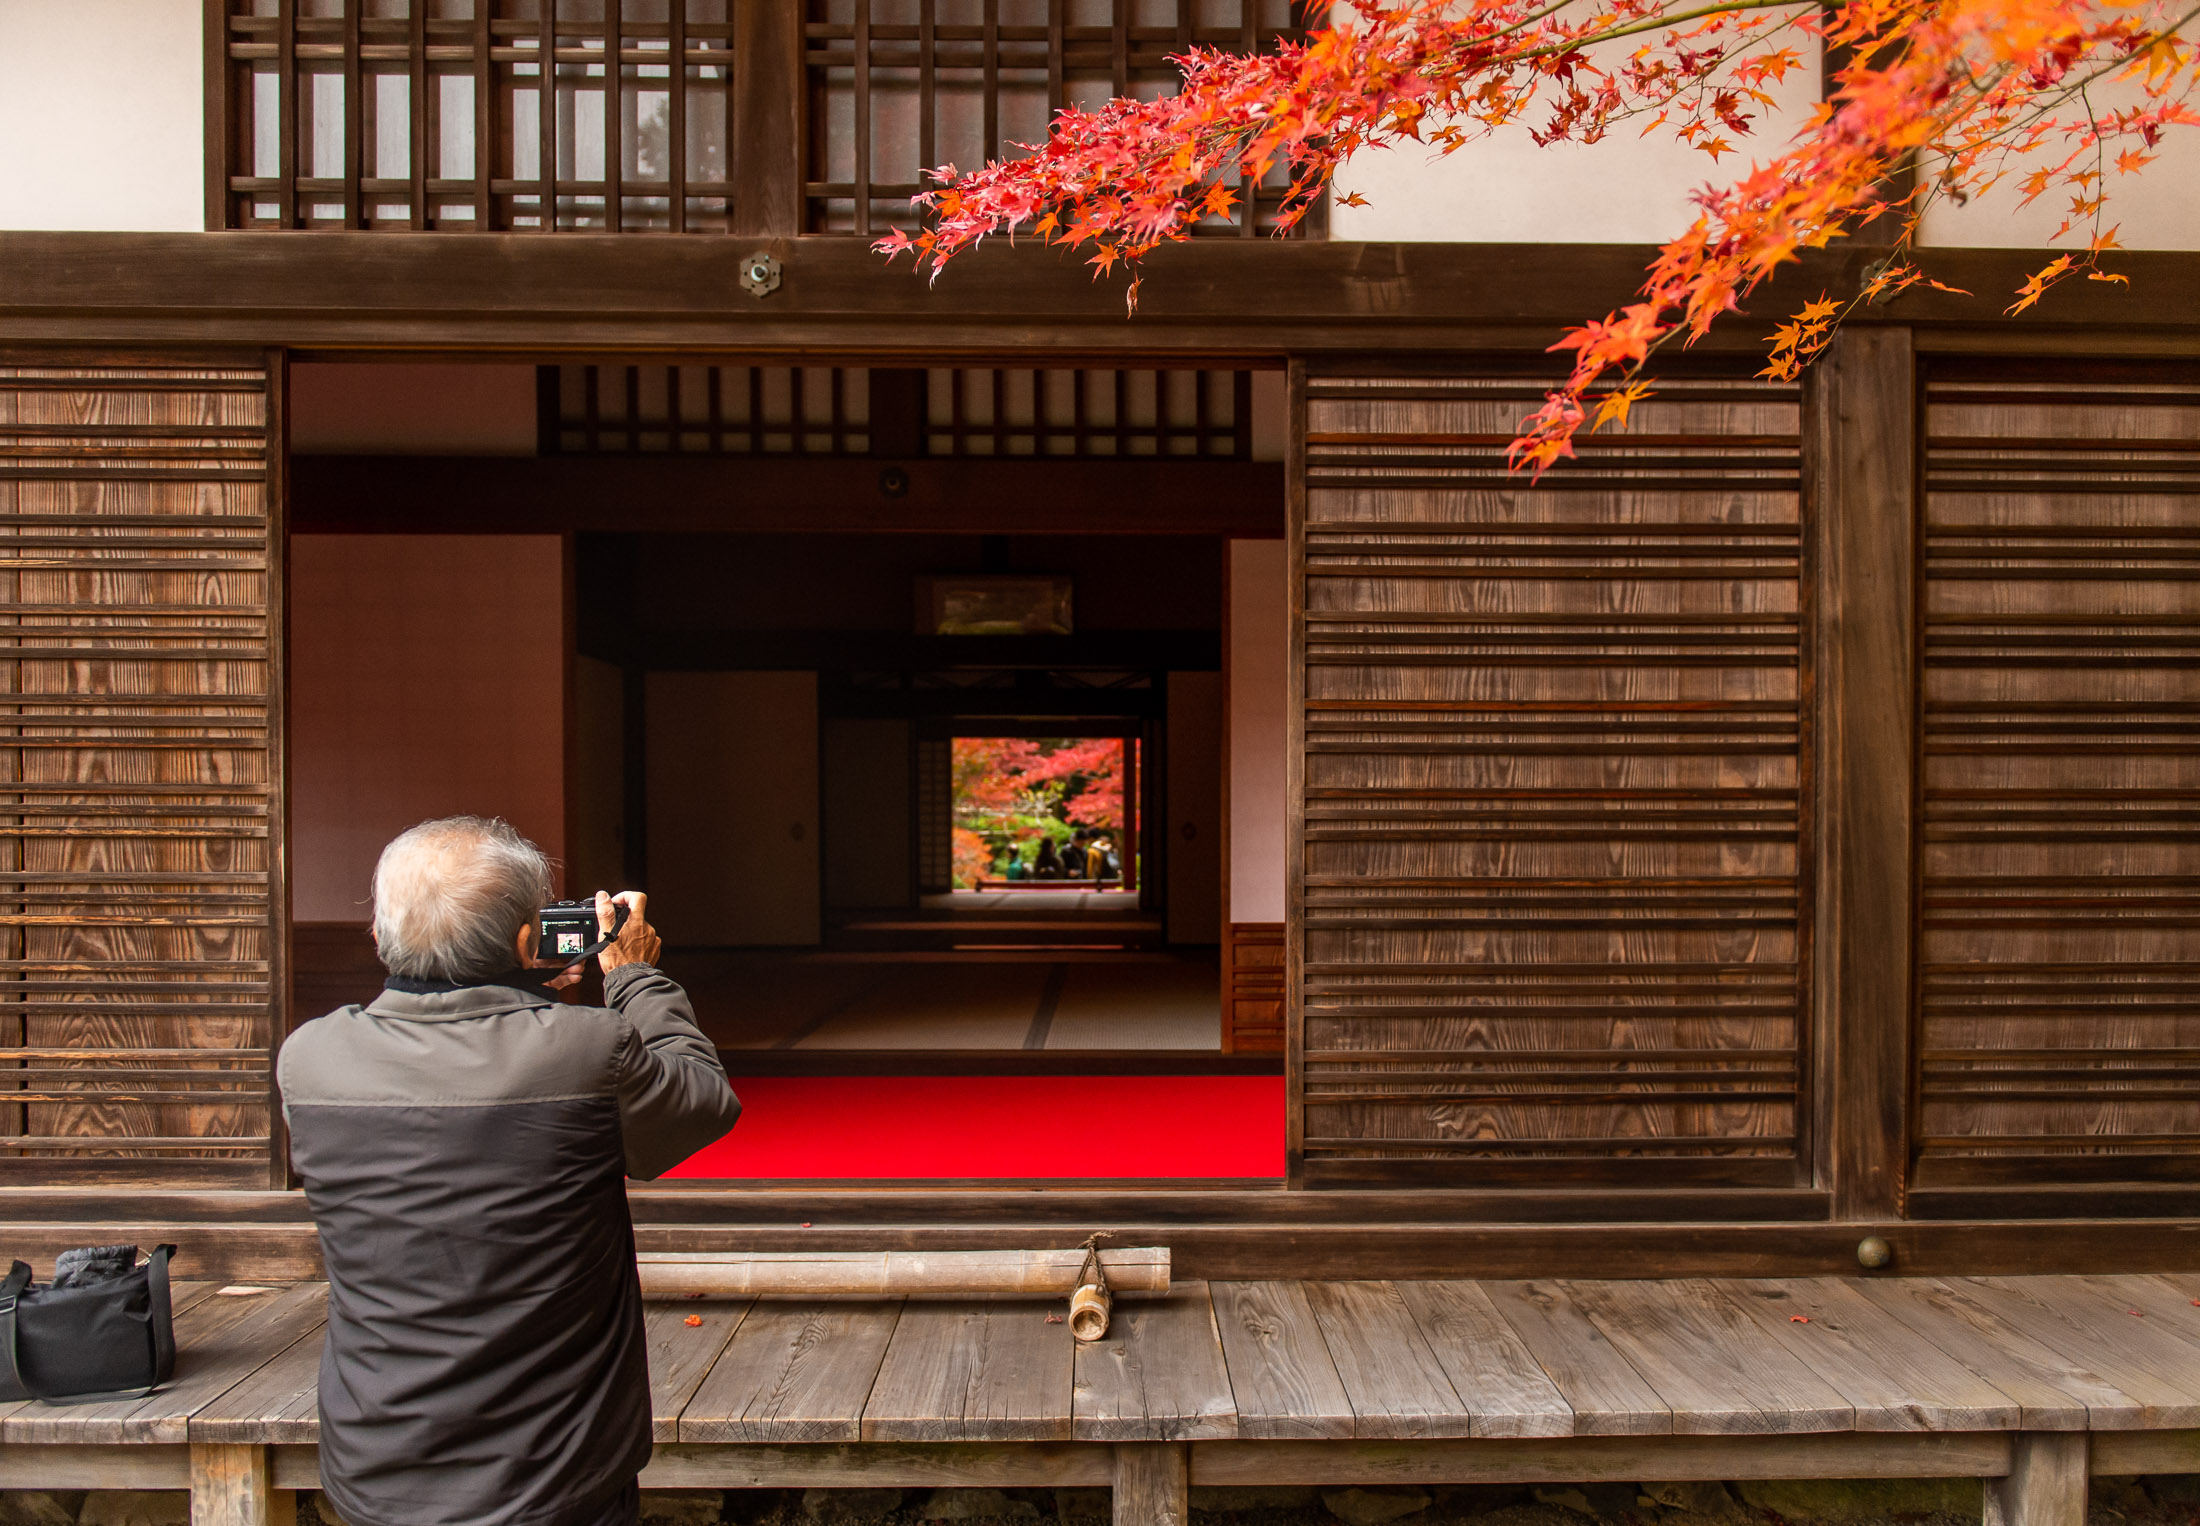
My Take
Nikon D4 + Voigtländer 125mm f/2.5 — 1/400 sec, f/2.5, ISO 1400 — map & image data — nearby photos
“Farmer's Friend”
helpful spider is more tidy than the earlier one
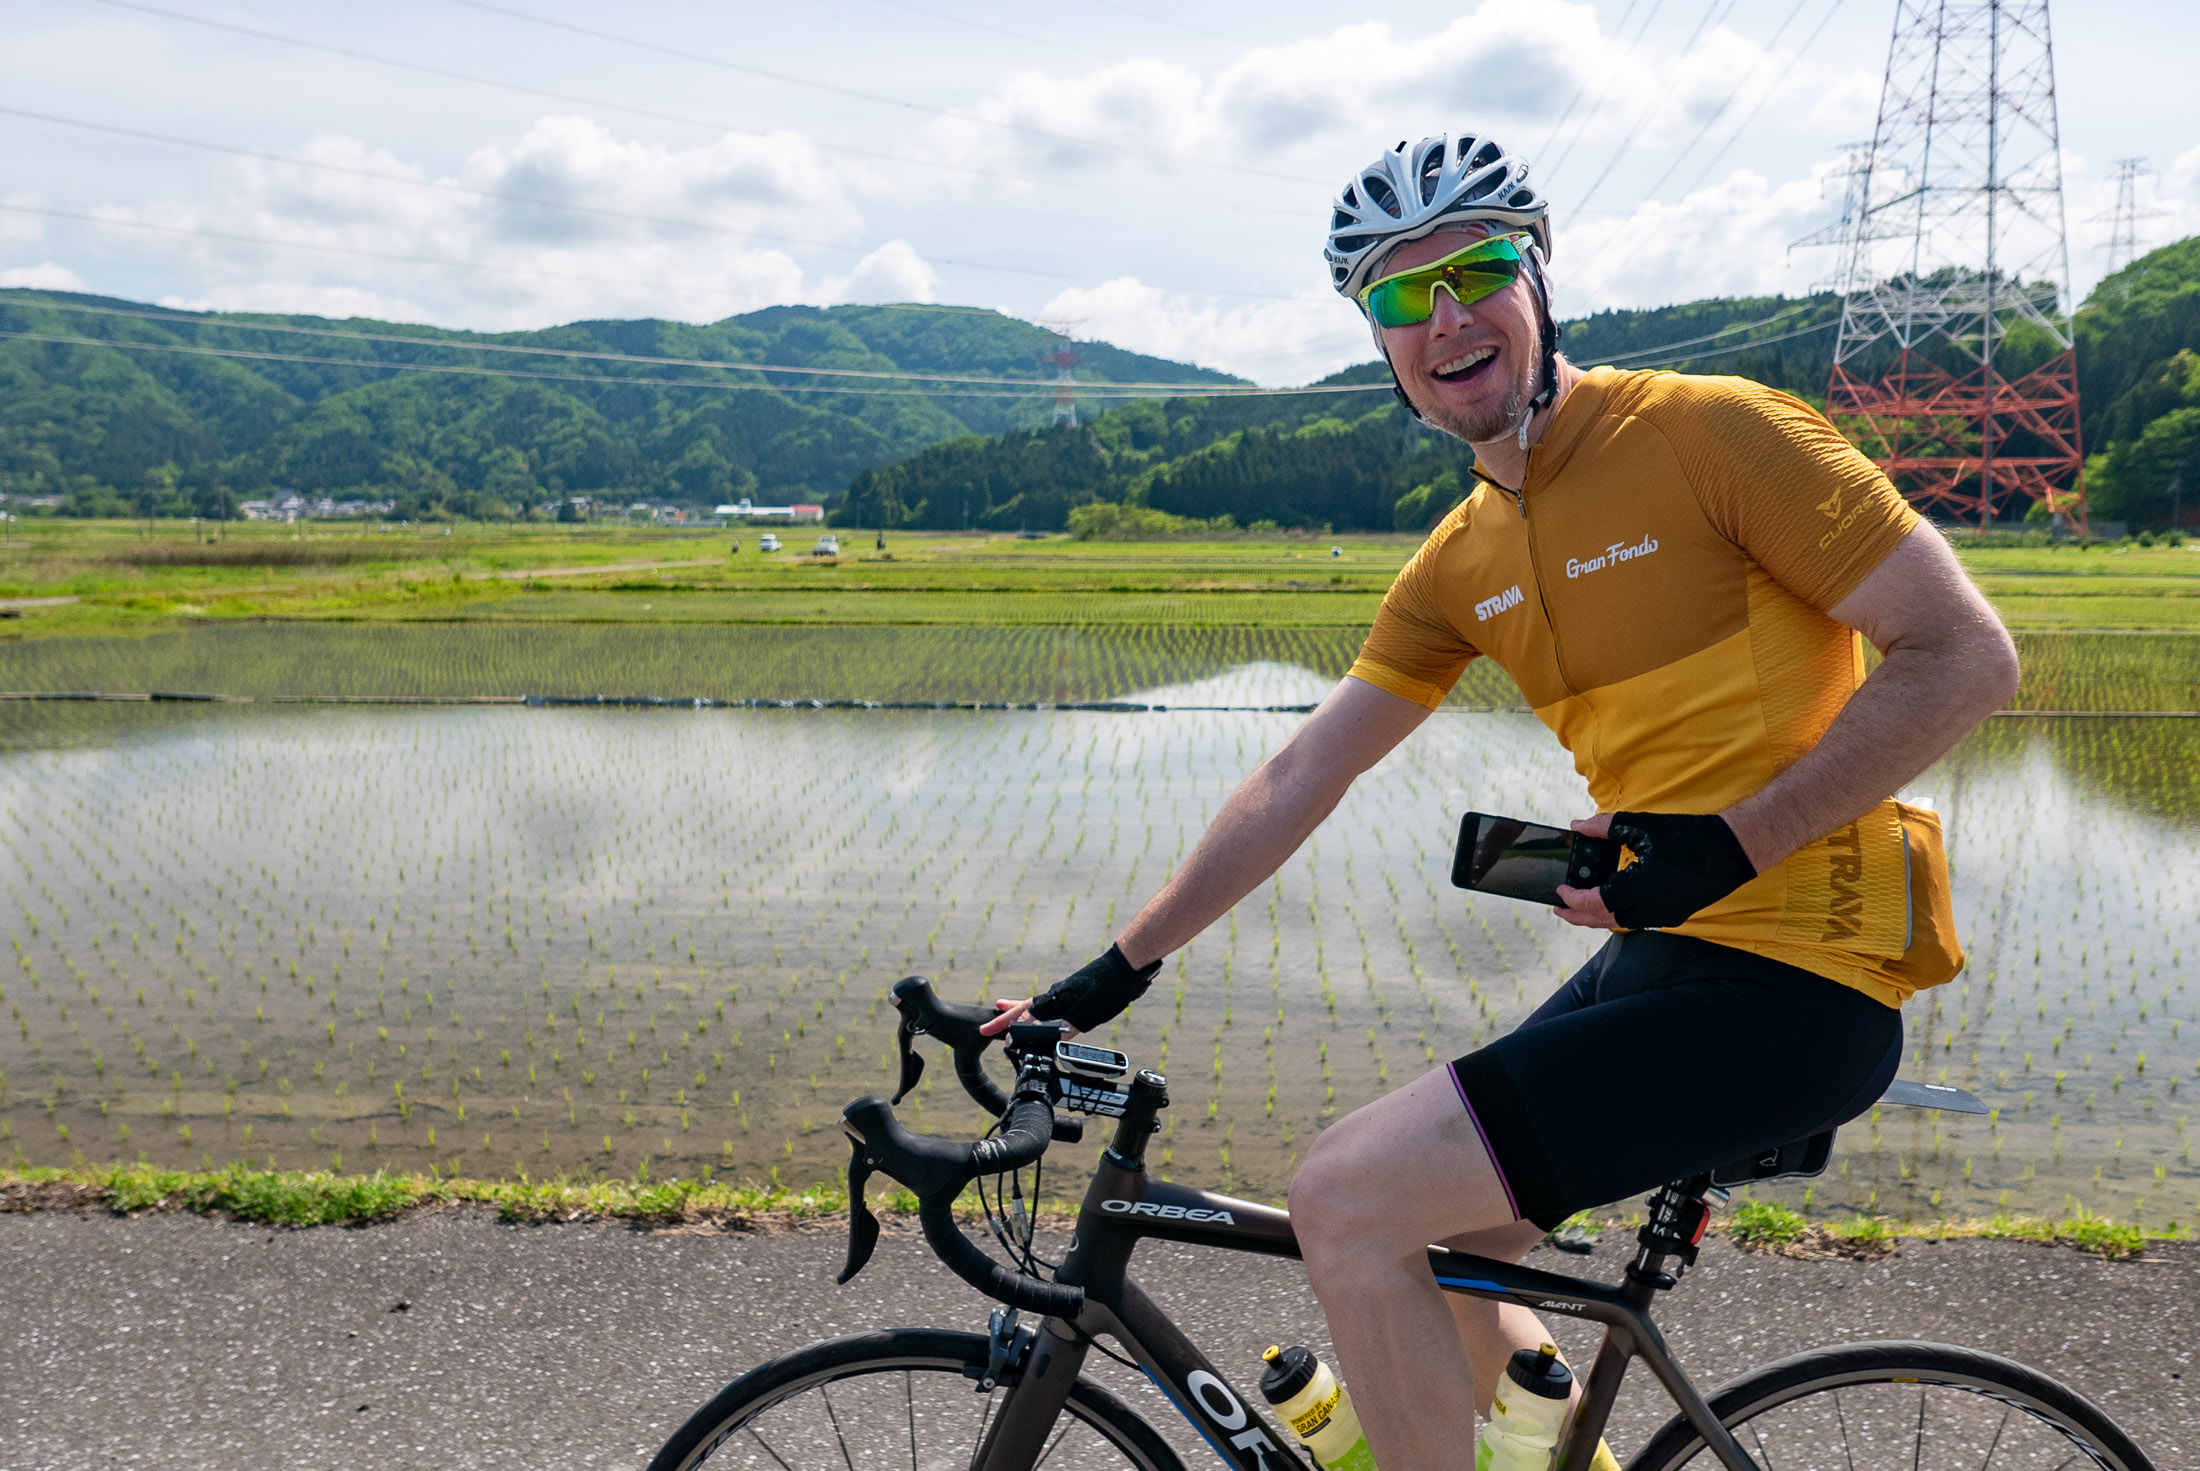
My Latest Ride
304km (189mi) with 3,596m (11,798') of climb
I haven't done a whole lot of riding since last fall, and in particular over the last month or so have been beset on and off by a persistent throat infection, so I probably bit off more than I could chew with a 300km ride with Gorm, but while he's in town I want to take the opportunity for such epic adventures.
The ostensible goal of the ride was to visit a mountain area of Gifu Prefecture known as “Machu Picchu of Gifu”, due to a view of it that calls to mind the famous Machu Picchu of Peru.
(I can't remember “Machu Picchu”, so it's somehow morphed to “Pikachu” in my head.)
The simplest route would get us there and back in less than 250km (150mi), but we had other plans.
Panasonic LX100 at an effective 50mm — 1/100 sec, f/2.7, ISO 200 — map & image data — nearby photos
Gorm Arrives for our Departure
5:25am
Panasonic LX100 at an effective 24mm — 1/125 sec, f/4.5, ISO 200 — map & image data — nearby photos
Empty Streets
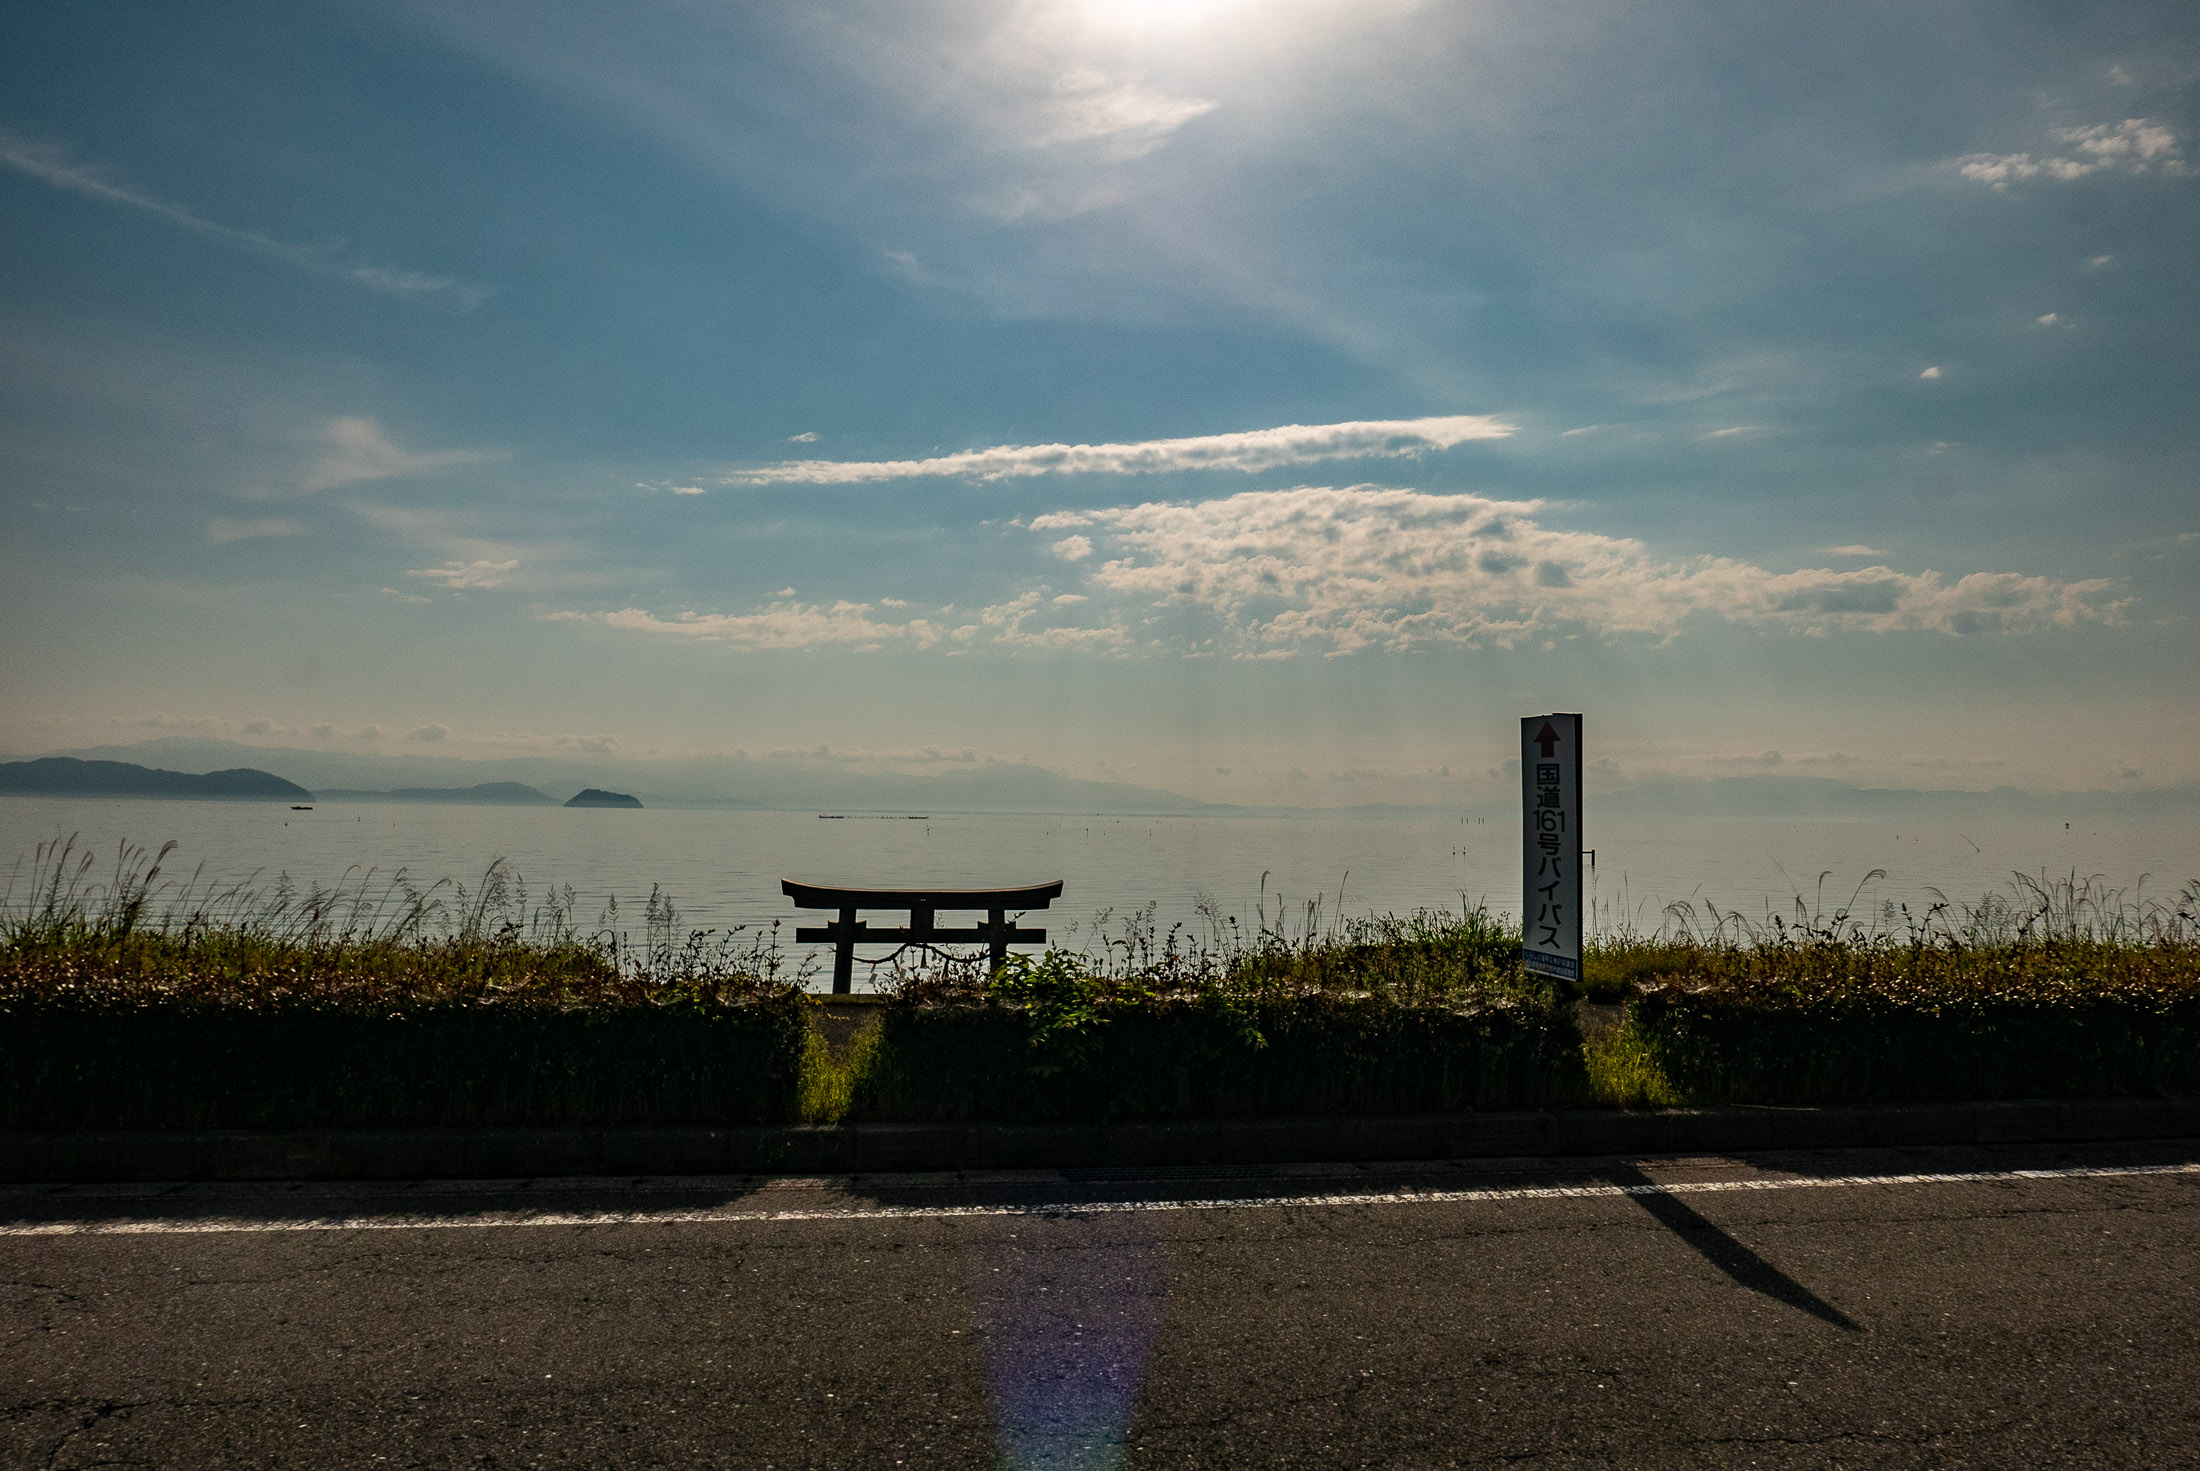
We popped over the mountains to Lake Biwa (the largest lake in Japan, introduced four years ago in “Bicycle Ride Around Japan’s Largest Lake”), and kept a steady pace along the lake for the 60km to the mountains at its north.
Panasonic LX100 at an effective 24mm — 1/160 sec, f/5.6, ISO 200 — map & image data — nearby photos
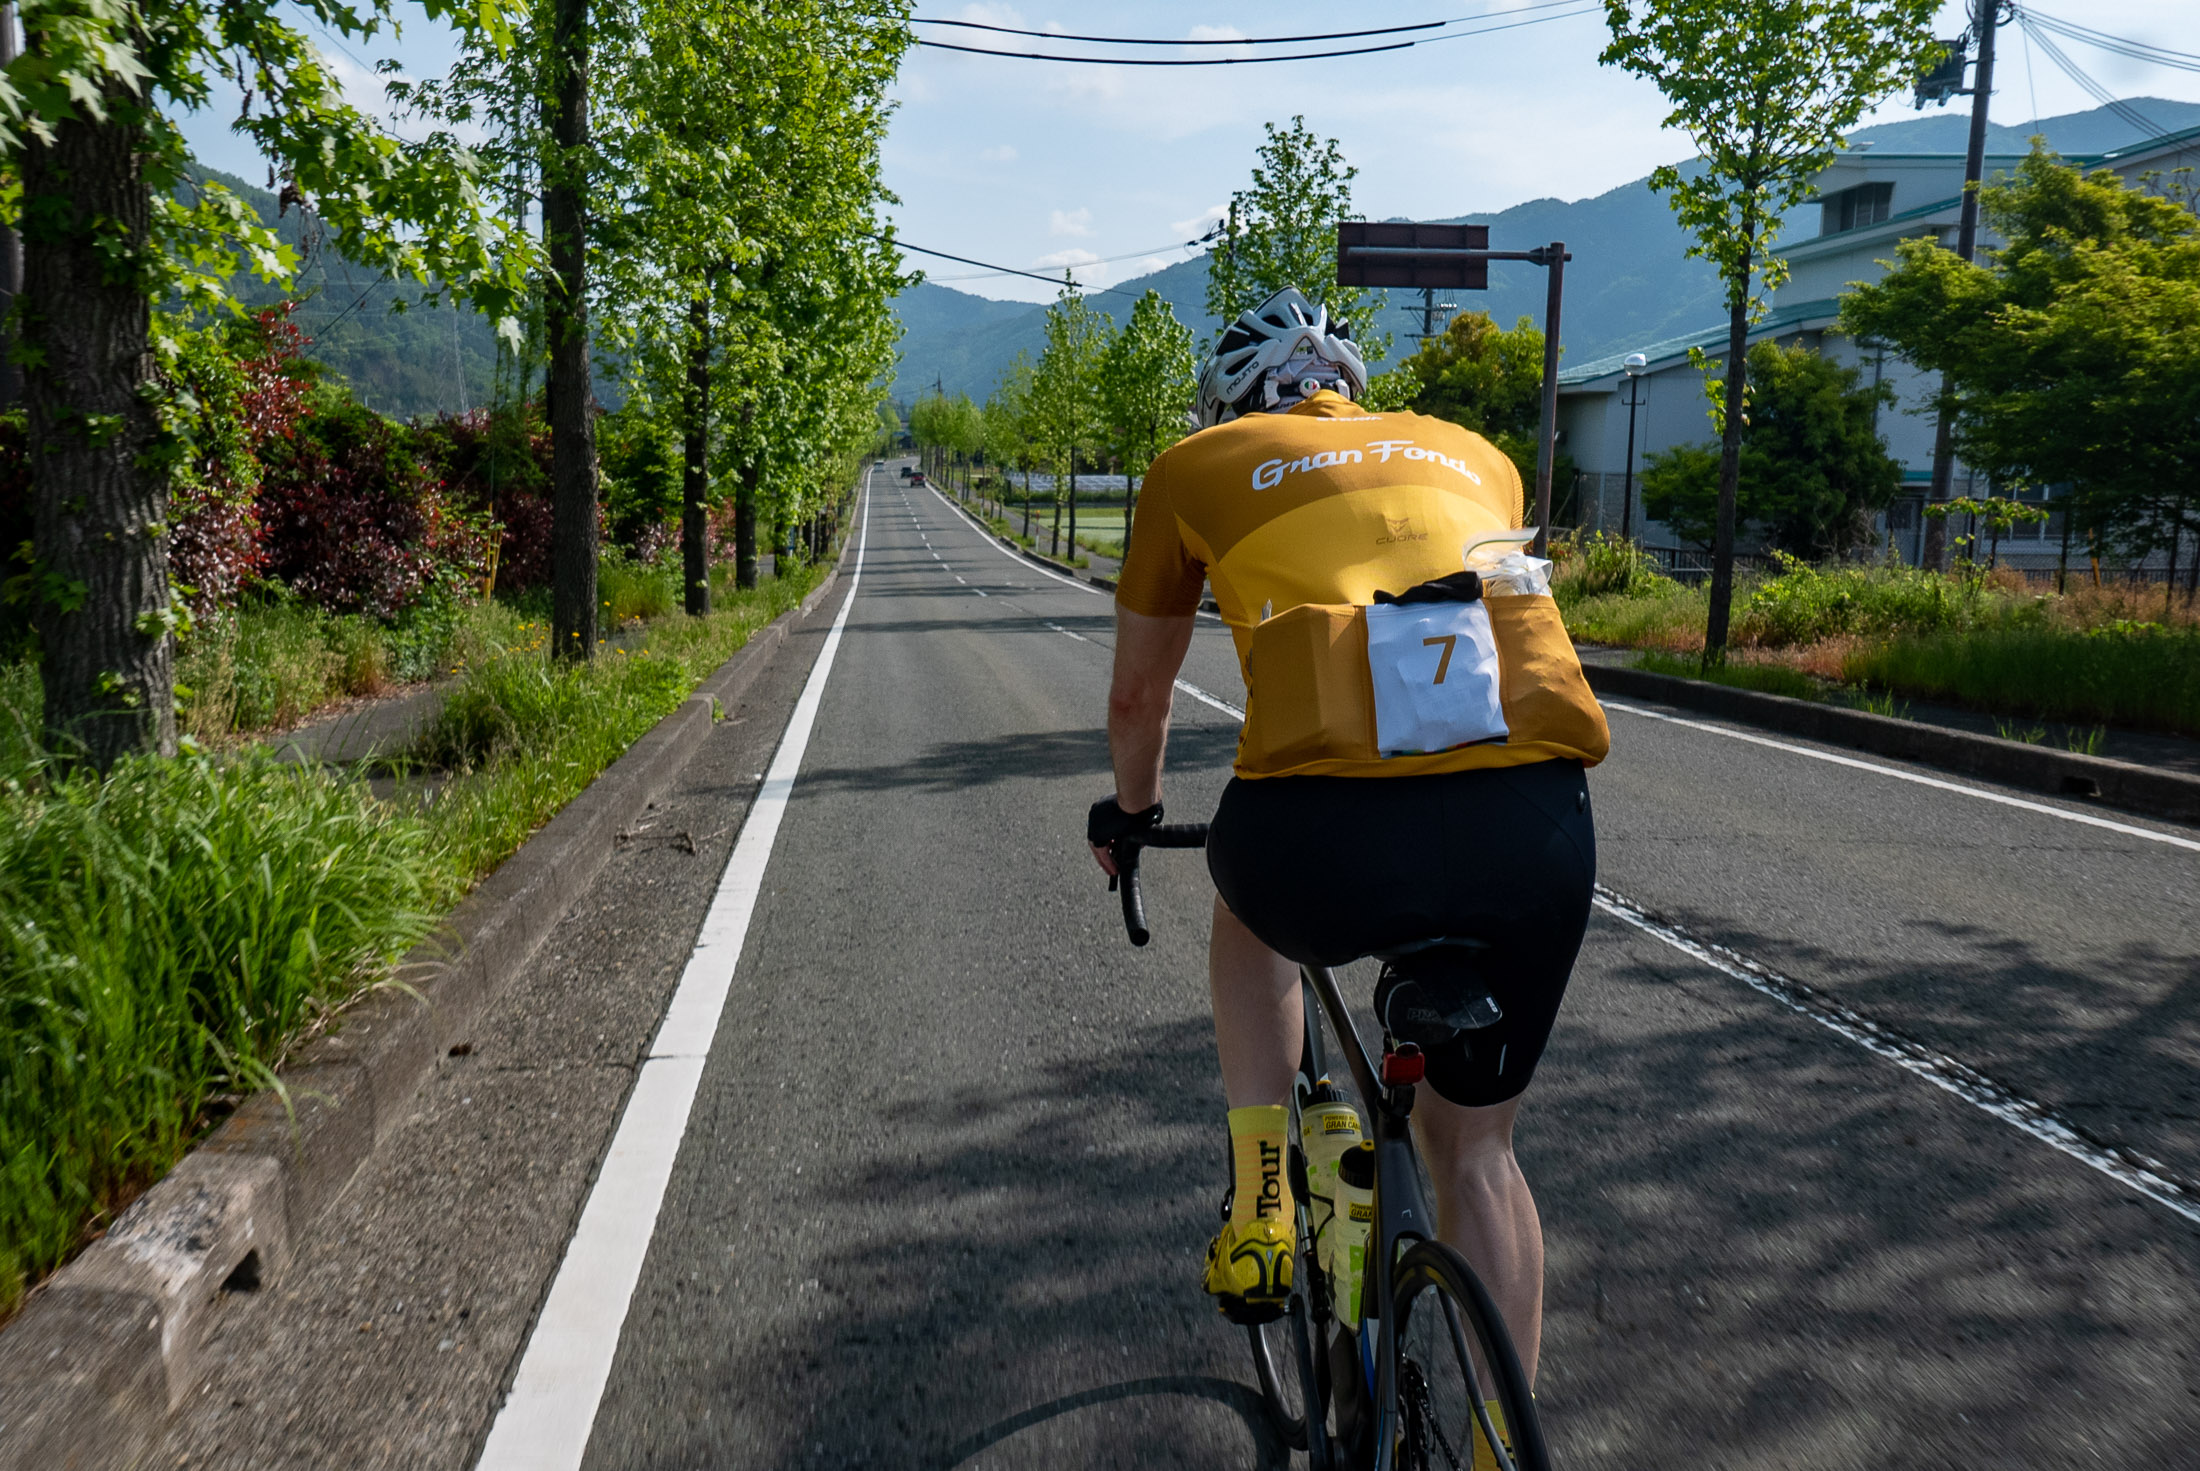
Heading North
Panasonic LX100 at an effective 24mm — 1/2000 sec, f/7.1, ISO 200 — map & image data — nearby photos
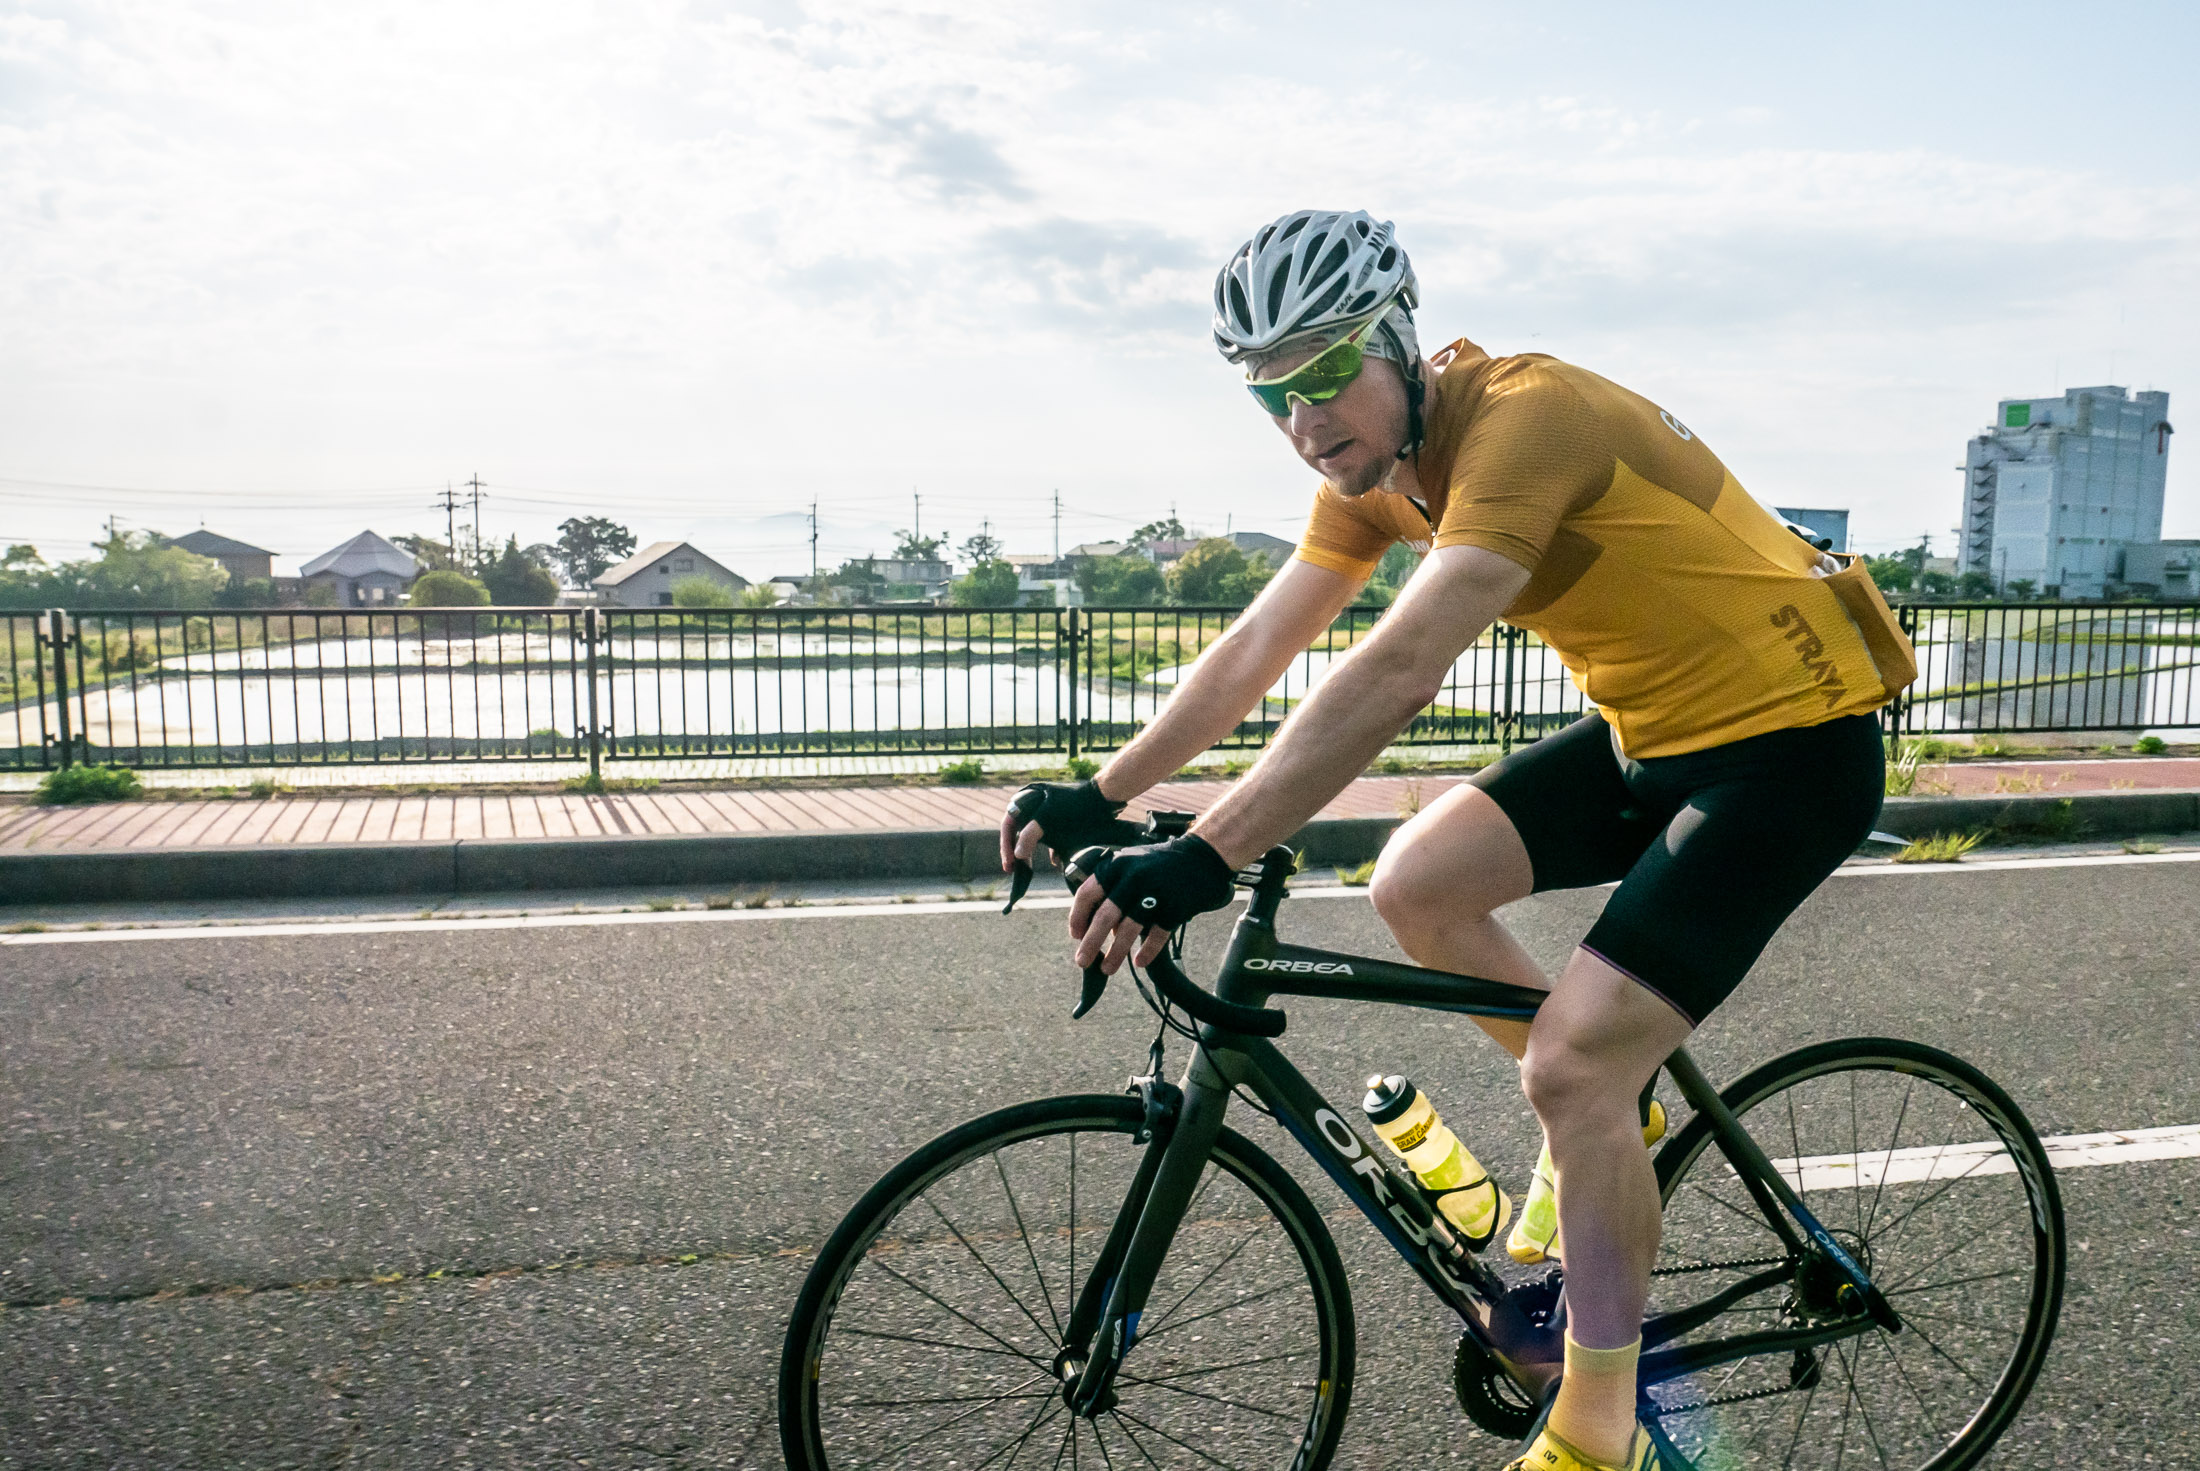
Gorm
taken at 33 kph (21 mph)
Panasonic LX100 at an effective 24mm — 1/500 sec, f/5.6, ISO 200 — map & image data — nearby photos
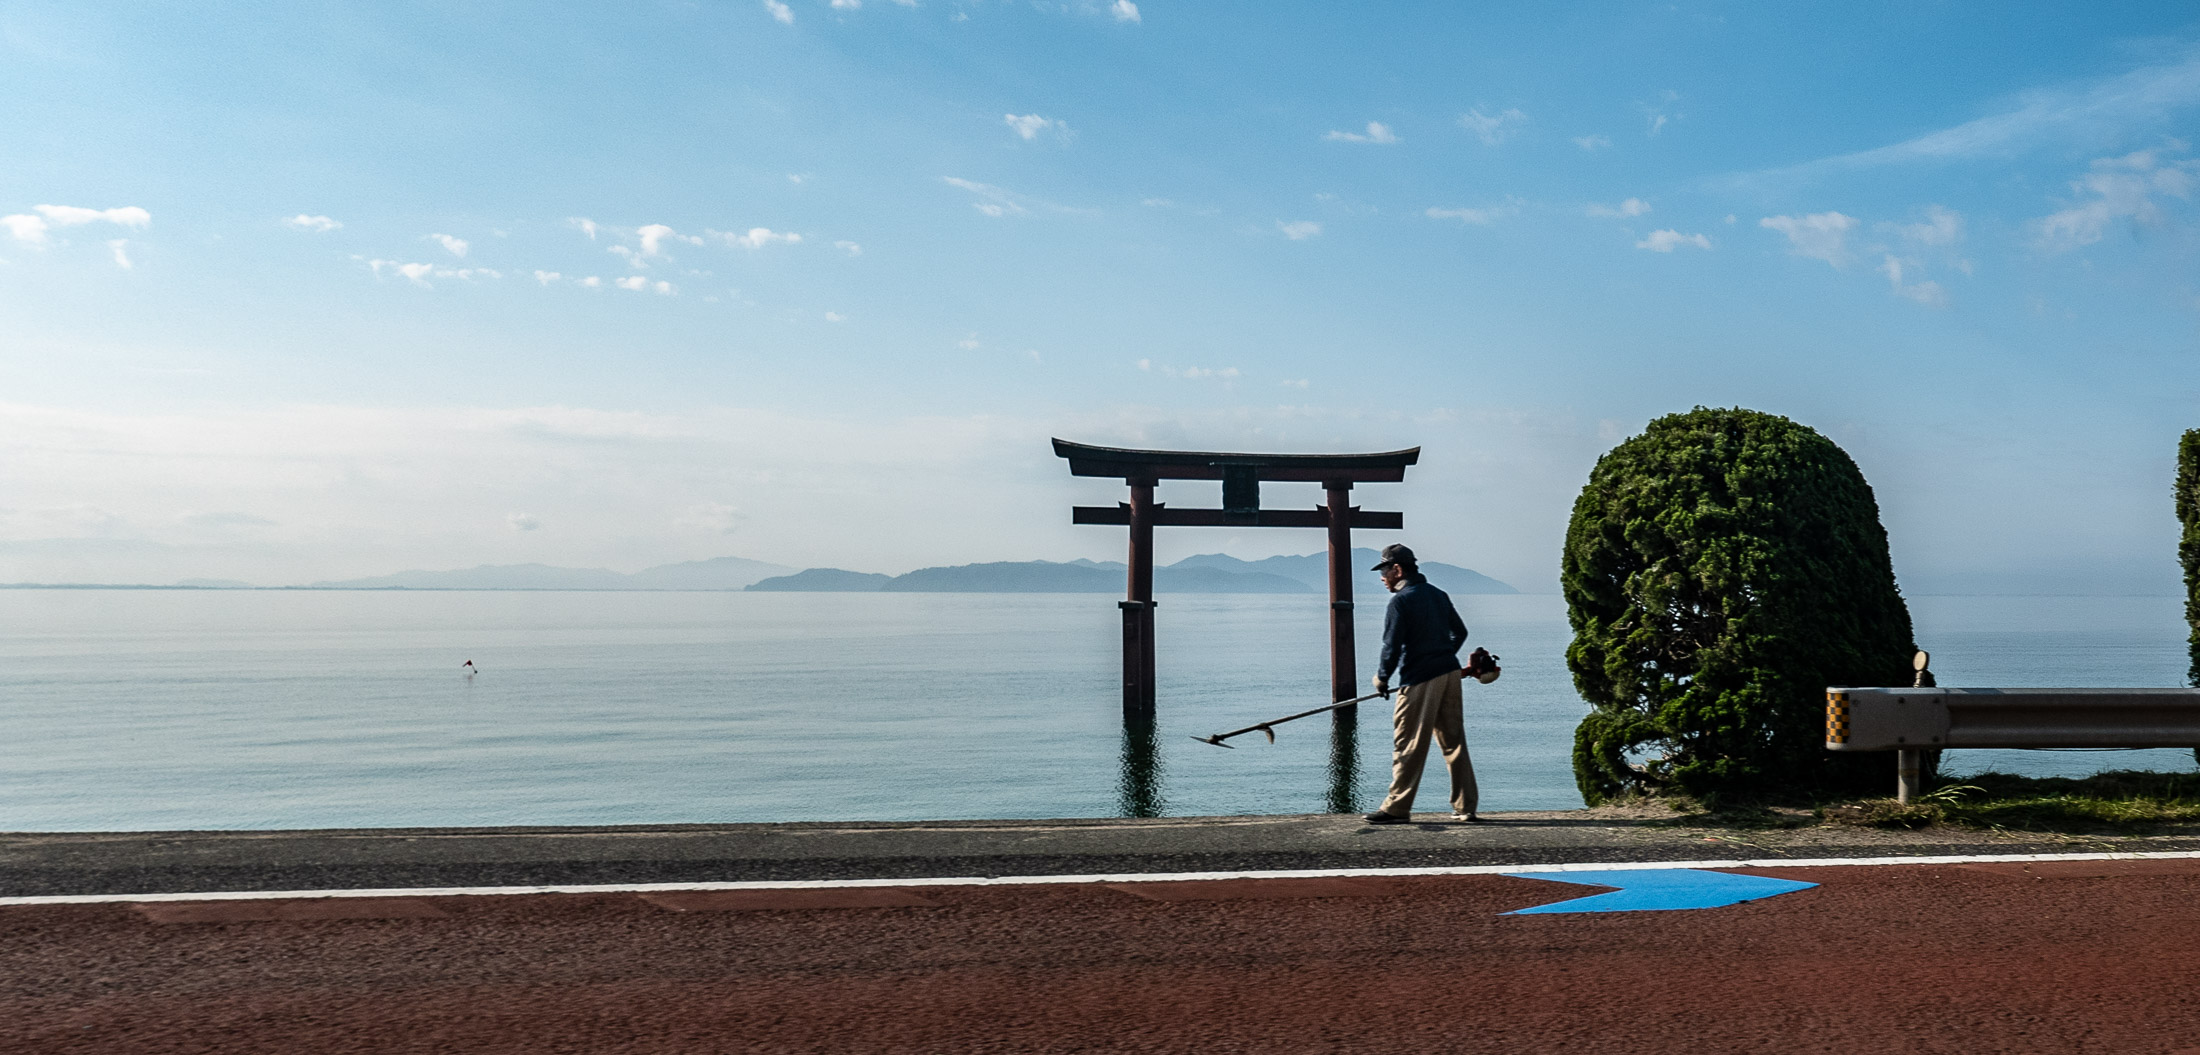
Passing By
the Shirohige Shrine Gate
two hours in; taken at 34 kph (21 mph)
This shrine gate was first featured on my blog more than 10 years ago, in “Main Gate of the Shirohige Shrine” and also as the subject of the example photos in “Overexposure and Underexposure, and the Compensation Thereof”. It's a bit special to me now as a cyclist because it was the destination for my first 100+km ride four years ago, as seen here, which Gorm also joined on.
Today, we barely slowed down as we passed, along the way to Gorm's first 300+km ride. (My longest ride is 408km / 254mi double loop around the lake; today's ride would become my second-longest).
Panasonic LX100 at an effective 24mm — 1/500 sec, f/5.6, ISO 200 — map & image data — nearby photos
Lovely Views
a common theme for rides in this area
Panasonic LX100 at an effective 24mm — 1/1600 sec, f/6.3, ISO 200 — map & image data — nearby photos
A Lakeside Shrine Gate
that I had never noticed before
Panasonic LX100 at an effective 24mm — 1/320 sec, f/5.6, ISO 200 — map & image data — nearby photos
Riding Through Makino

Panasonic LX100 at an effective 24mm — 1/125 sec, f/5.6, ISO 200 — map & image data — nearby photos
Back in the Mountains
Panasonic LX100 at an effective 24mm — 1/320 sec, f/5.6, ISO 200 — map & image data — nearby photos
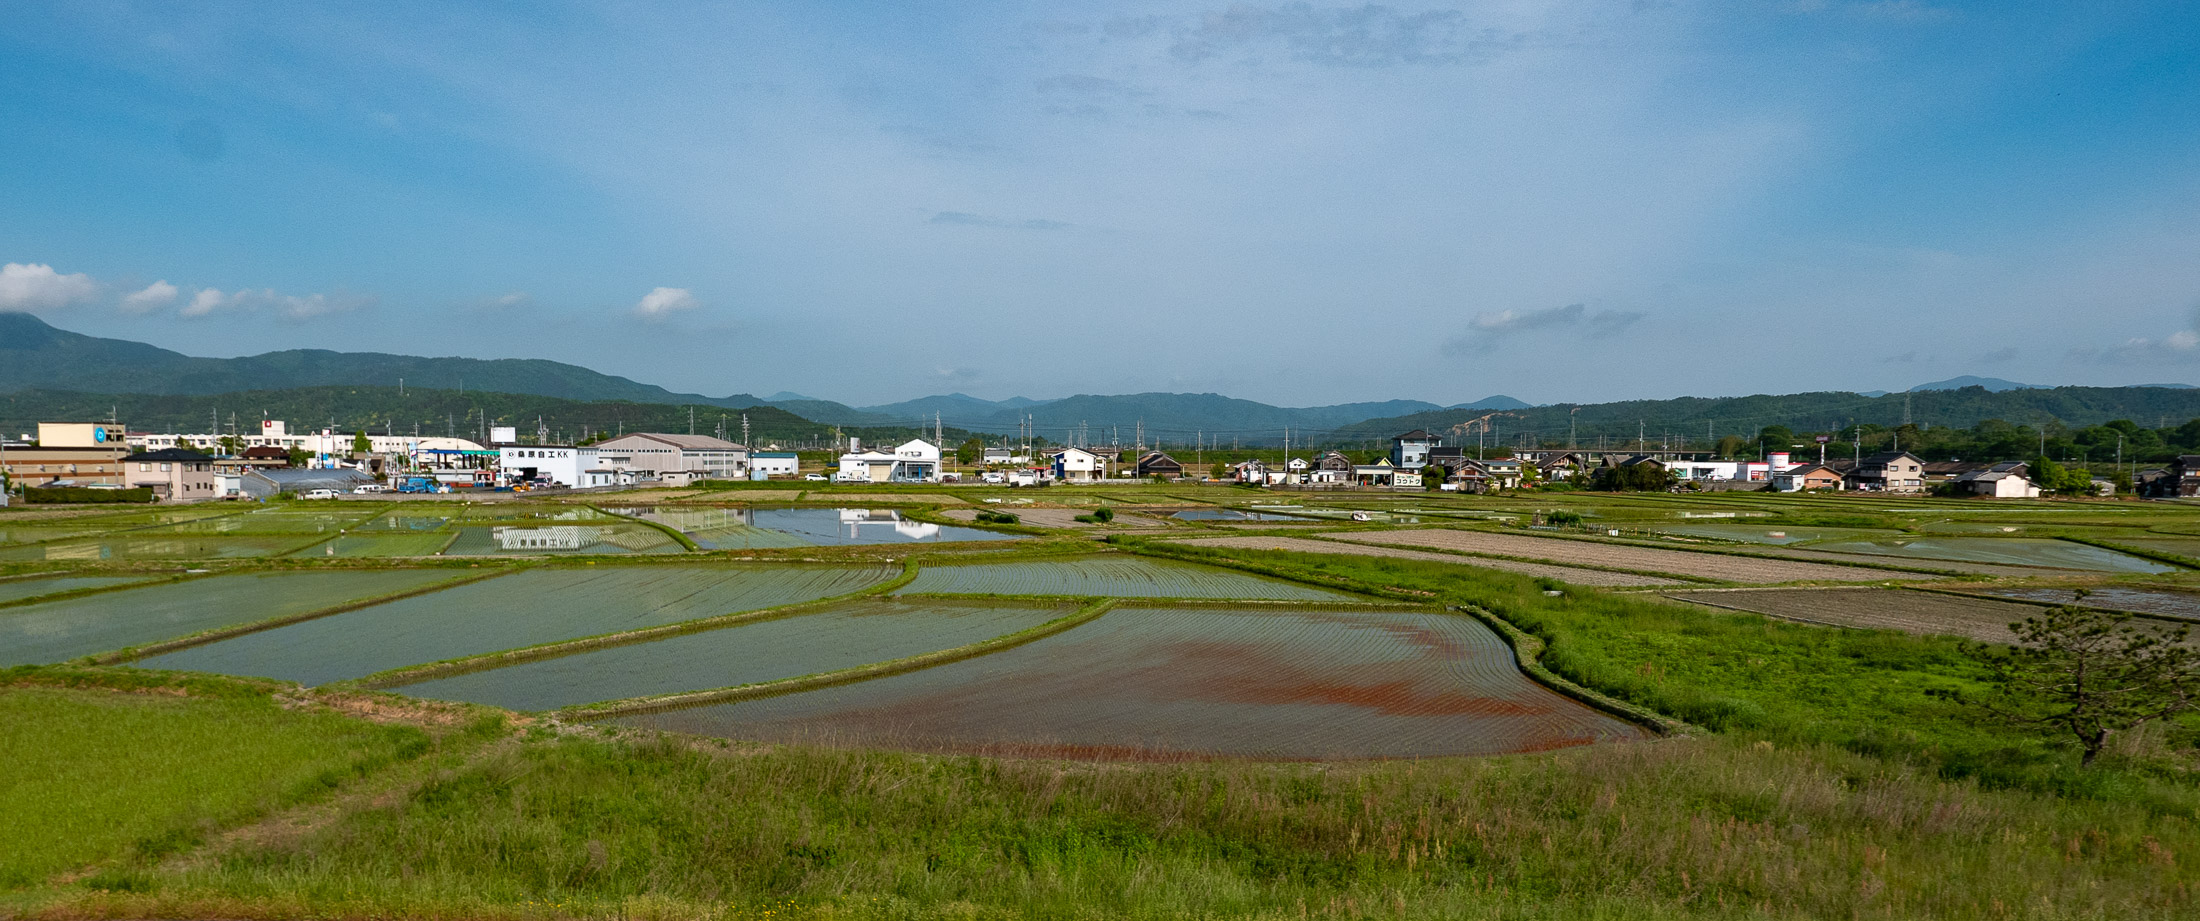
Farming Valley
Panasonic LX100 at an effective 24mm — 1/250 sec, f/5.6, ISO 200 — map & image data — nearby photos
First Destination Climb of the Day
3½ hours in
In researching areas for the route — research that took much longer than the ride itself — I found what looked to be a lovely climb (4km /2.4mi at 7%) that for some reason had only a handful of registered attempts on Strava. Indeed, it was lovely.

Panasonic LX100 at an effective 25mm — 1/125 sec, f/2.2, ISO 200 — map & image data — nearby photos
Dangerous Grating
(not so lovely; need to take extreme care on the descent)
Panasonic LX100 at an effective 28mm — 1/1600 sec, f/2.2, ISO 200 — map & image data — nearby photos
Gorm Waiting at the Top
Without trying hard or even knowing how long the climb was, Gorm missed the KOM by just five seconds. We still had a very long day ahead, so it was prudent to pace ourselves, but it makes one want to return to give it an earnest effort.
Panasonic LX100 at an effective 24mm — 1/1600 sec, f/2.8, ISO 200 — map & image data — nearby photos
Good Spirits
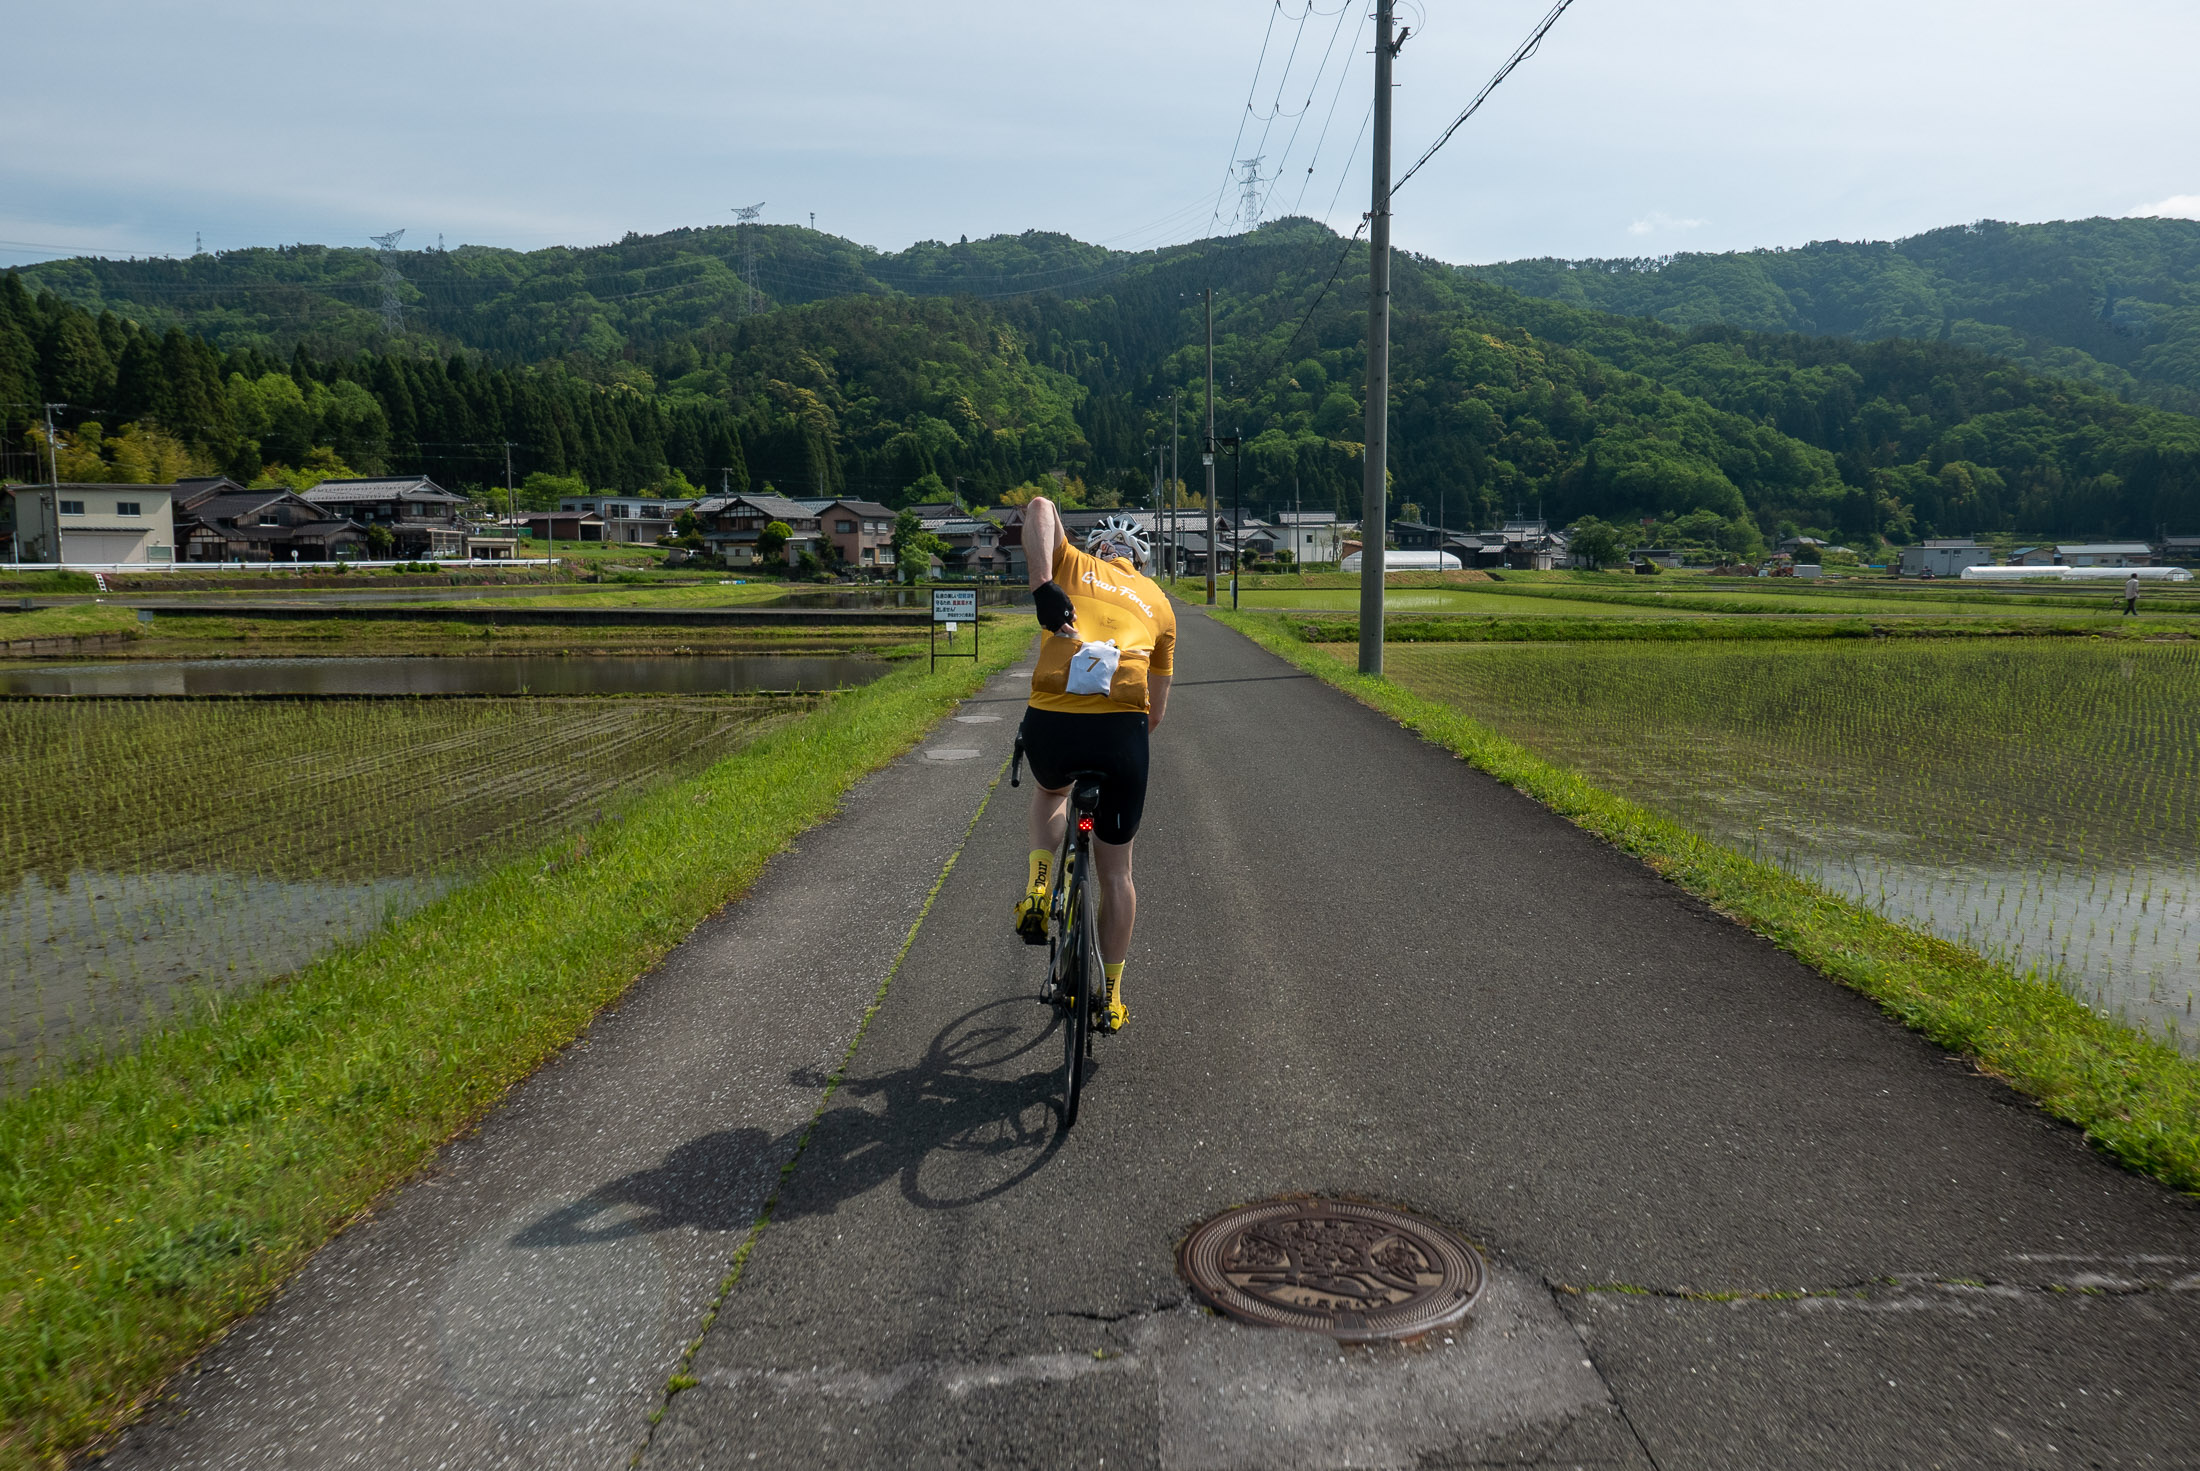
We descended into yet another fertile valley...
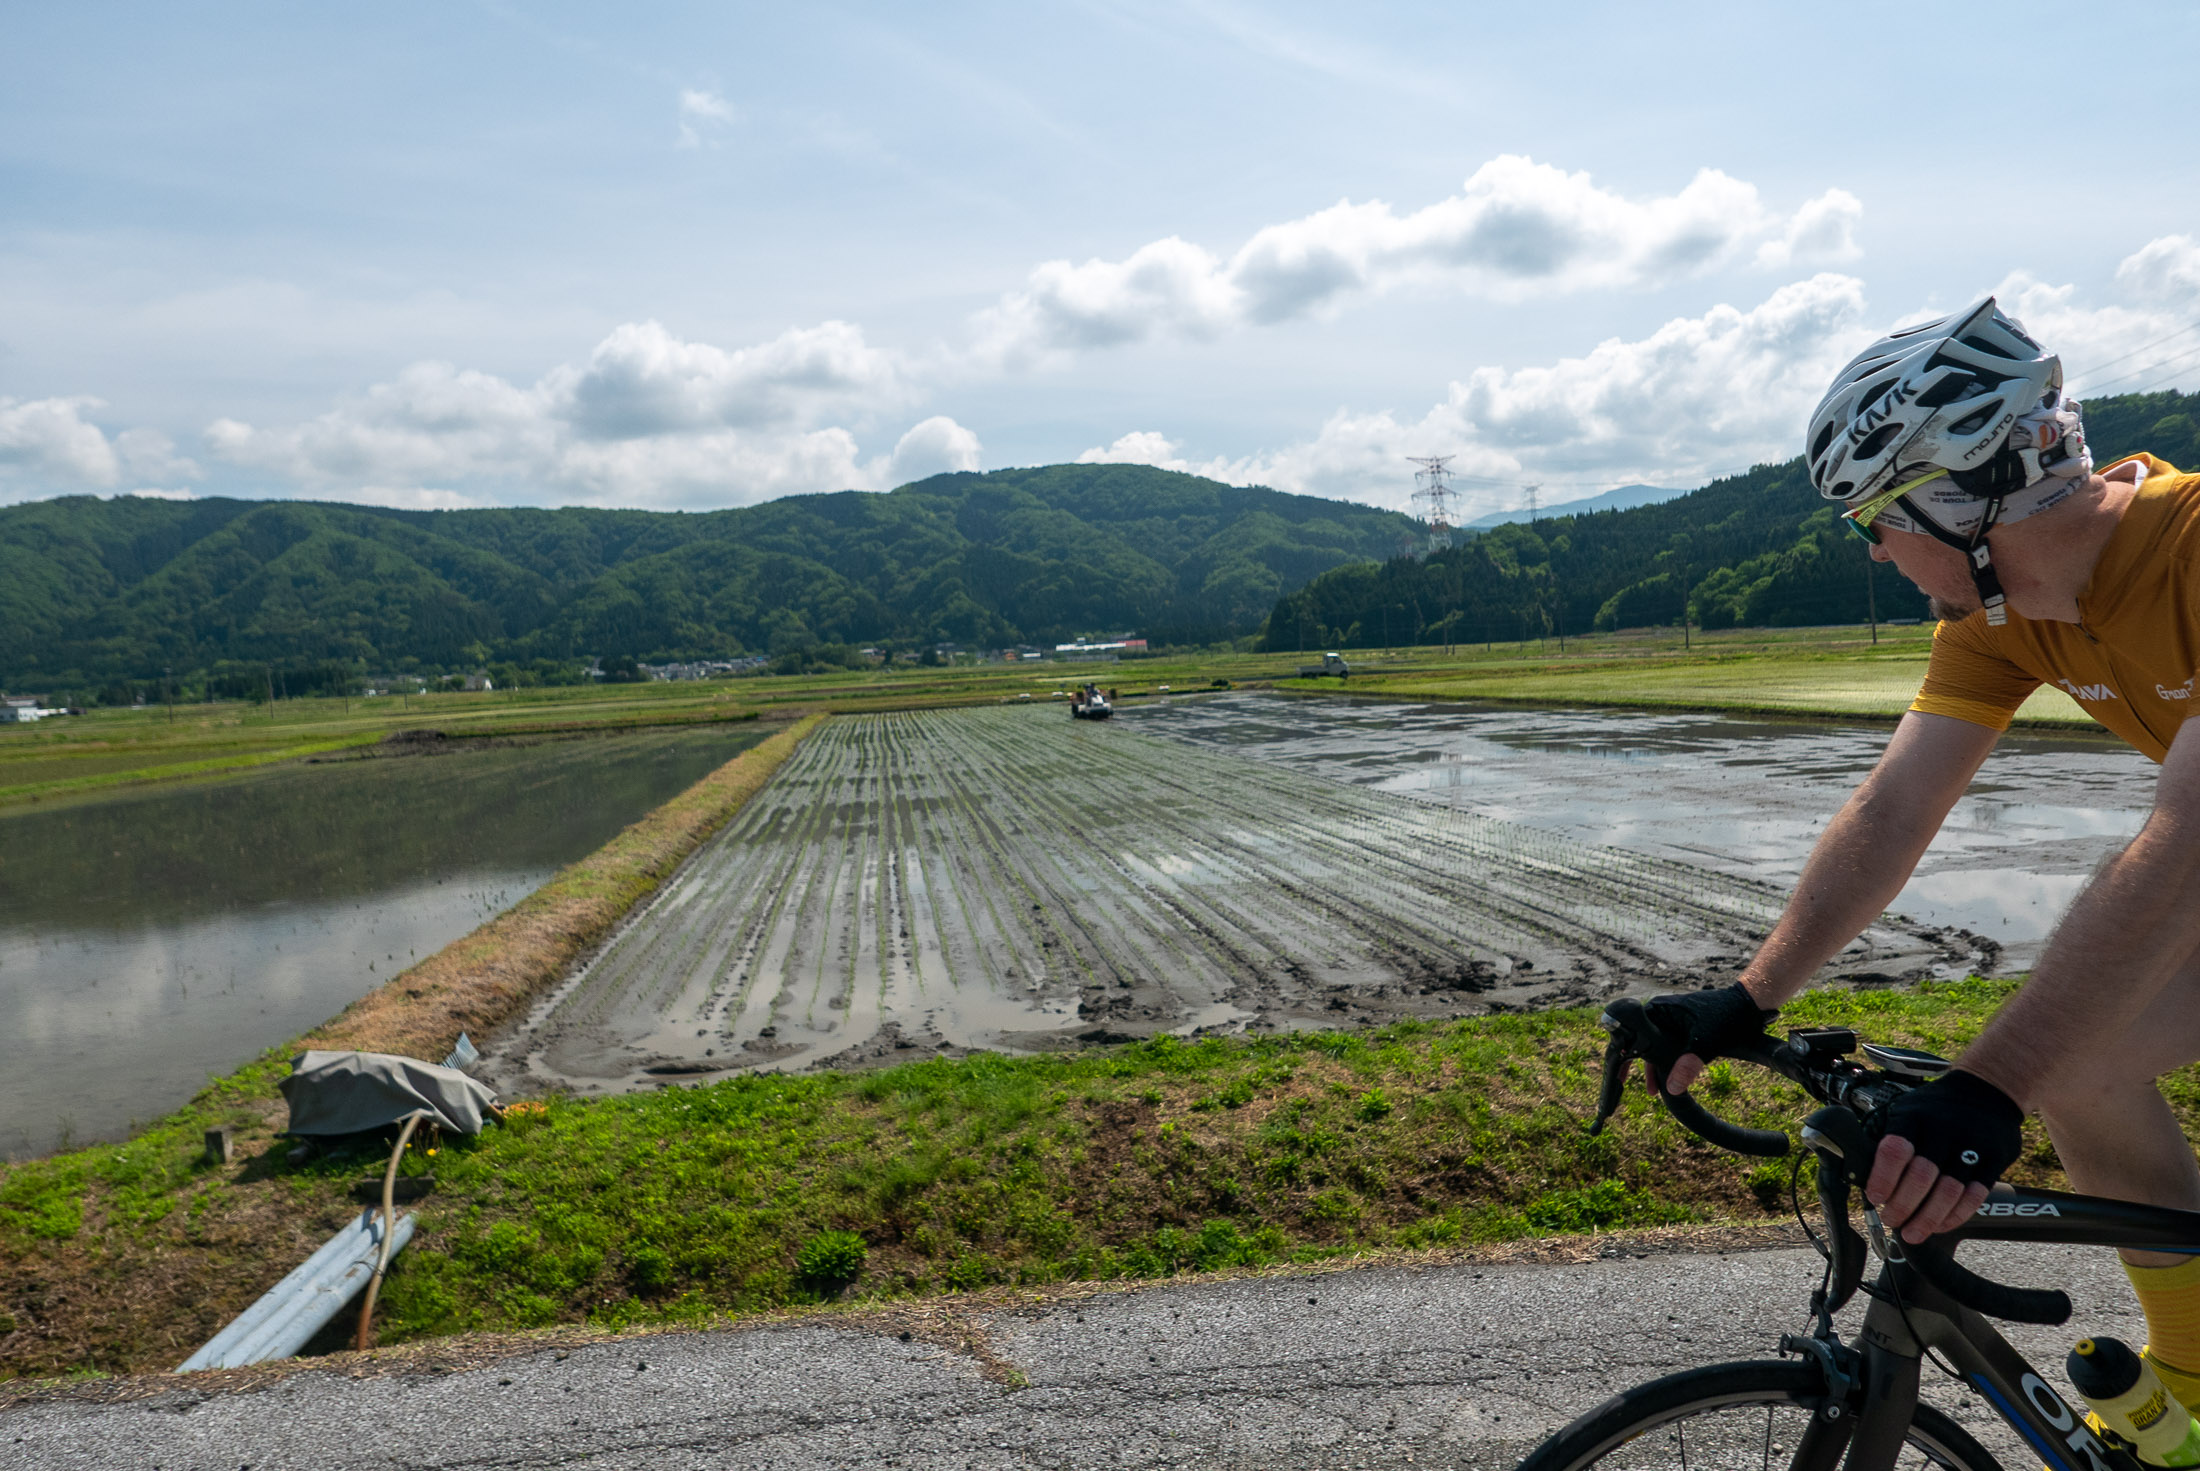
Panasonic LX100 at an effective 24mm — 1/2000 sec, f/2.8, ISO 200 — map & image data — nearby photos
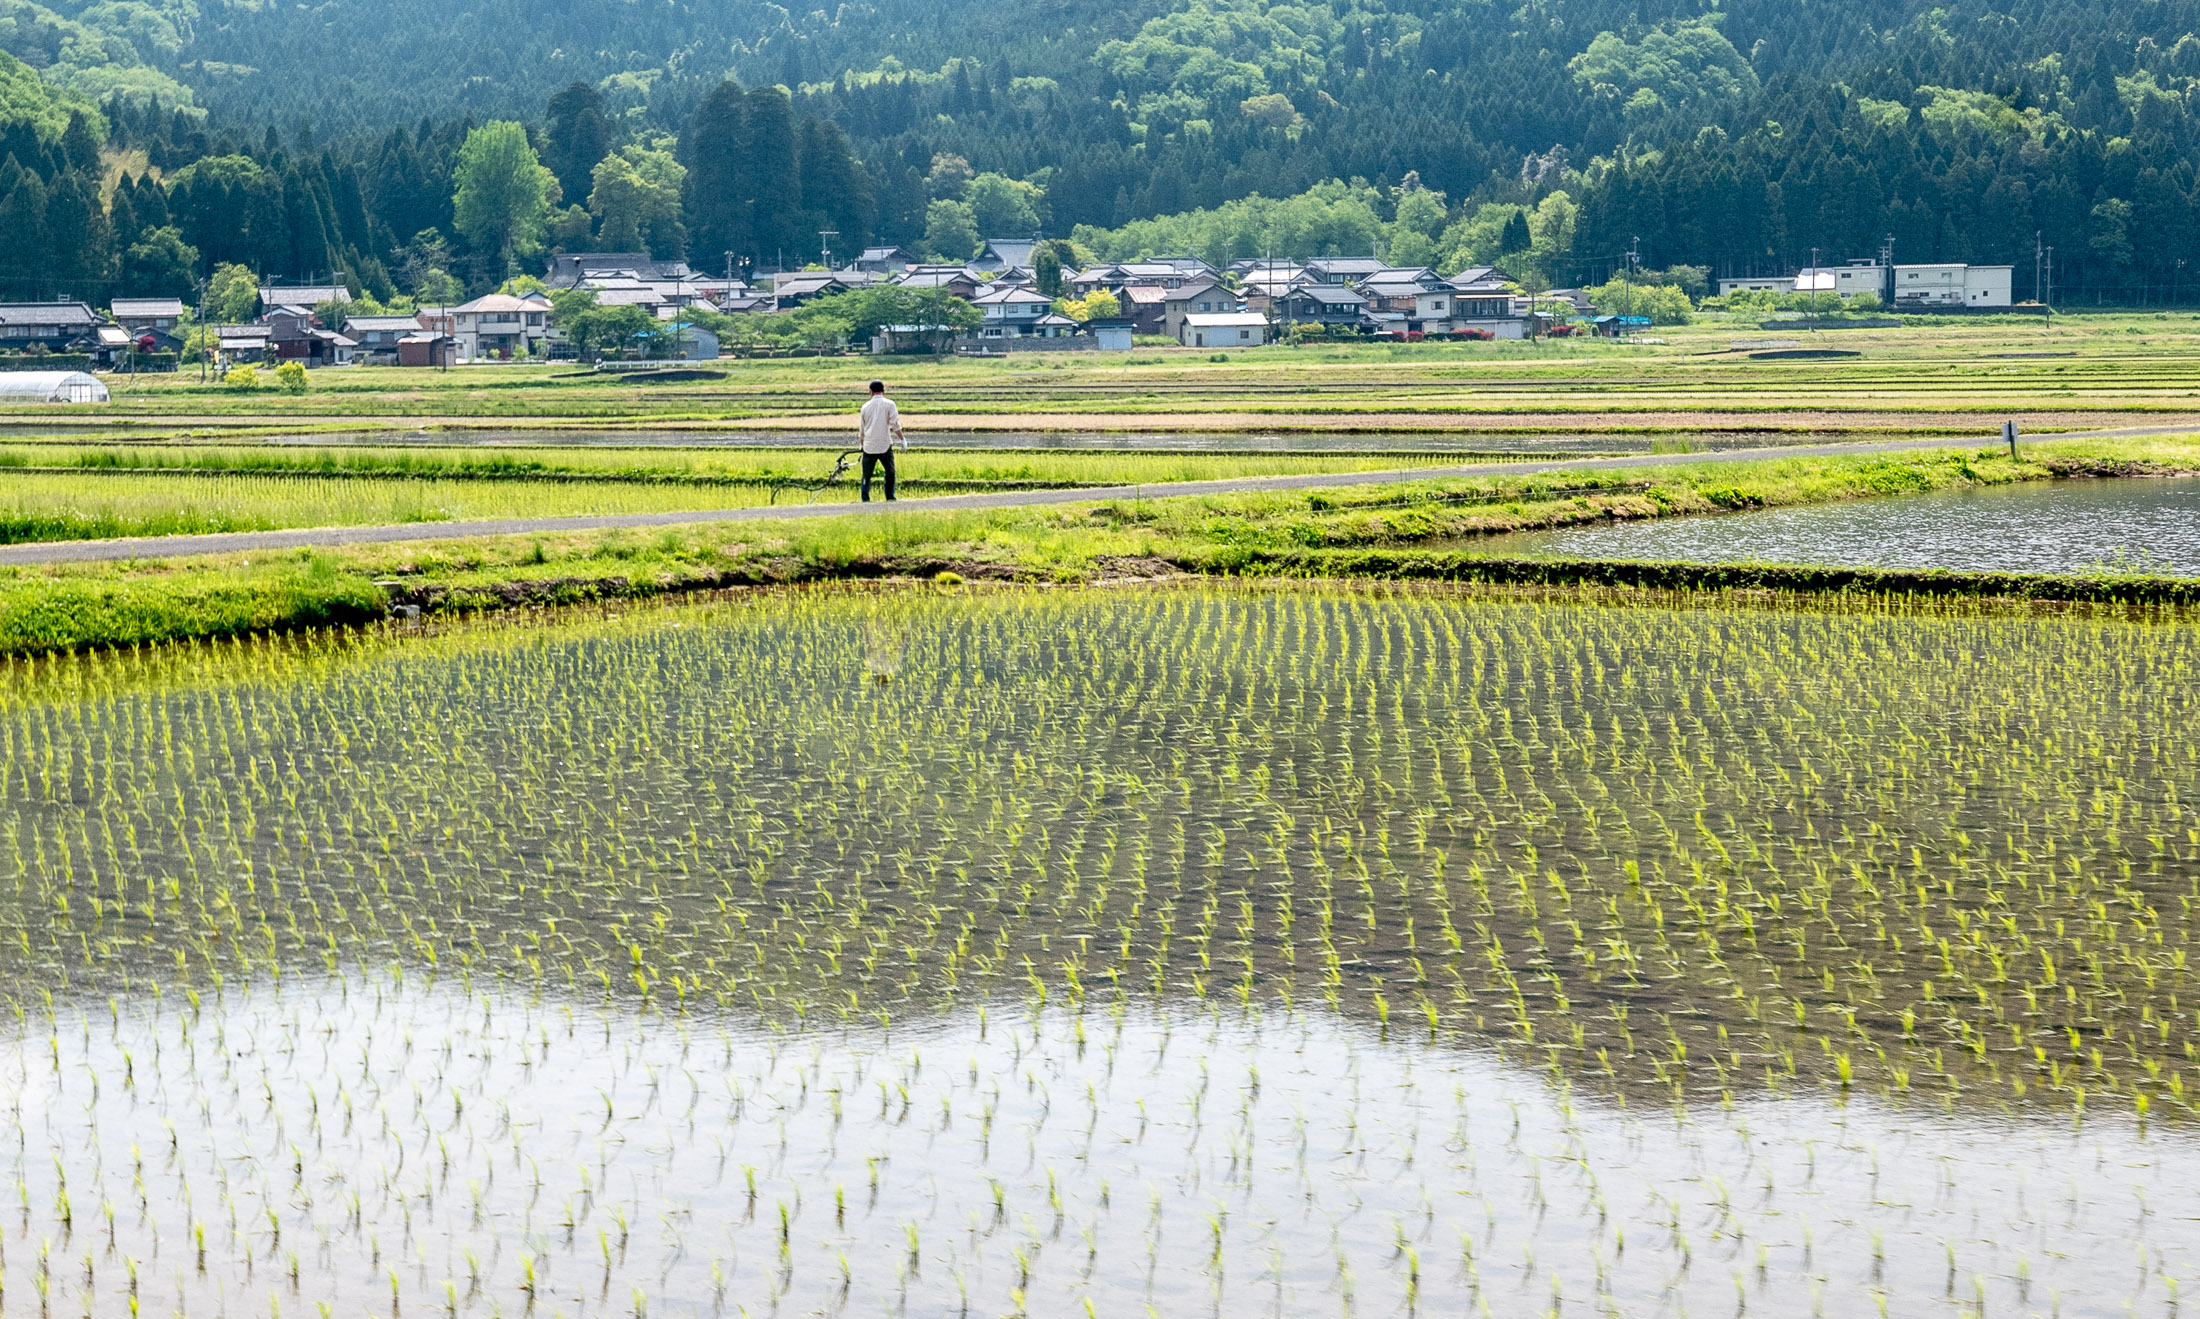
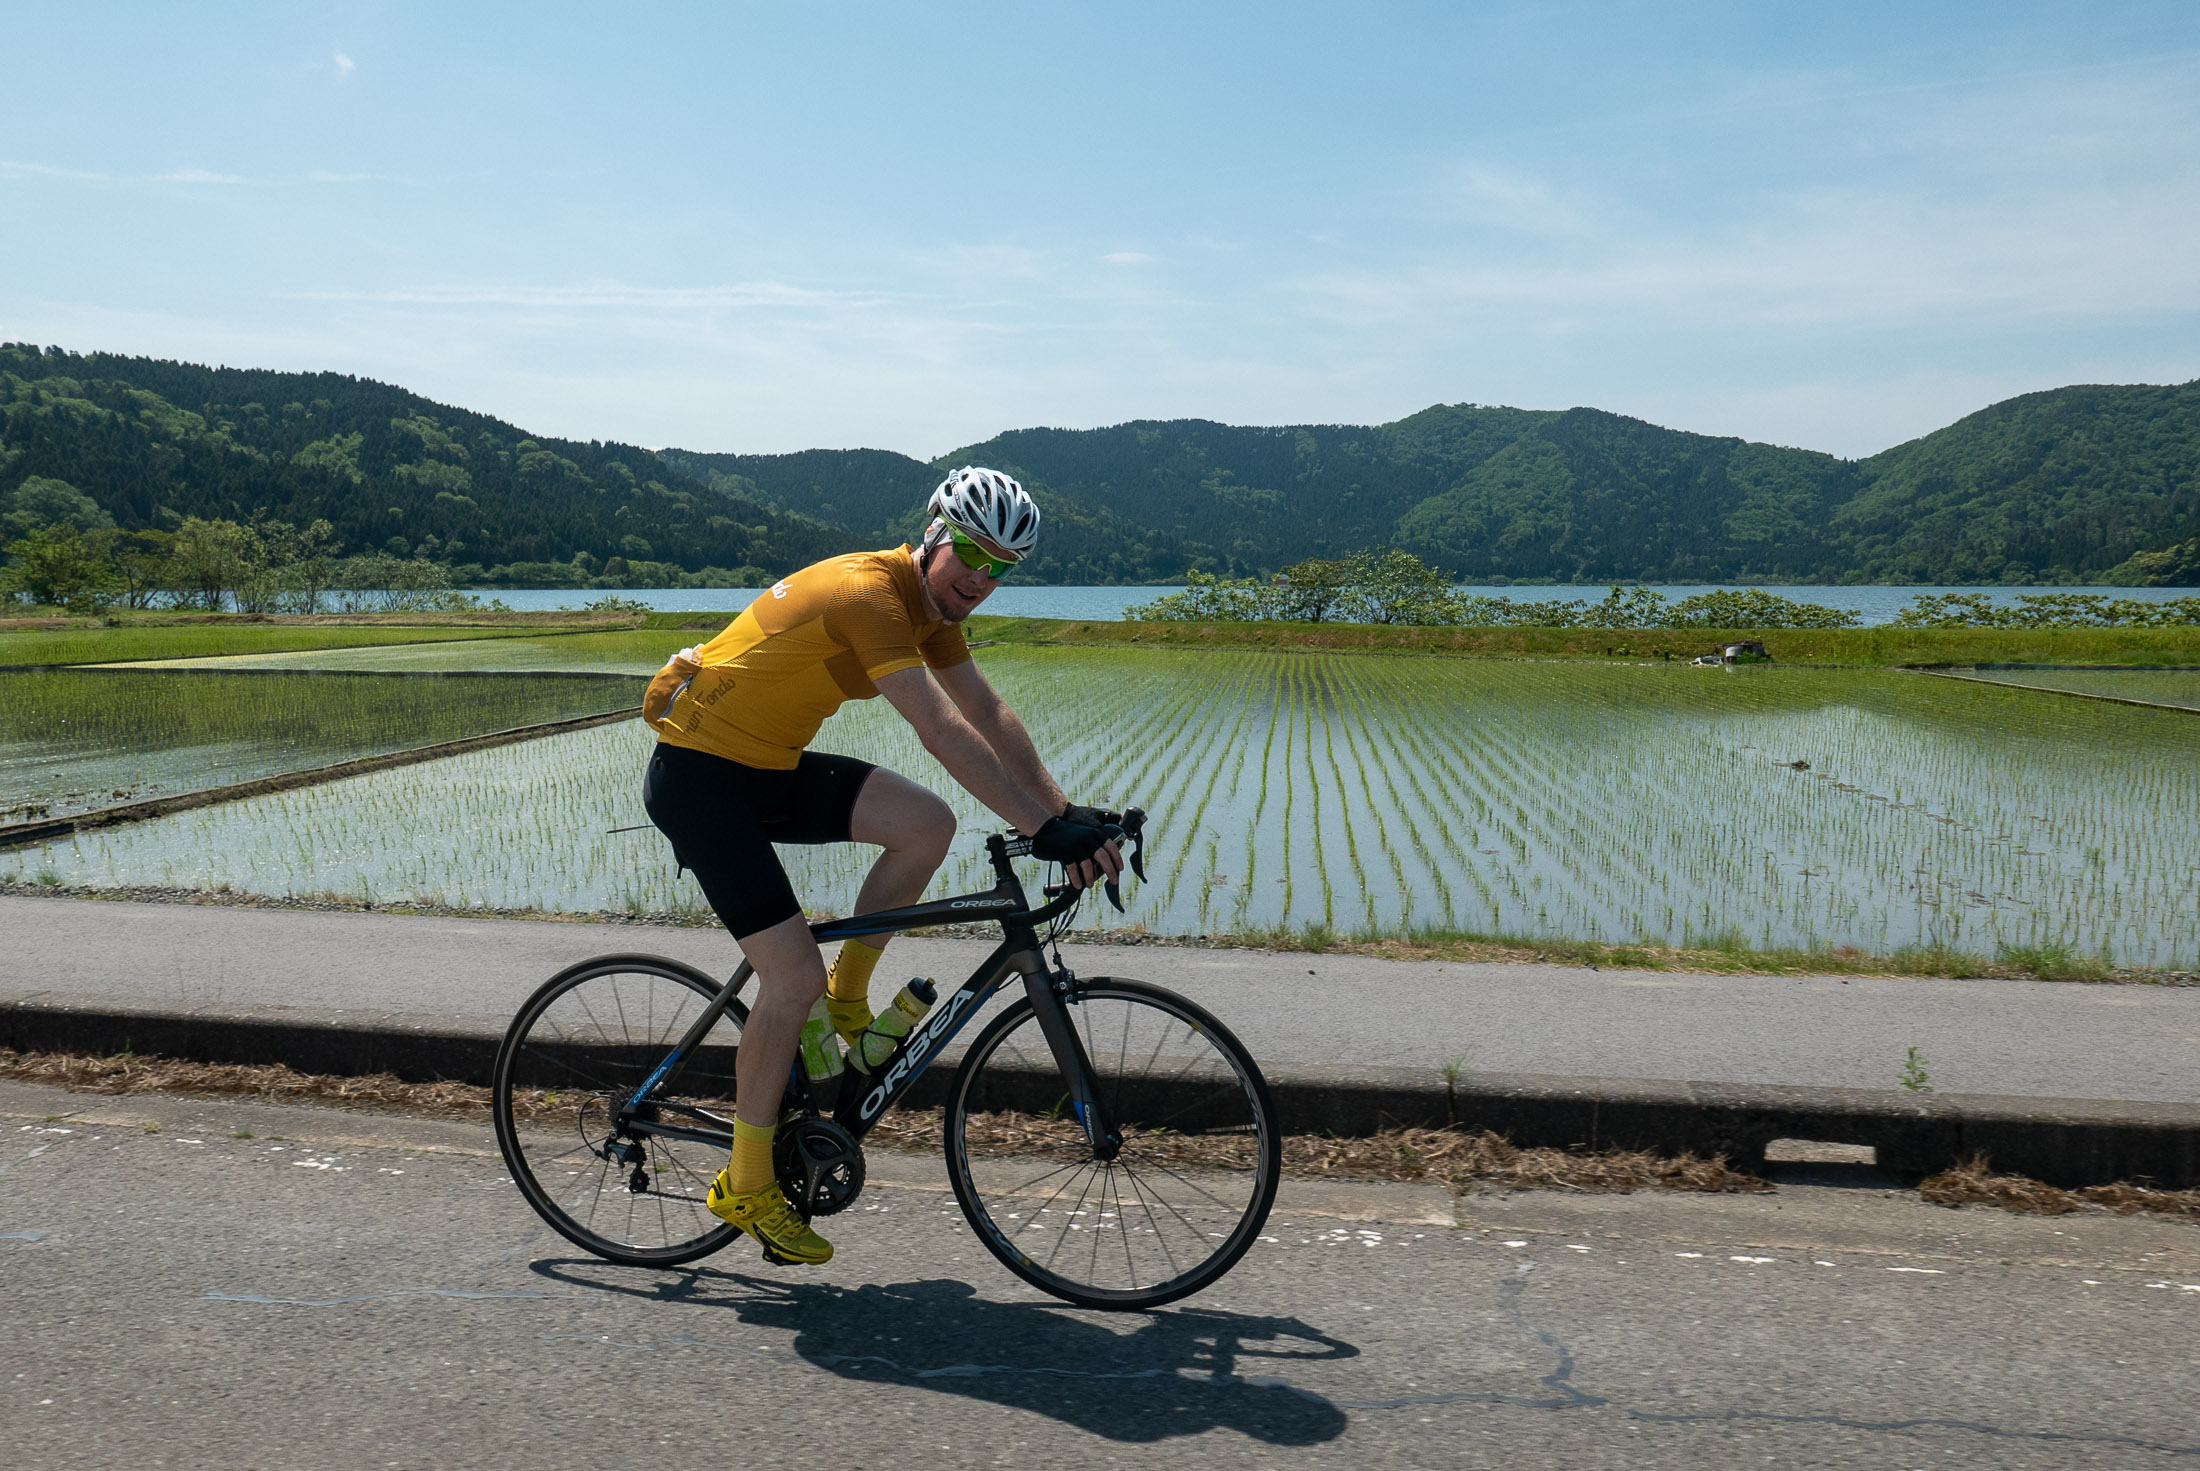
Preparing the Rice Paddy

Panasonic LX100 at an effective 24mm — 1/1250 sec, f/2.8, ISO 200 — map & image data — nearby photos
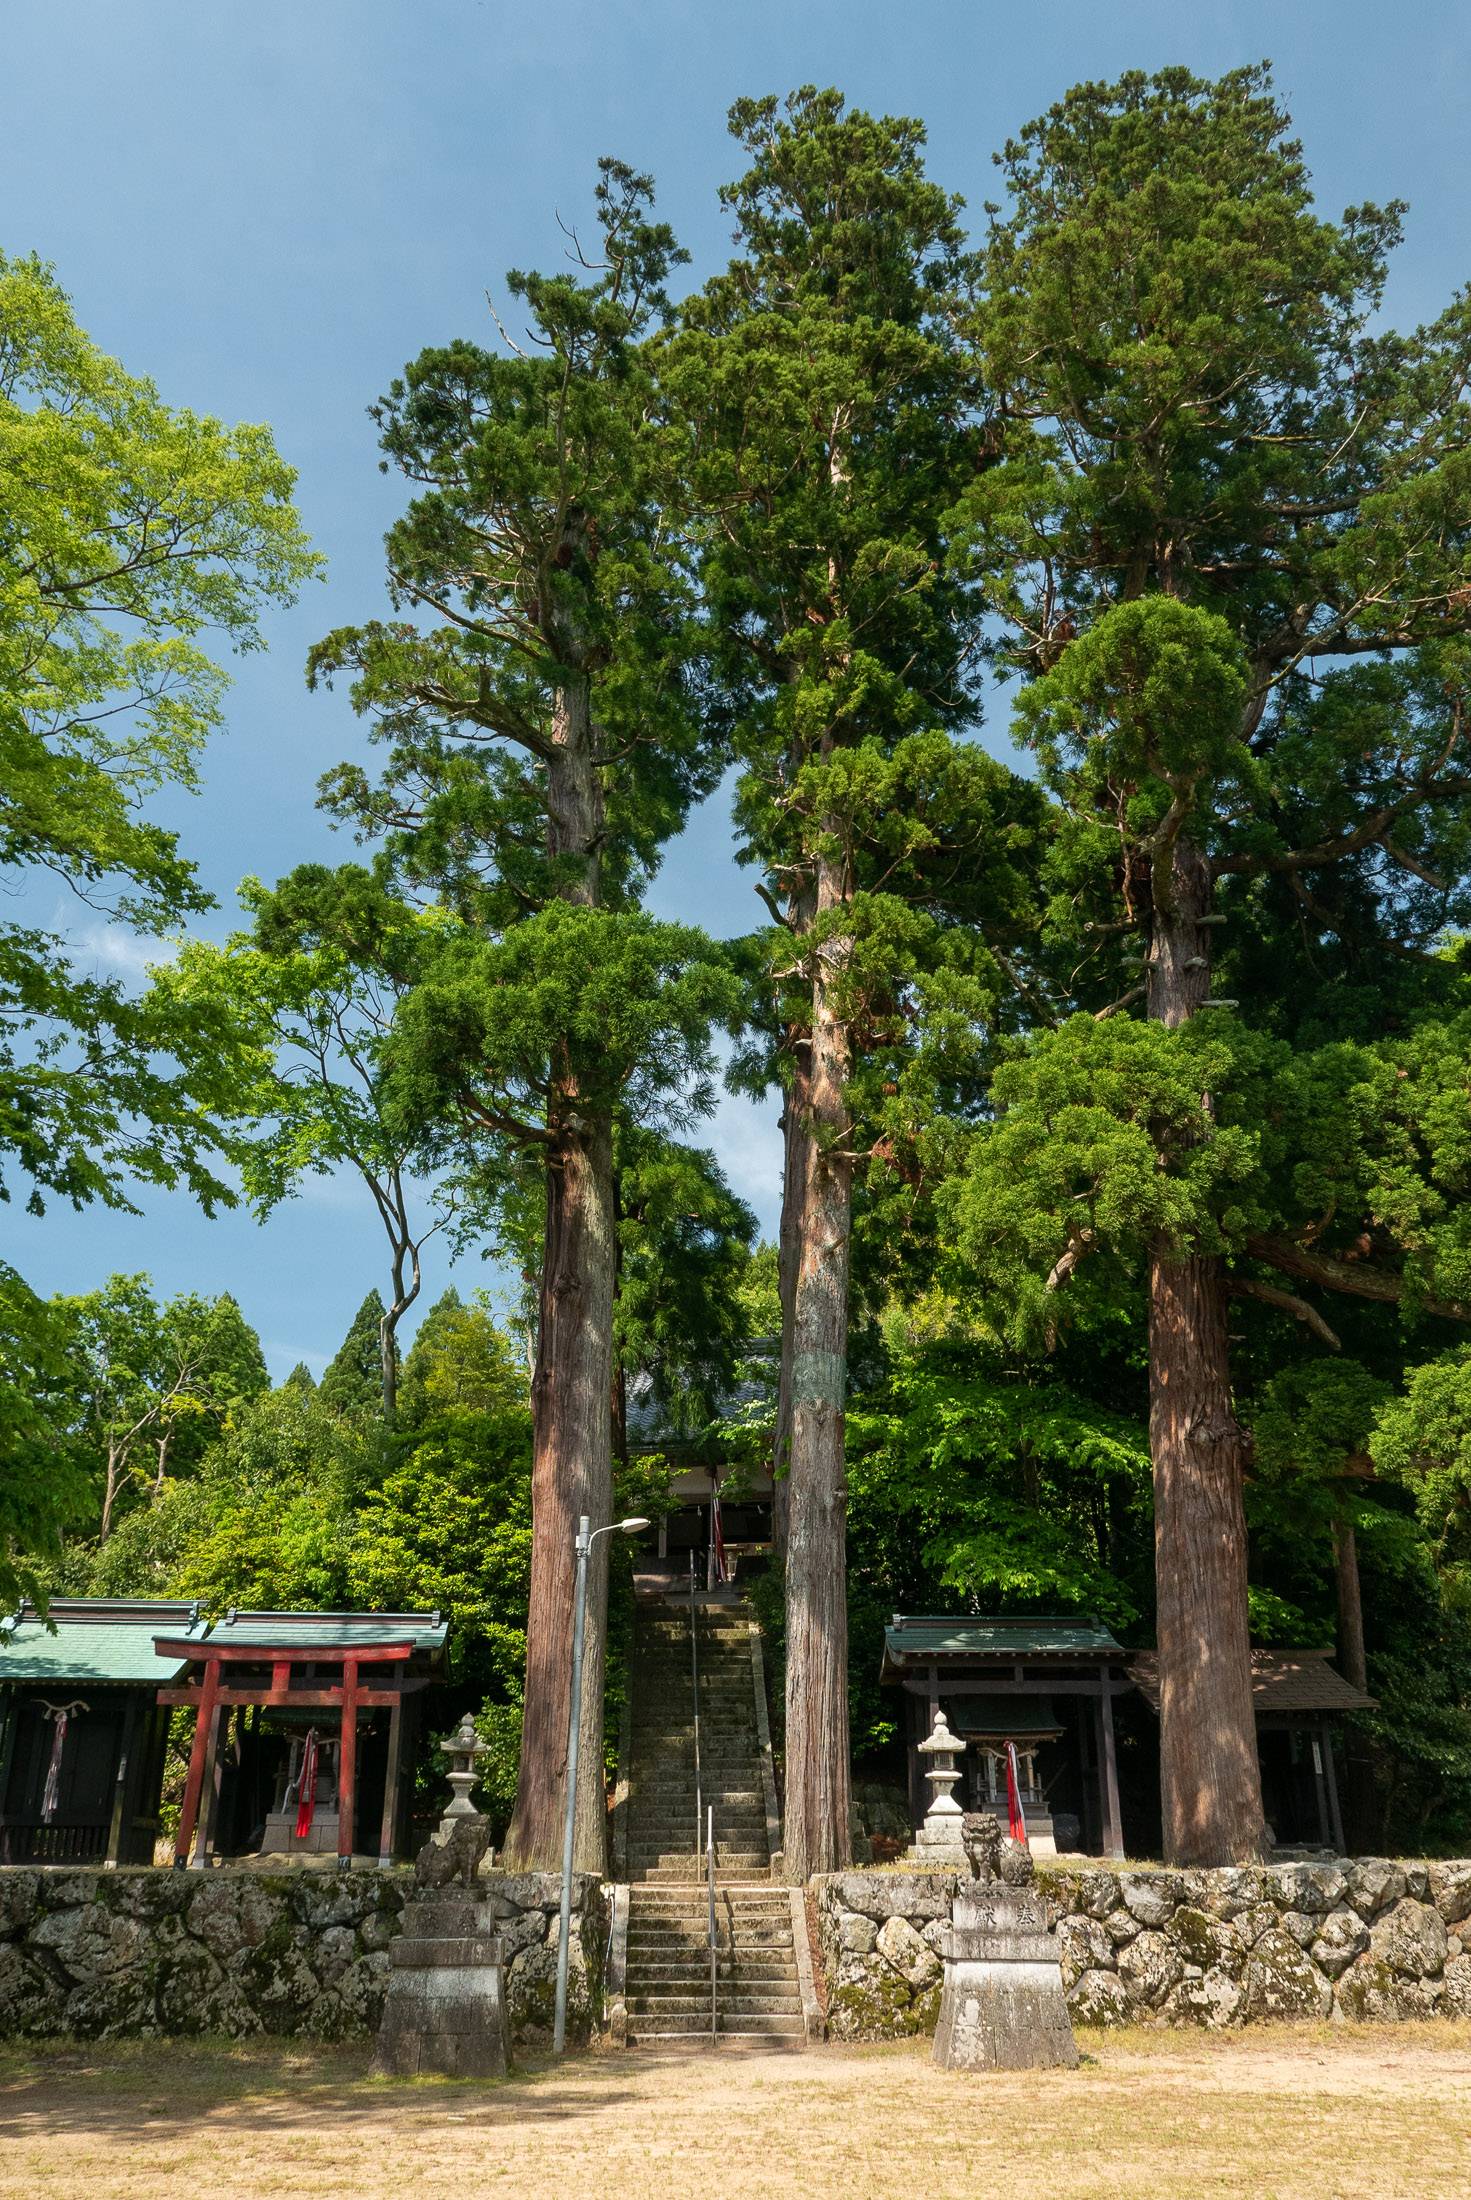
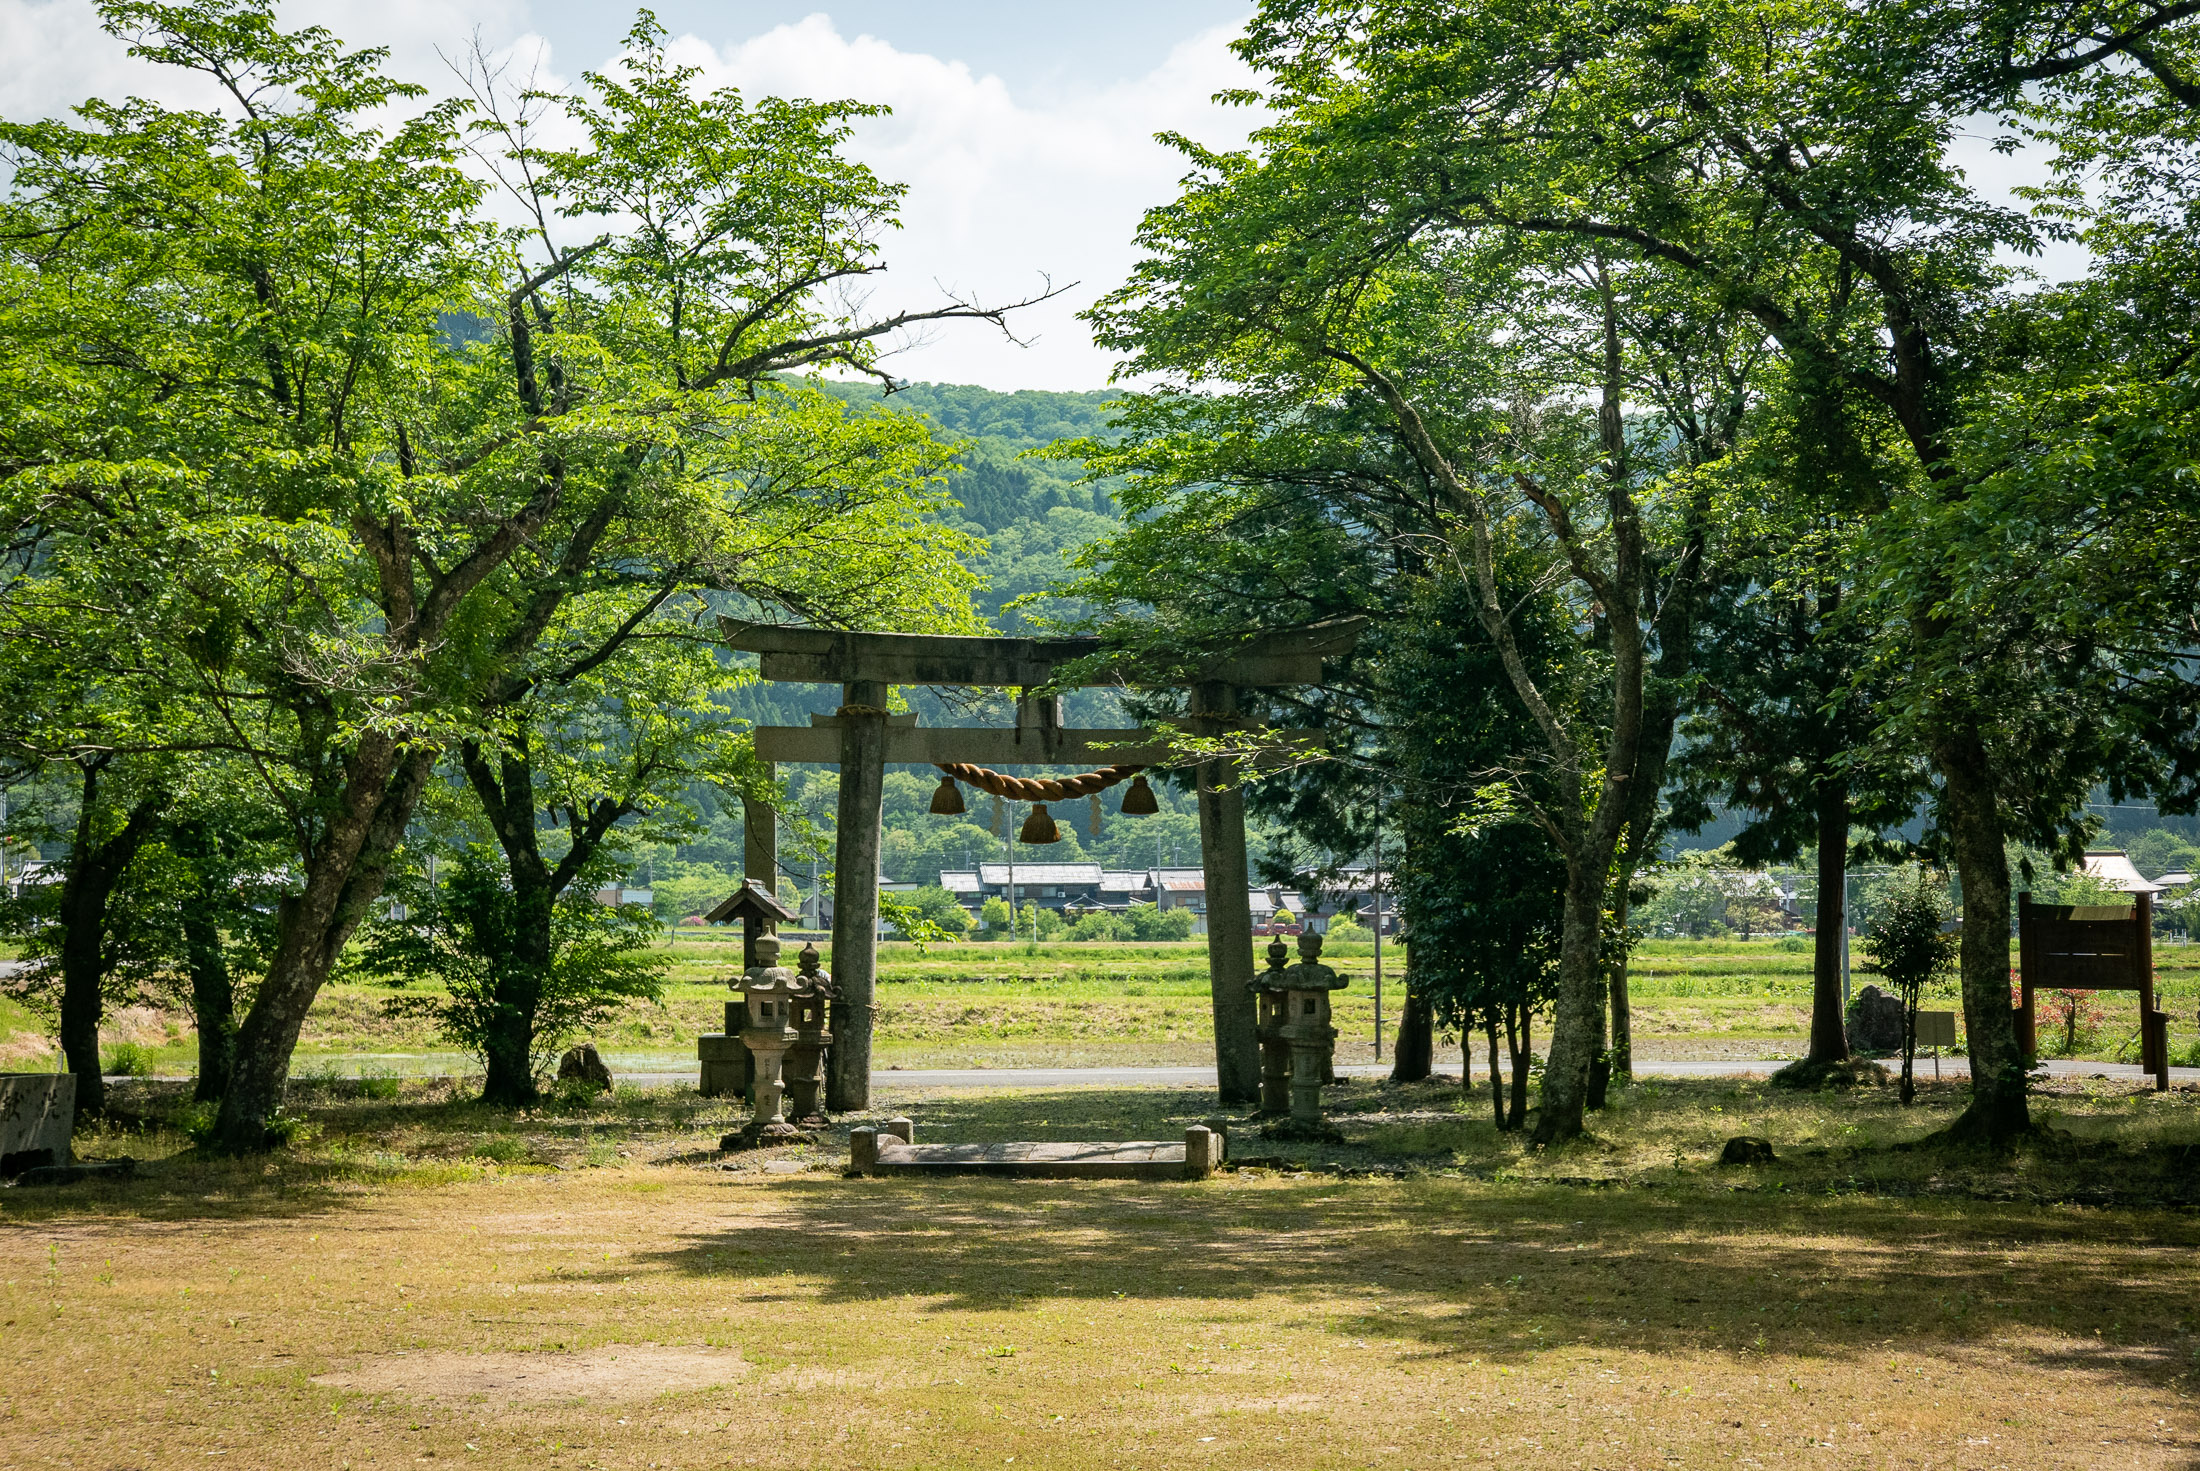
Approaching the Kusaoka Shrine
草岡神社
Part of the day's agenda was to visit the Kusaoka Shrine (草岡神社), the shrine owned by the family of a friend. I had been here two weeks earlier to photograph a wedding, so had promised to stop by on my bicycle some time.
Panasonic LX100 at an effective 28mm — 1/250 sec, f/5.6, ISO 200 — map & image data — nearby photos
Towering Trees
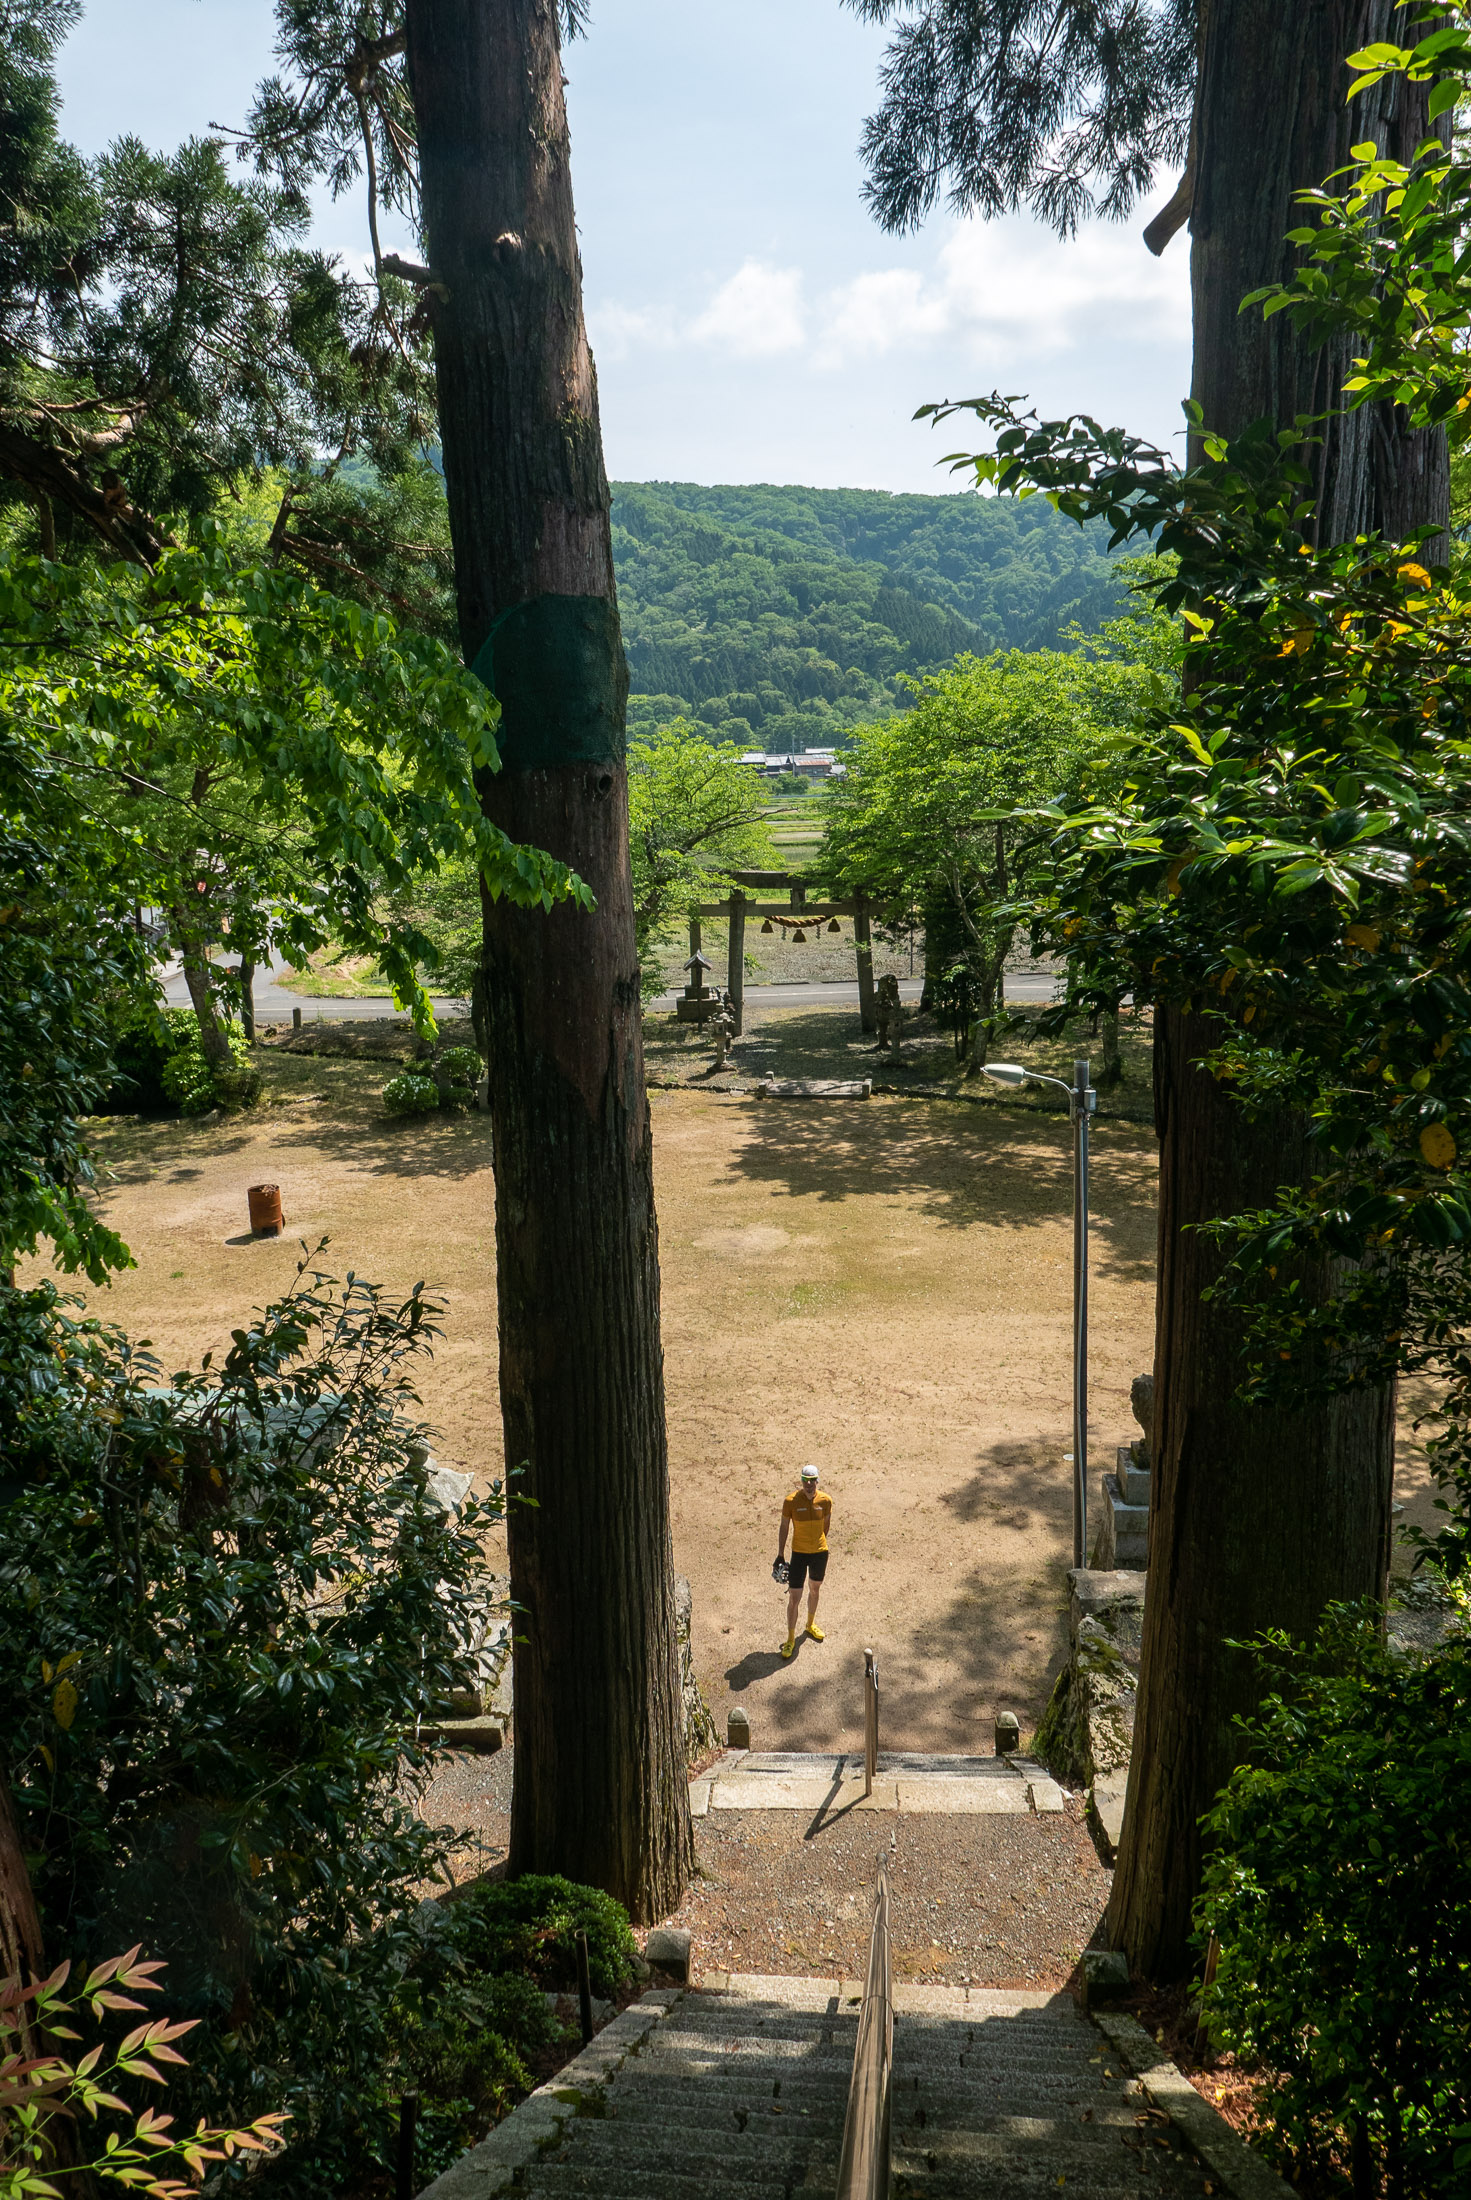
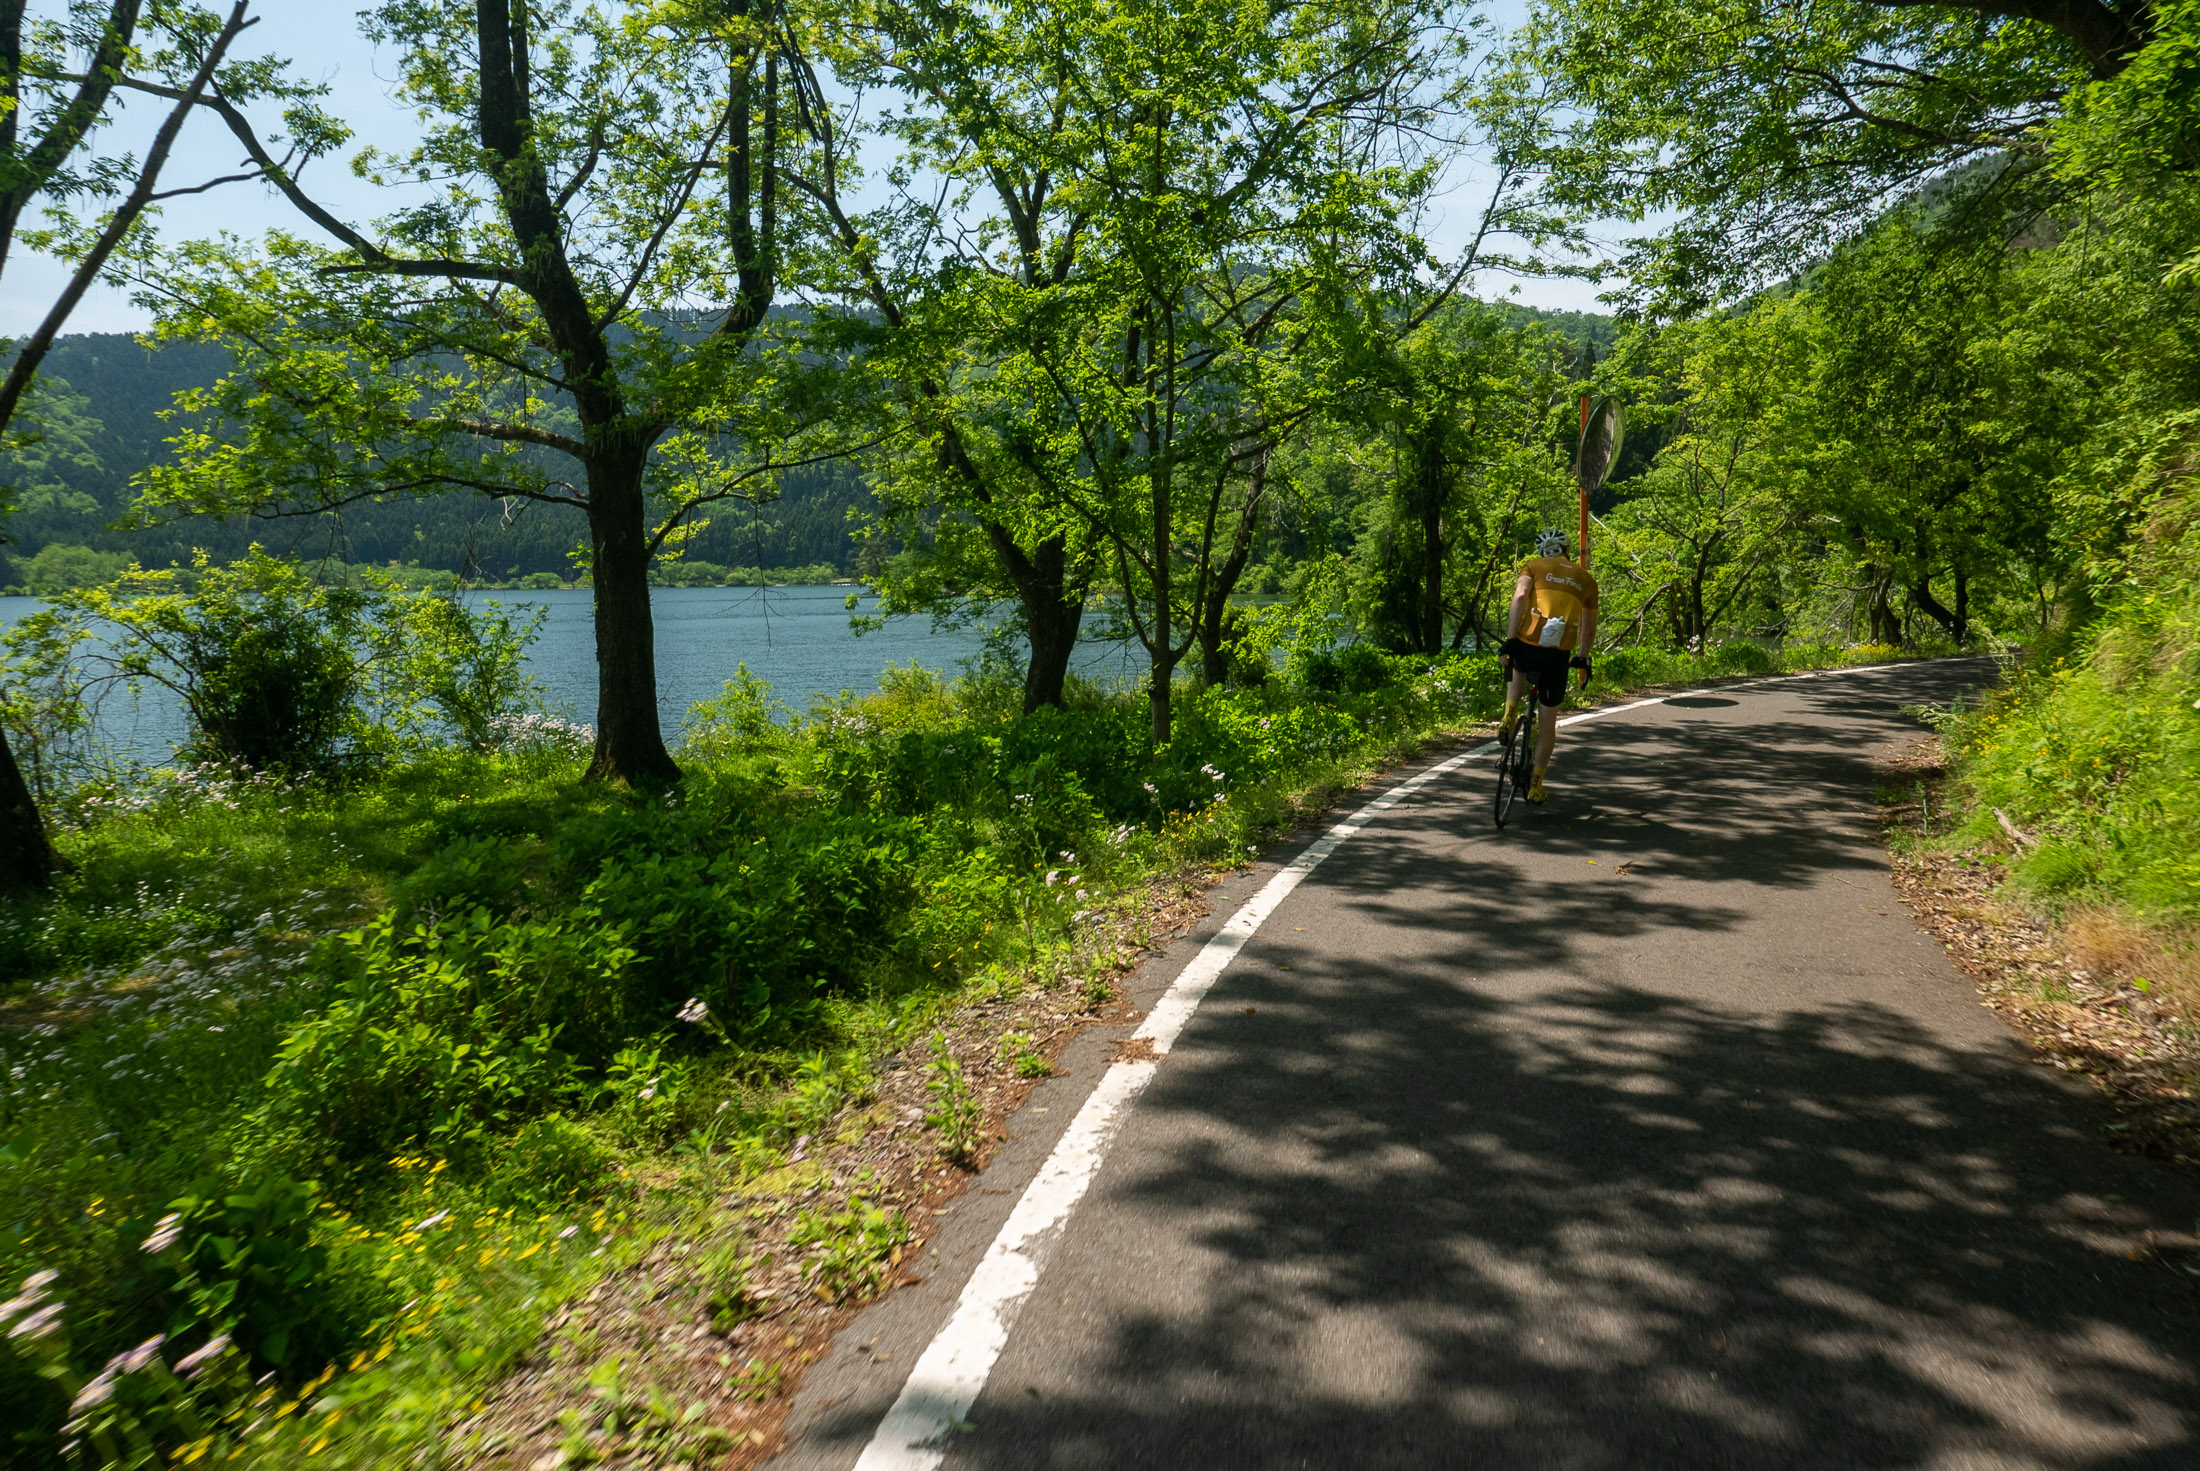
After a short visit, we took a detour to Yogo Lake, which looked just lovely in my research. It did not disappoint. A loop around it took about 11 minutes.
Panasonic LX100 at an effective 24mm — 1/640 sec, f/5.6, ISO 200 — map & image data — nearby photos
Starting Around Yogo Lake


Panasonic LX100 at an effective 75mm — 1/320 sec, f/5.6, ISO 200 — map & image data — nearby photos
Small Village
Panasonic LX100 at an effective 24mm — 1/250 sec, f/5.6, ISO 200 — map & image data — nearby photos
Just Lovely

Panasonic LX100 at an effective 24mm — 1/640 sec, f/5.6, ISO 200 — map & image data — nearby photos
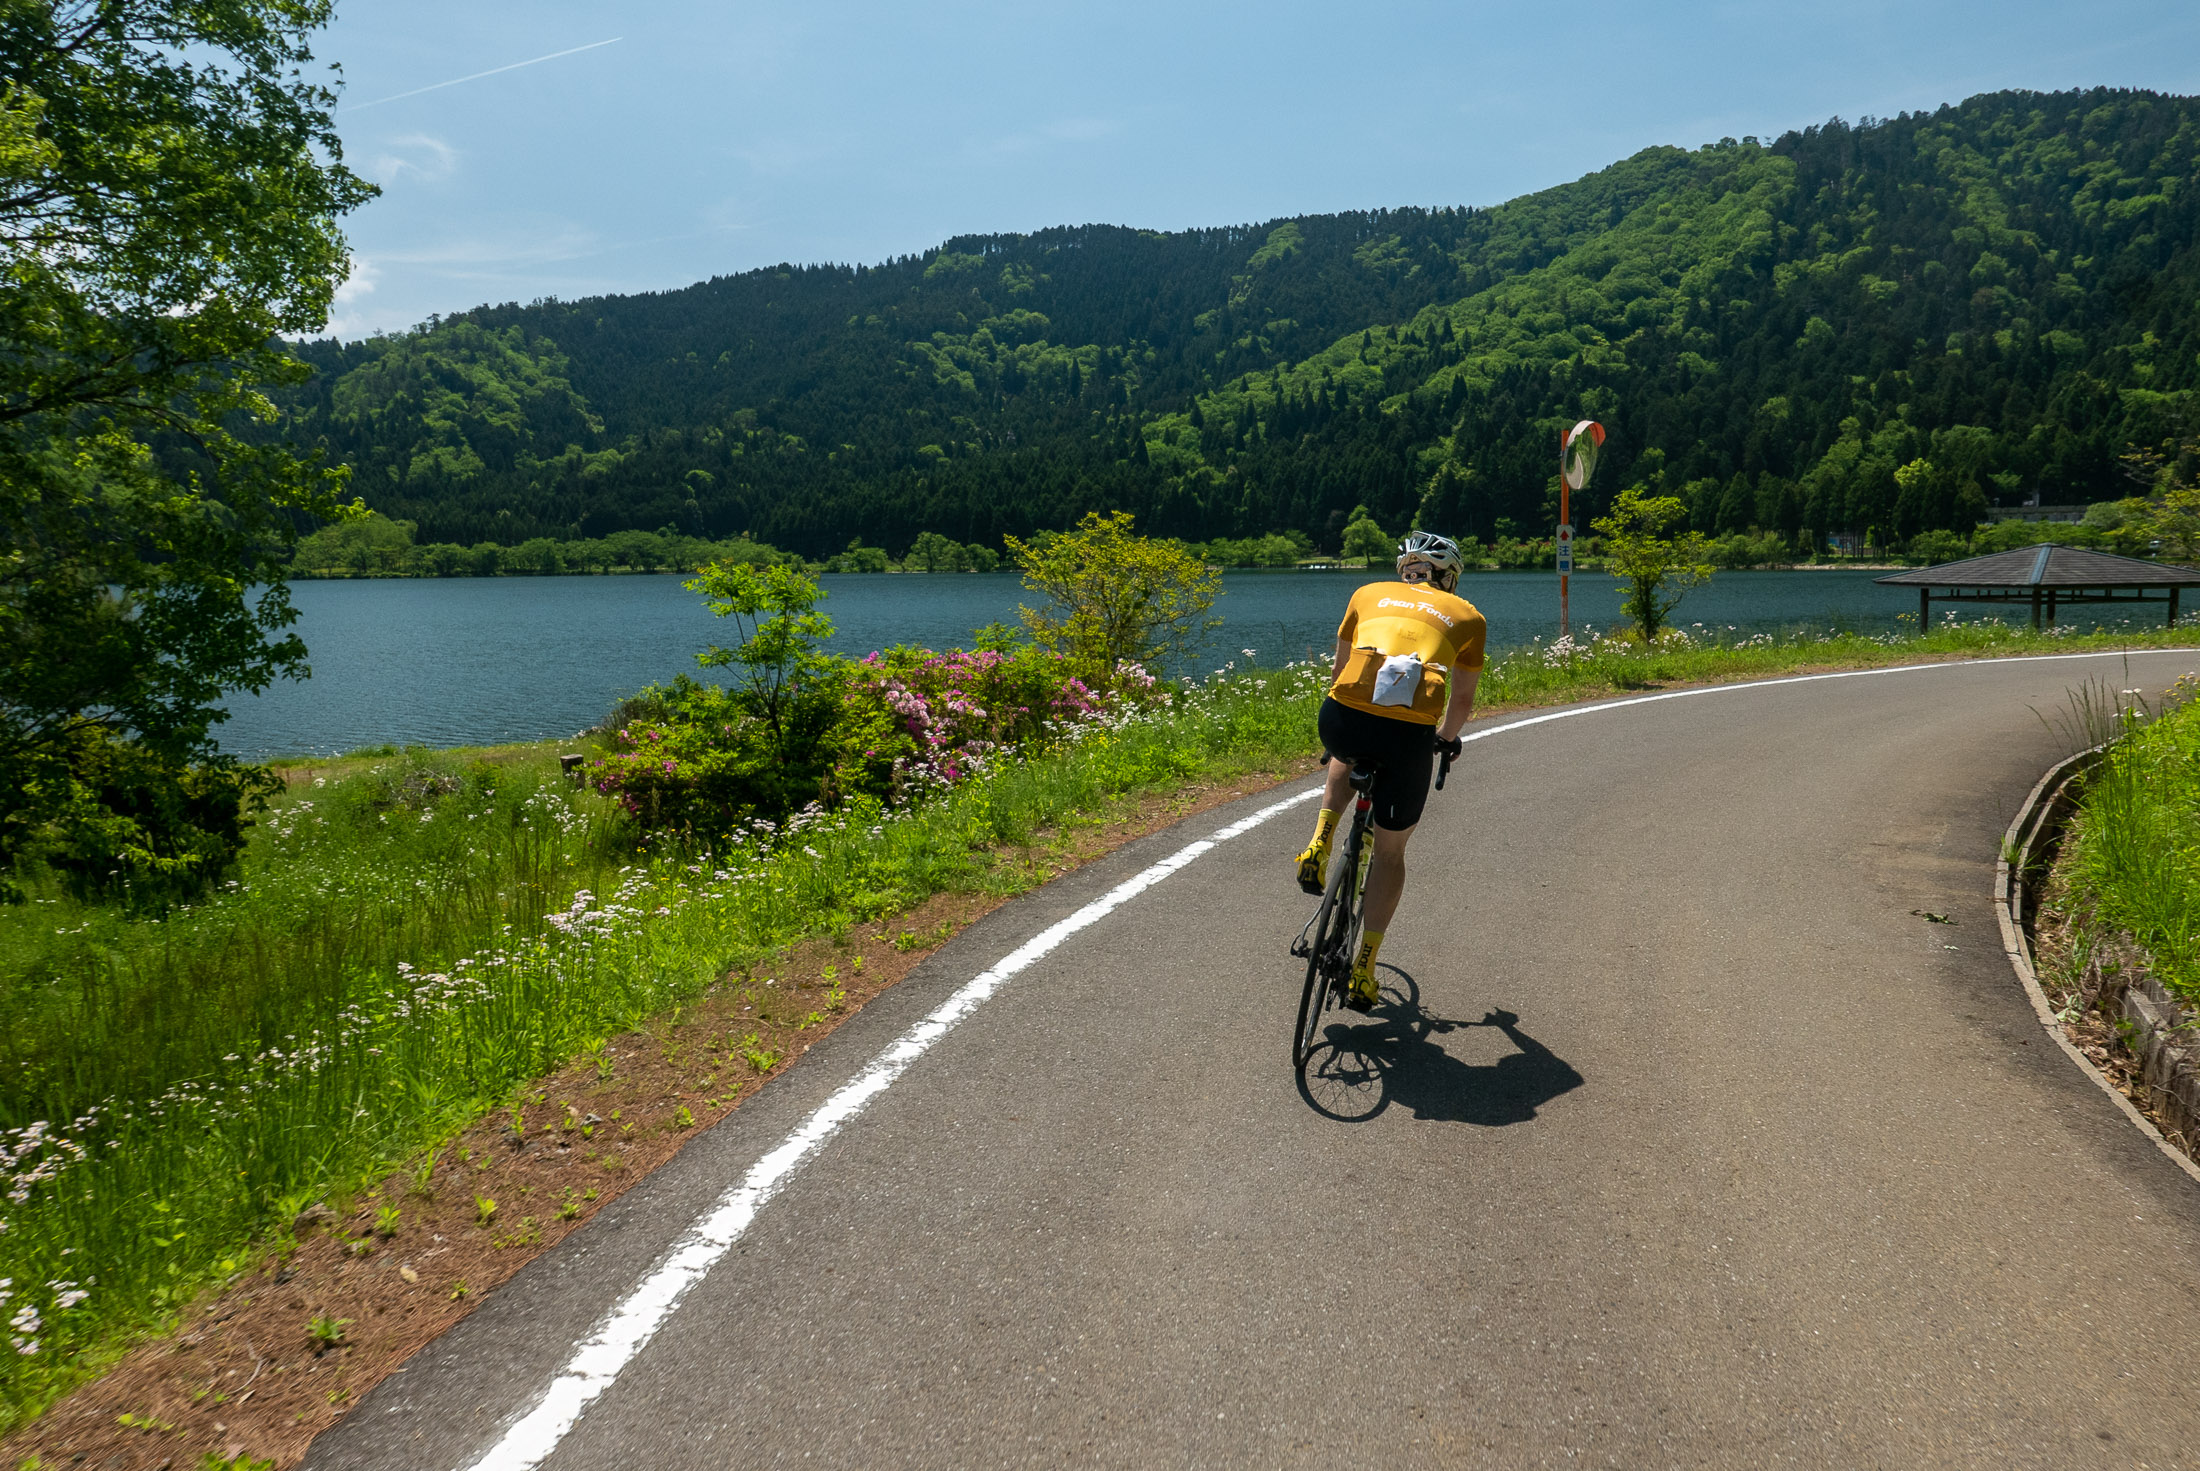
Half Way Around
We actually went around it twice. The first time, not knowing just how lovely it would be, we gave it somewhatg of an earnest effort, and ended up with the #6-best effort on the loop segment (though bumped down considerably when a group of five guys did a team effort yesterday). We could have gone quite a bit faster if we didn't have another 200km of ride in front of us.
It was so lovely, though, that we decided to do it again for enjoyment and photos.
I'd noticed a restaurant near the end of the loop, so we stopped in there for lunch.
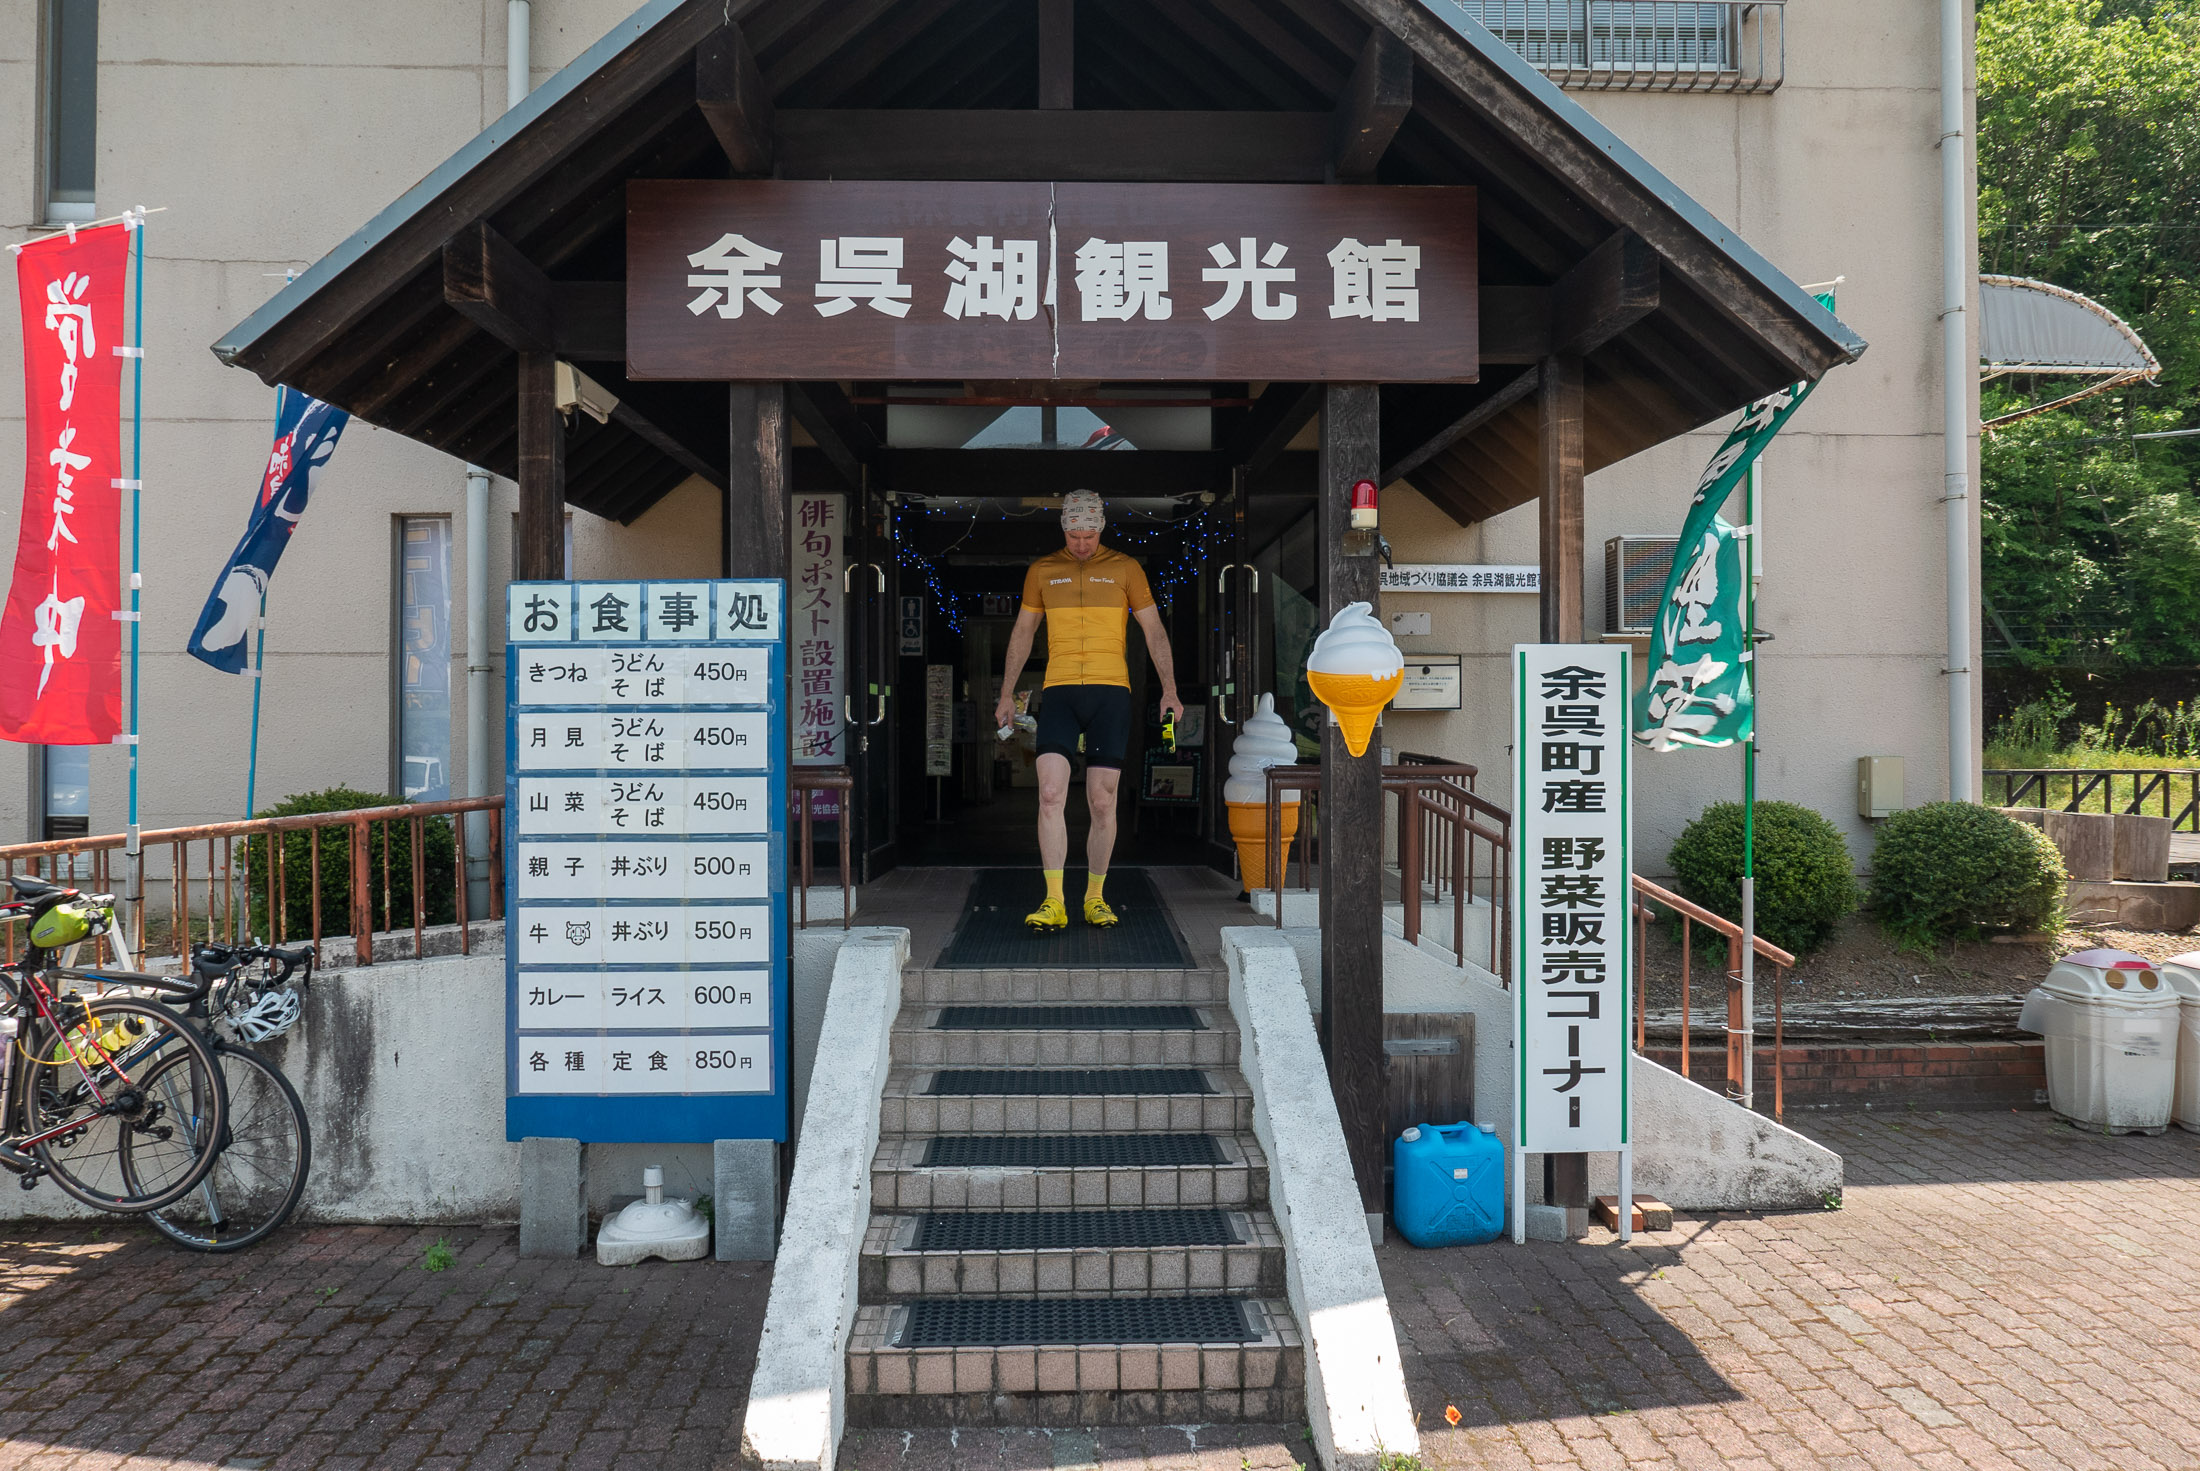
Panasonic LX100 at an effective 24mm — 1/125 sec, f/5.6, ISO 200 — map & image data — nearby photos
Stop for Lunch
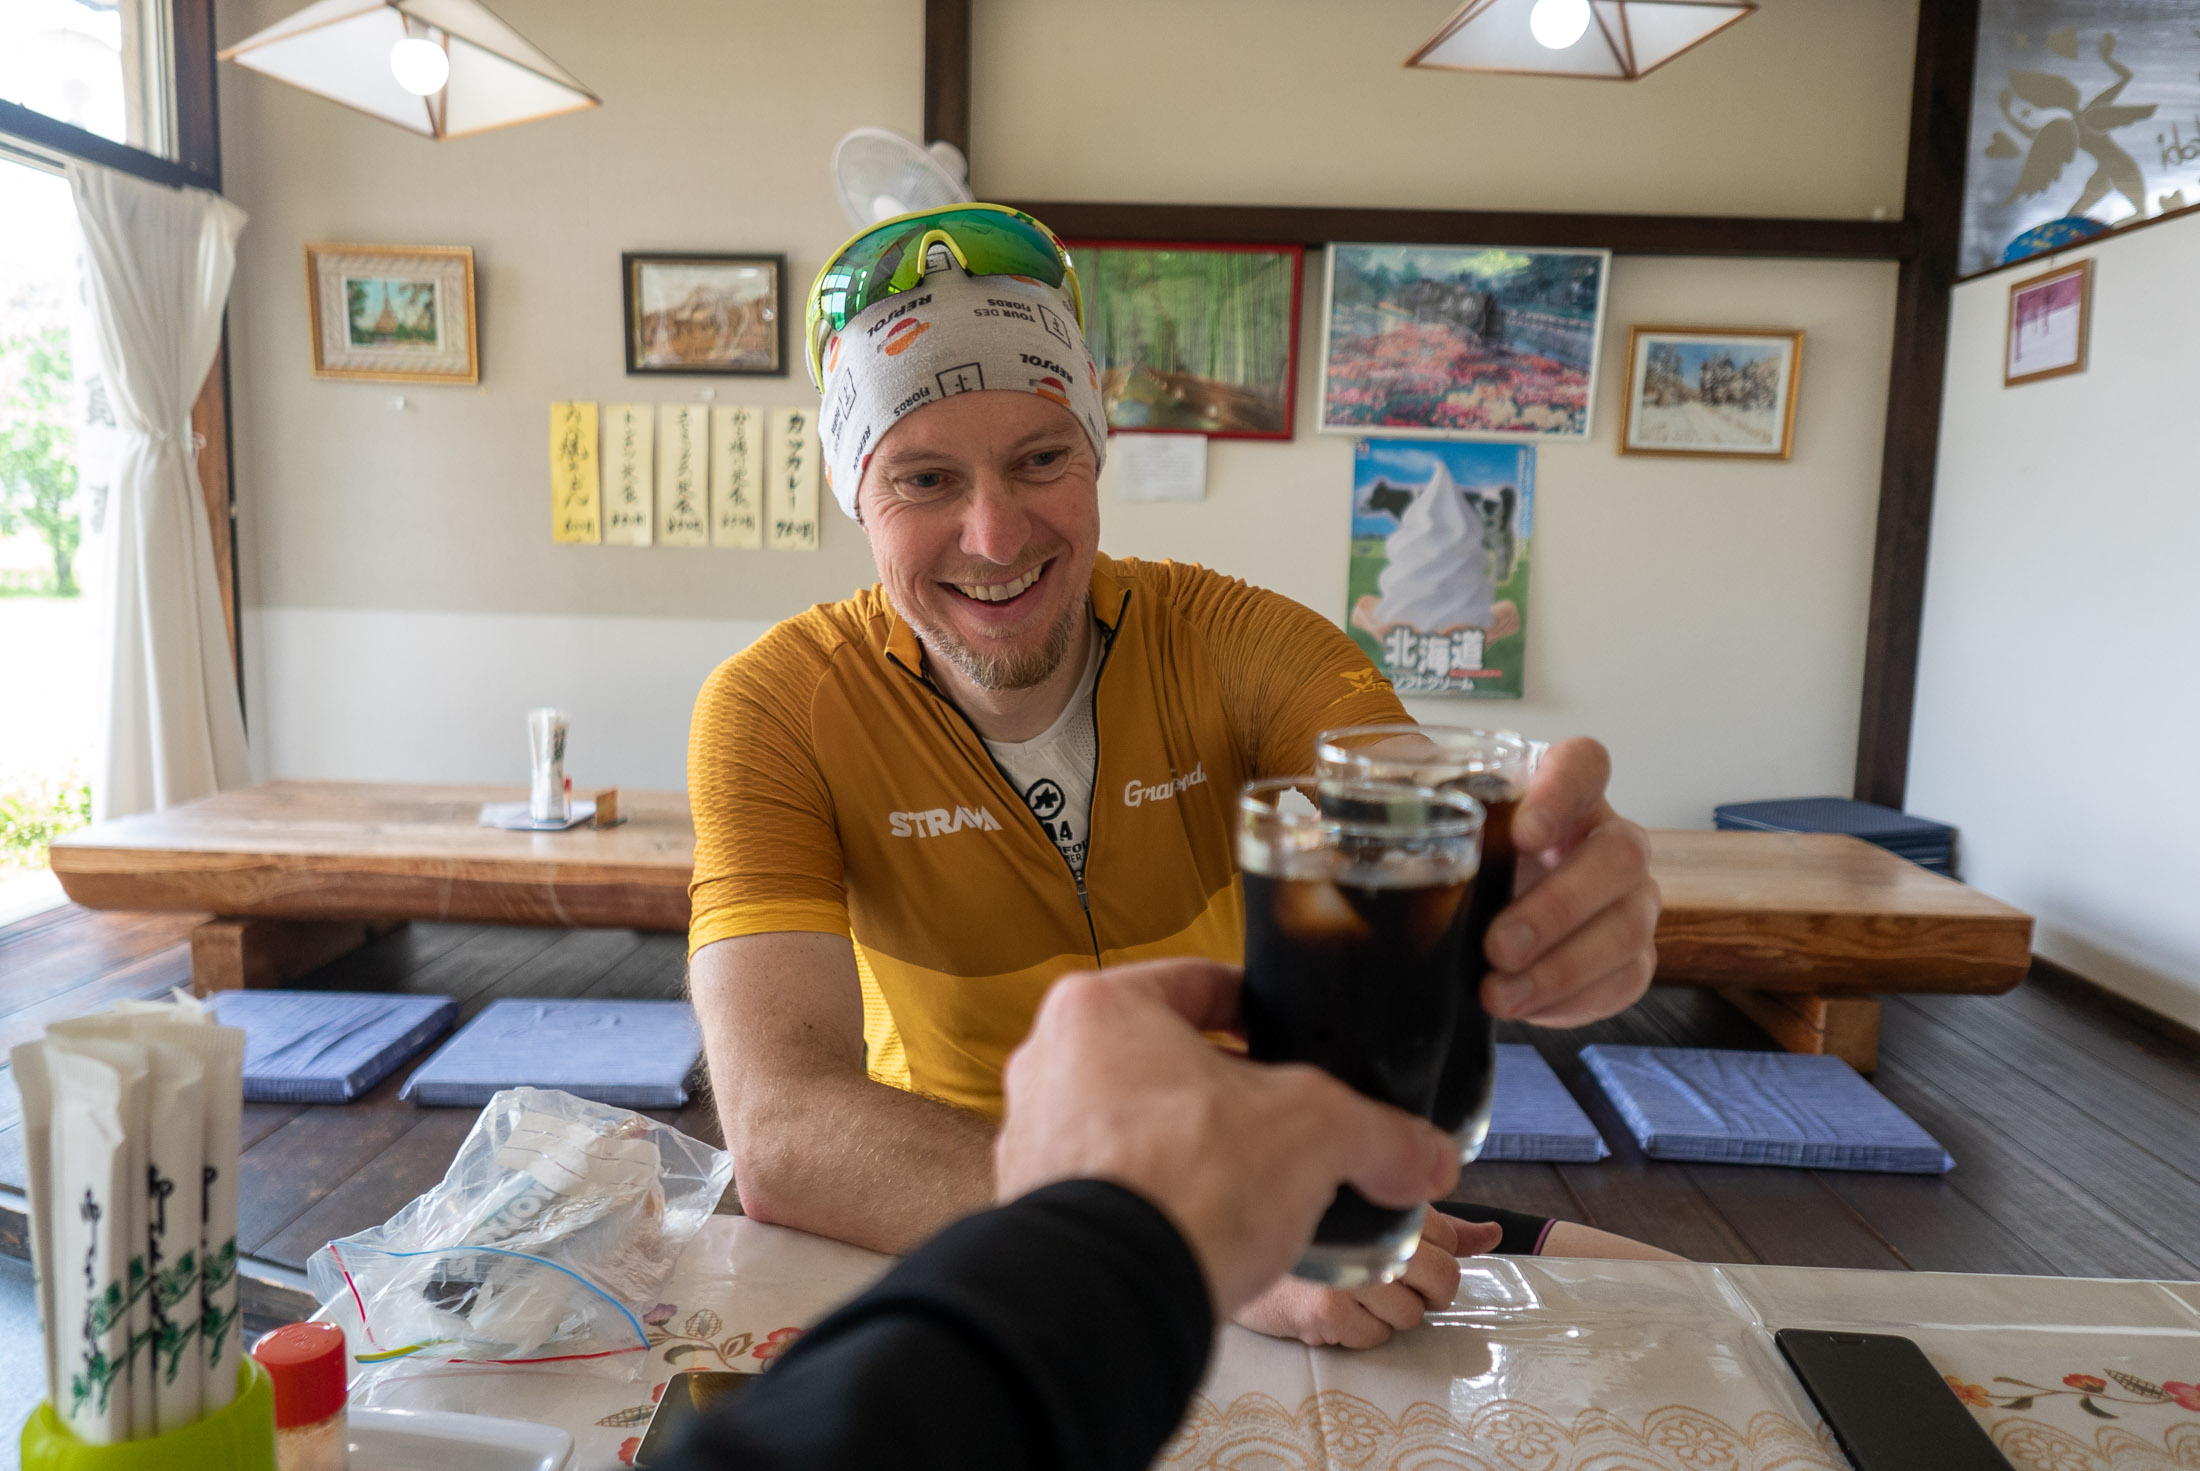
Panasonic LX100 at an effective 24mm — 1/100 sec, f/1.7, ISO 200 — map & image data — nearby photos
Well-Earned Ice Coffee
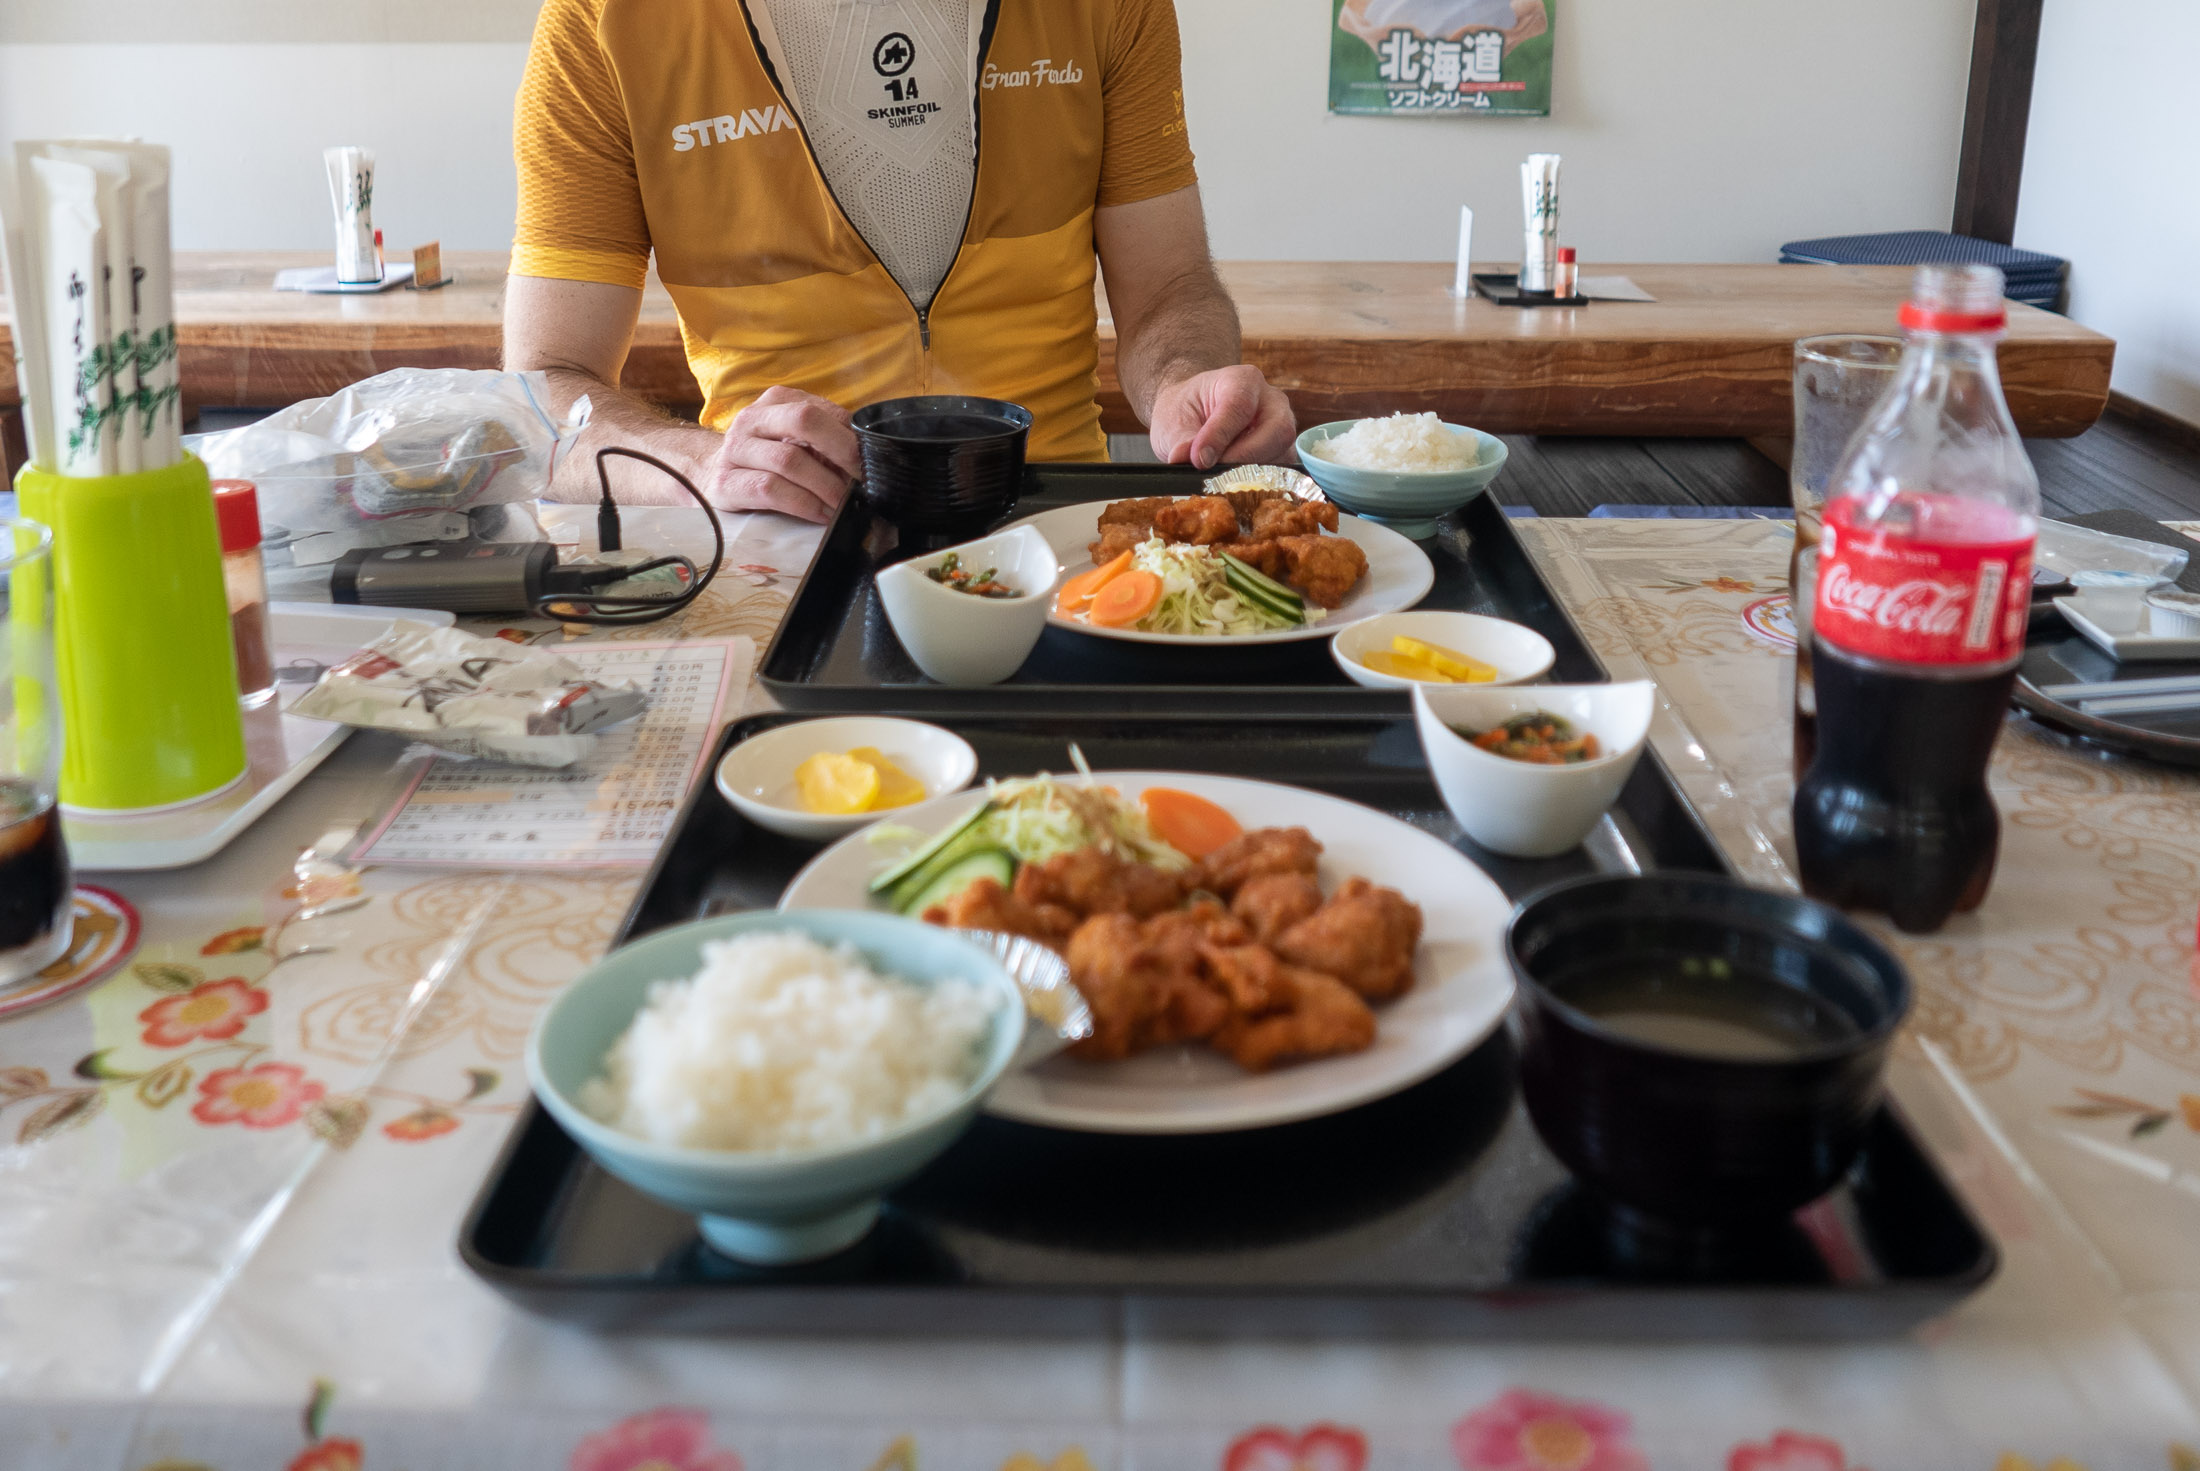
Panasonic LX100 at an effective 24mm — 1/80 sec, f/1.7, ISO 200 — map & image data — nearby photos
Chicken-Nugget Lunch for Two
We stopped for almost an hour, which was way way too long, but it was certainly enjoyable.
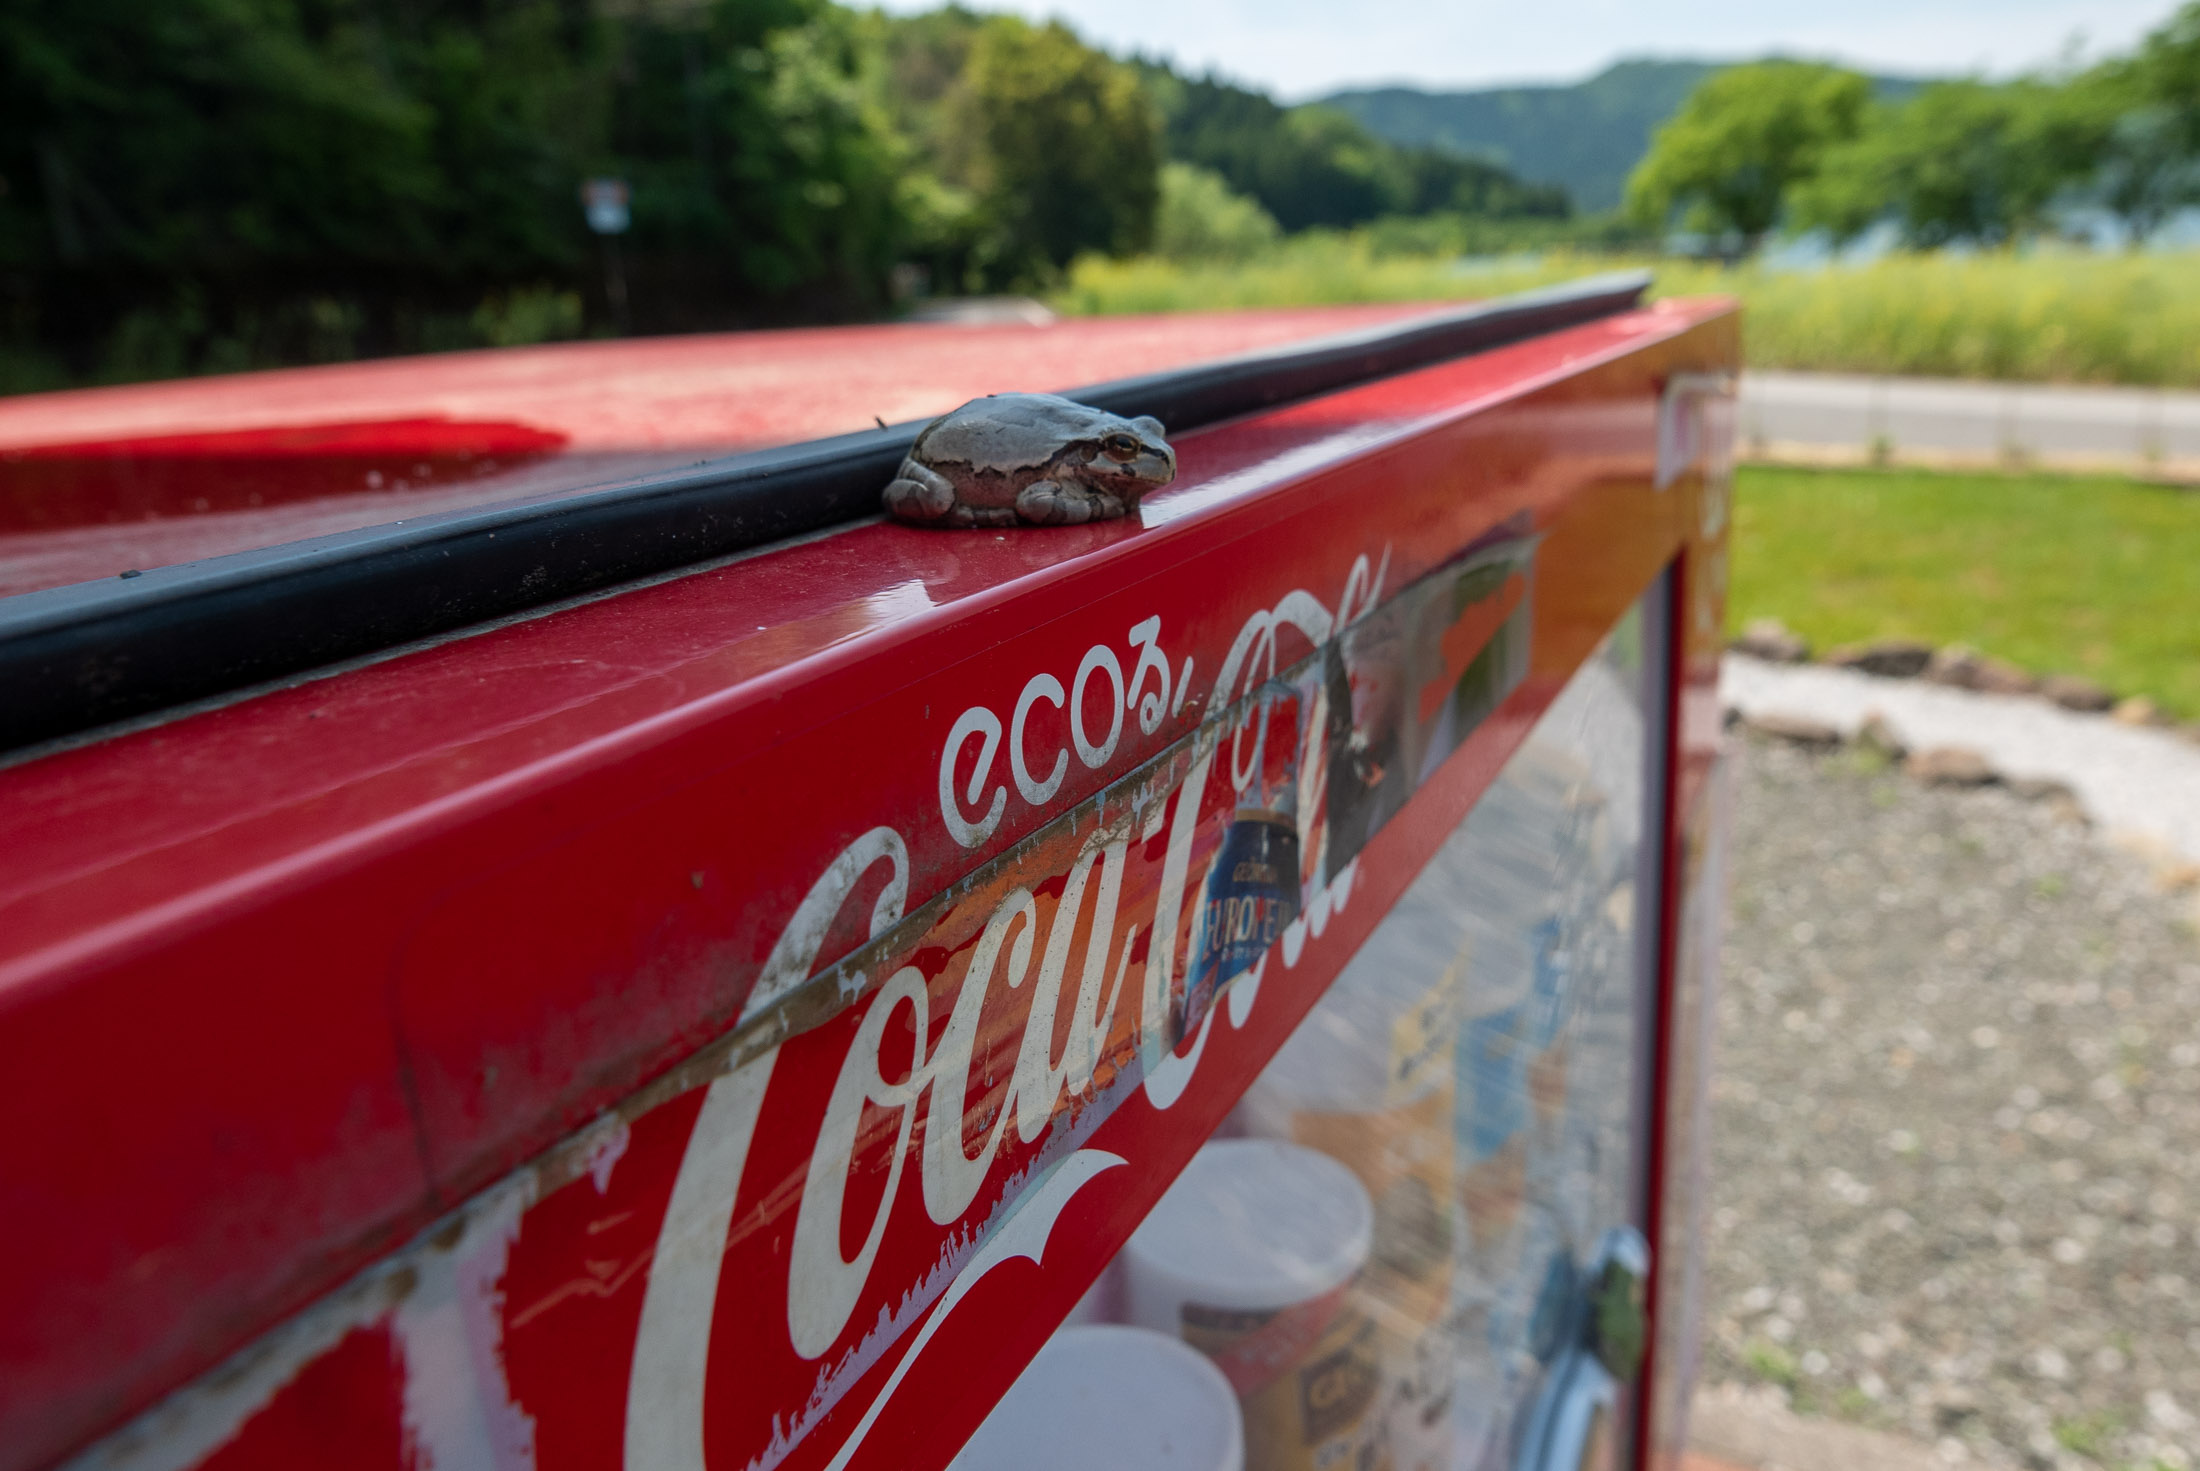
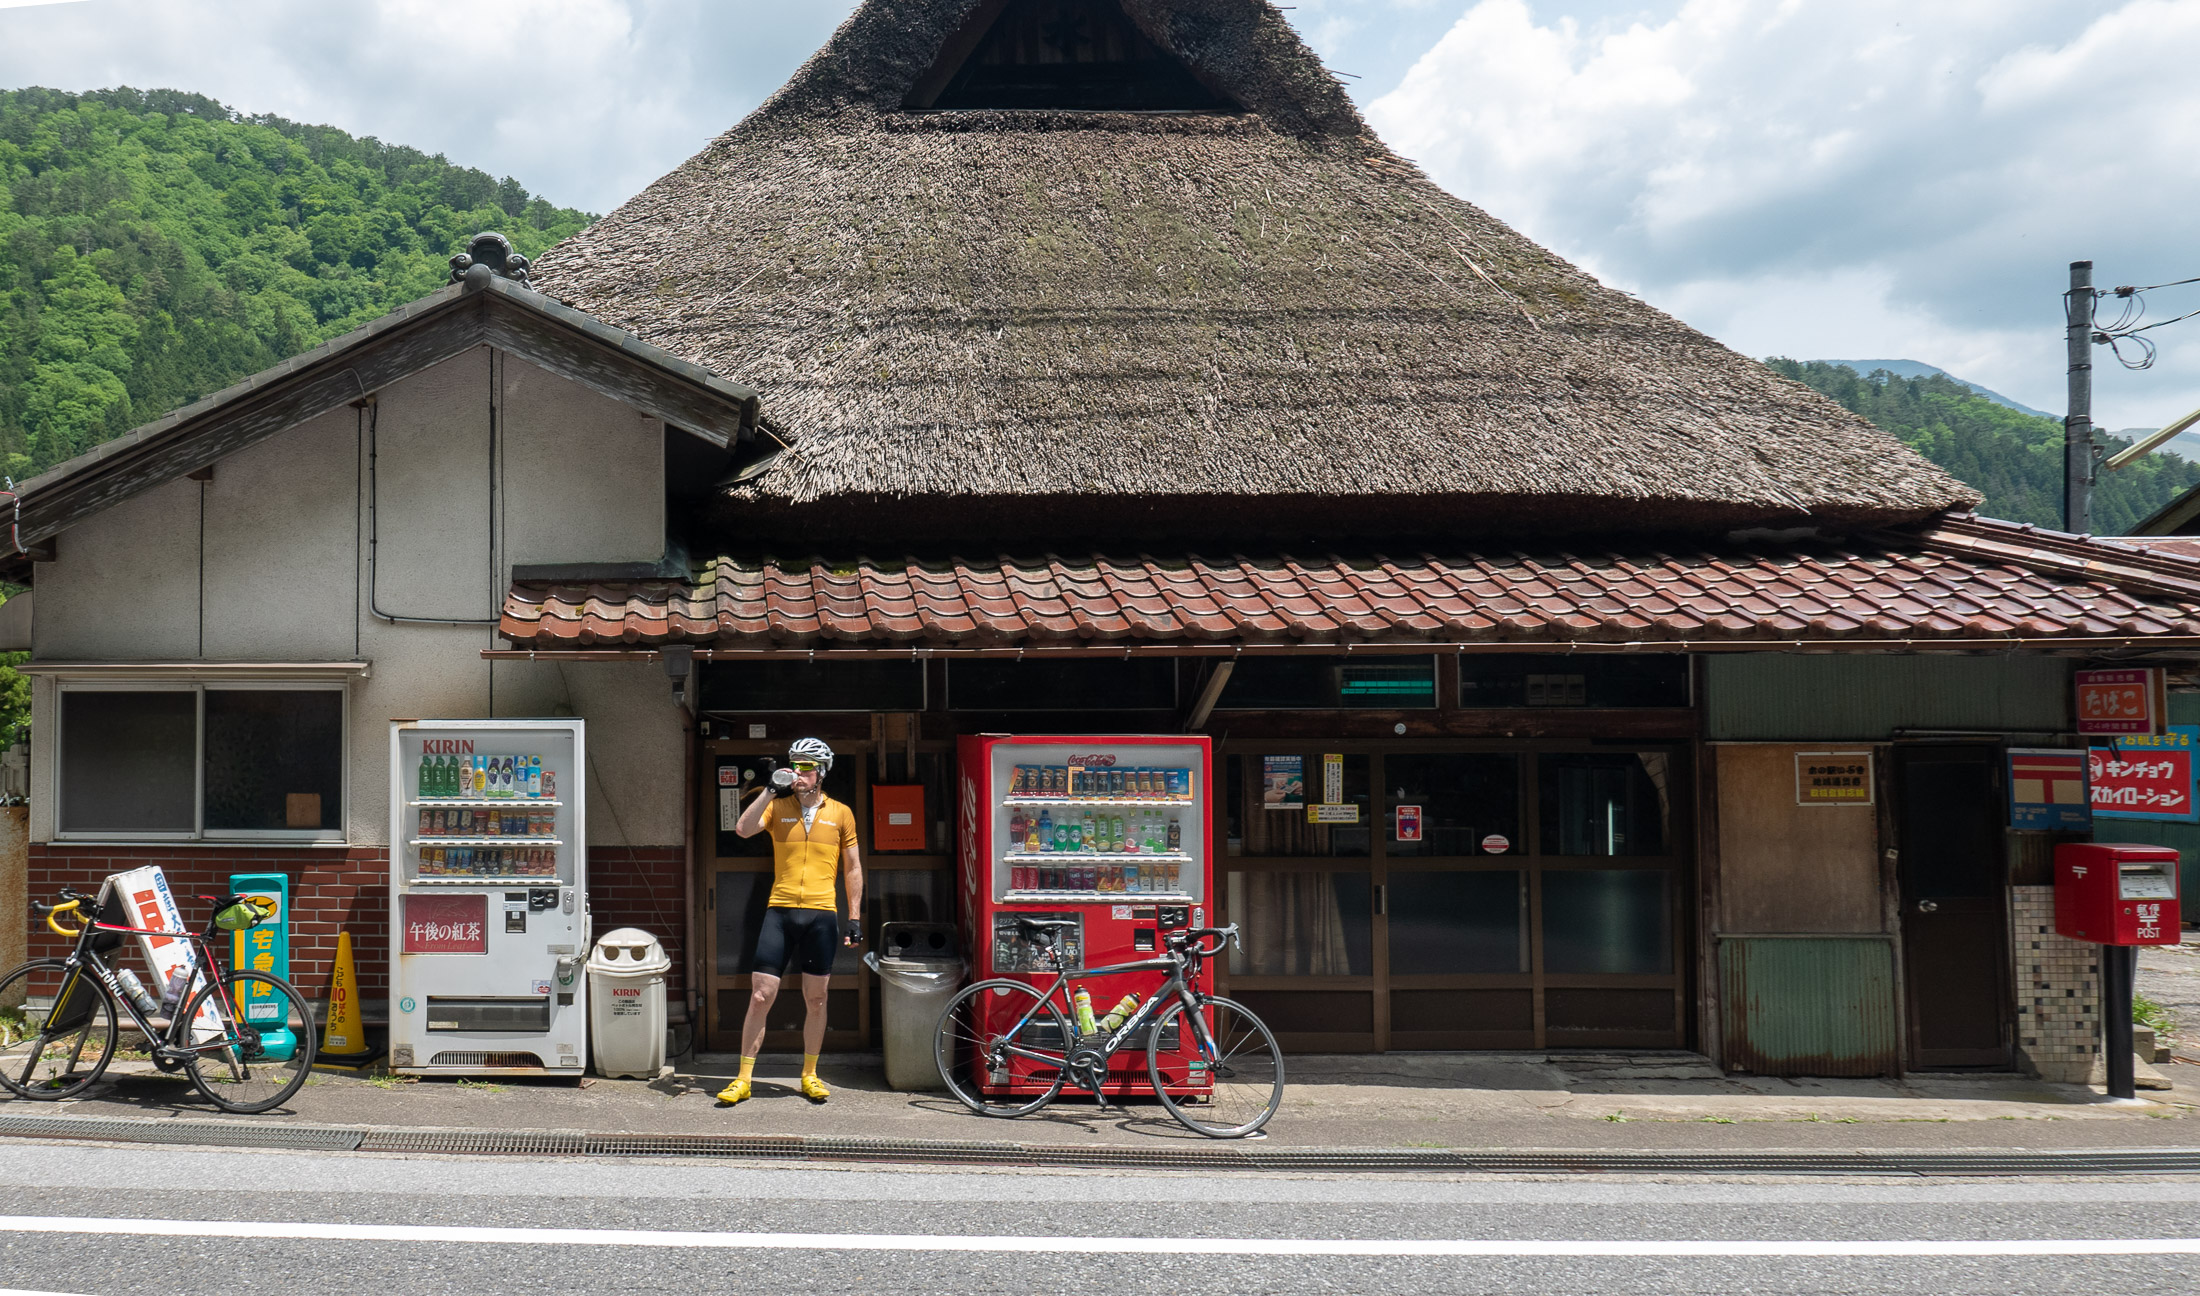
Panasonic LX100 at an effective 24mm — 1/200 sec, f/5.6, ISO 200 — map & image data — nearby photos
Takin' it Easy
it took a while to figure out whether it was real; it was
Now we had a short 25km and a couple of small climbs to get to the start of the big climb of the day...
Panasonic LX100 at an effective 24mm — 1/800 sec, f/5.6, ISO 200 — map & image data — nearby photos
Lovely Rural Area

Panasonic LX100 at an effective 24mm — 1/200 sec, f/5.6, ISO 200 — map & image data — nearby photos
At the Top
of one of the short climbs

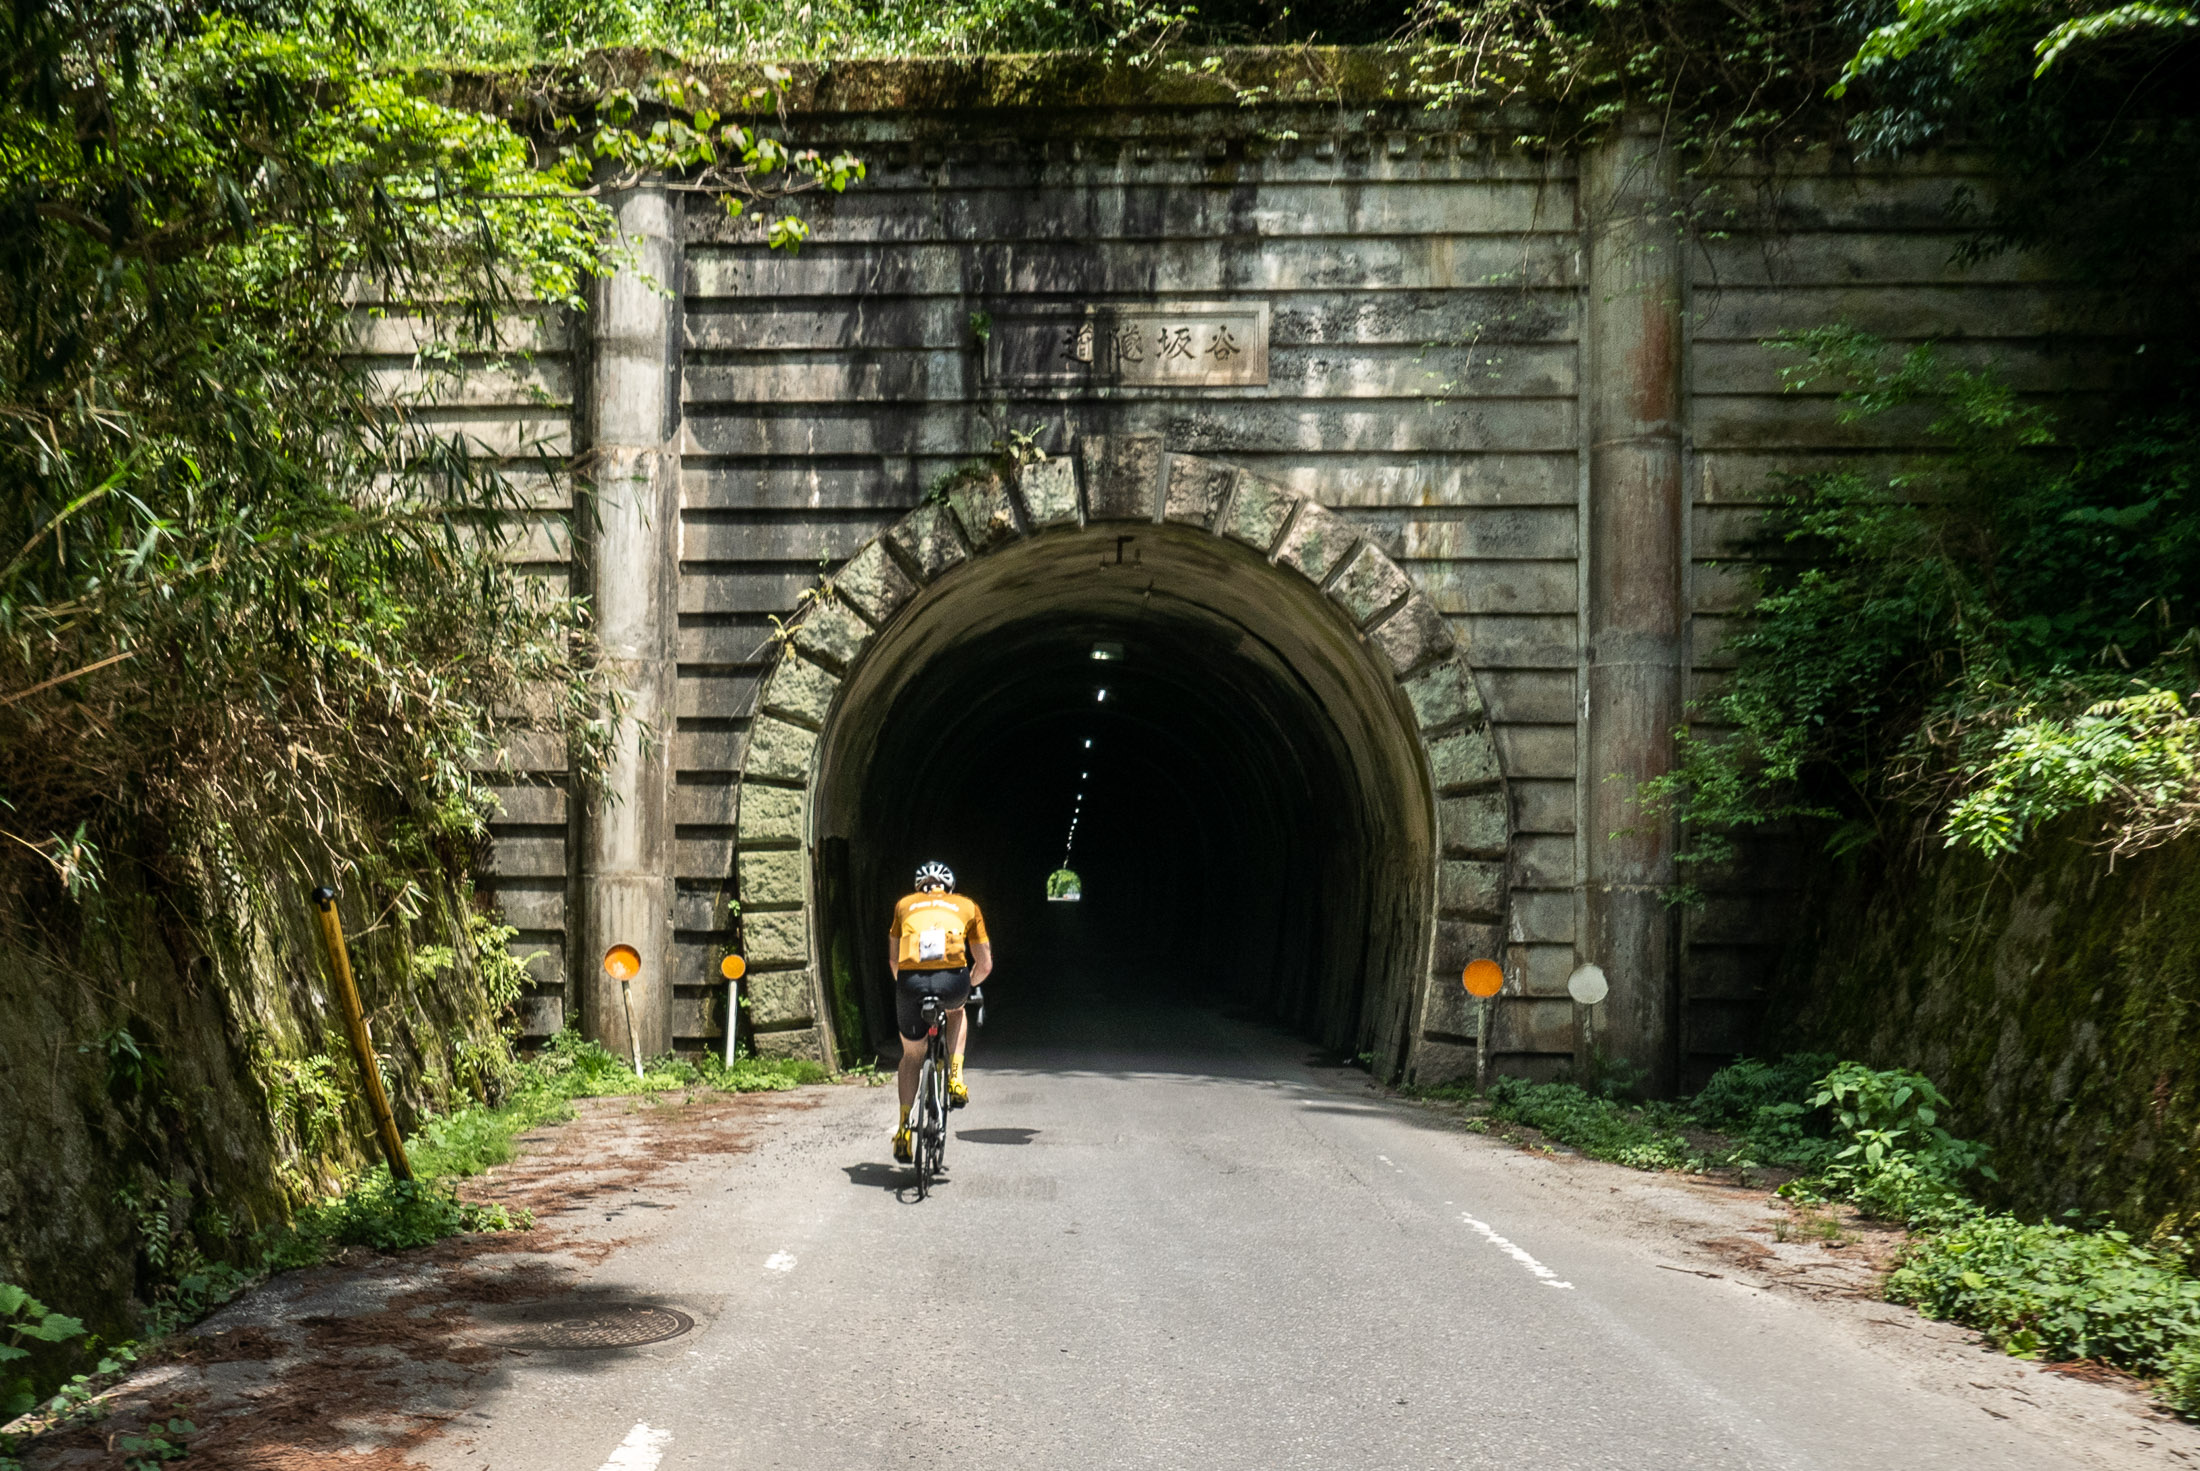
Panasonic LX100 at an effective 24mm — 1/60 sec, f/1.7, ISO 1000 — map & image data — nearby photos
Old Tunnel
Panasonic LX100 at an effective 28mm — 1/200 sec, f/5.6, ISO 200 — map & image data — nearby photos
Last Rest Before the Big Climb
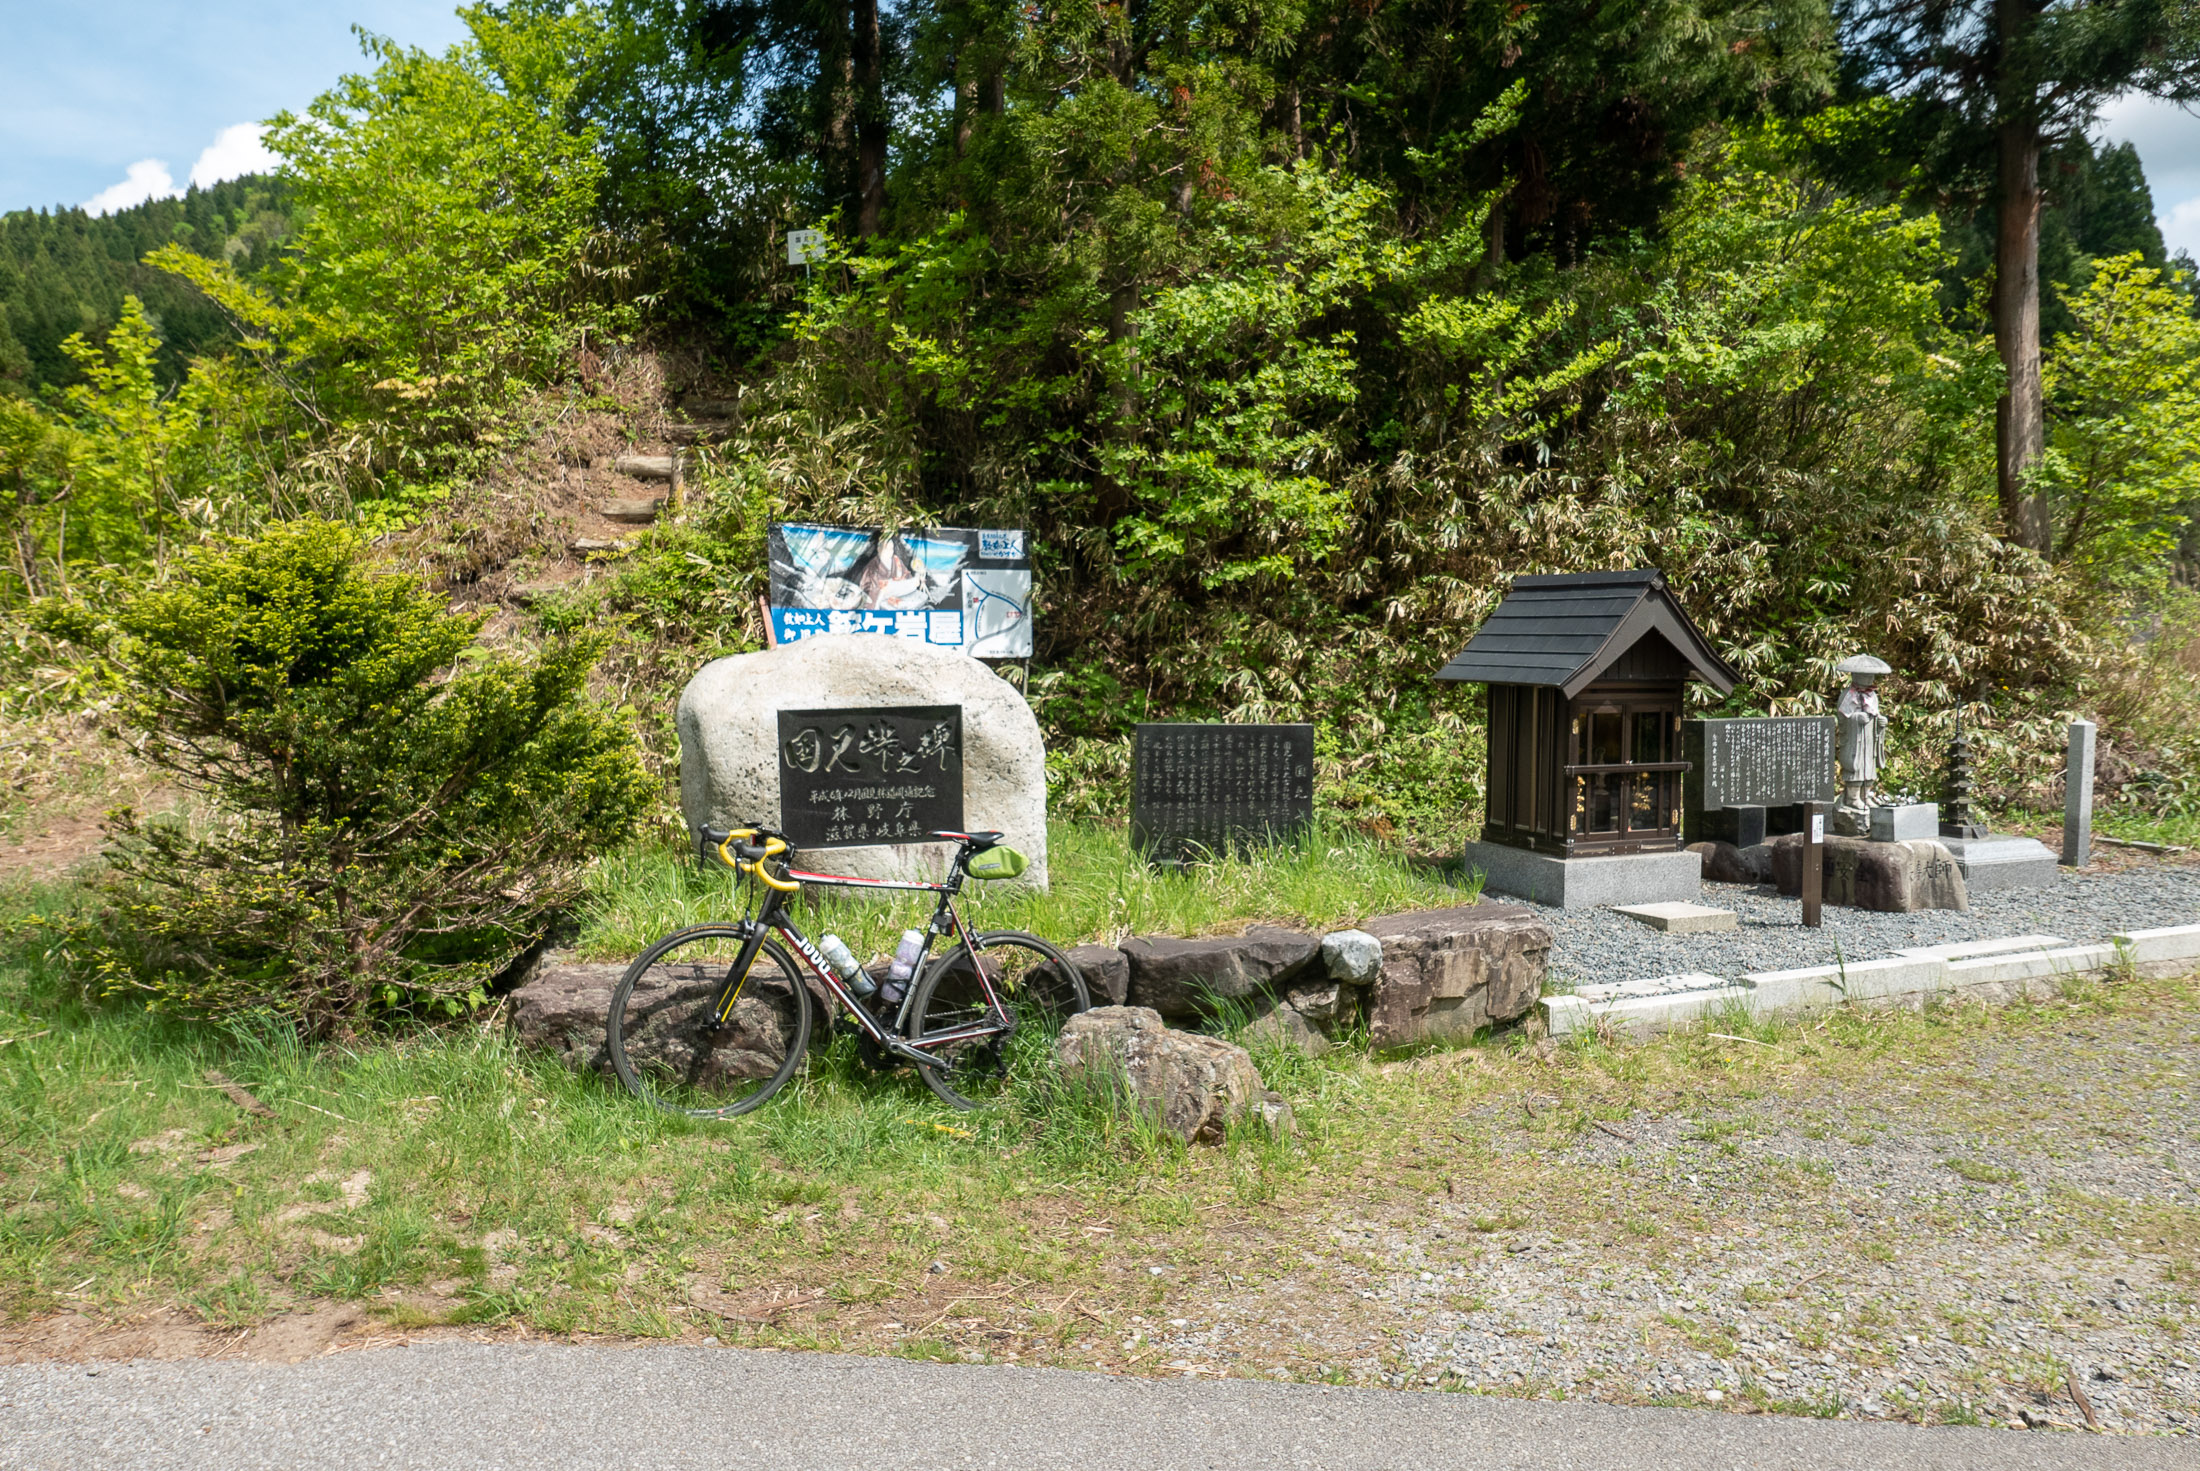
The main climb of the day was the eastern approach to Kunimi Pass. “Kunimi” (国見) in this case means “Kingdom View”, and indeed we were treated with sweeping views that a photo like this does no justice:

After almost an hour of slow, hot (but visually stunning) slog, we arrived at the top:
Panasonic LX100 at an effective 24mm — 1/200 sec, f/5.6, ISO 200 — map & image data — nearby photos
Halfway Point: Kunimi Pass
8½ hours into the ride; only 150km remains until home
This was followed by more than 10 minutes of lovely descent, plummeting down the other side of the mountain.
Just before we were to rejoin civilization at a main road, we were suddenly stopped by an elderdly construction worker blocking the road, saying that the road was closed and that we would have to go back. This was an extremely unappealing proposition for us, as it would me that we would have to make an hour's climb back to the top, retracing our steps for hours in the opposite direction.
Bicycles and pedestrians can often get by road damage that cars can't, so I wanted to investigate the nature of the closure. The old man was adamant, though, that “it had been decided” that no one should pass. I was persistent, and eventually could peek around a curve in the road to see that the road was completely open; it was closed due to a worry that some unstable rocks might fall onto it.
I was willing to take the risk for the one second it would take to pass the area in question, and so told the guy that I was sorry that I'd be making trouble for him, but that I would accept my own responsibility and proceed. He kept saying “but it's been decided!”, but he can't physically stop me as he's not a police officer, so Gorm and I proceeded. Indeed we did not die during the one second it took to pass, and as we passed the guard on the other side, I yelled out farther apologizes.
I feel bad for the guy, just doing his job, but he was given a ridiculous job.

Panasonic LX100 at an effective 24mm — 1/125 sec, f/4, ISO 200 — map & image data — nearby photos
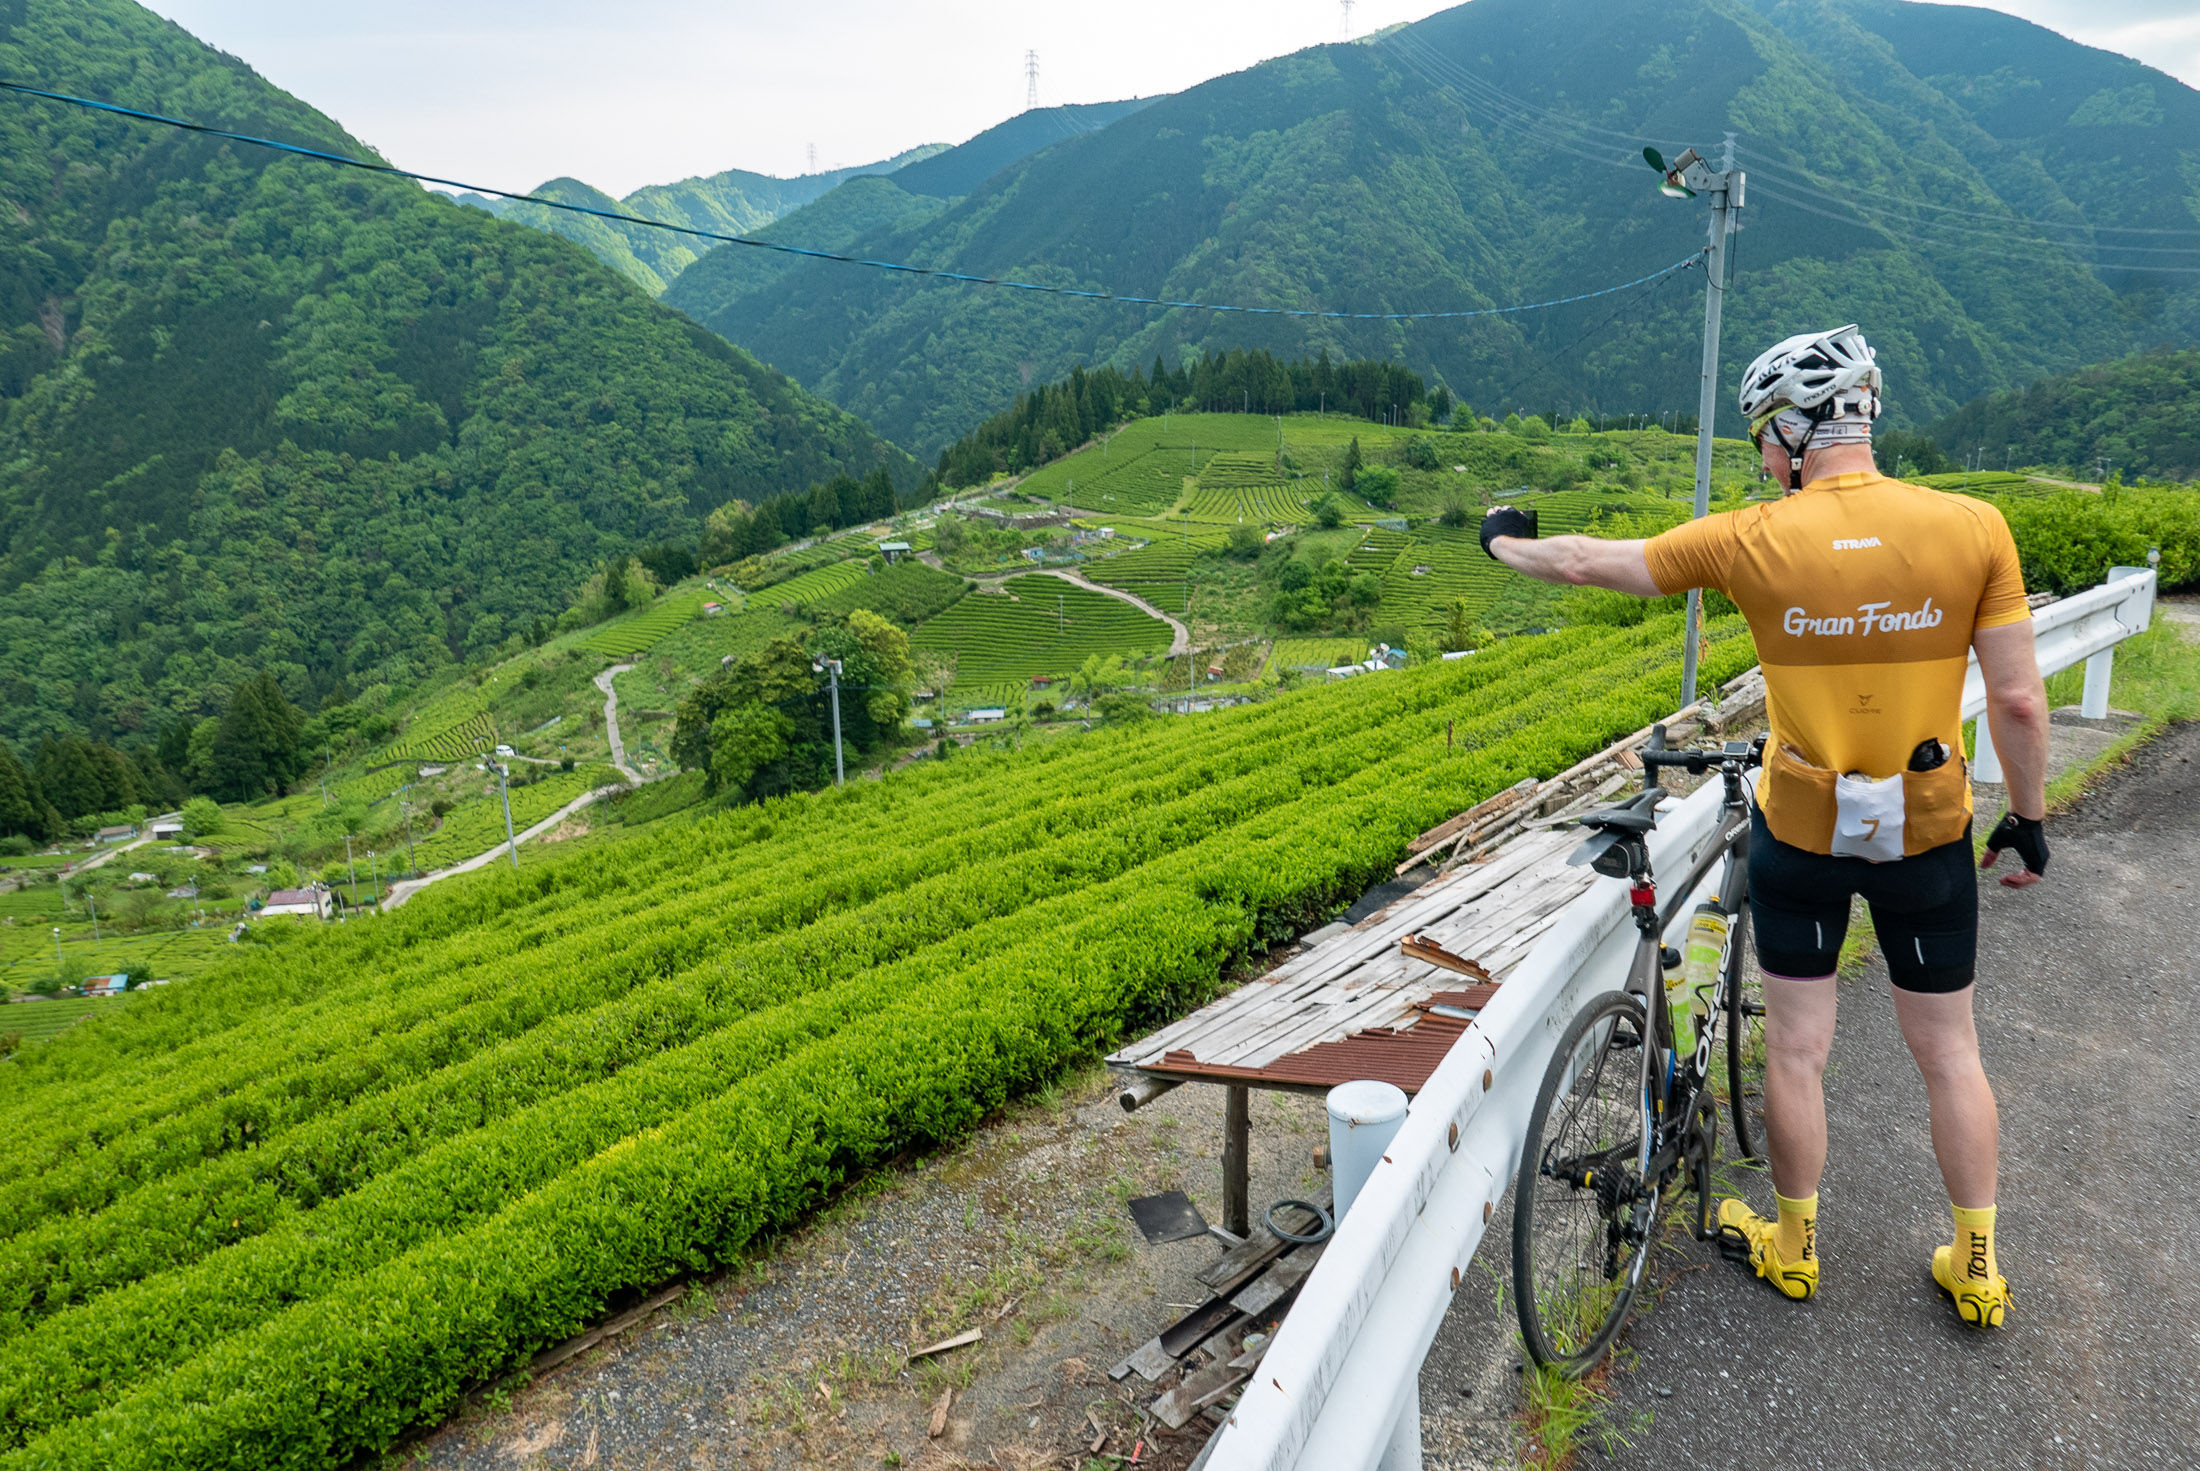
Back in Civilization
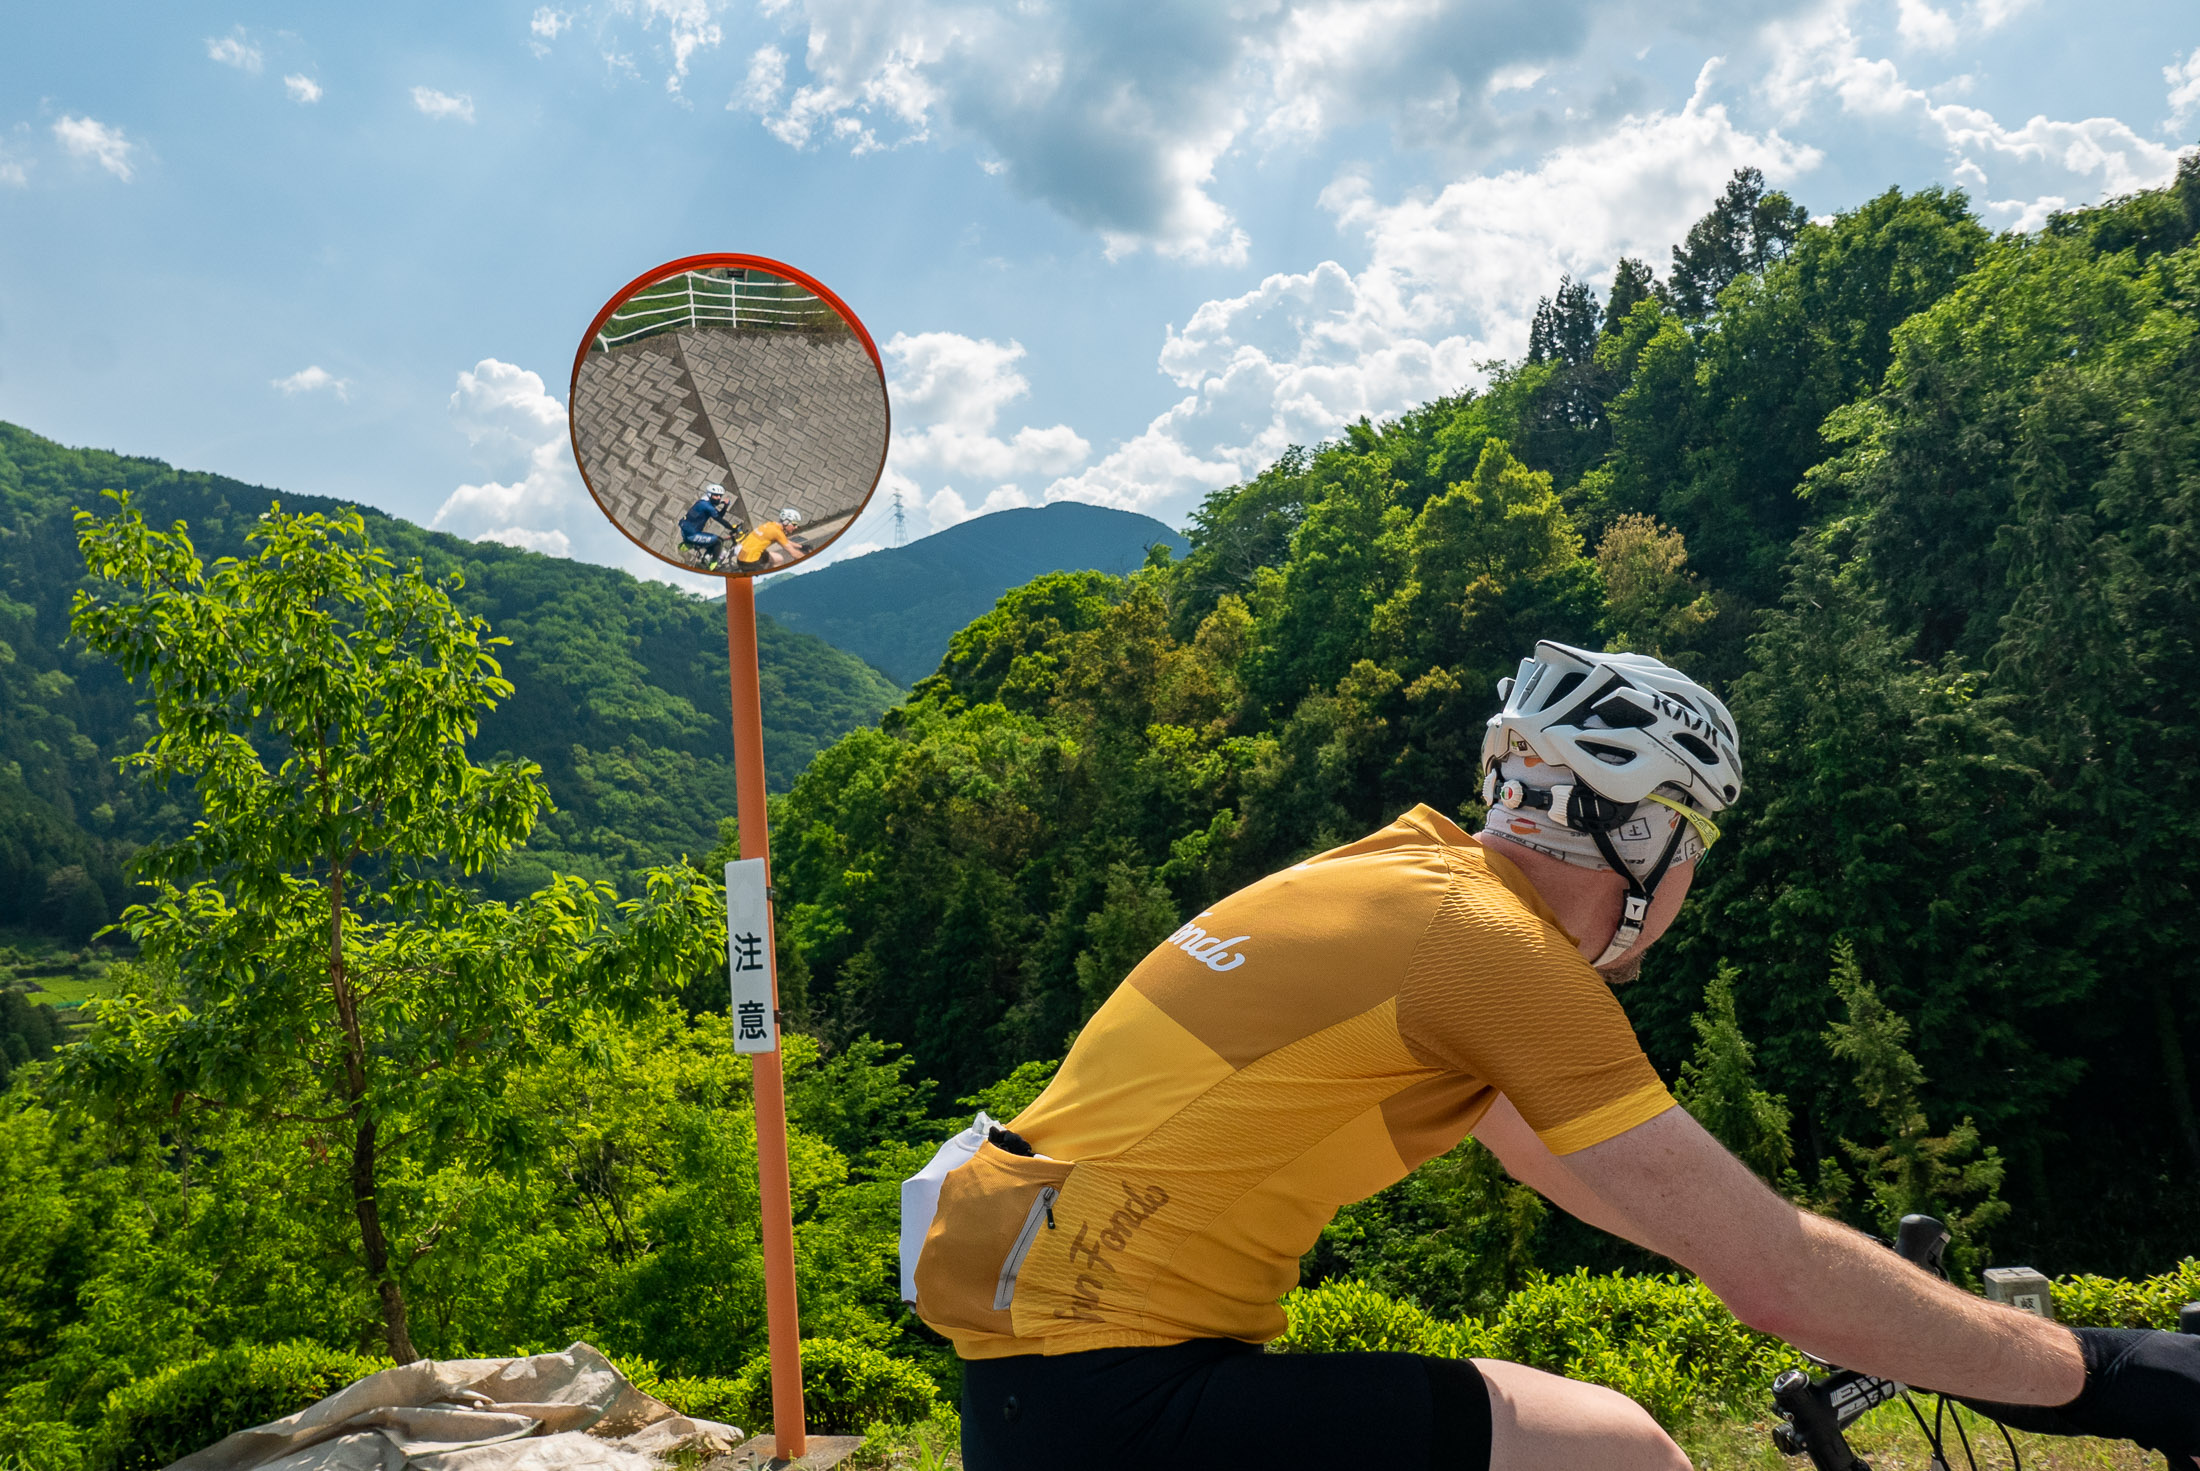
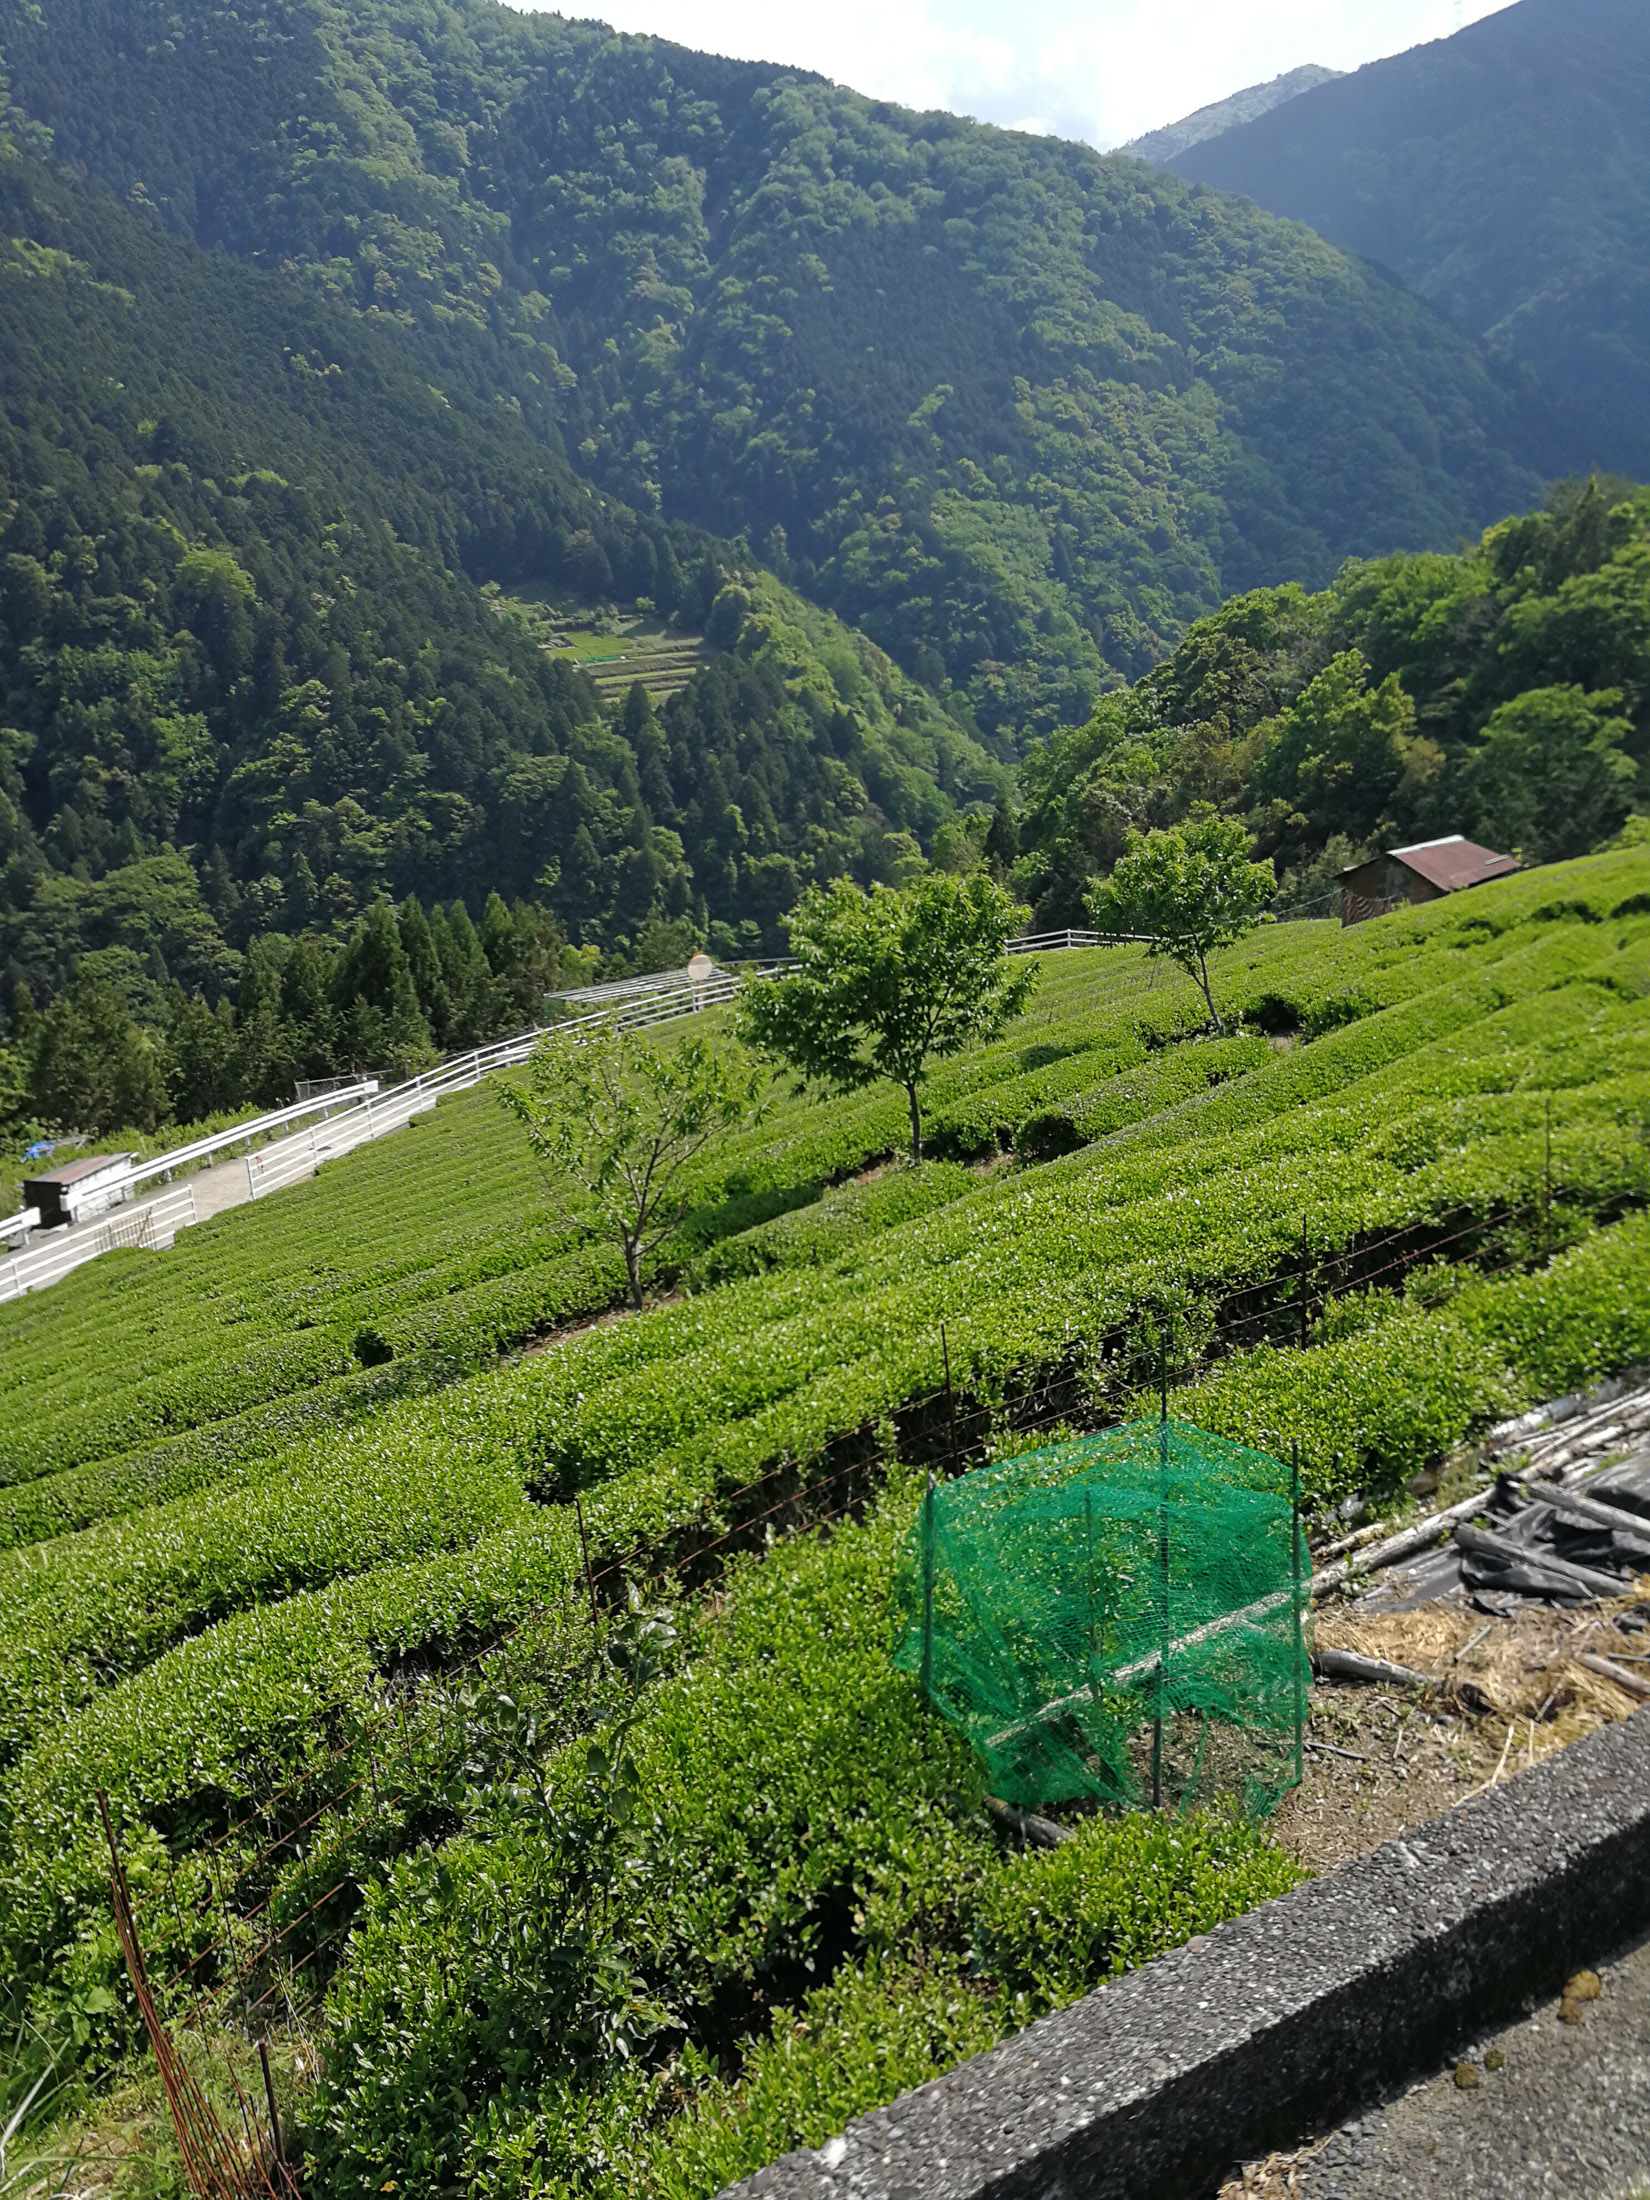
With renewed energy we proceeded toward the steep climb that leads to the “Machu Picchu” view. The initial climb to the village itself is a lovely 1.9km @ 9.2% through tea fields.

Panasonic LX100 at an effective 24mm — 1/320 sec, f/5.6, ISO 200 — map & image data — nearby photos
Steep
Panasonic LX100 at an effective 24mm — 1/400 sec, f/5.6, ISO 200 — map & image data — nearby photos
Steep Selfie
VTR-L29 at an effective 27mm — 1/730 sec, f/2.2, ISO 50 — map & image data — nearby photos
photo by Gorm Kipperberg
VTR-L29 at an effective 27mm — 1/750 sec, f/2.2, ISO 160 — map & image data — nearby photos
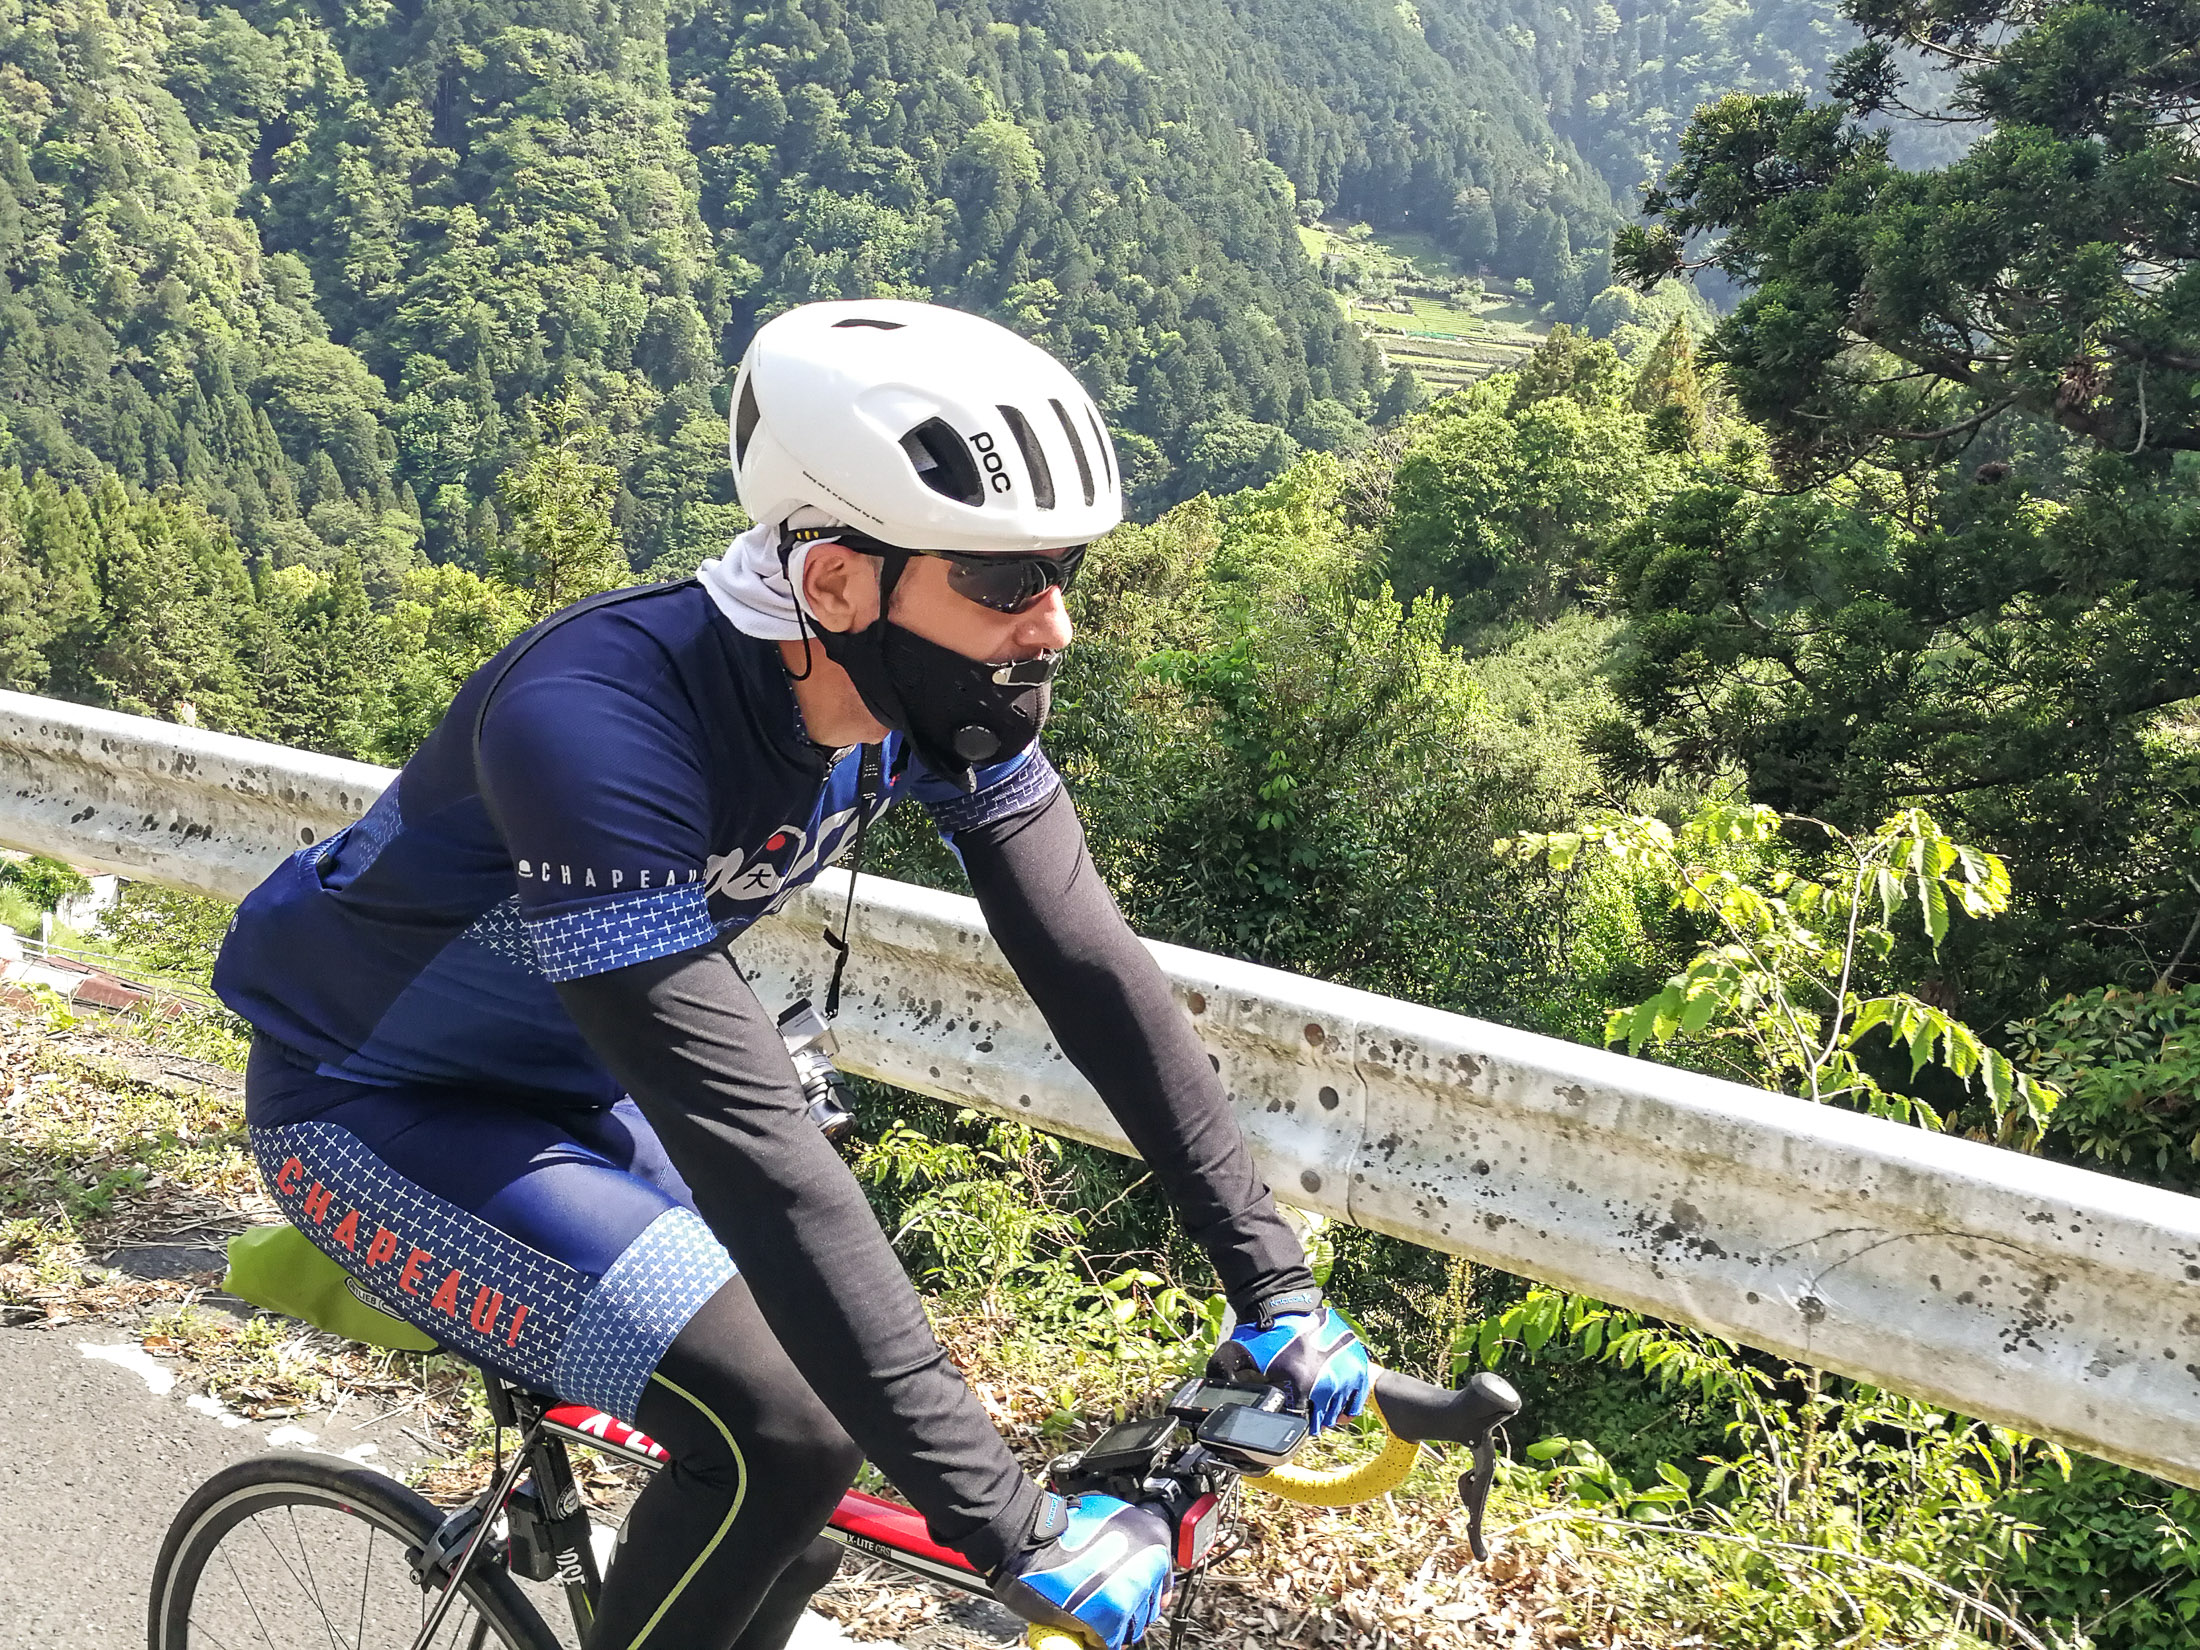
Me
photo by Gorm Kipperberg
I was quite the stylish sight. 🙂 My tonsils seem to be extremely sensitive to temperature and pollution, so I have learned that wearing a mask makes things much better. Without it, I invariably come down with a cold the next day.
I was also wearing long sleeves and leggings (Under Armour Heatgear) so that I didn't have to deal with sun lotion.
Once one reaches the village after the steep climb, it seems that one can hike for 15 minutes to get to the “Machu Picchu” view back down to the village, but in my research I found a small road that looked to curve around from the top, so I thought I might be able to ride to the view. That adds an extra 1.5km at an even steeper 11.1%, until the road turns gravel:
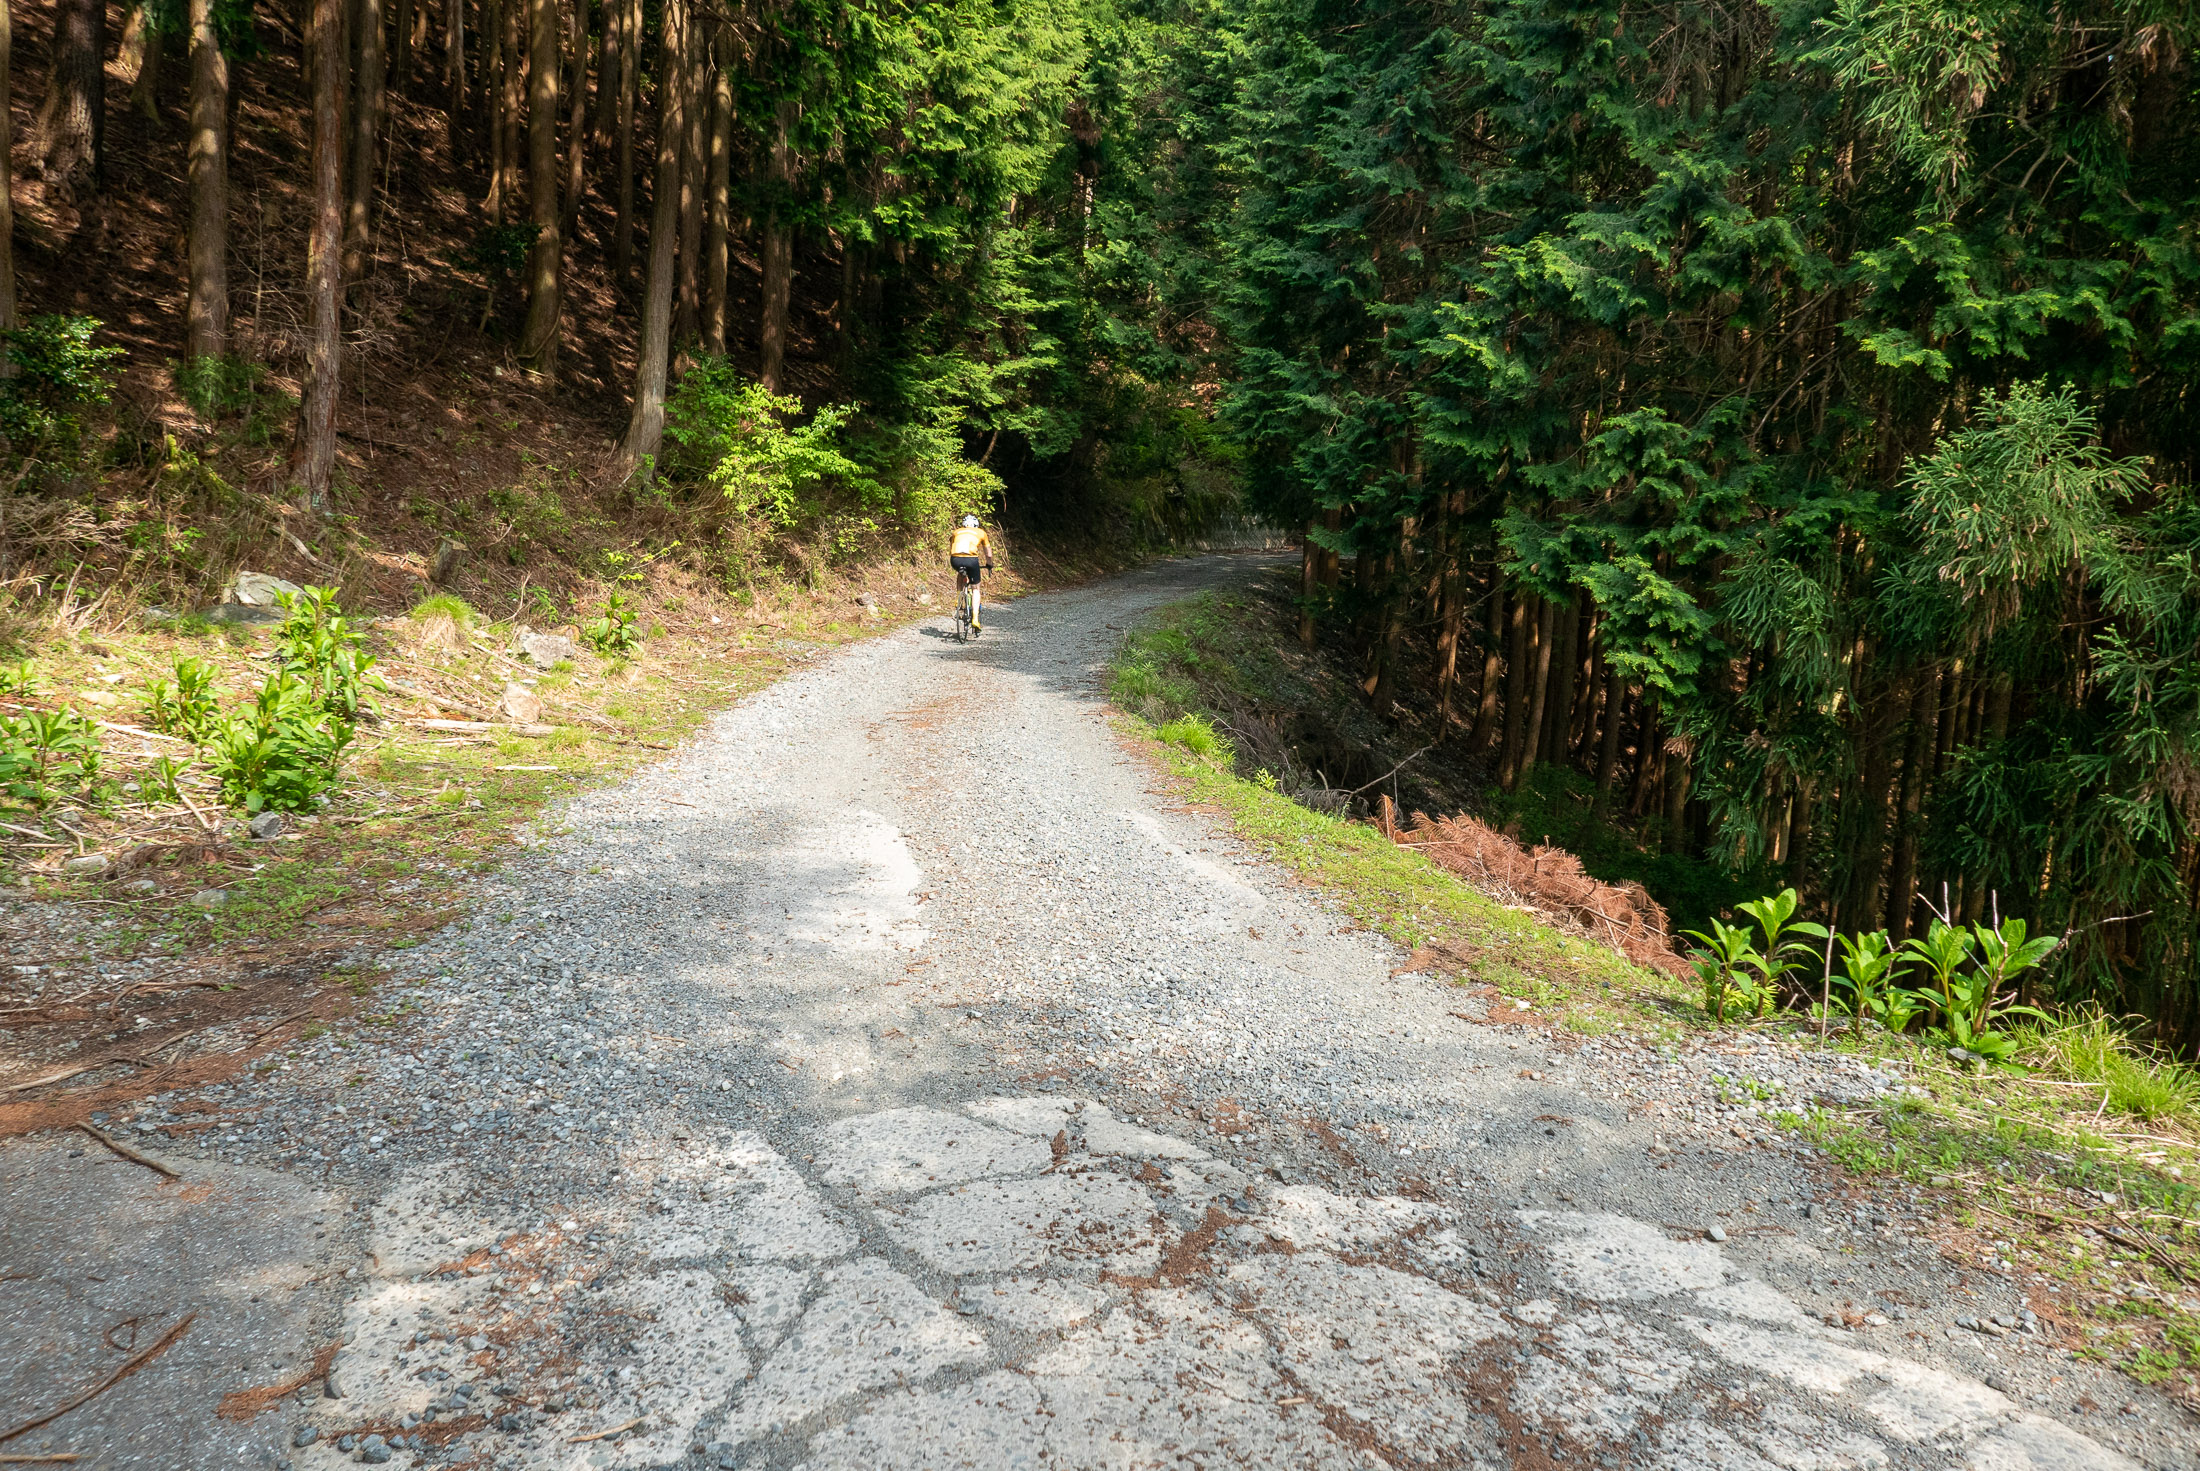
Panasonic LX100 at an effective 24mm — 1/125 sec, f/5, ISO 200 — map & image data — nearby photos
End of the (Paved) Road
I thought that we might get the nice view by continuing on the gravel for a while, but it didn't work out.... the best we got was to some big valley elsewhere:
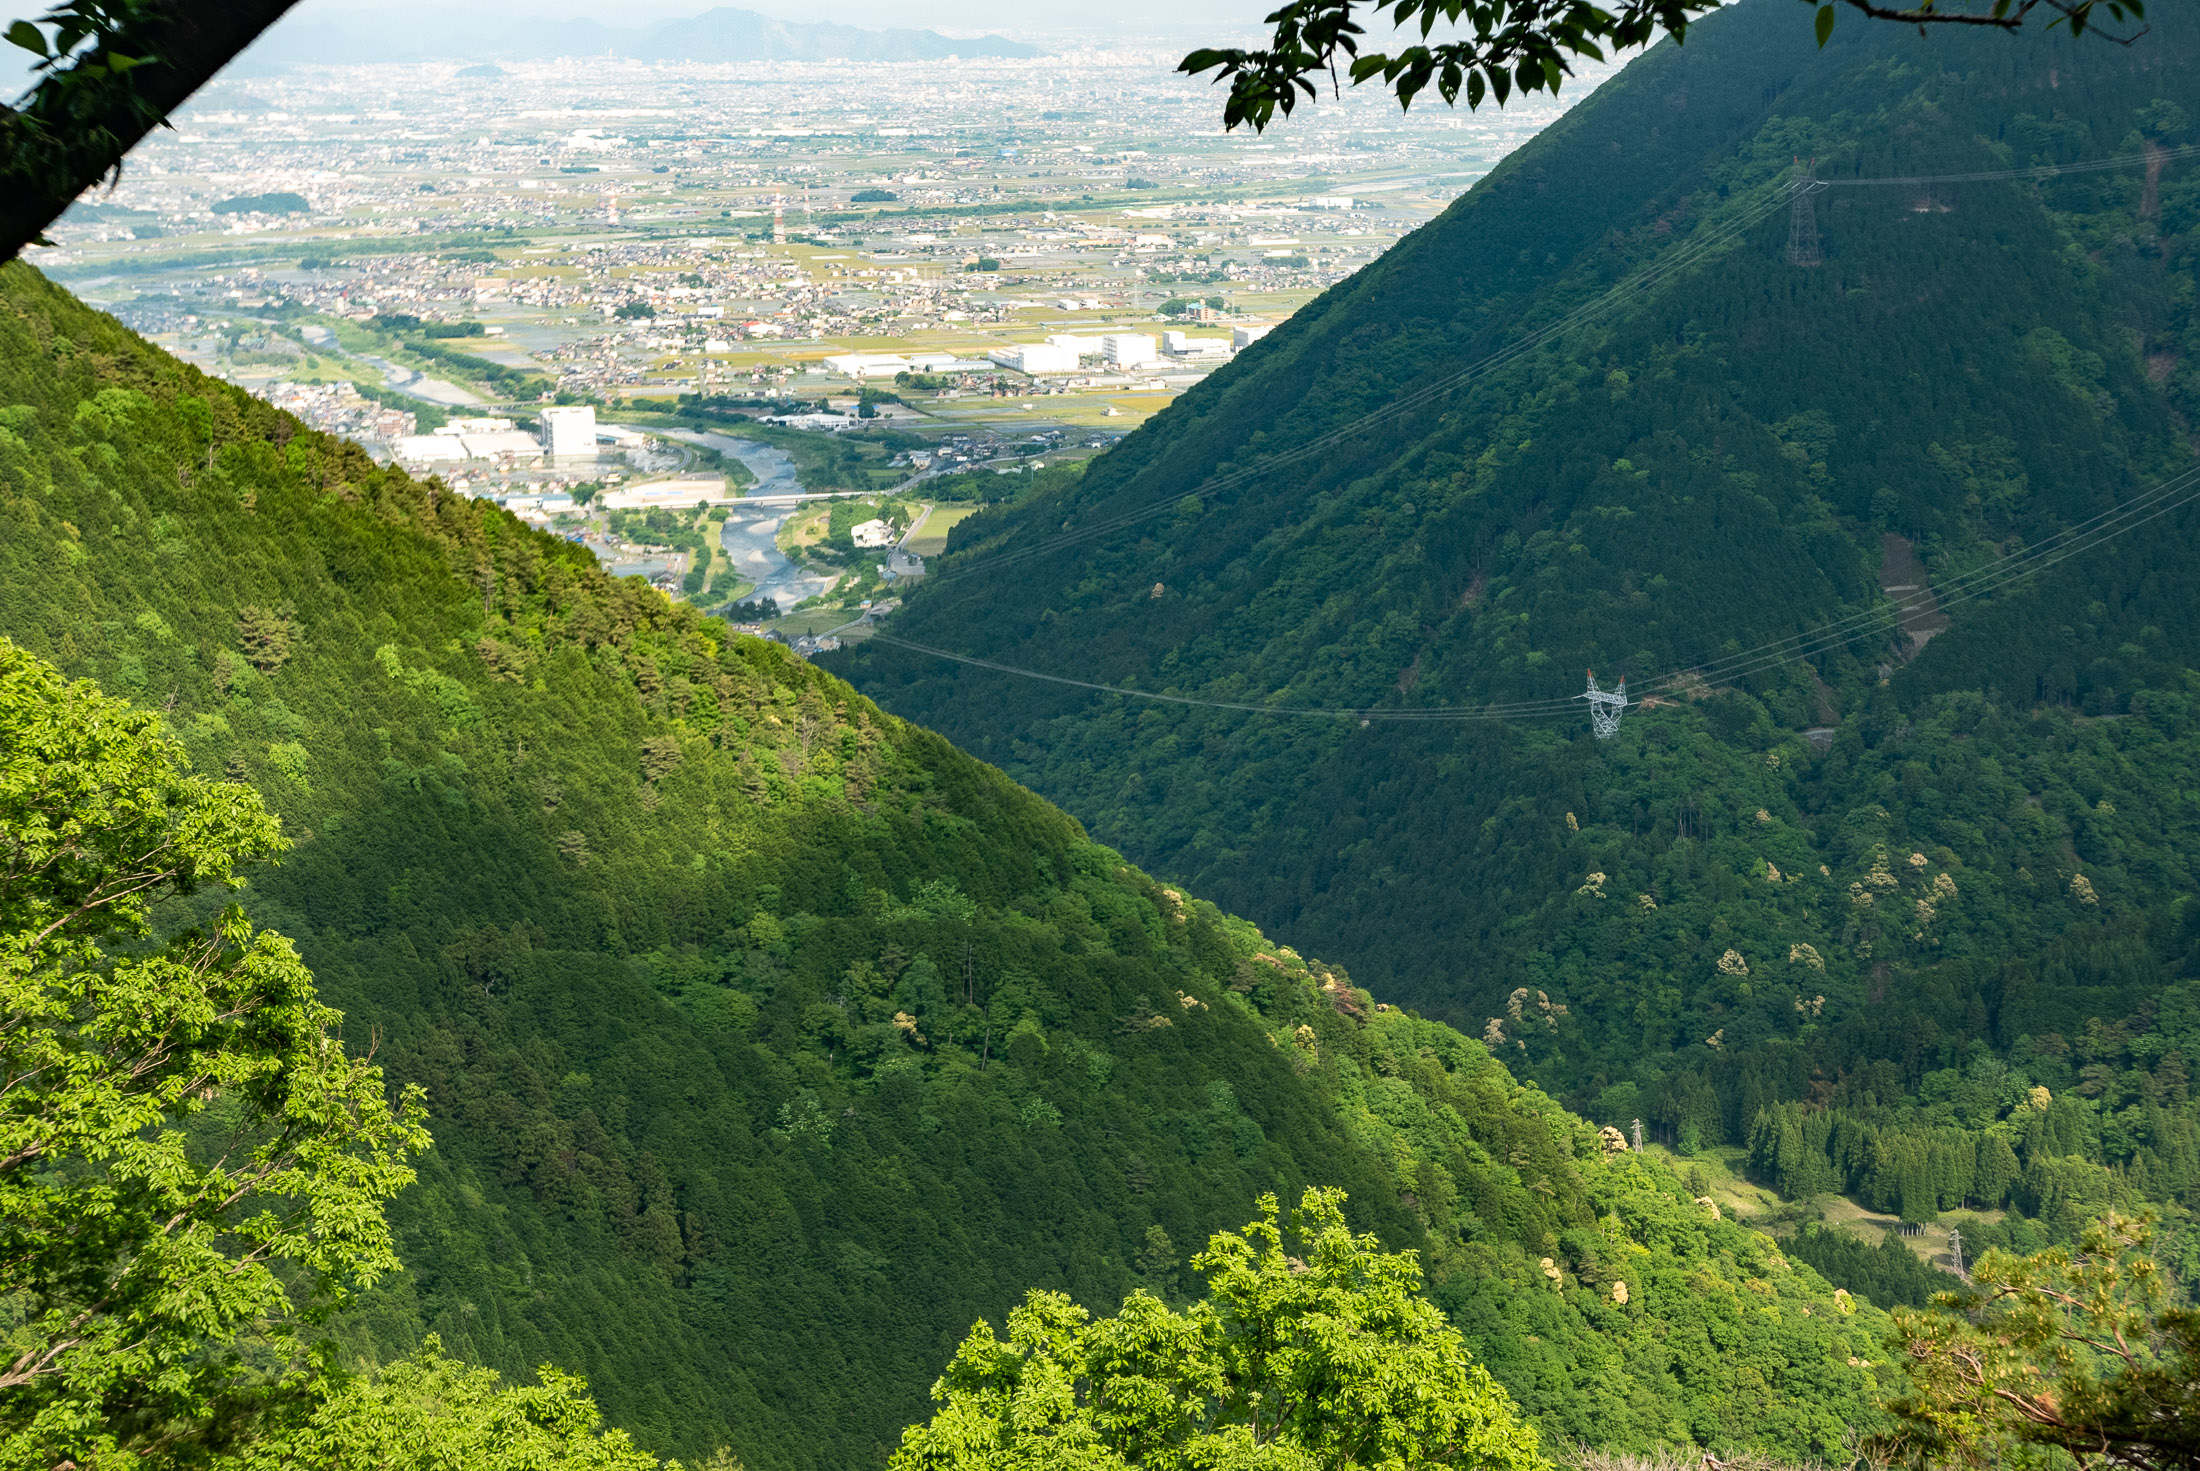
Panasonic LX100 at an effective 75mm — 1/160 sec, f/5.6, ISO 200 — map & image data — nearby photos
Not the View We Hoped For
but still nice
Panasonic LX100 at an effective 24mm — 1/125 sec, f/4.5, ISO 200 — map & image data — nearby photos
Back in the Village
At this point we'd done 170km (105mi) over almost 10 hours, and now it was time to head home. There was just one final mountain in the way...

Panasonic LX100 at an effective 24mm — 1/320 sec, f/5.6, ISO 200 — map & image data — nearby photos
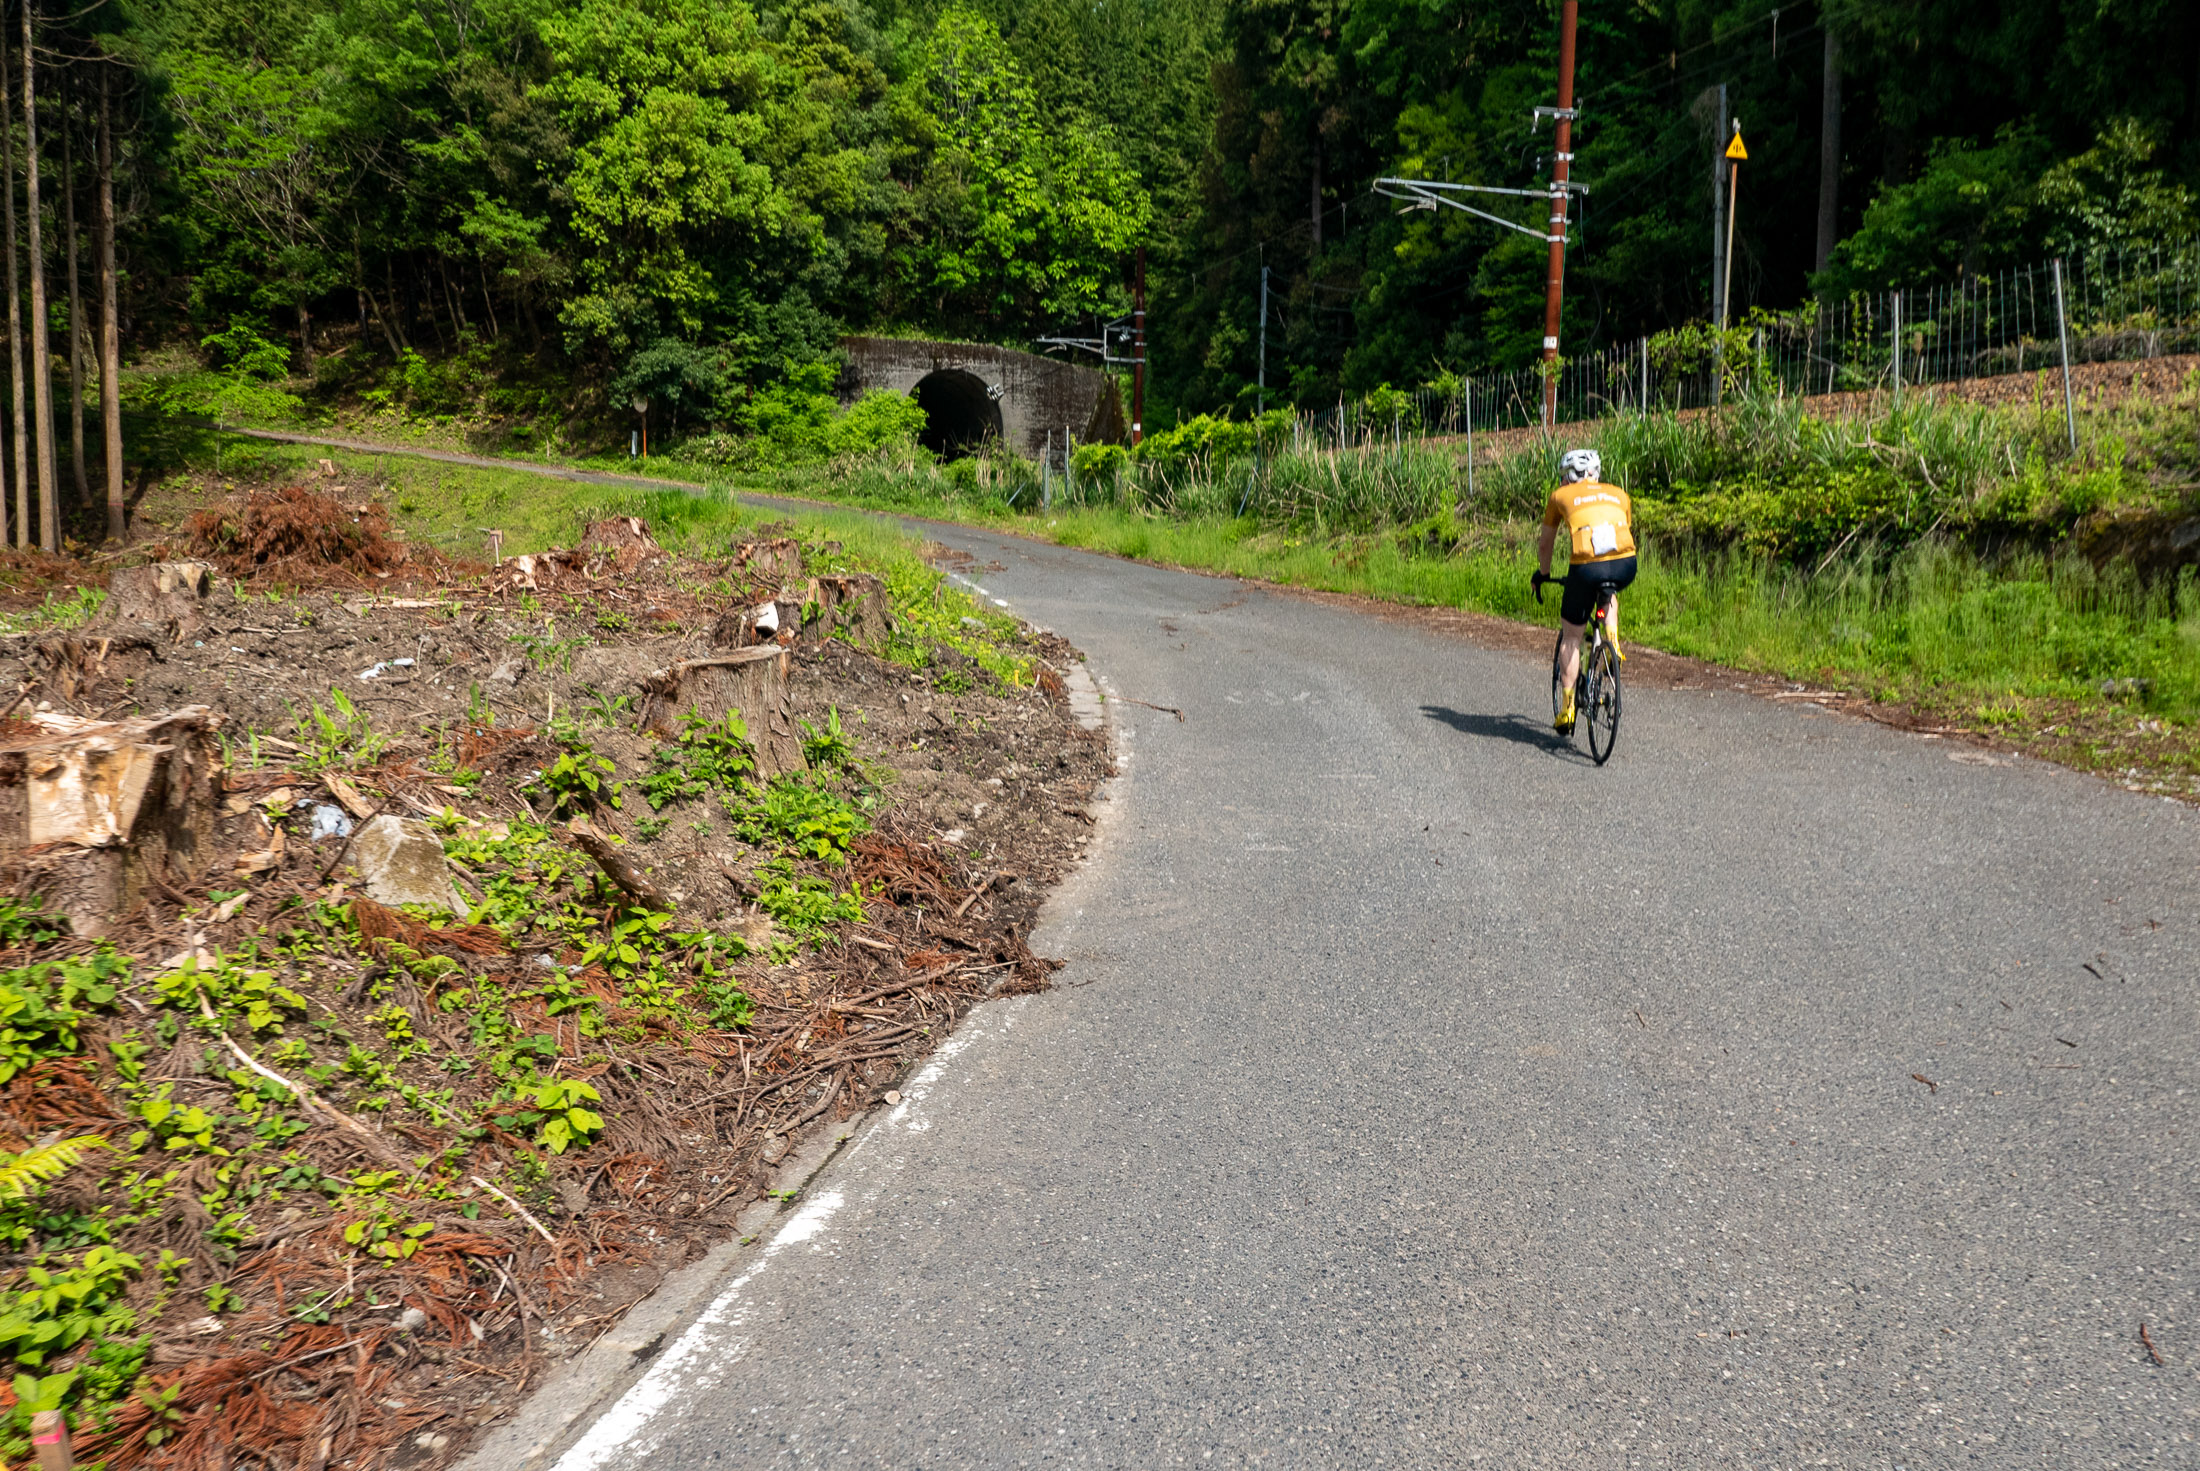
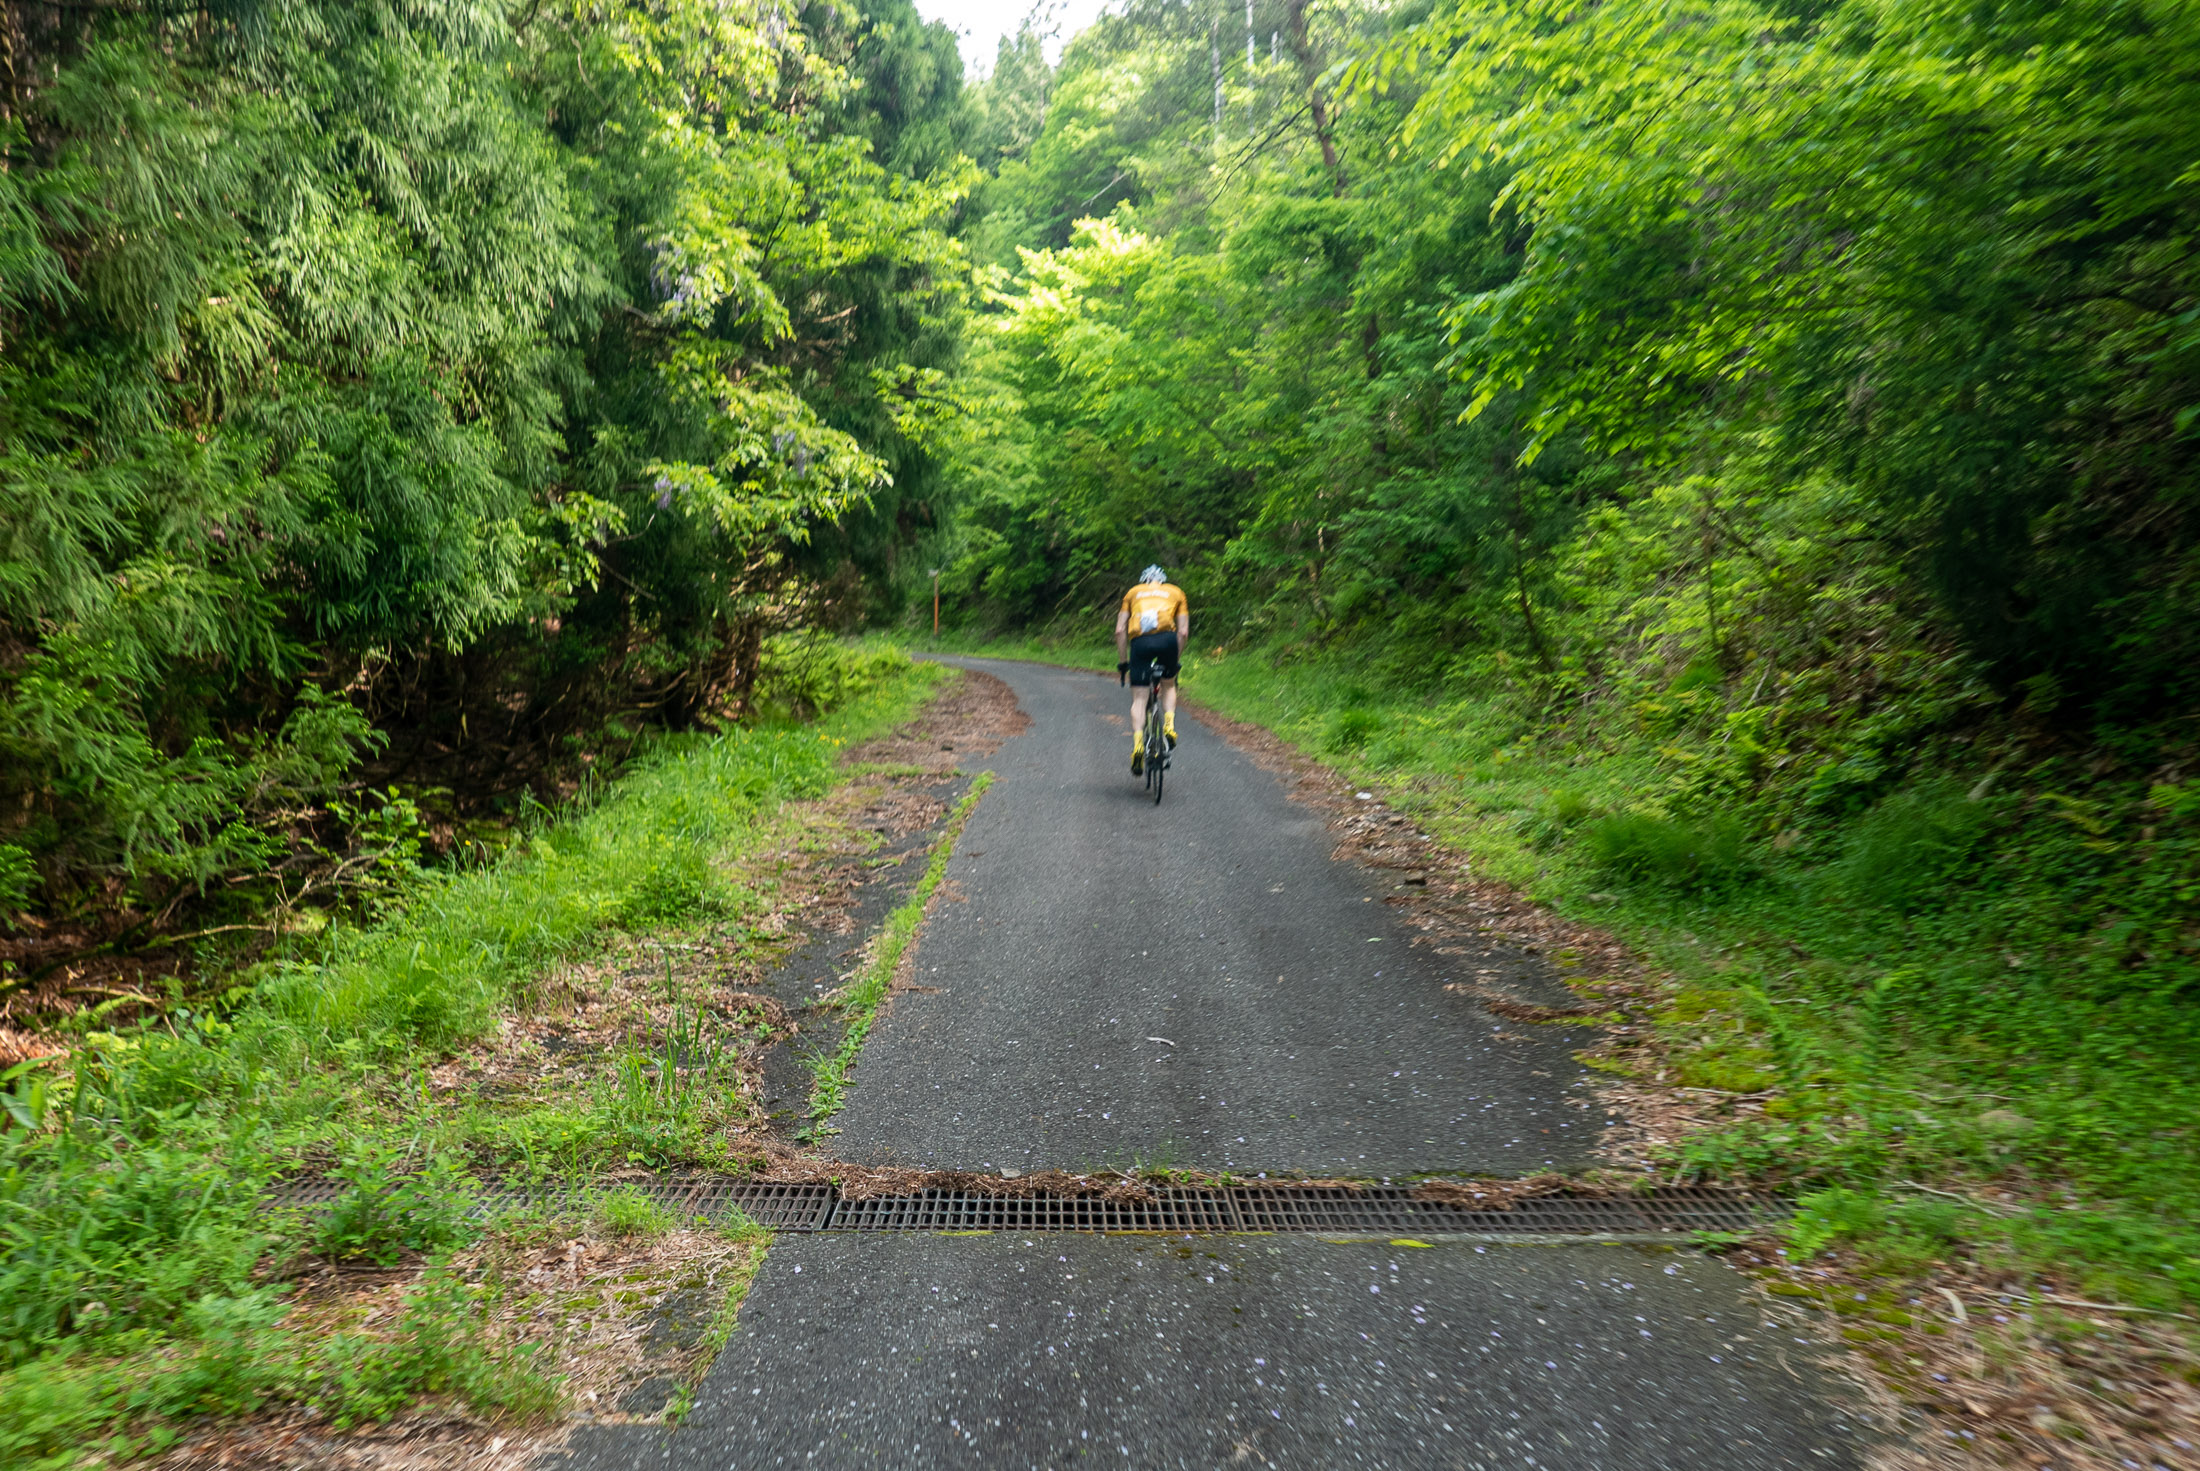
Entering the Final Climb
The final climb is more than 12km (7½mi) of gradually-steepening back mountain road. The final kilometer averages 9%.
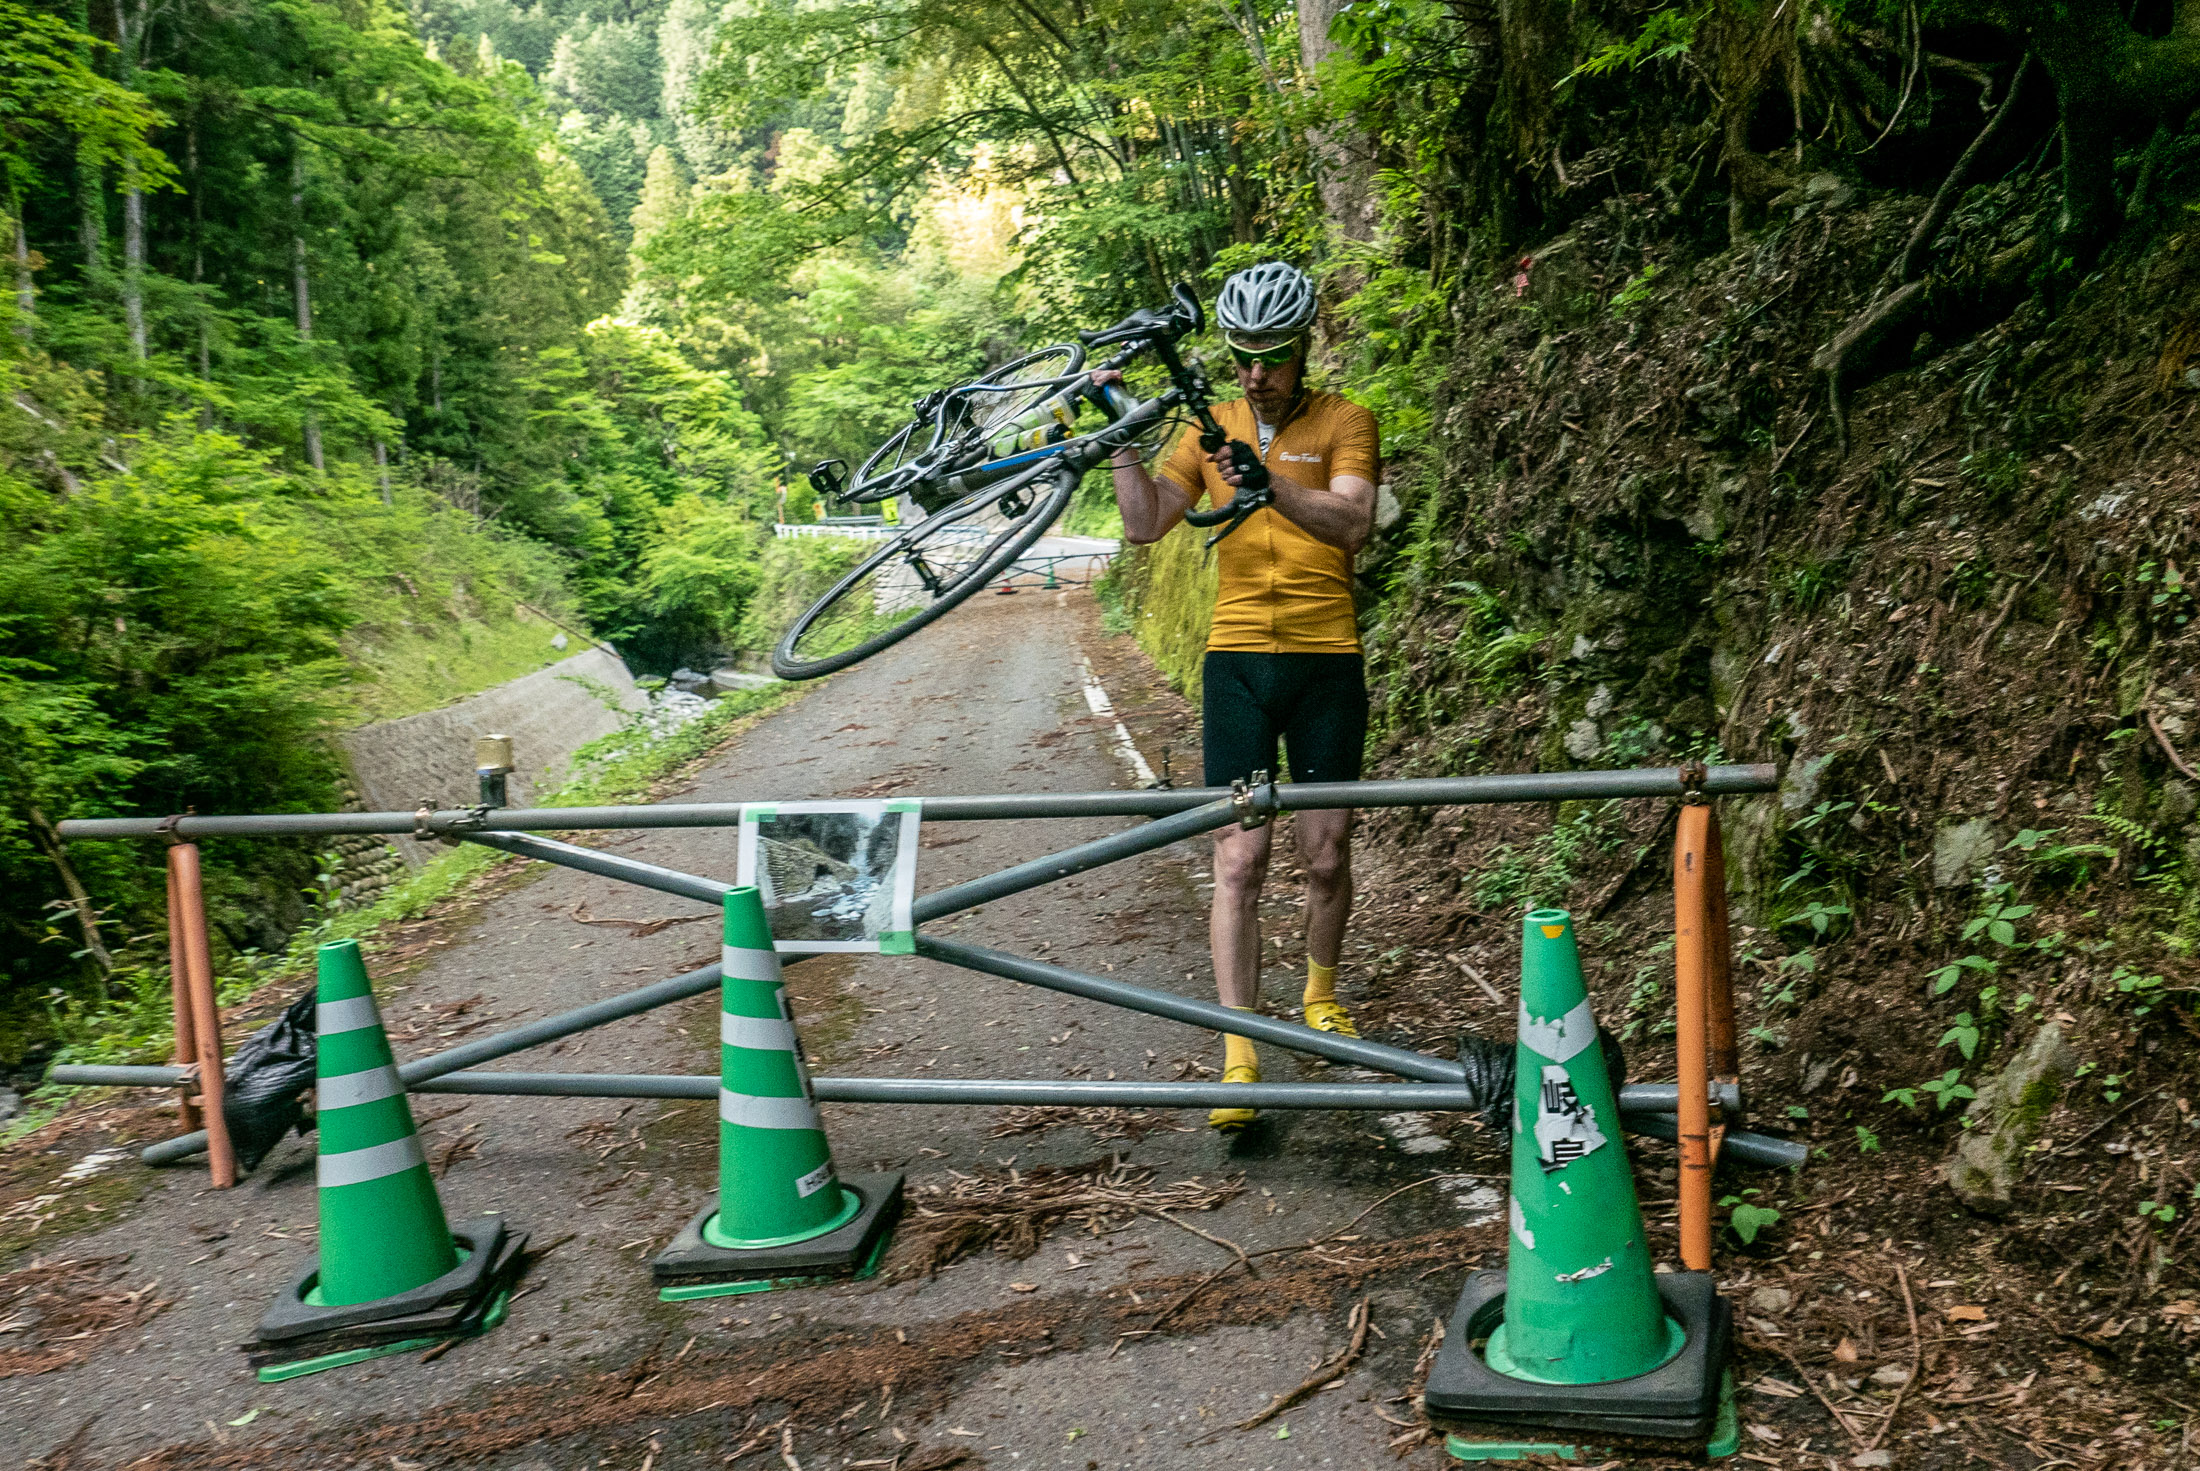
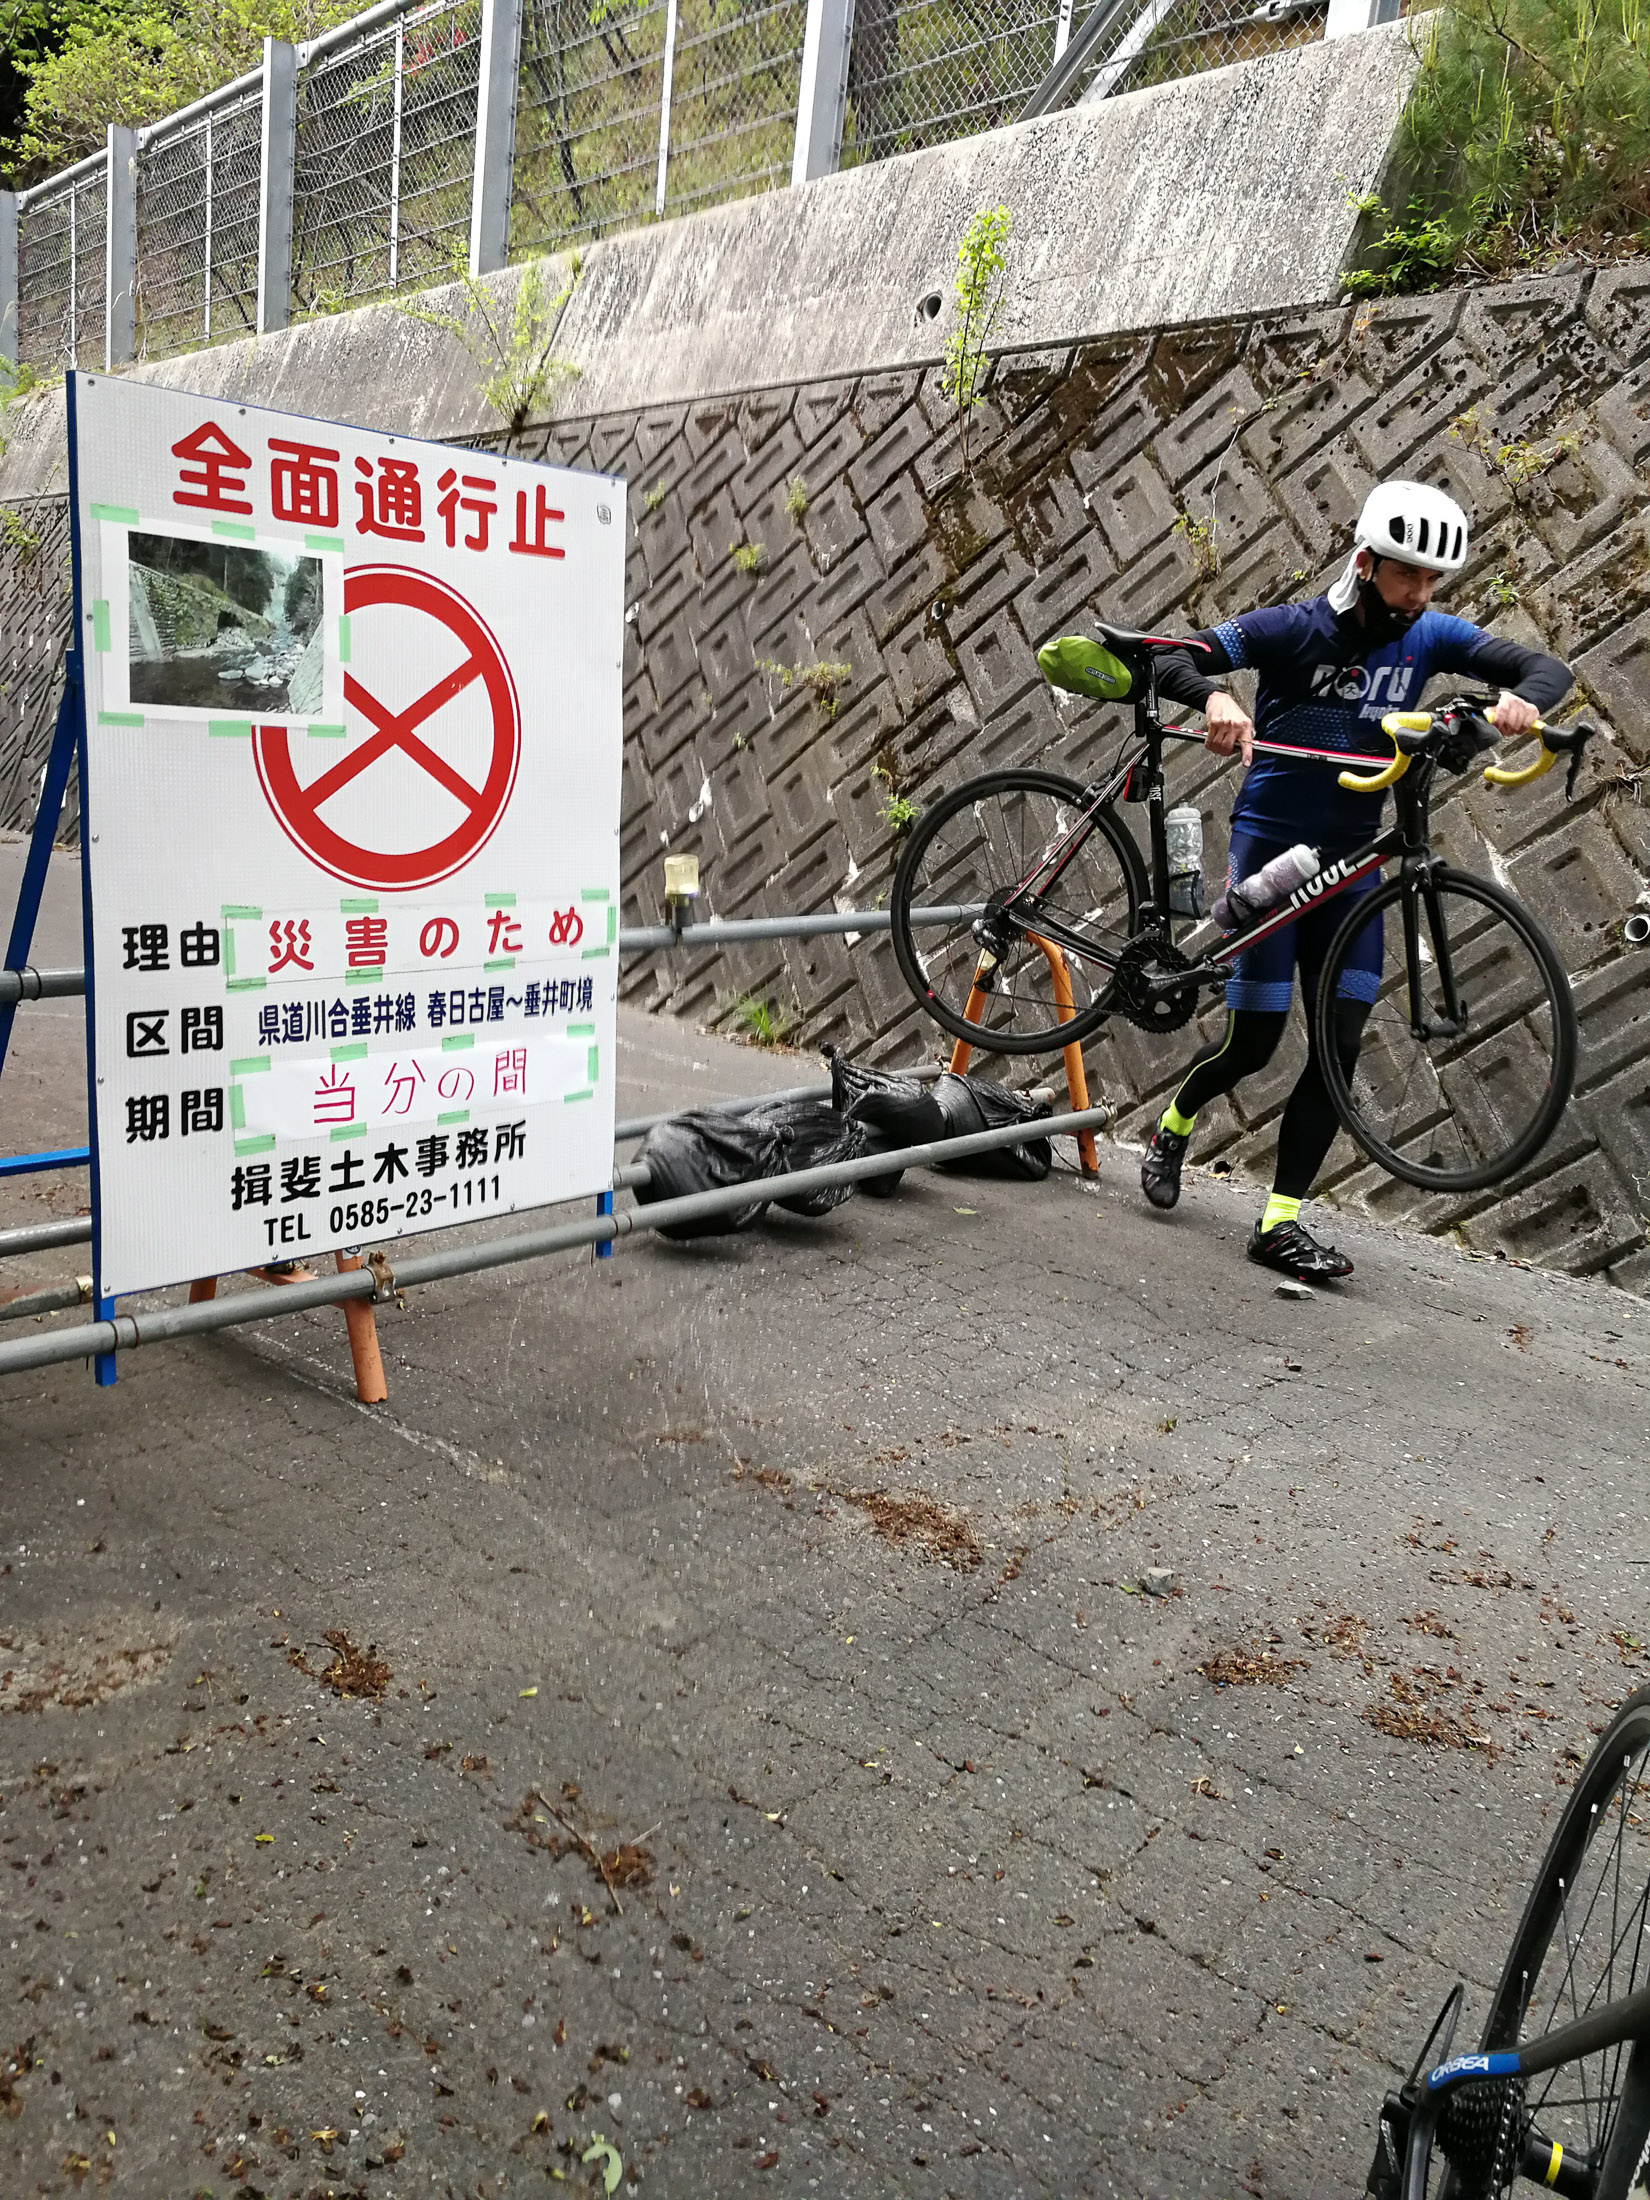
This road, too, was not without its challenges. Half an hour in, we come across a sudden unannounced road closure:

Panasonic LX100 at an effective 24mm — 1/200 sec, f/5.6, ISO 200 — map & image data — nearby photos
Blocked-Off Road
Panasonic LX100 at an effective 24mm — 1/125 sec, f/4, ISO 200 — map & image data — nearby photos
Not Closed to Bicycles
The soil under parts of the road was washed out, so it certainly wasn't safe for cars, but it was fine for bicycles keeping to one side.
Then I got my first flat tire in more than two years.
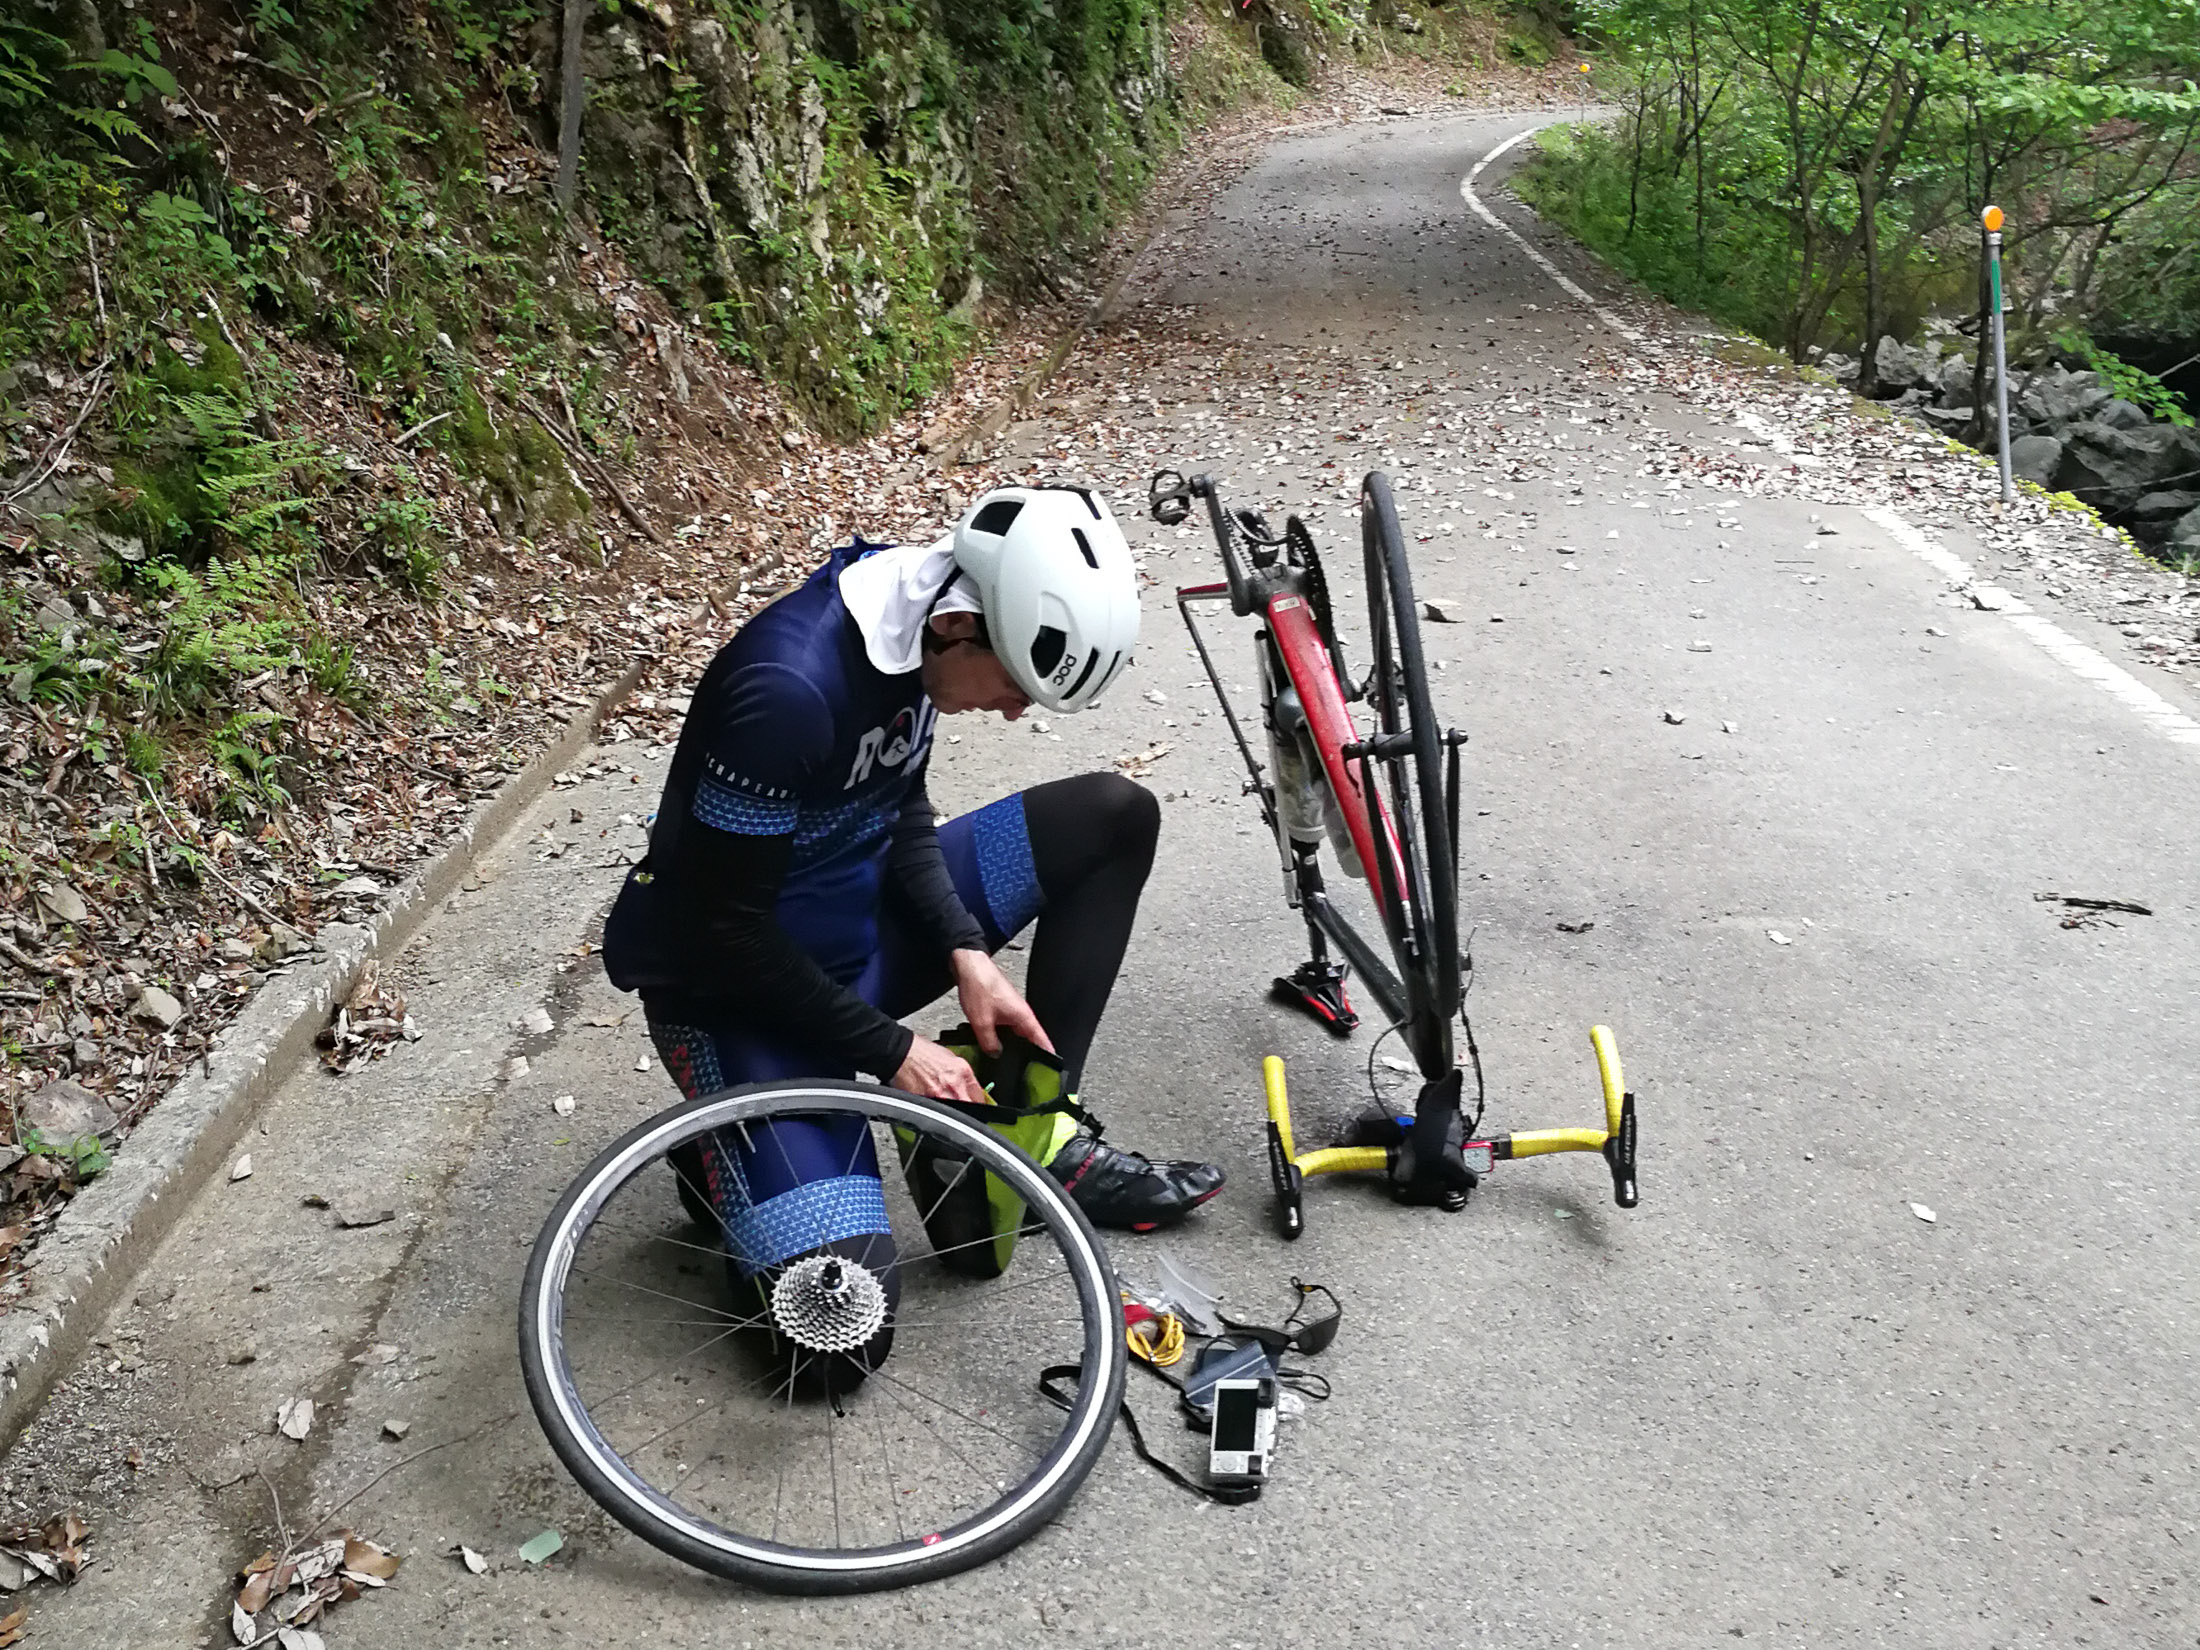
VTR-L29 at an effective 27mm — 1/120 sec, f/2.2, ISO 250 — map & image data — nearby photos
Fixing a Flat
My first in over two years, but it's like riding a bike...
photo by Gorm Kipperberg
I used to get flat tires all the time, but that stopped when I switched to Continental Gatorback tires, and after that switch I went for 11,000 tire kilometers until I got a pinch flat two years ago on this ride. One gets a pinch flat when they don't have enough tire pressure for the conditions, and that's exactly what happened today. I probably should have checked the tire pressure before heading out on a 300km ride. Doh!
I've gone almost 23,000 tire kilometers since the previous flat. Not bad. That's two flats, due to my own stupid fault, in almost 21,000 tire miles. Not bad indeed.
What was bad was my spare tube. I used to always bring two spare tubes, but after 1½ years of no flats, I switched to carrying just a single spare, and it turns out that this single spare had a manufacturing defect. Doh!
Thankfully Gorm had two spares, so I didn't have to resort to patching a broken tube.
My tire pump then broke.
I'd not needed it for years for myself, but had used it plenty in helping others, so I'm not sure why it decided to die now, but had Gorm not been there, I would have been stranded. I used his pump to pump up his tube in my tire.
Now I was paranoid about another pinch flat, as it's difficult to get really high pressure with these small hand pumps. I took it slowly and carefully up, then down the other mostly-bumpy side.
VTR-L29 at an effective 27mm — 1/120 sec, f/2.2, ISO 160 — map & image data — nearby photos
Passing the Barrier
leading from the other direction
photo by Gorm Kipperberg
Panasonic LX100 at an effective 24mm — 1/125 sec, f/5.6, ISO 200 — map & image data — nearby photos
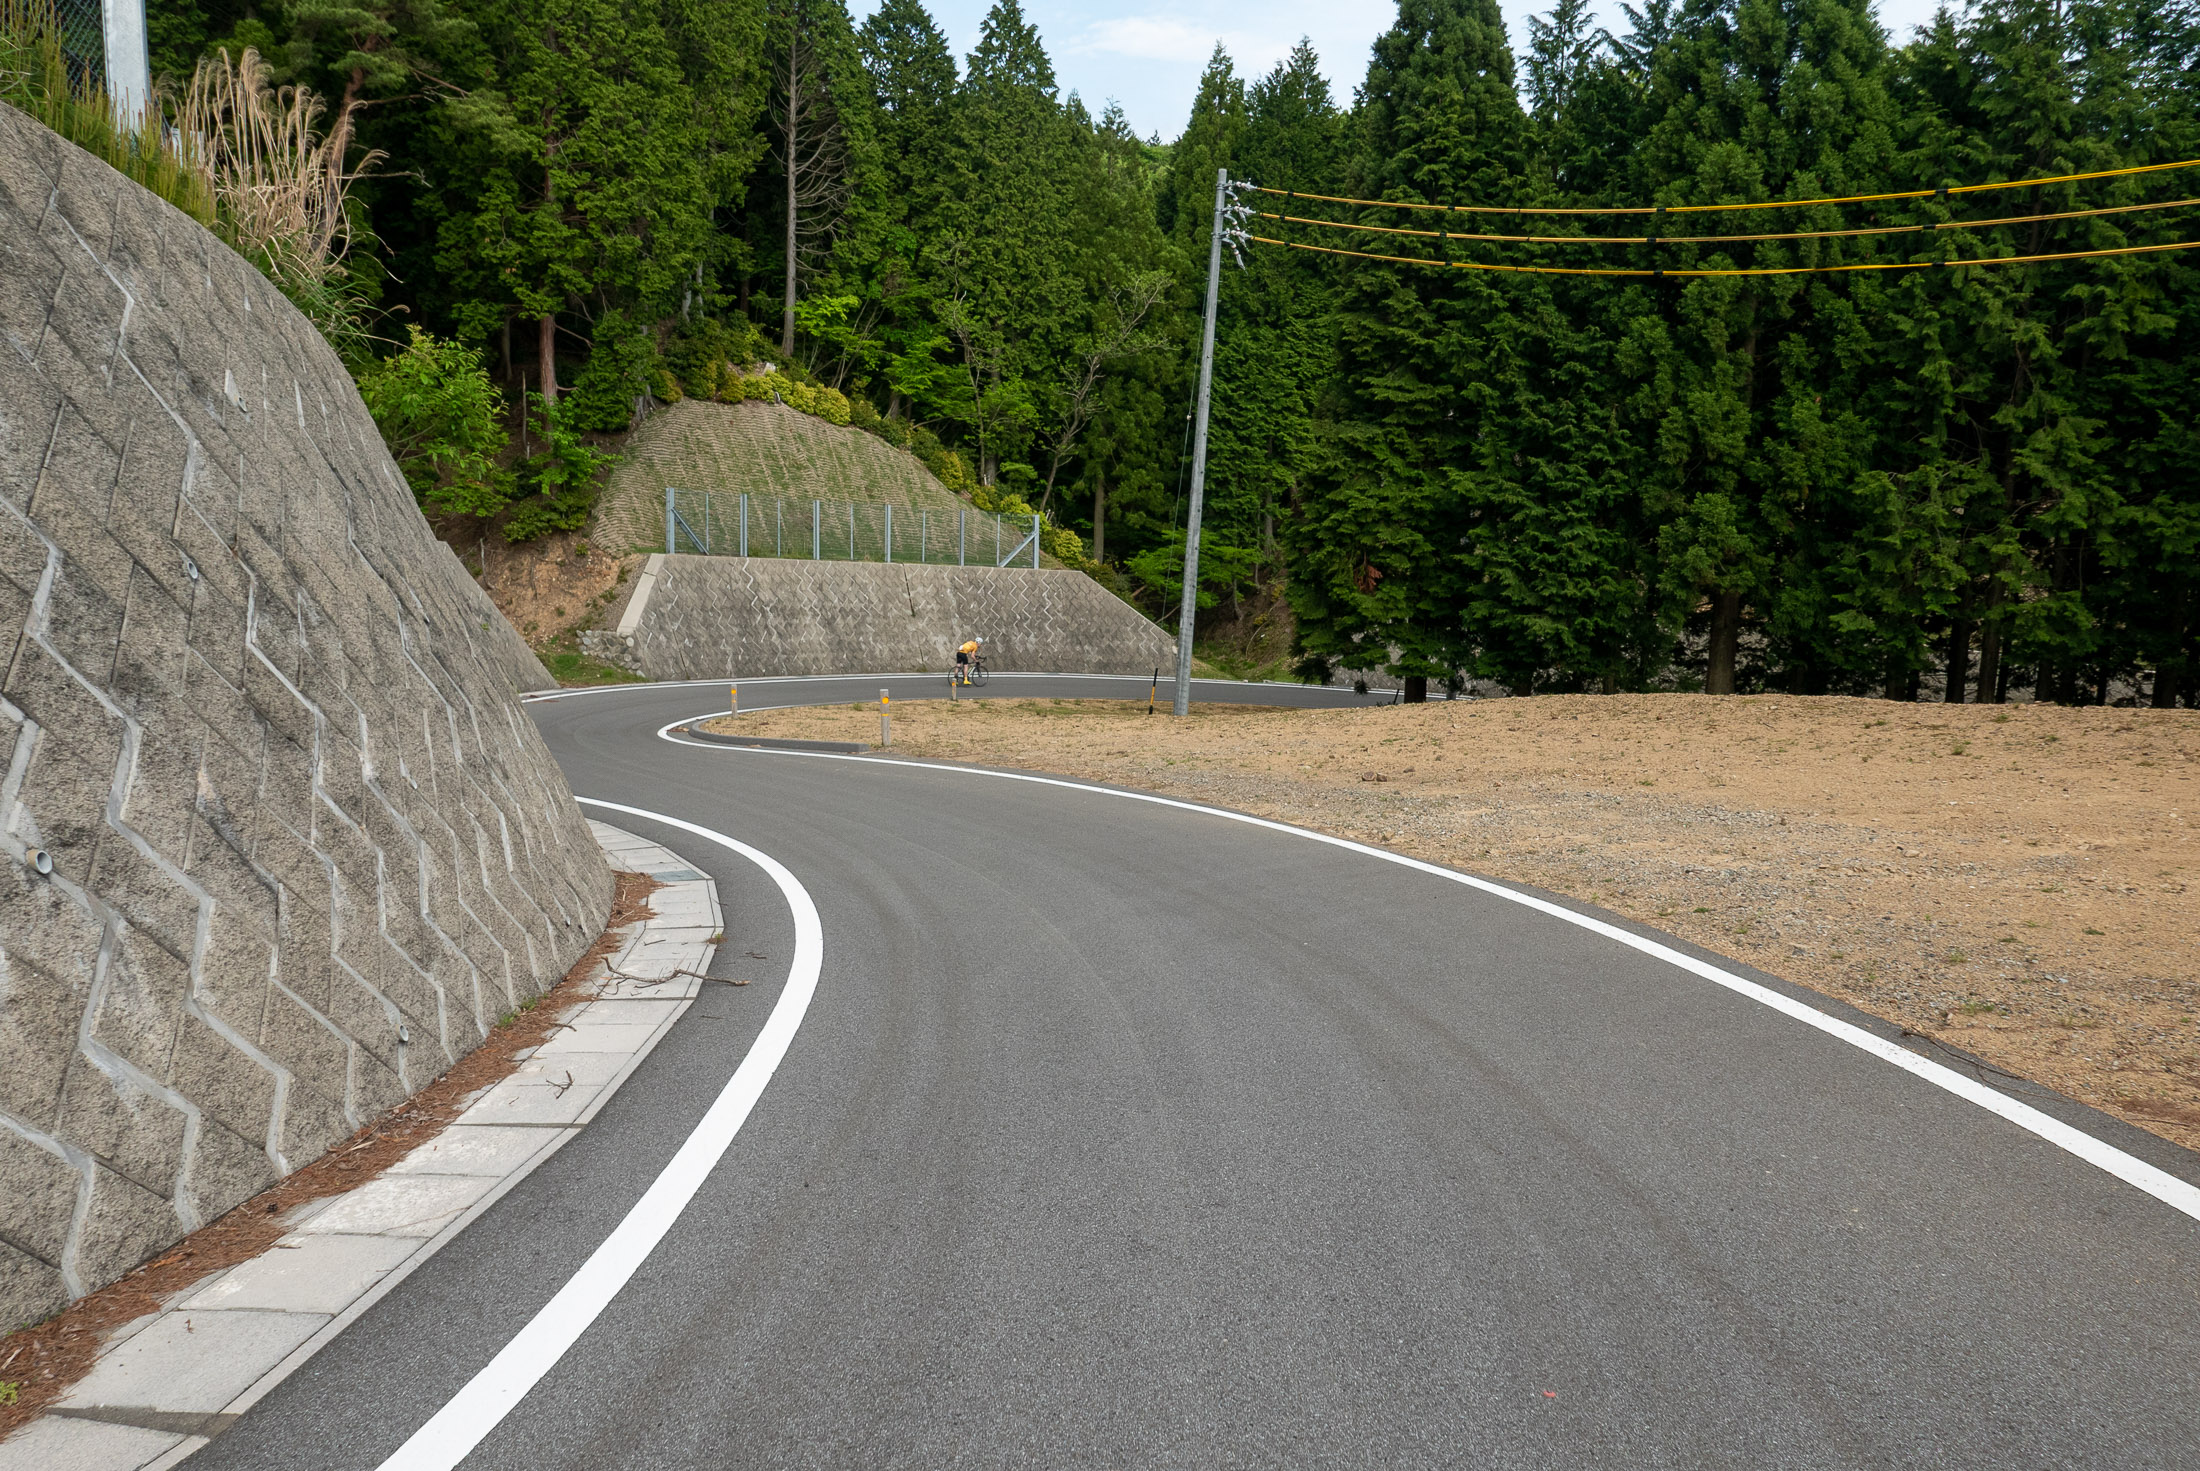
Lovely New Tarmac
though the road surface for most of the descent was, unfortunately, lunar
We descended into the historic city of Sekigahara. I'd intended to stop by the site of The Battle of Sekigahara, which 420 years ago set Japan on the path to being a single political unit instead of a collection of warring kingdoms, but instead I stopped by a bike stop to fill my tire properly, and to buy another spare tube.
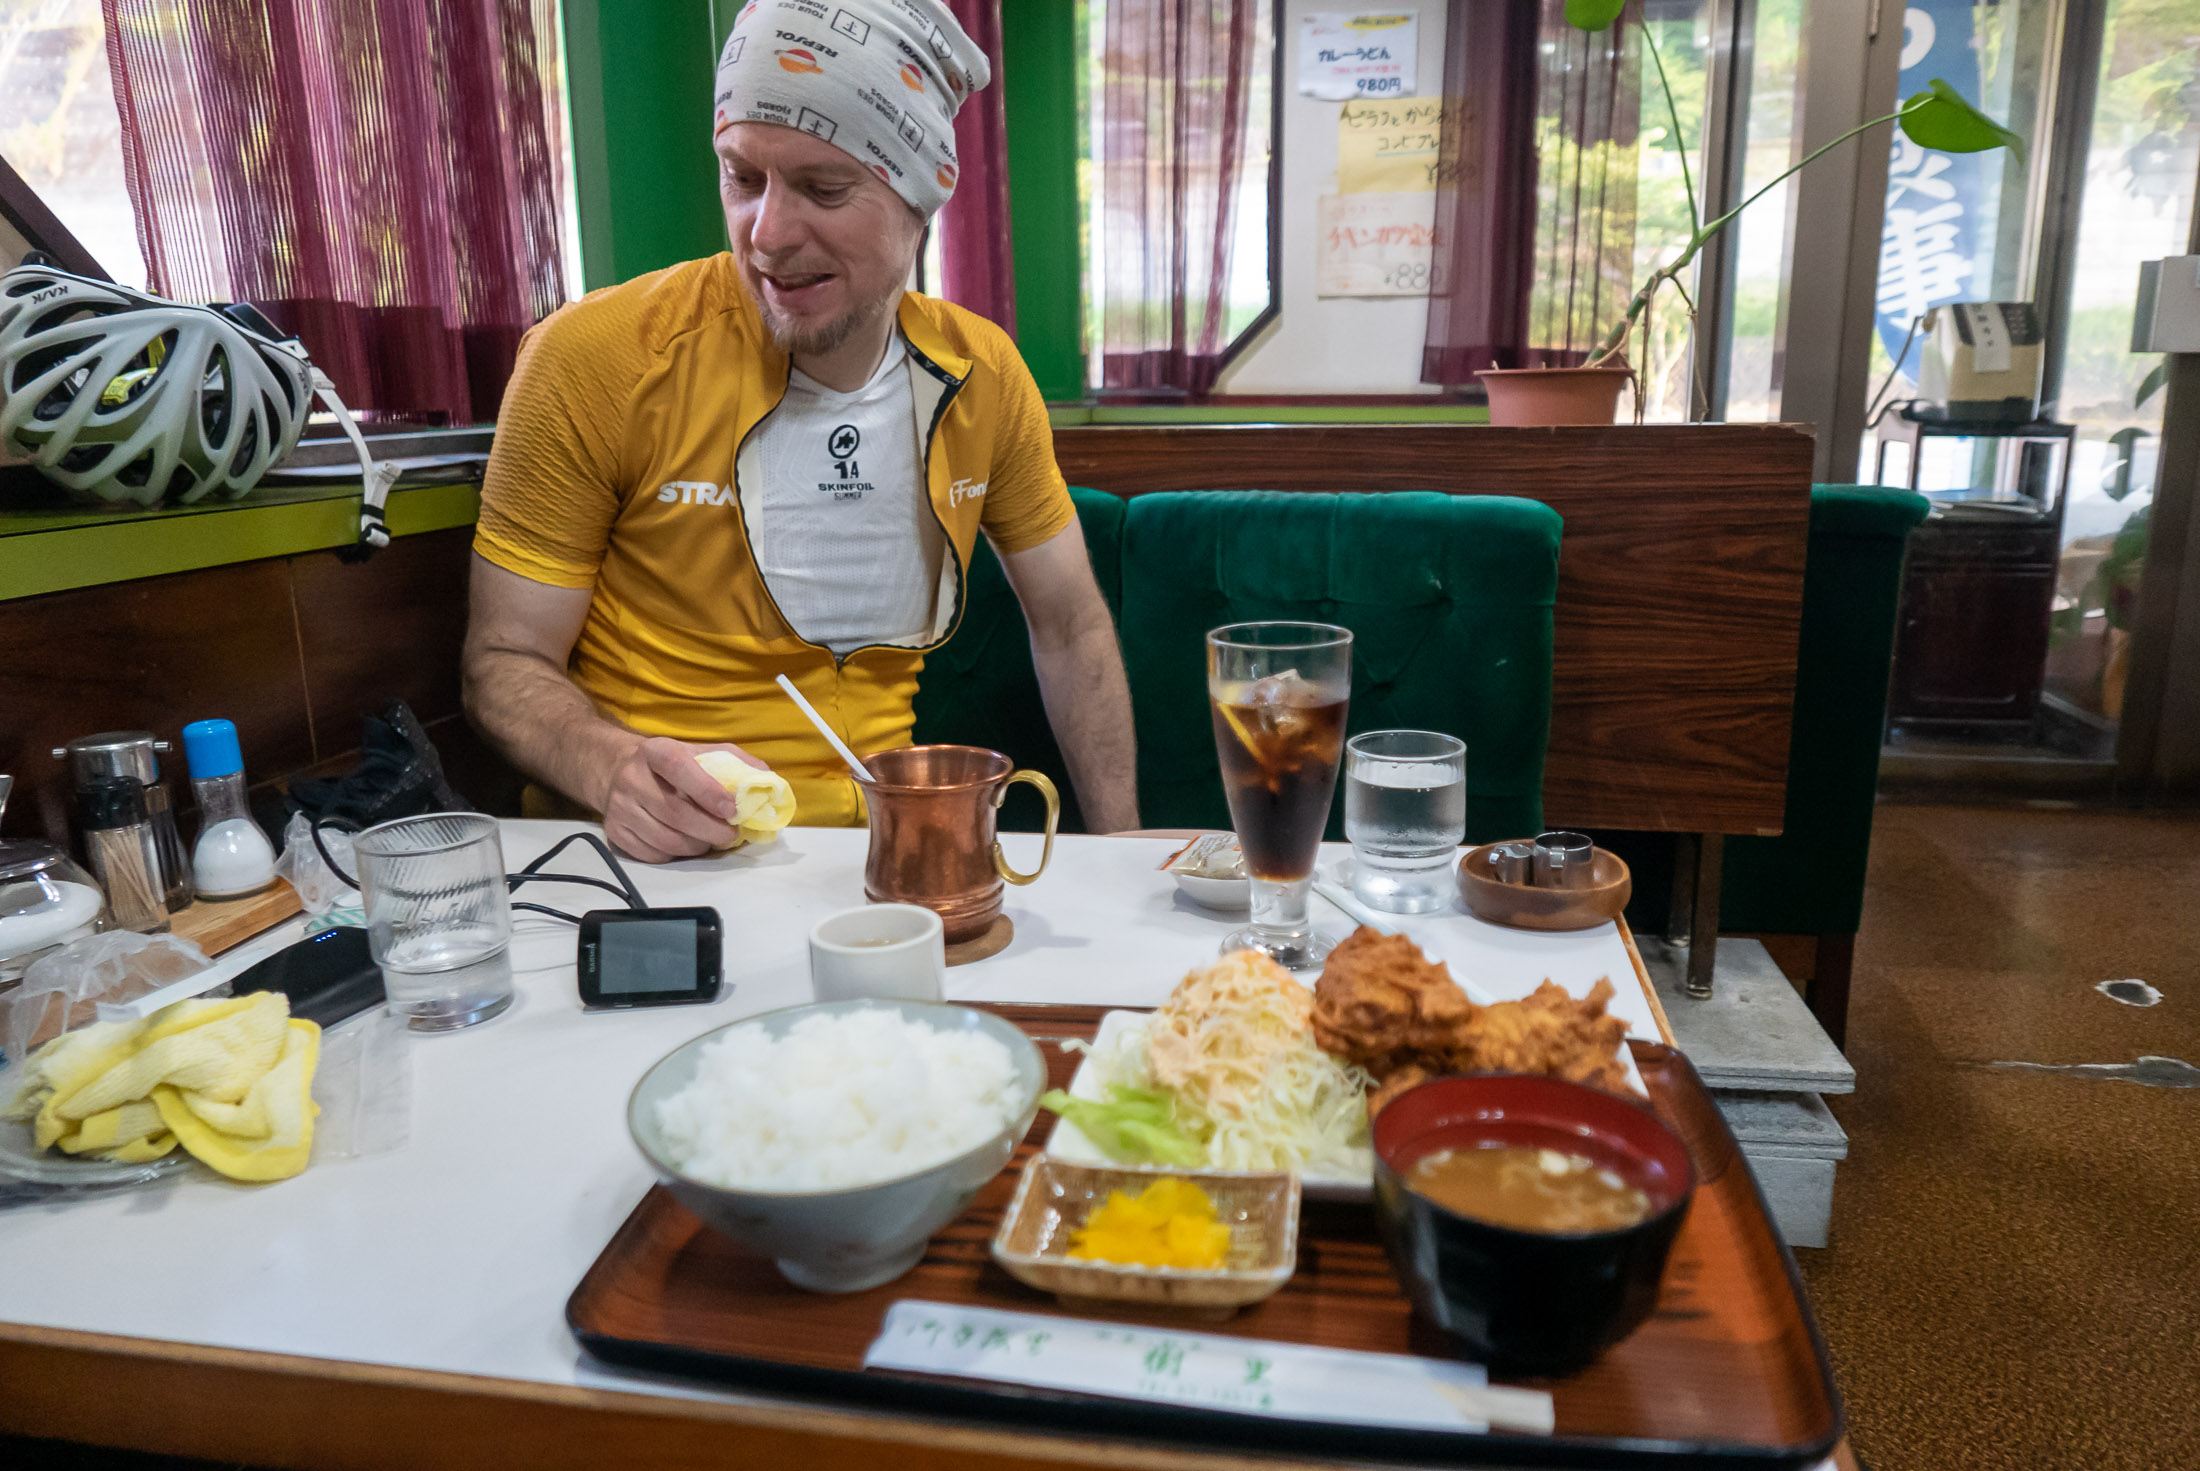
10km of rolling hills later, we stopped for dinner, but it turns out that we were both slightly nauseous, so we barely ate anything.
Panasonic LX100 at an effective 24mm — 1/125 sec, f/1.7, ISO 1250 — map & image data — nearby photos
Wasted Dinner
13 hours and 210km (130mi) into the ride
Once we left at about 6:30pm, we had about 92km of mostly-flat lakeside road between us and home, so we put the pedal to the metal.
Panasonic LX100 at an effective 24mm — 1/125 sec, f/1.8, ISO 200 — map & image data — nearby photos
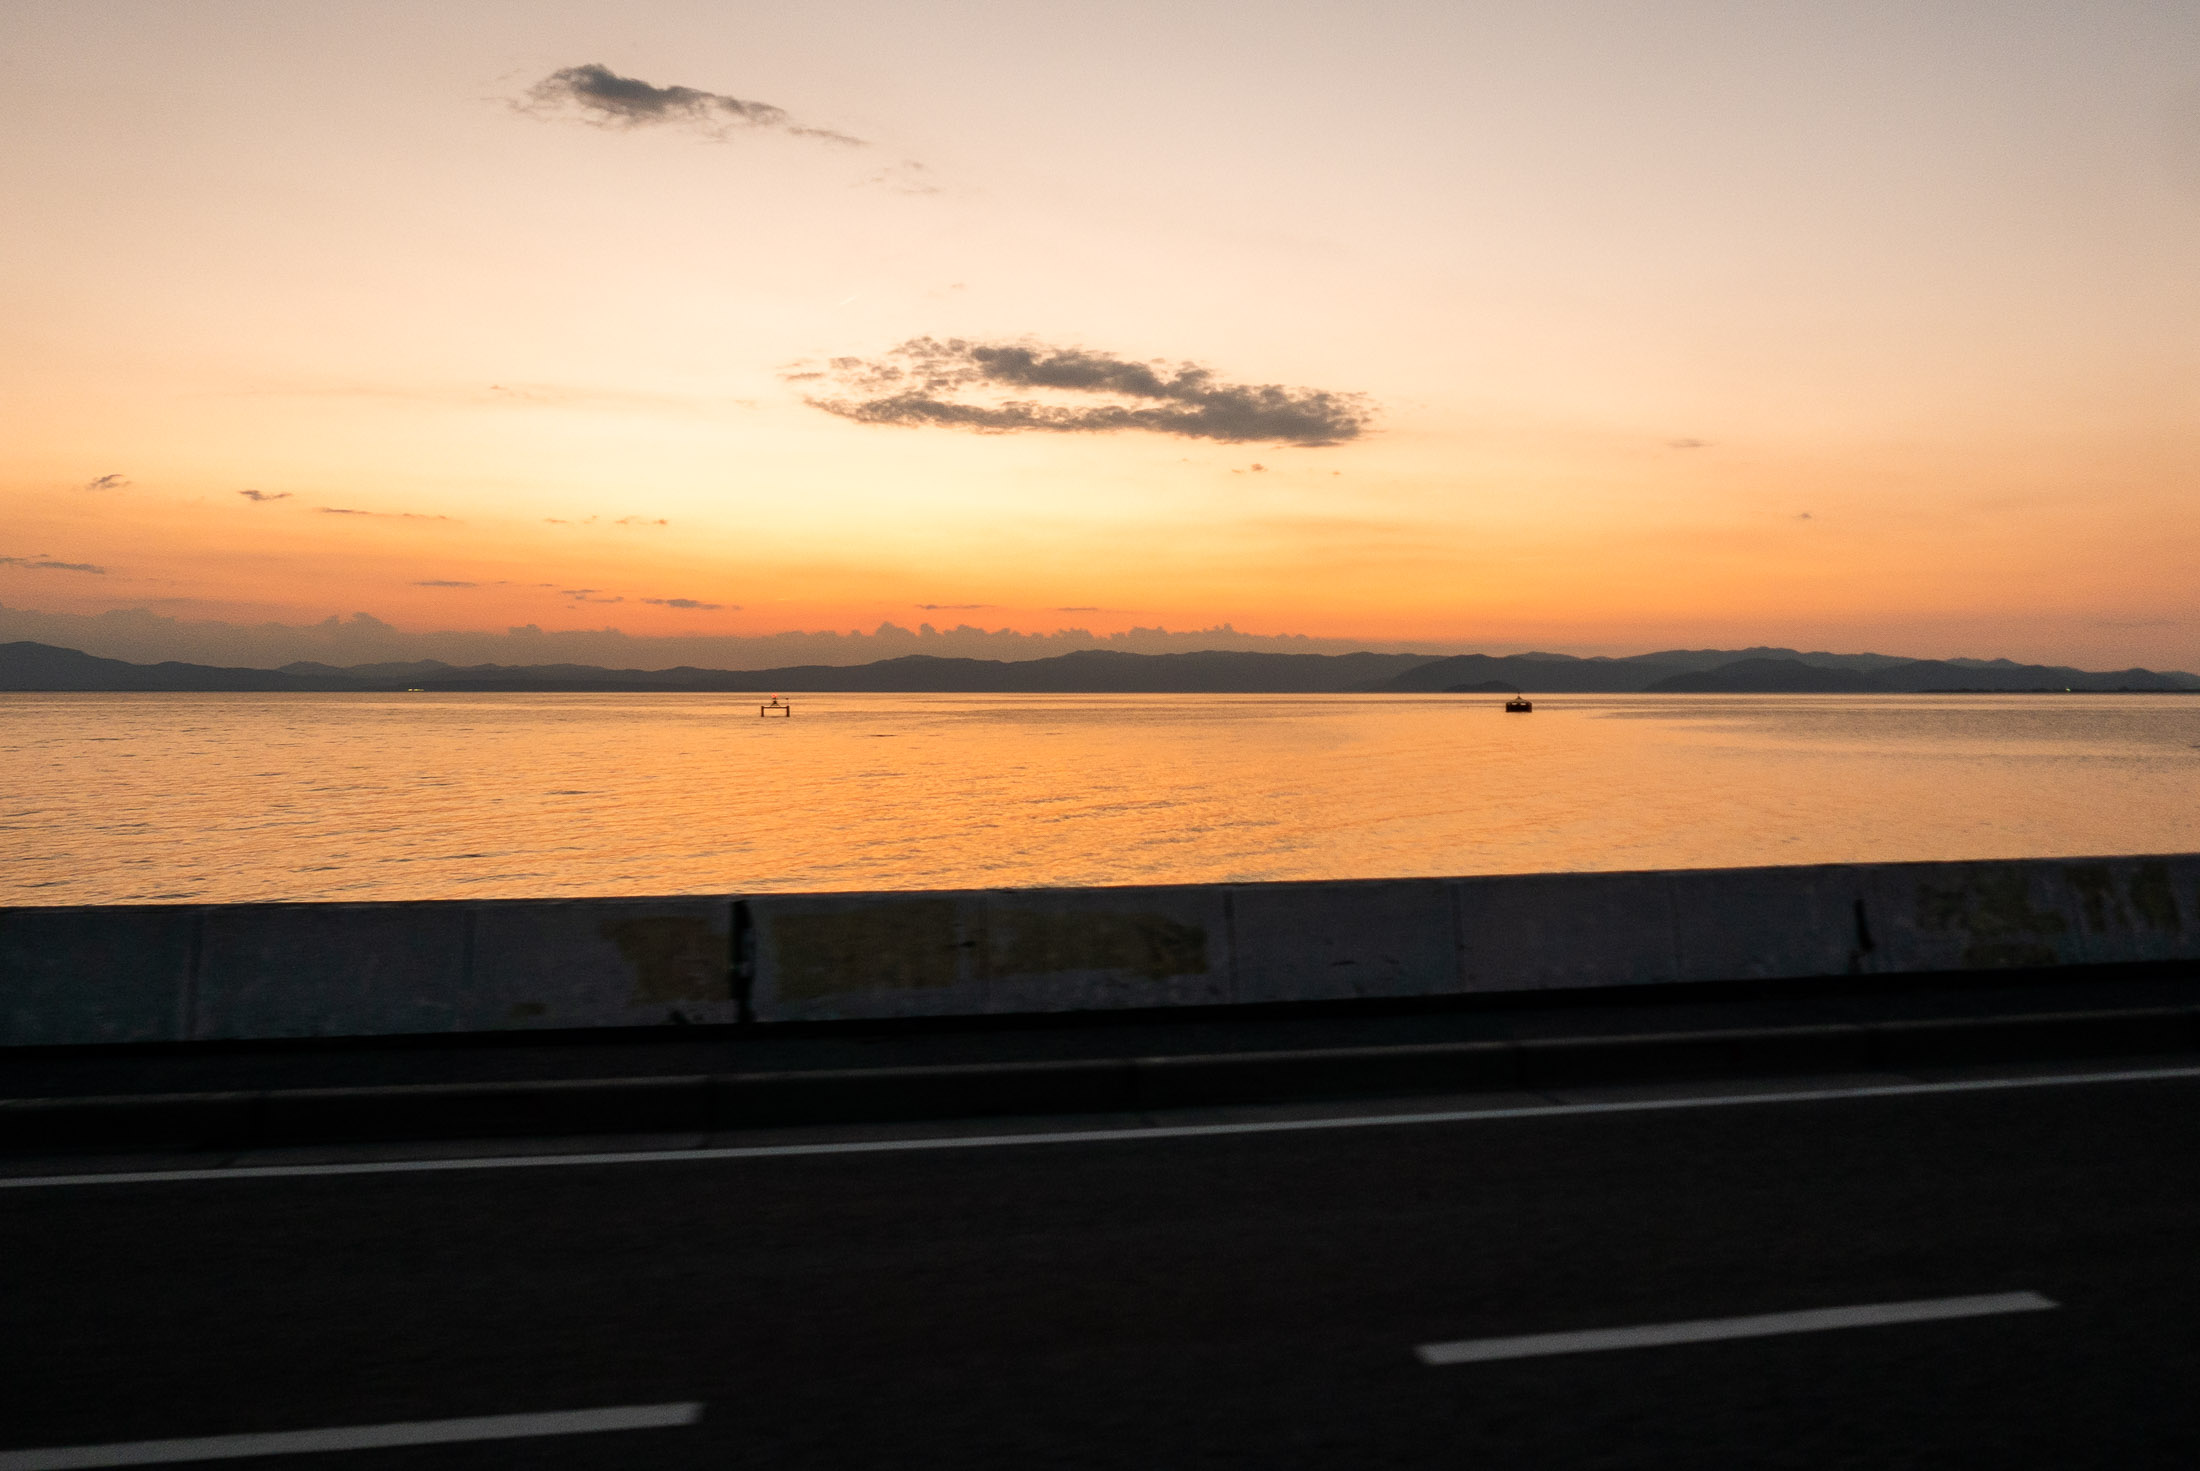
Back at Lake Biwa
last light
7:02pm — taken at 33 kph (21 mph)
Our average speed during the last few hours, mostly in the dark, was faster than during the first few hours. We wanted to get home.
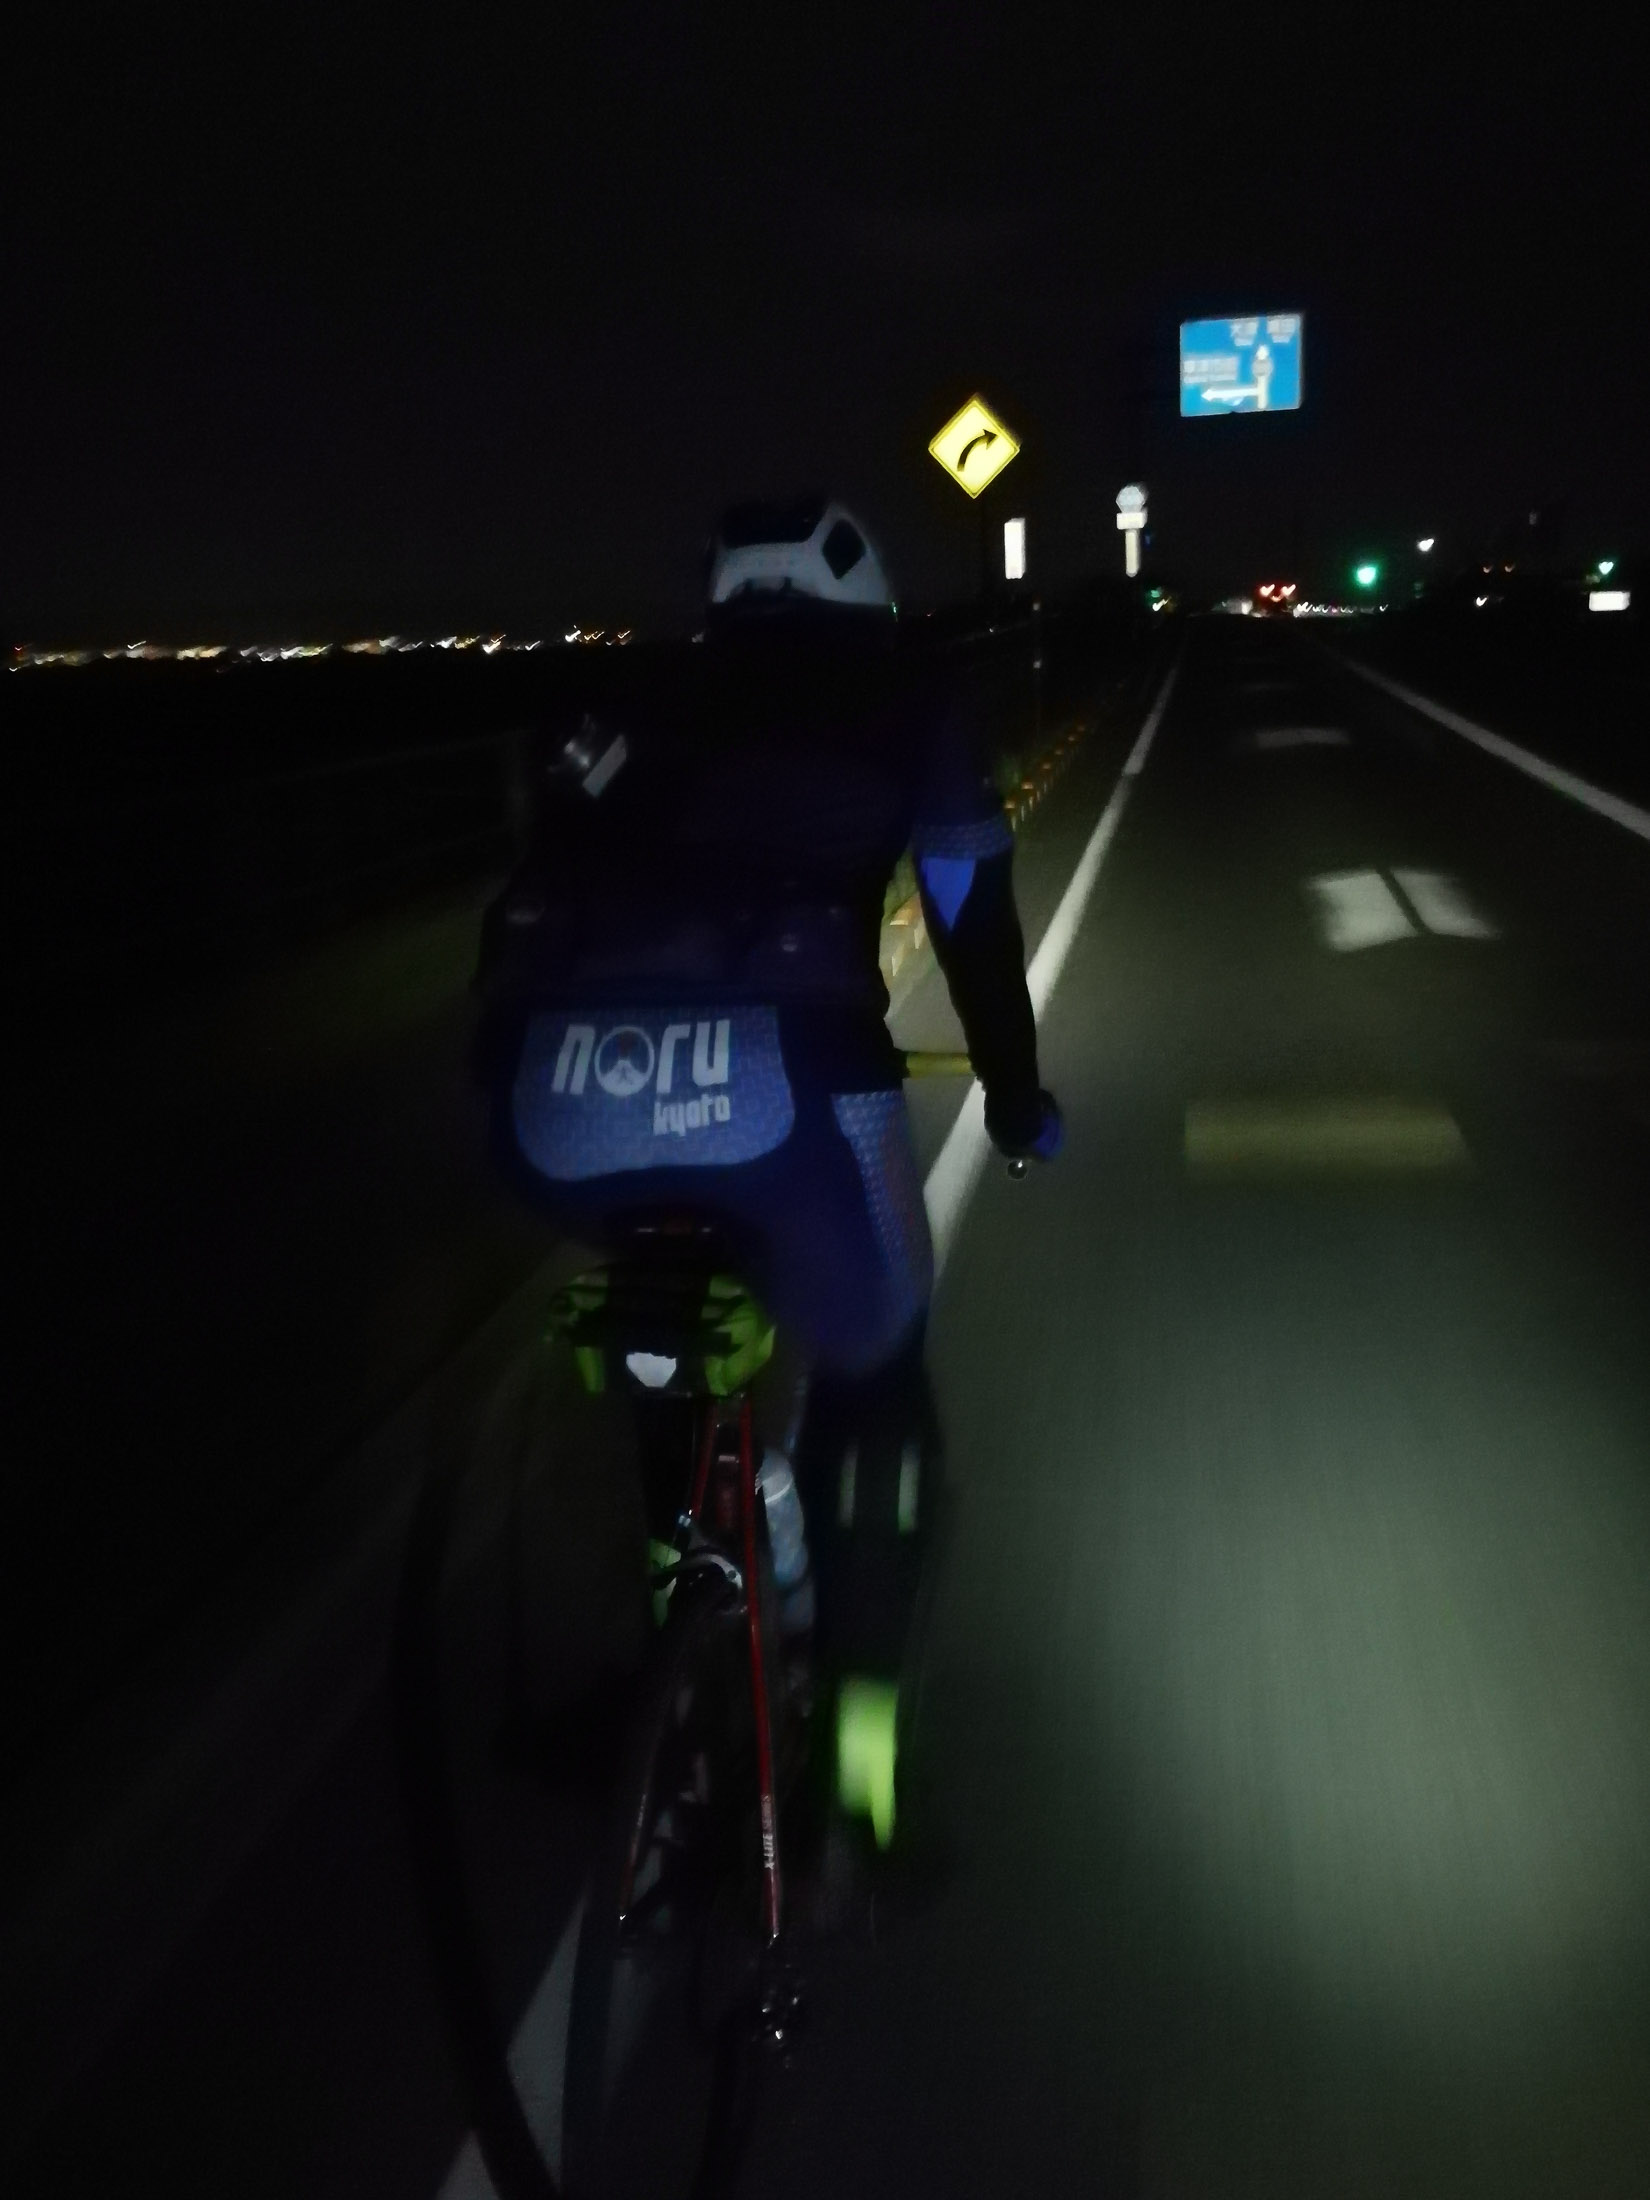
VTR-L29 at an effective 27mm — 1/4 sec, f/2.2, ISO 1250 — map & image data — nearby photos
Last Few Hours
photo by Gorm Kipperberg
Unfortunately, I got another flat with about an hour to go. It turns out that the tube I'd gotten from Gorm also had a manufacturing defect, and the rubber had slowly separated from the stem. I switched to the tube I'd bought, and we could finally head home.
I arrived at home at 11pm, 17½ hours after starting. It became my 2nd-longest ride, and the 4th-most amount of climb.

Nikon D4 + Voigtländer 125mm f/2.5 — 1/200 sec, f/8, ISO 6400 — map & image data — nearby photos
“Rugby: Agony and Exhilaration!”
Japanese dry saké rice wine
— in commemoration of the Rugby World Cup in Japan later this year —

Nikon D4 + Voigtländer 125mm f/2.5 — 1/200 sec, f/8, ISO 6400 — map & image data — nearby photos
“A Song of Praise for Rugby”
the non-dry version
The Rugby World Cup will be held in Japan for the first time later this fall, an event of much pride and excitement for the Japanese rugby enthusiast. One of the biggest such enthusiasts is a friend who as a side job sometimes does play-by-play commentary for national television, but whose main job is as an alcoholic-beverage wholesaler here in Kyoto.
The two spheres of his life combine to create a pair of commemorative saké (Japanese rice wine) products. I and some friends helped him with the English on the label.

Nikon D4 + Voigtländer 125mm f/2.5 — 1/500 sec, f/8, ISO 5000 — map & image data — nearby photos
My Best Contribution
Besides helping to make the English natural, we had some other ideas on the label. The Japanese bit shown above (which translates as “this is alcohol”) is required by law, but I suggested a more-helpful English version. 🙂

Nikon D4 + Voigtländer 125mm f/2.5 — 1/500 sec, f/8, ISO 3200 — map & image data — nearby photos
Rear

Nikon D4 + Voigtländer 125mm f/2.5 — 1/500 sec, f/8, ISO 2800 — map & image data — nearby photos
Open Here
now that I think about it, we should have had some English to that effect
Damien's main contribution: making the barcode into a rugby ball.

Nikon D4 + Voigtländer 125mm f/2.5 — 1/500 sec, f/5.6, ISO 2200 — map & image data — nearby photos
Saké Cup Included
It's a nifty design: the top part of the label separates to reveal a saké cup, while the rest of the label remains, allowing it to be a commemorative keepsake even after enjoying the contents.

Nikon D4 + Nikkor 85mm f/1.4 — 1/500 sec, f/3.2, ISO 1800 — map & image data — nearby photos
Ready to Enjoy
At first it was available only in high-end department stores and Japan-Railway kiosk stores, but availability will likely expand as we get closer to tournament in the fall.
I mentioned this product to the owner of the 7-11 convenience store near me, and he was intrigued. He eventually not only started offering it for sale, but gave a huge amount of shelf space:

iPhone 7+ + iPhone 7 Plus back camera 3.99mm f/1.8 at an effective 28mm — 1/40 sec, f/1.8, ISO 25 — map & image data — nearby photos
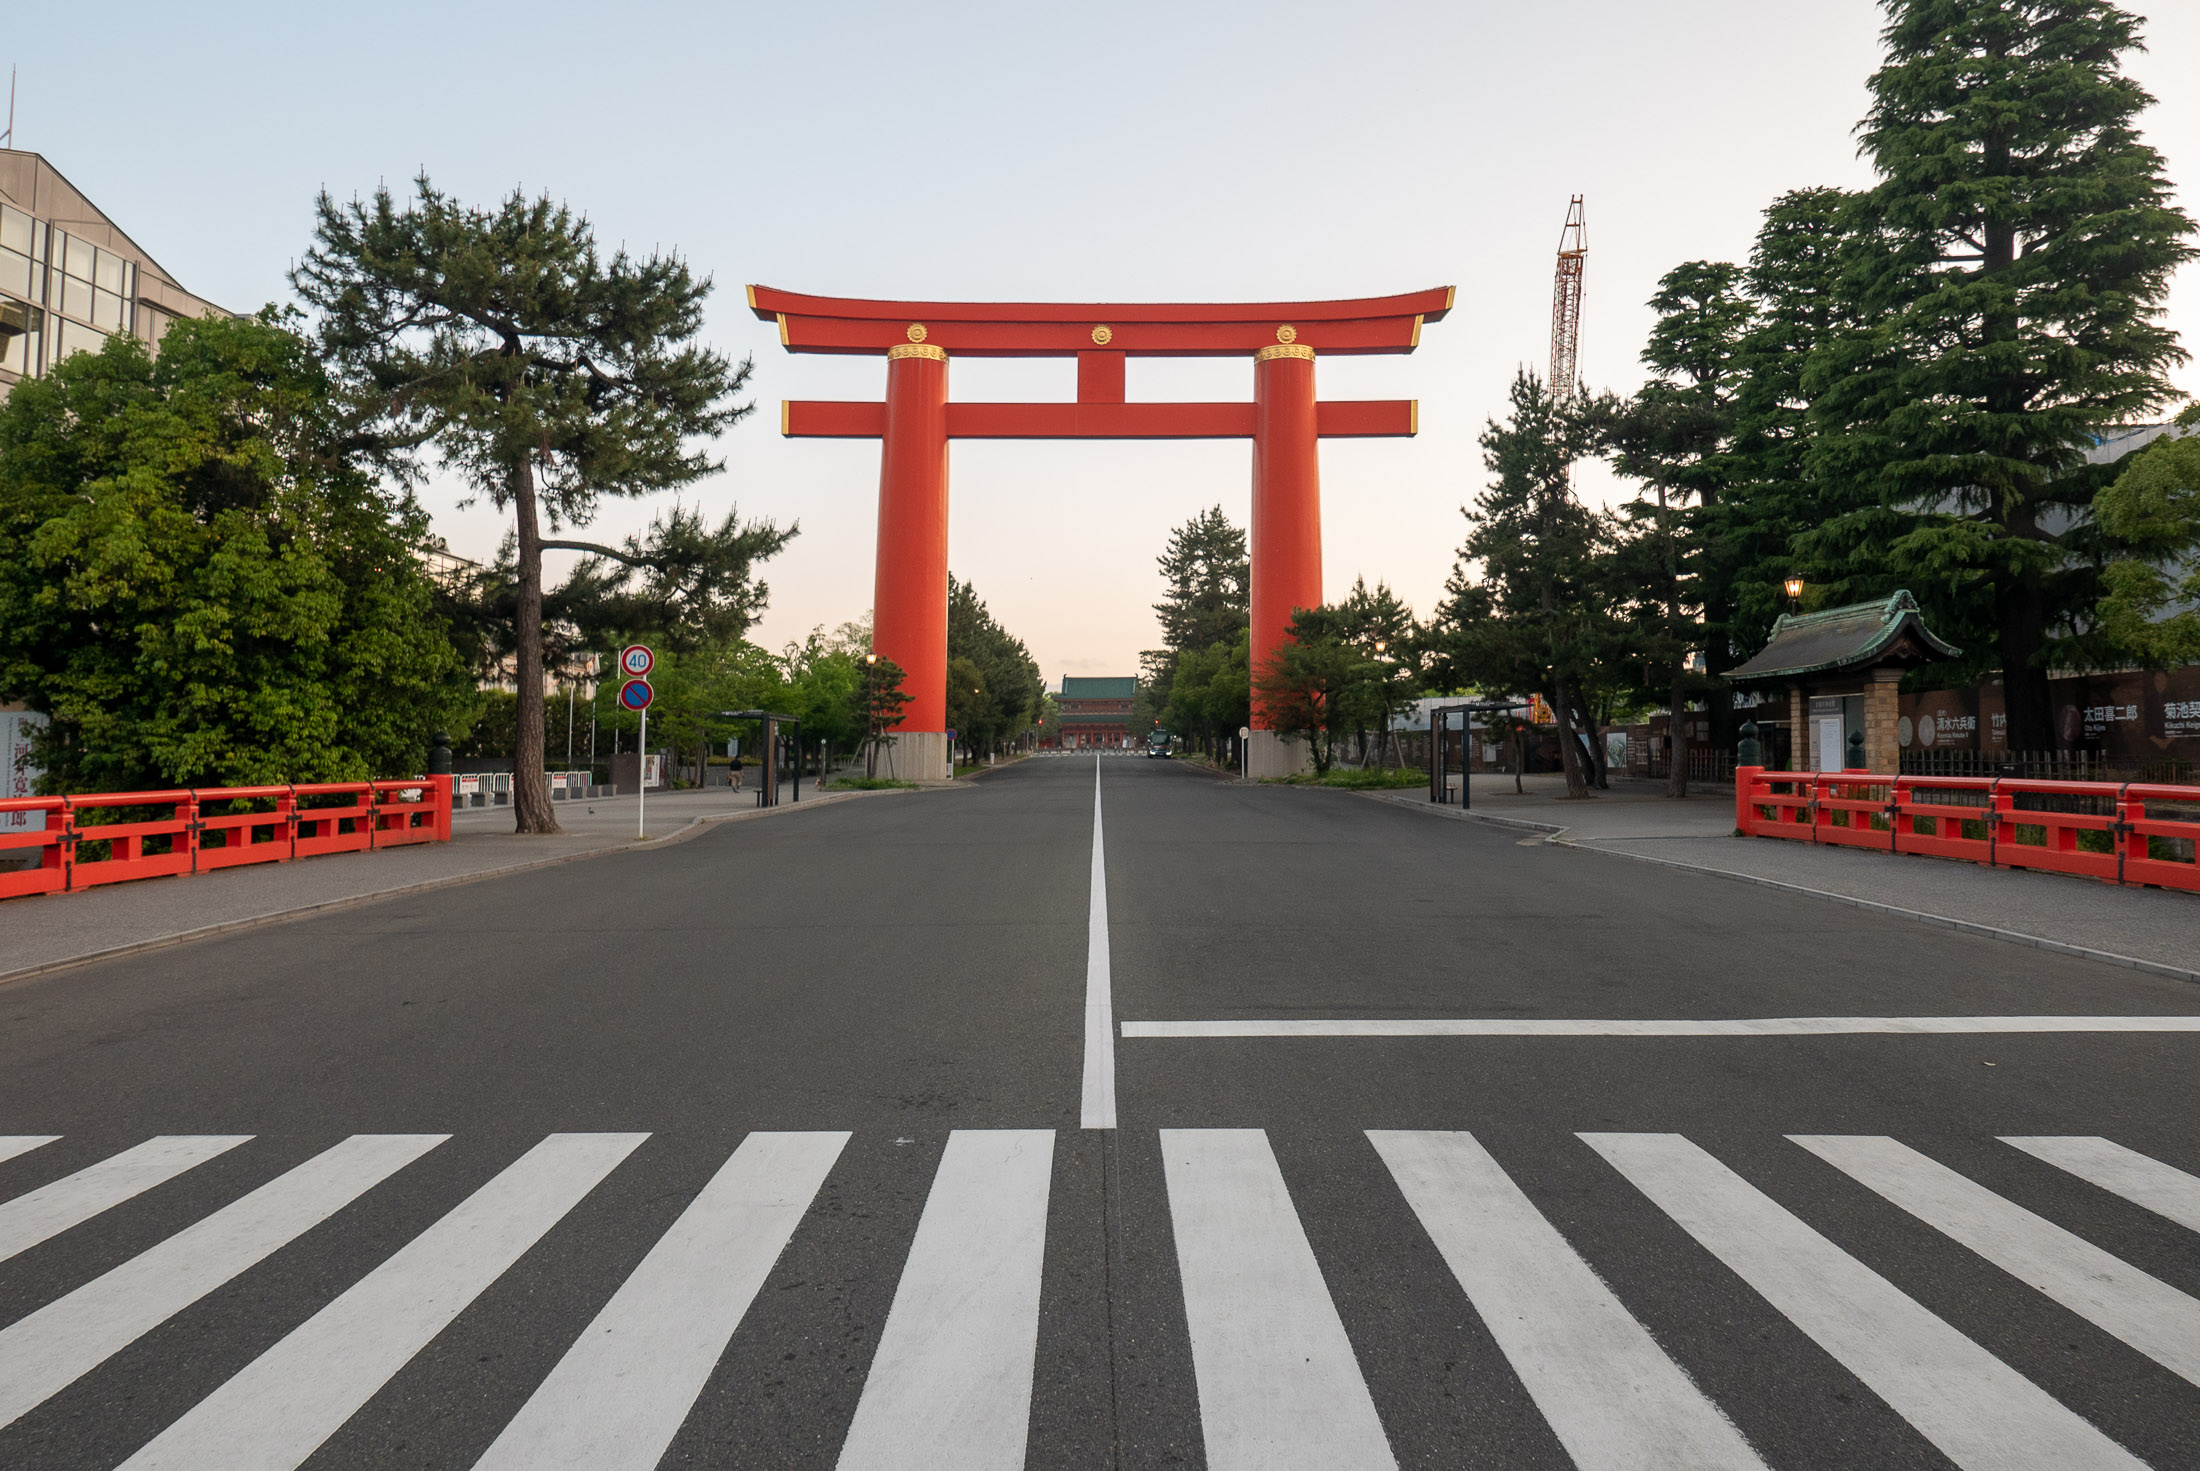
At the 7-11 Near the Heian Shrine
in Kyoto Japan
Later still, I found out that they devoted an additional shelf to it in the cooler. It seems to be selling well. At only 648 yen (~US$6) each, it's a pretty good value.
We eventually had a little release party for it...
 -- Kyoto, Japan -- Copyright 2019 Jeffrey Friedl, https://regex.info/blog/")
Nikon D4 + Nikkor 14-24mm f/2.8 @ 24mm — 1/10 sec, f/5.6, ISO 6400 — map & image data — nearby photos
Cheers!
Naoto, the brainchild behind it all, is at left
(trivia: Naoto's mom did the calligraphy for the label)

Nikon D4 + Nikkor 14-24mm f/2.8 @ 14mm — 1/60 sec, f/2.8, ISO 6400 — map & image data — nearby photos
Demonstrating Proper Pouring Technique
to Kelley, who happens to be an apprentice master brewer at an unrelated saké brewery
 -- Kyoto, Japan -- Copyright 2019 Jeffrey Friedl, https://regex.info/blog/")
Nikon D4 + Nikkor 14-24mm f/2.8 @ 20mm — 1/40 sec, f/2.8, ISO 6400 — map & image data — nearby photos
Best To Keep His Day Job
not the smoothest product model 🙂

iPhone 7+ + iPhone 7 Plus back camera 3.99mm f/1.8 at an effective 28mm — 1/30 sec, f/1.8, ISO 40 — map & image data — nearby photos
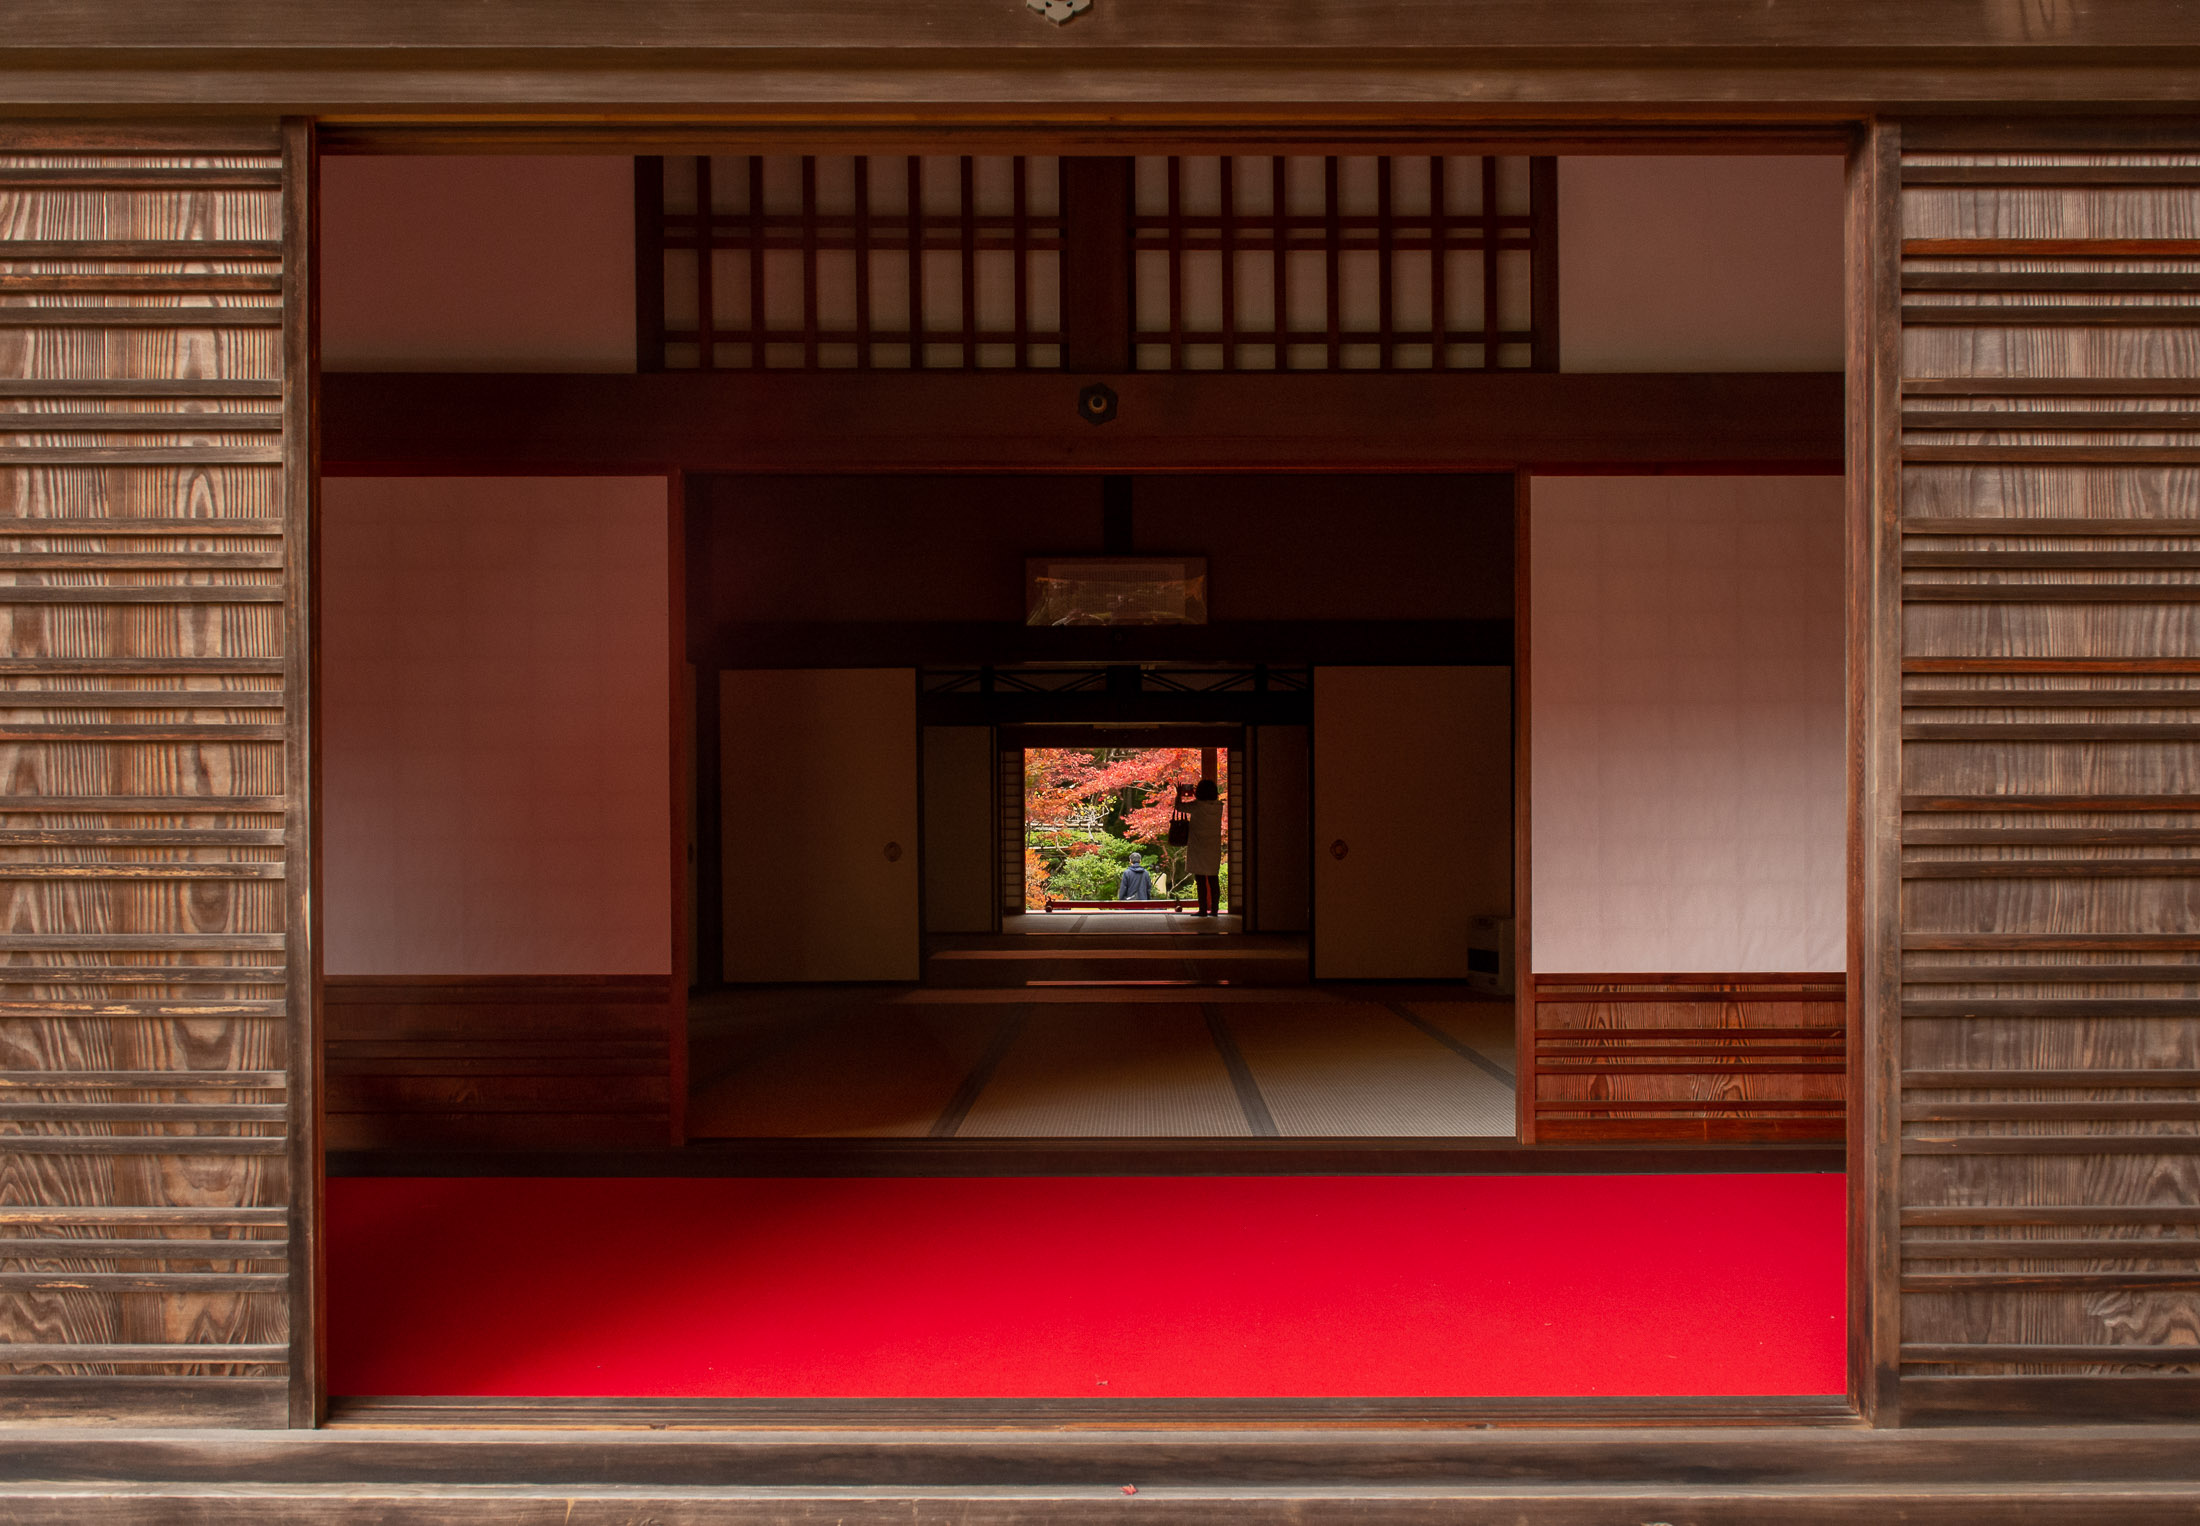
Construction-Site Entrance
a large hotel in Kyoto
The scene above is the entrance to a new large hotel nearing completion of construction. The workers putting the finishing touches on the interior have left their shoes at the entrance, and are presumably walking in socks or slippers. This mimics what one does at a Japanese home.
When the hotel opens, people will walk in this public area with shoes like any other business, but until the construction company turns it over to the owner, they treat it with great care, so that it's turned over in pristine condition.
I doubt that this would ever happen in America. When I last lived in America, asking a visitor (such as the cable installer) to take their shoes off inside the house would be met with the same face as if I had asked them to take their pants off.
 -- Kyoto, Japan -- Copyright 2019 Jeffrey Friedl, https://regex.info/blog/")
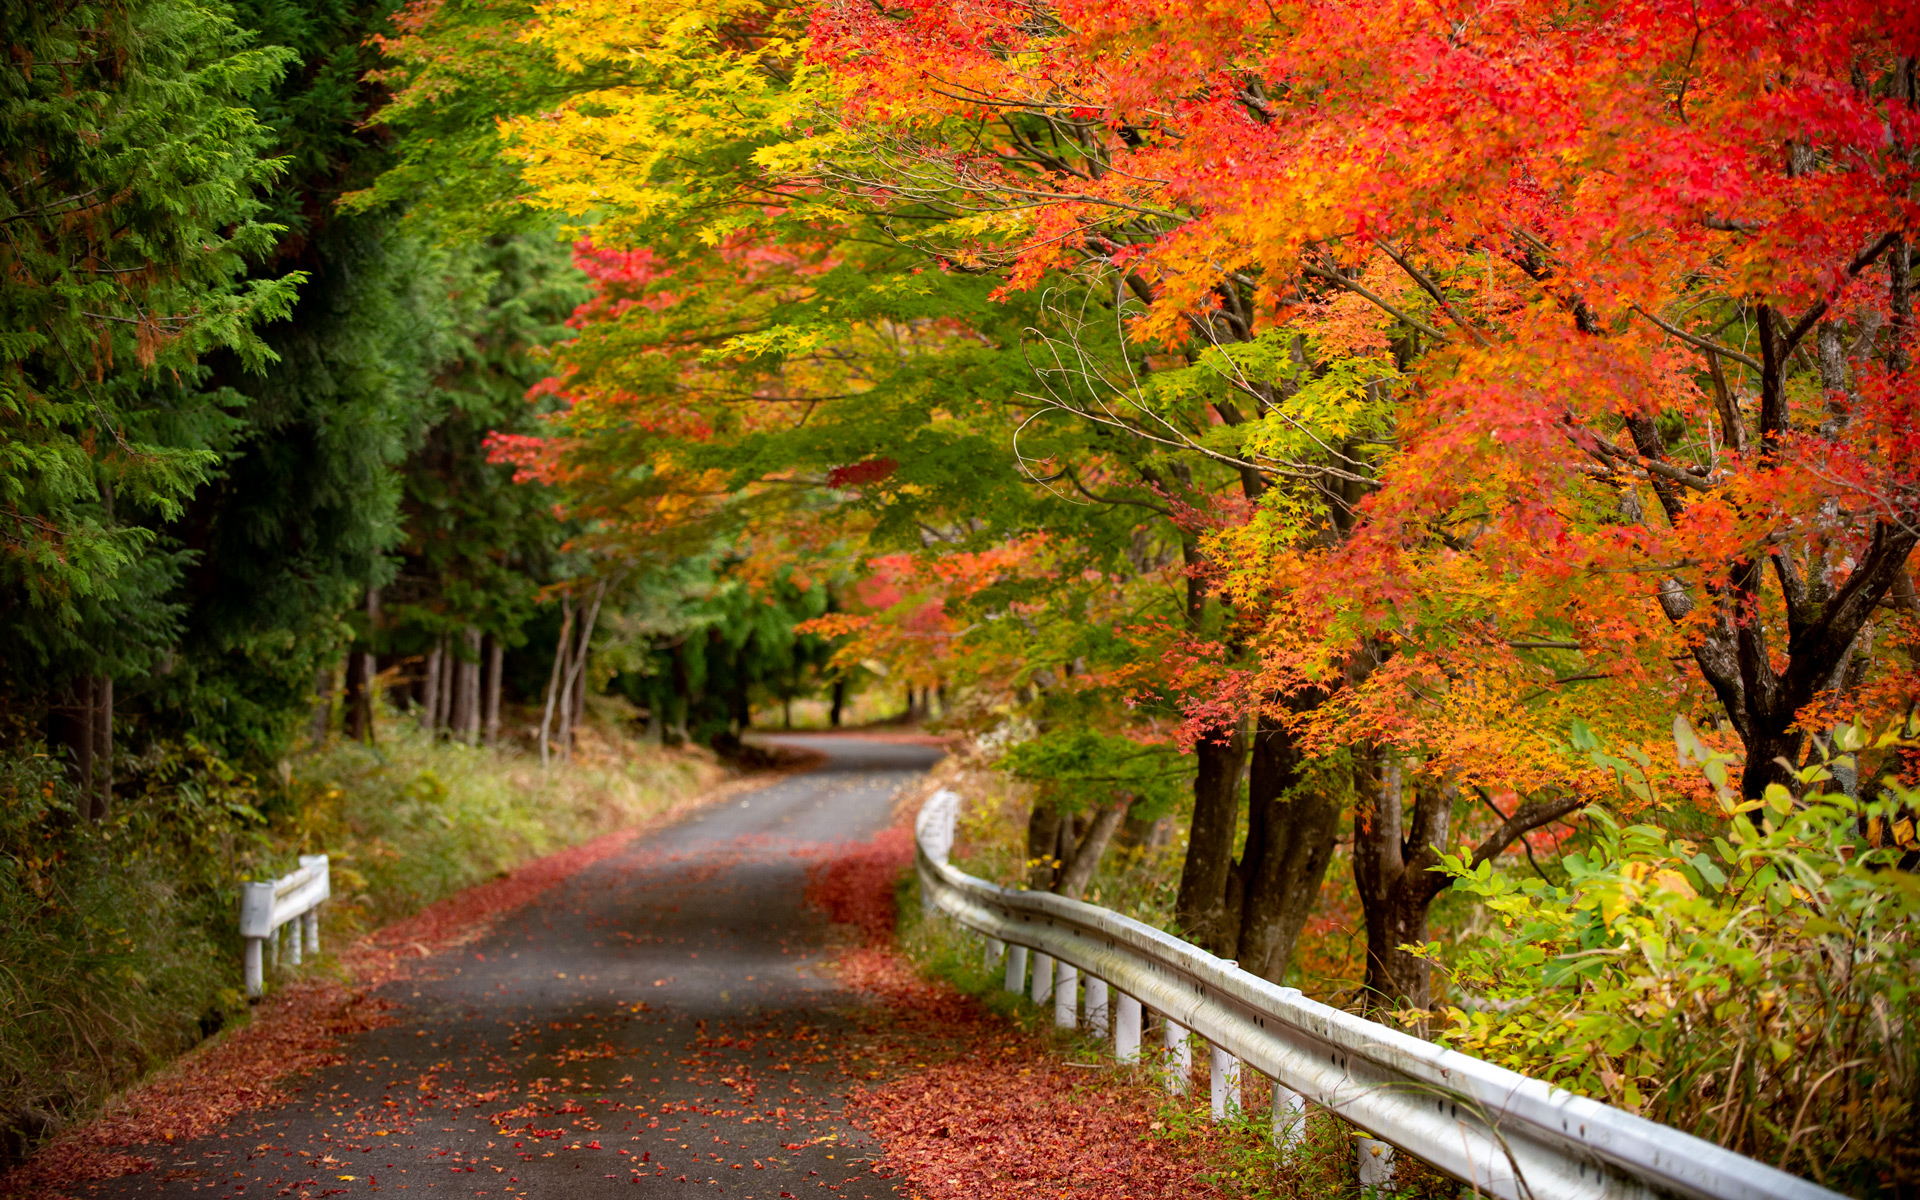
Nikon D4 + Nikkor 14-24mm f/2.8 @ 18mm — 1/8000 sec, f/2.8, ISO 800 — image data
Precision
(photo is unrelated to the text of this article)
I've been testing a new cycling computer, a Bryton Rider 450. I was shocked to find out some information about its satellite-positioning features that isn't covered in the manual, so I'm sharing that info here.
As a bit of background, folks often use the “GPS” as a generic term for “satellite positioning system”, but in reality, GPS is the specific satellite positioning system built and deployed (and offered as a gift to the world) by the United States of America. It used to be the only one, but now there are several. Russia has its unrelated GLONASS system, the European Union has its Galileo system. These all provide global coverage. Regional systems include China's Beidou system (which will eventually be global), and India's IRNSS system.
In addition, Japan has a small four-satellite augmentation to the United States's GPS system called “QZSS” (みちびき in Japanese).
The Bryton Rider 450 is advertised to work with all of these except IRNSS. This in theory would allow my use here in Japan to benefit from the three truly-global systems (GPS, GLONASS, and Galileo), and two regional systems (Beidou and QZSS), so hopefully it would be more accurate than other units I've used.
(In years past, I've posted a few articles about GPS accuracy, including here and here.)
So it was with dismay that I opened up the configuration menu on the unit to find only these options available:
- GPS + Beidou
- GPS + Glonass
- GPS + Gal + QZ
This seems... unimpressive and disappointing.
I wrote to the company asking about this, and was told what the options really mean:
| Menu Option | GPS global |
Galileo global |
QZSS Japan |
Beidou Asia Pacific |
GLONASS global |
|---|---|---|---|---|---|
| GPS + Beidou | ✓ | ✓ | ✓ | ✓ | |
| GPS + Glonass | ✓ | ✓ | ✓ | ✓ | |
| GPS + Gal + QZ | ✓ | ✓ | ✓ |
This means that the GPS, Galileo, and QZSS are always enabled, and that you can optionally enable the global GLONASS or currently-regional Beidou systems.
What horrible menu labels, obfuscating what they really mean. There's plenty of space on the screen, so there's no excuse for this stupidity.
In Japan, the company recommended “GPS + Beidou”. Wikipedia tells me that Baidou will eventually be more accurate globally than GLONASS (or GPS or Galileo, for that matter), and it perhaps already has better coverage for the Asia-Pacific region.
I'd like to do tests where I bring six units (two at each setting) on the same ride, to compare and contrast the results in different situations, but I'm not about to spring for five more units just for that. Oh well.
(The lead photo, which I hope gives the feeling of “precision” to go along with this article, is from something I hope to be able to write about later.)