(This post has been highly enhanced with JavaScript interaction that is likely lost if you're reading this in a news aggregator; visit the original post on my site for the proper experience.)
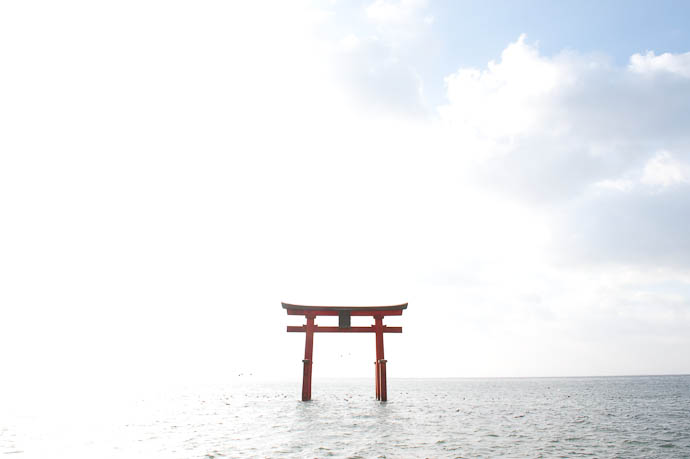
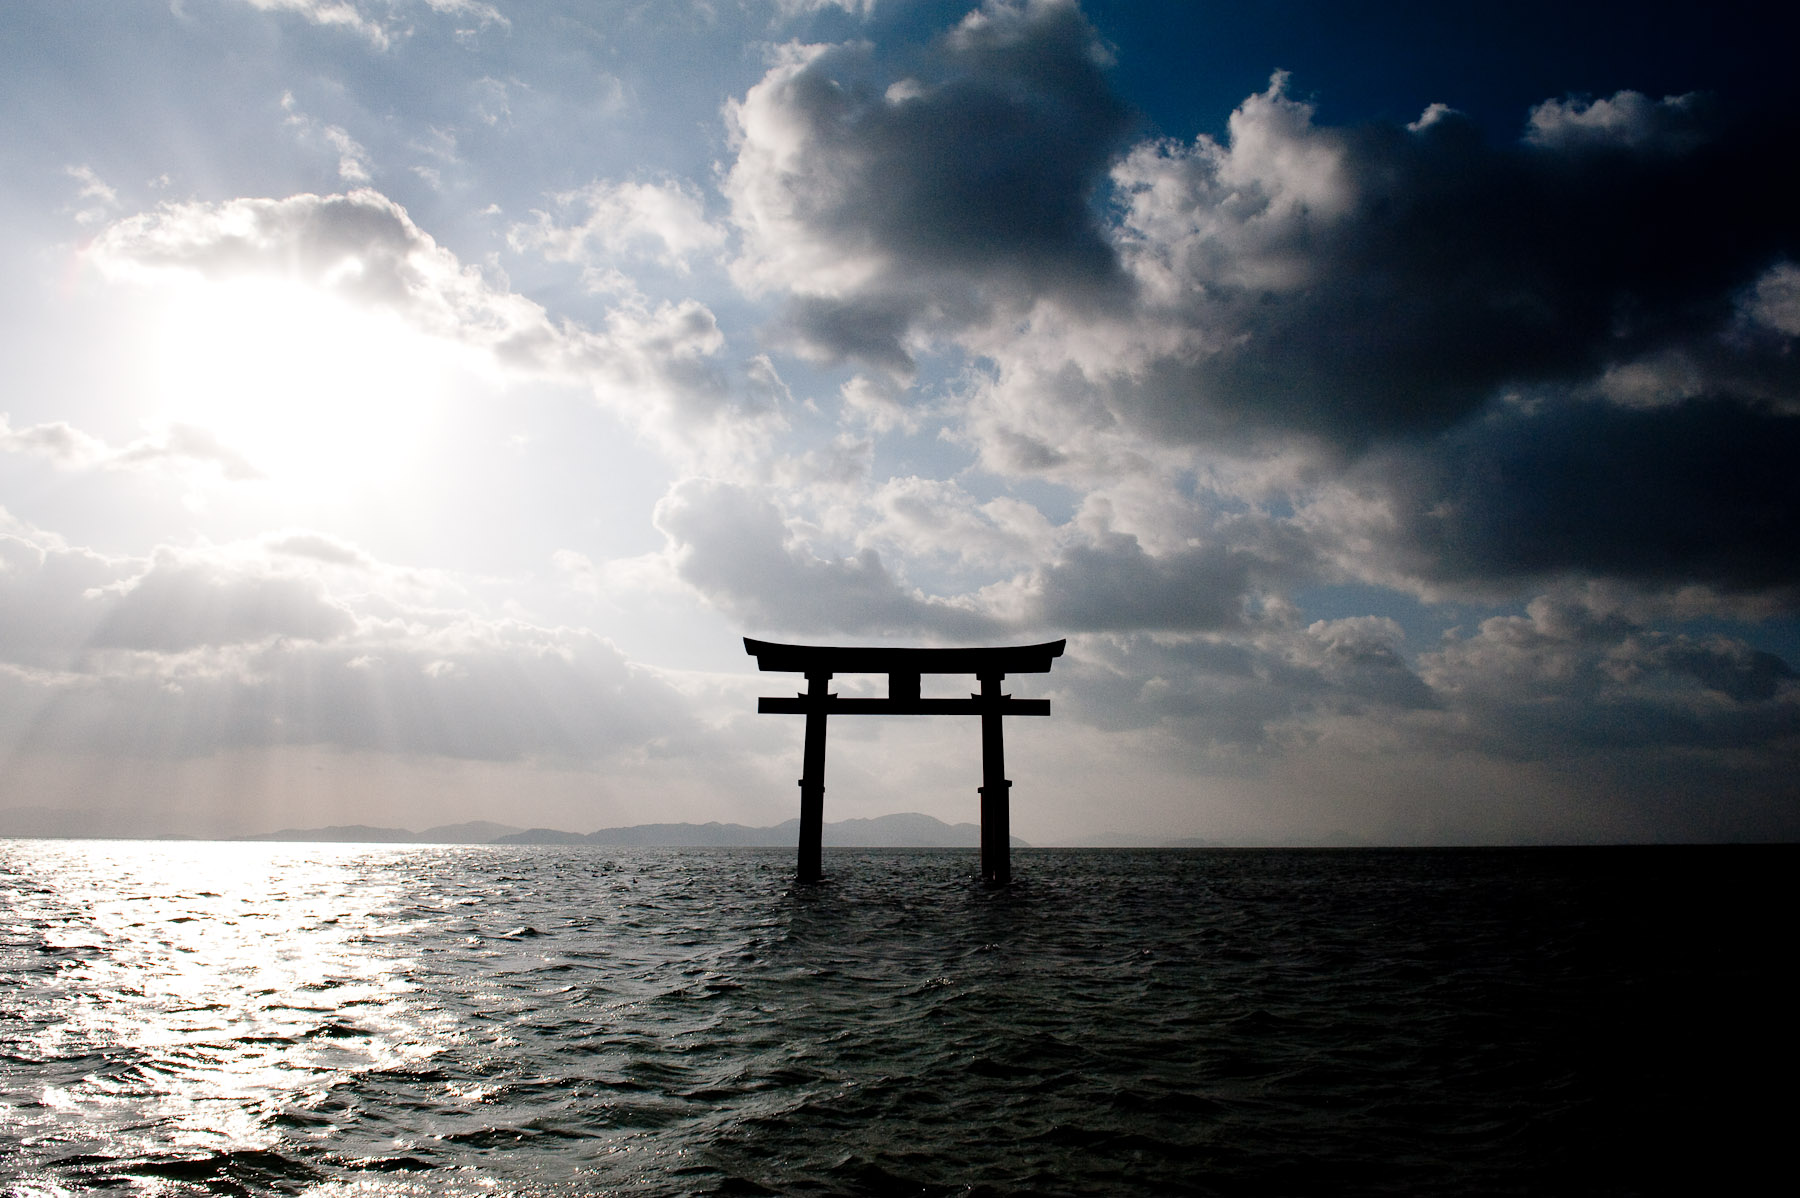
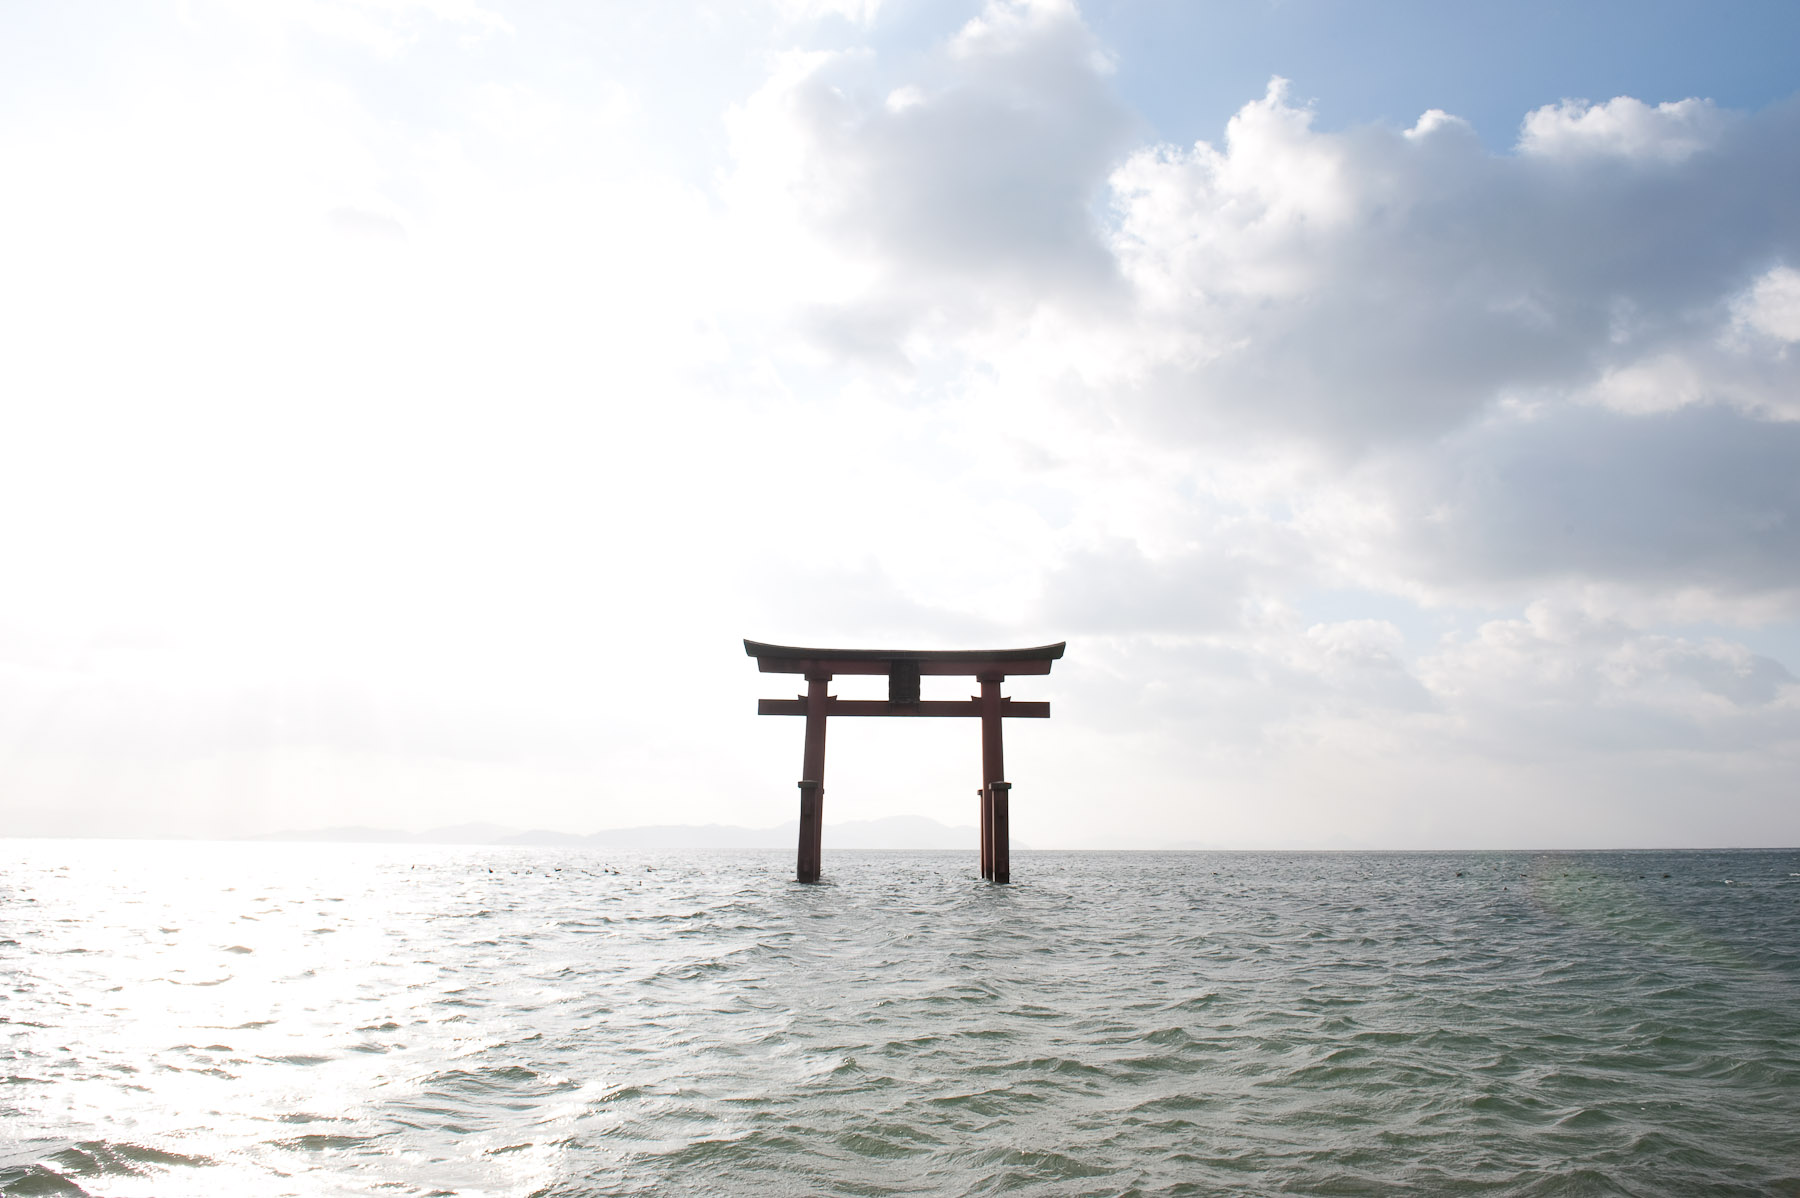
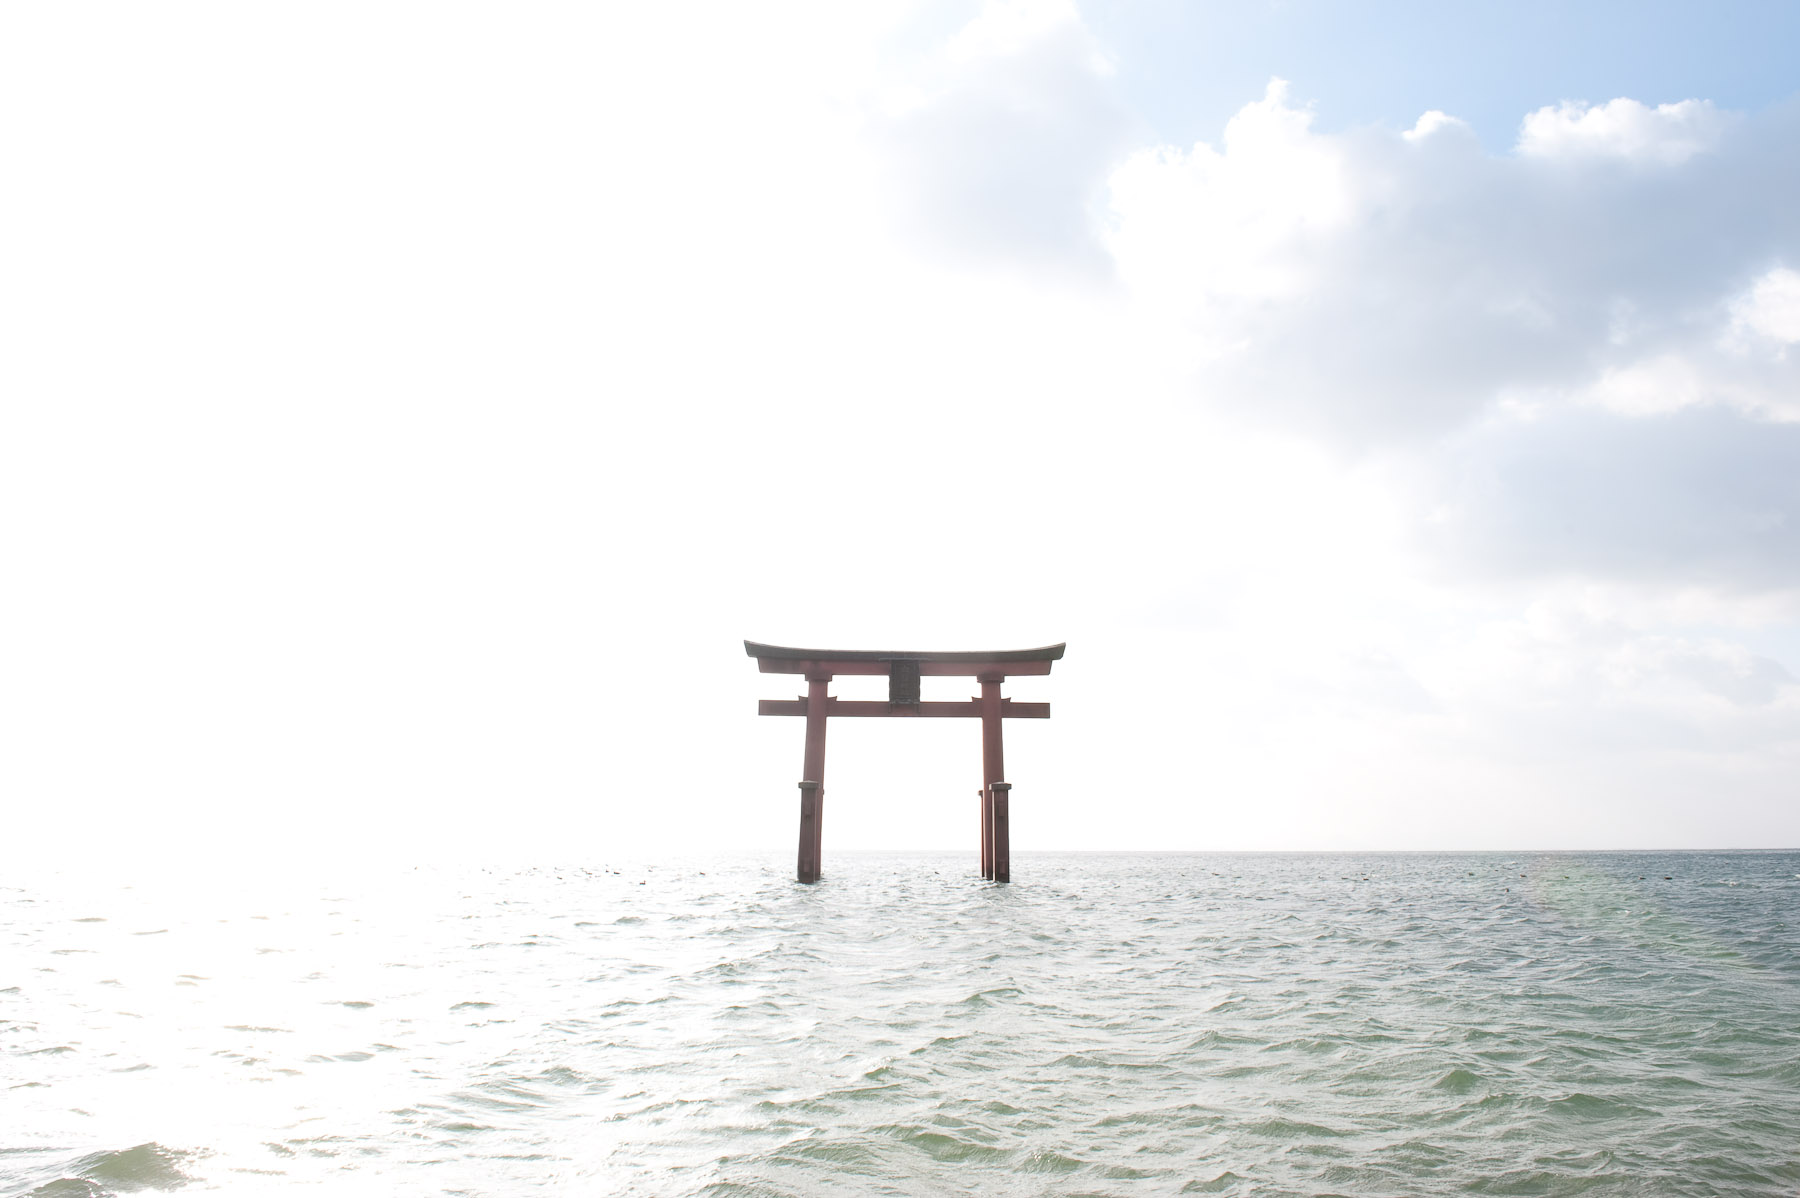
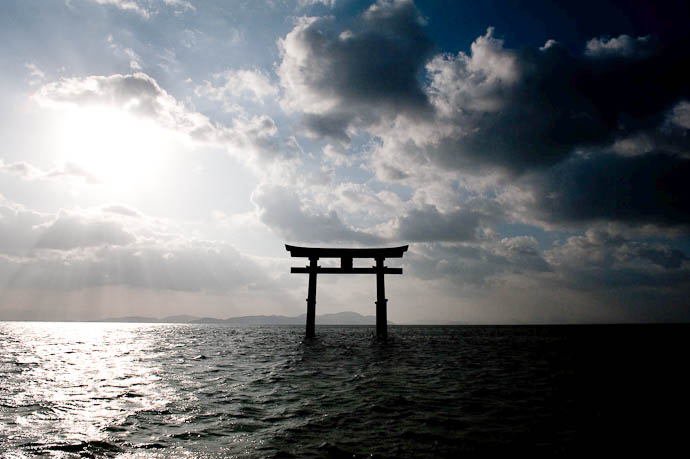
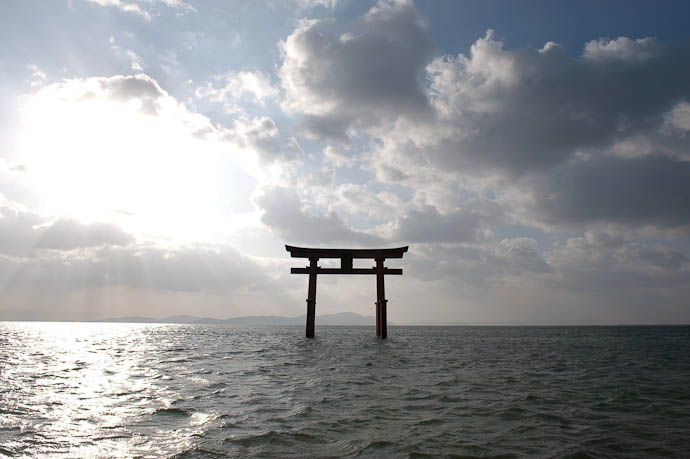
On my way to see Anthony's first ski experience earlier in the month, I stopped by the Shirohige Shrine on the waters of Lake Biwa, in Takashima Japan, to take a few pictures. I posted a “washed out” picture of the shrine's main gate in the middle of the water that I'll repeat here:
1/160 sec, f/11, ISO 250 — map & image data — nearby photos
Main Gate of the Shirohige Shrine
( repeated from an earlier post )
I really like the washed-out effect in this shot, even though it's the exact opposite of what I generally try to get. I usually try to get the sunburst streaming in, like in these shots from my blog archive: Kouri Island (Okinawa) and Midwest America (Ohio) and Shogunzuka (Kyoto).
I'd like to say that the effect seen in this washed-out shot was one that I crafted using skill, experience, and natural talent, but it was due to none of those. Rather, it's the result of taking a high-speed burst of “bracketed” exposures, just to see what would happen.
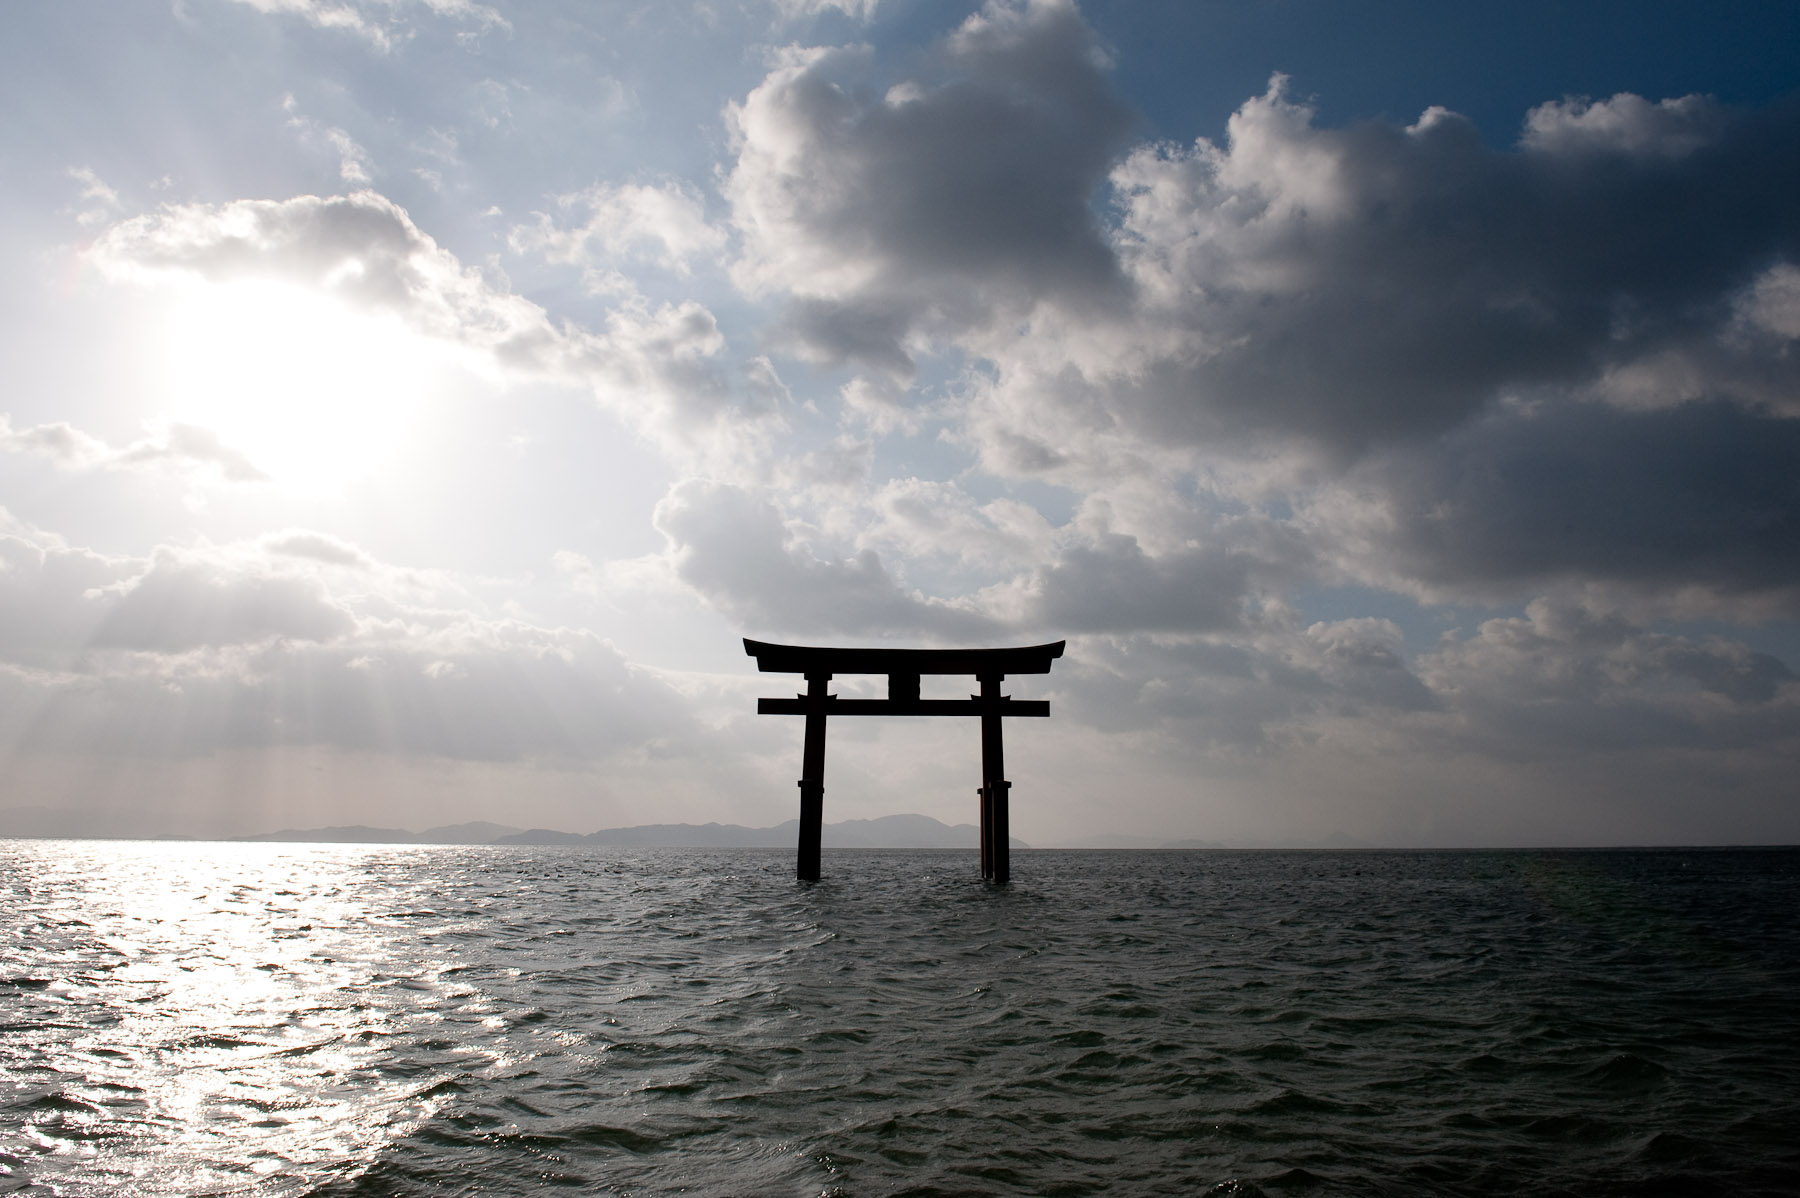
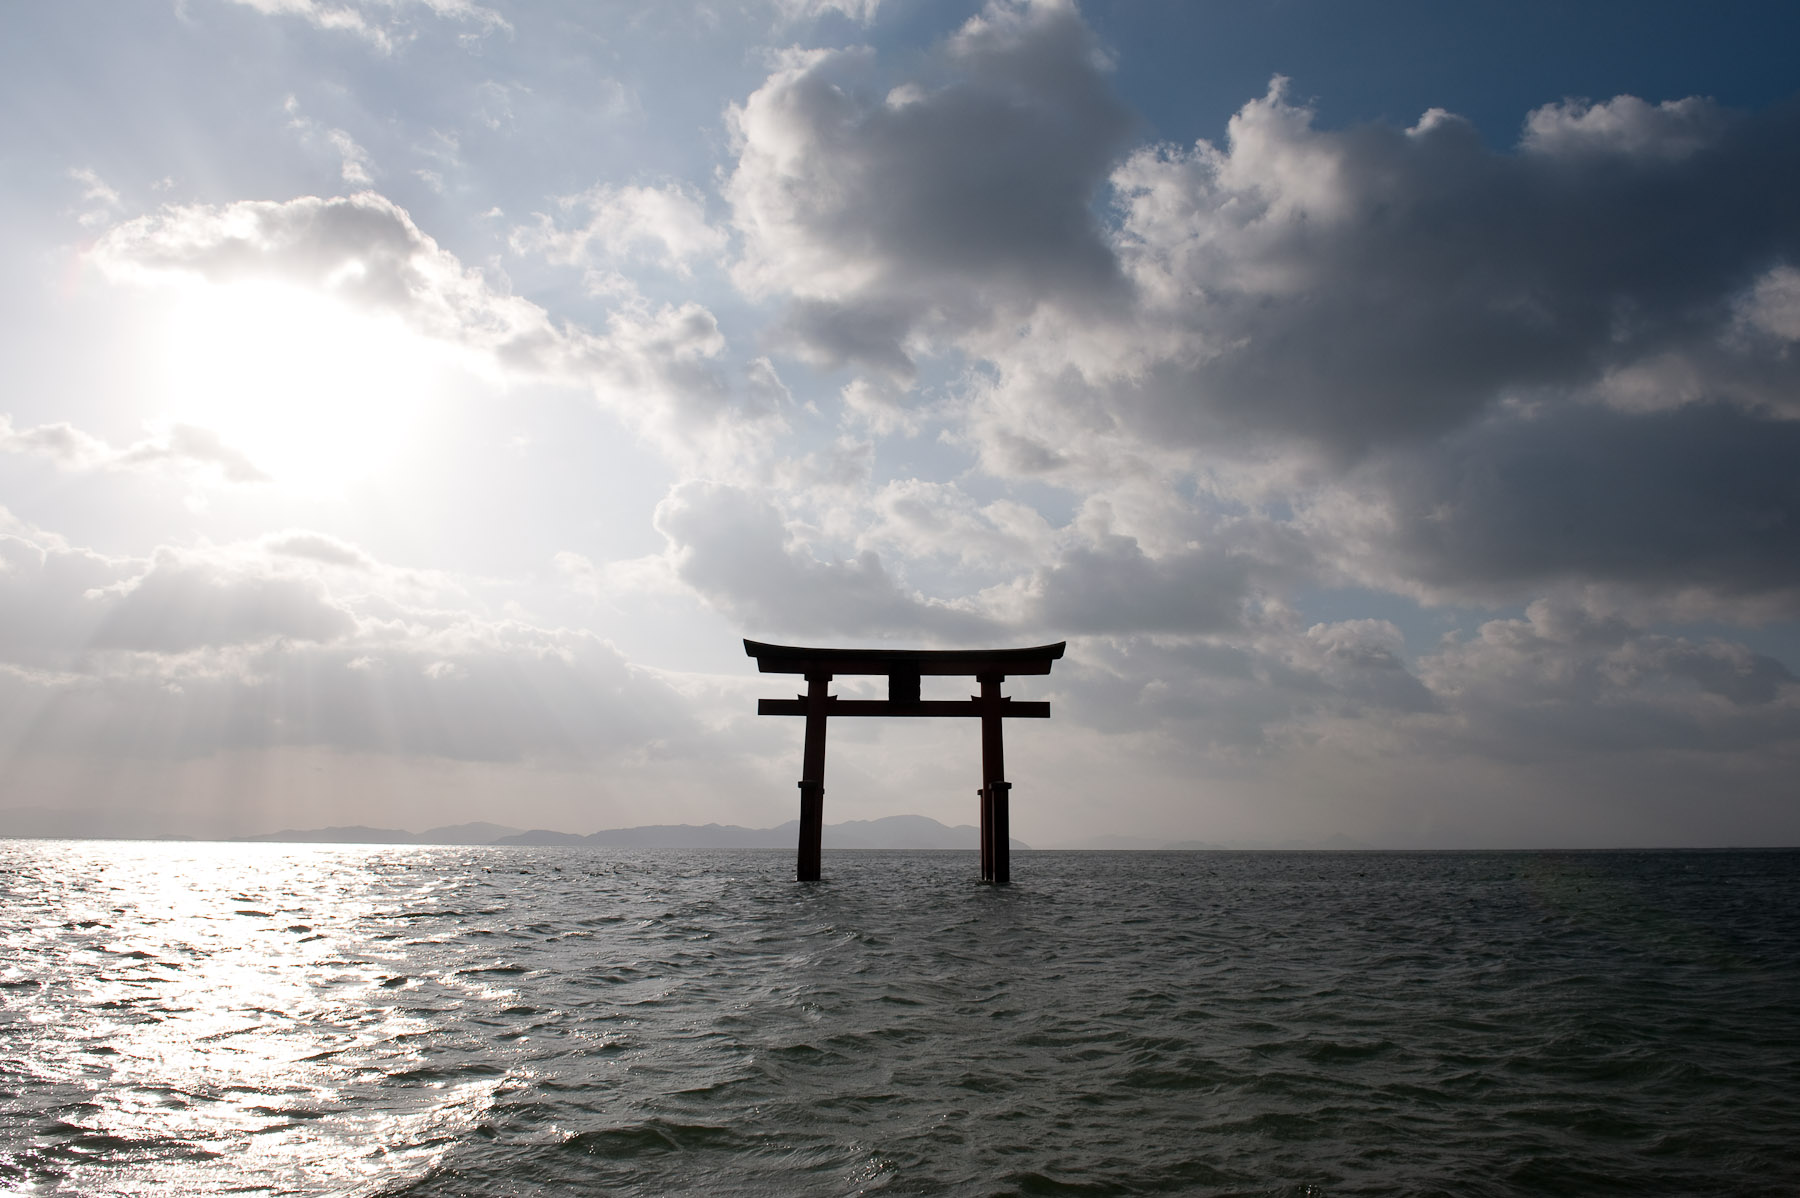
I told the camera to capture as quickly as it could a wide breadth of exposures from way overexposed to way underexposed, and in less than 1.5 seconds, it took 8 shots: the most overexposed one allows more than 120× the light of the most underexposed one.
Along the same lines as the interactive Spot Metering Basics post from earlier in the month, here's an interactive way to visualize the over- and underexposing of an image: mouse over the green buttons to see different exposures of the same scene...


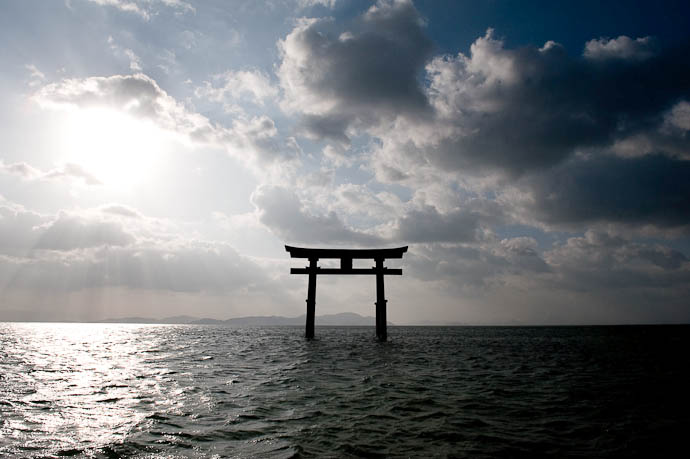
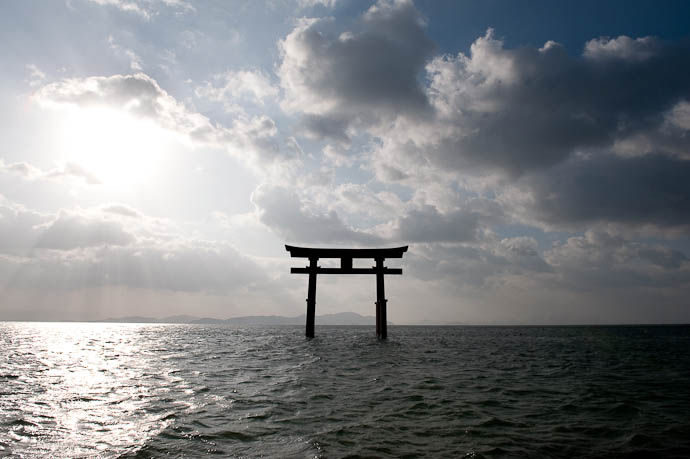
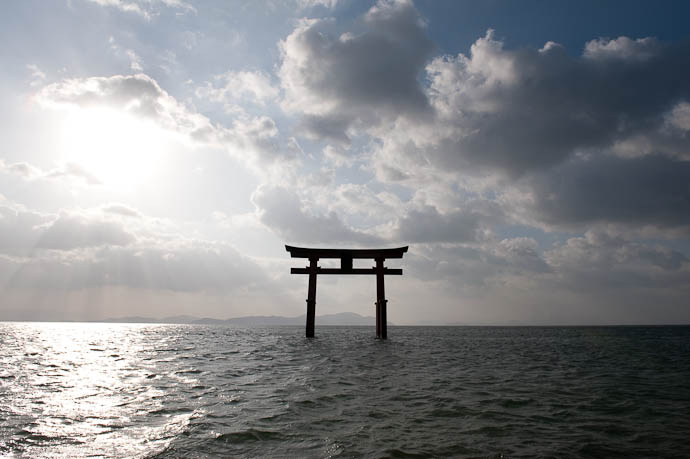
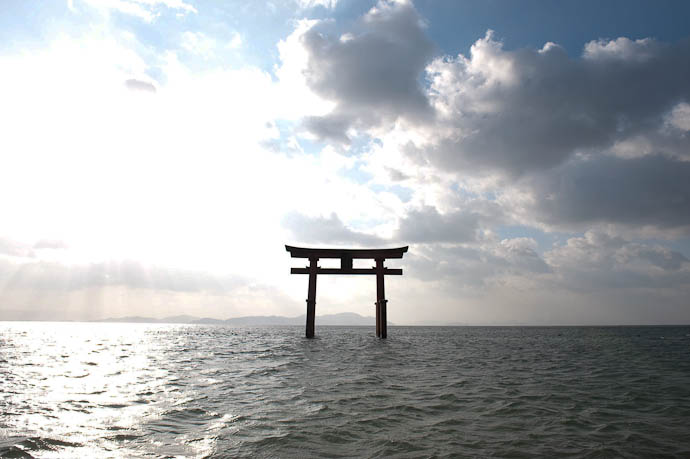
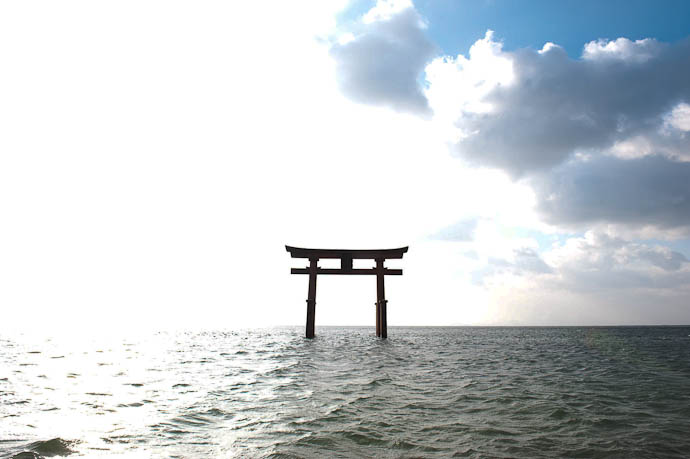
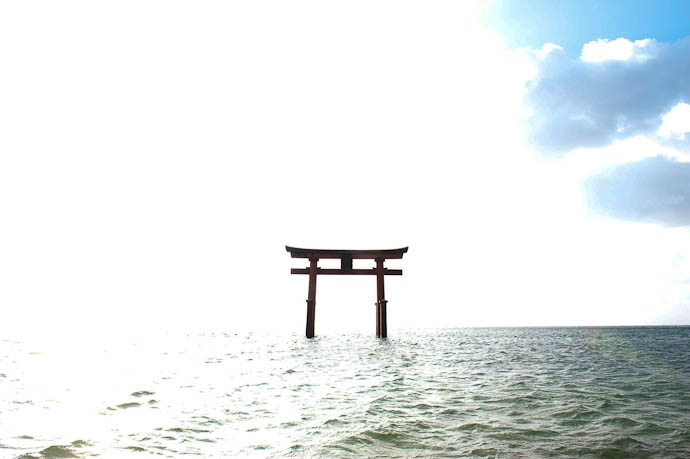
| -3 EV | -2 EV | -1 EV | base | +1 EV | +2 EV | +3 EV | +4 EV |
The center photo marked “base” has the exposure that the camera deemed proper at the time. Each one to the right (+1 EV, +2 EV, etc) is overexposed by double with each step, so the “+4 EV” photo allowed 16× the light as the base photo. Conversely, each one to the left (-1 EV, -2 EV, -3 EV) allowed half the light.
(“EV” means “exposure value”, and refers to how much light takes part in the making of the image. The term has an entry in Wikipedia)
Let's get more interactive...
One reason I shoot in raw format instead of jpeg is the latitude it affords in recovering from exposure disasters. It's somewhat academic, but I wondered how each of the non-base shots would look if I tried to correct each “wrong” exposure after the fact, in Lightroom.
If each raw image had perfect data, I could correct the underexposure or overexposure to arrive back at the base image, but since there is necessarily a limit on how much detail an image can hold, we would expect to lower quality in the results, and indeed that's the case. Click this button to enable another row of controls under the photo above....
Upon clicking the button, a yellow set of controls appears under the photo, which bring up copies of the photos that have been normalized to the base exposure. Again, if raw files had infinite detail, all the images in the yellow row would be identical to the green “base” image. (The yellow “base” image is the same as the green one; they're the same photo.)
For the severely-overexposed “+4 EV” green original, this attempt at correction during post-processing means attempting to reduce the exposure by four stops, but as the yellow “+4 EV” image shows, the result is pretty bad. (Toggle back and forth between the yellow “+4 EV” and the base photo to see what detail could not be recovered, even from the raw file.)
Still, when limited to +/- 2EV or even +/- 3EV, the results one can get from the raw files are not too bad... certainly, better than nothing, in a pinch. But what if I had shot in jpeg instead? How much could I have recovered from a wrong exposure then? Let's look...
Clicking on this button enables a third set of controls under the photo, blue ones which attempt to normalize jpeg versions toward the “base” exposure, just as the yellow buttons attempt to normalize raw versions. Again, the “base” photo is identical in all three rows.
Here, it's interesting to compare between the yellow and the blue rows. The lack of difference between the yellow “-3 EV” and the blue “-3 EV” tells me that the jpeg holds details in the shadows very well, and so when those shadows are boosted to compensate for the underexposure, the result is pretty good. It's very comparable to the raw version.
Highlights are another story, as there's notable degradation even in the blue “+1 EV” version, and it only gets worse further right.
Fun stuff.
Good post, the JPG + normalized versions really show the limitations of JPEG (or advantages of raw)
My favorite, for the official record, is -1 exposure (no normalization)
I like -3ev original exposure actually, looks like the moon!
I’ve been looking for a post exactly like this for ages online, and nowhere, even the Flickr and DPReview ‘forums’ haven’t provided such a clear and simple (in execution, not necessarily the amount of work you’ve put in) way. I was going to do a test like this myself this weekend!
I show raw on my D80 on safari- pitch black save for a handheld torch on lions etc, shooting at 300mm w/vr, iso 3200, -2 or -3ev -fastest shutter speed even then was 1/60th I think. jpeg shots were dreadful, and unrecoverable. Raw could be pulled back from the dark gloom enough to get fairly ok shots considering the low light. Colour/hue/tonal fidelity was very impressive too, although not perfect with an orange light.
I’ve pulled a lot of highlight detail back from sunny shots too, although the more data recovered, the more unnatural the pics look- sometimes blown out highlights really look better than drastically pulled back whites, especially on skin.
Thanks for posting this, it’s especially useful when deciding what do capture when dynamic range is larger than the sensor can handle- nice to see how much realistically can be recovered.
Thanks for the informative post. Back in the days of silver based photography I used to bracket exposures and more toward over exposure. That made for “thicker” negatives and allowed more flexibility in the dark room.
Is it the opposite in digital photography? Is it better to slightly under expose your shots so that when you take them into photo editing software there is more information in the image file?
I realize that with many of the modern cameras there is auto bracketing so you can have a wide bracket of exposures. But maybe in a point and shoot digital camera, would it be better to err towards under exposure?
I did a very similar experiment last year and found that my images could be corrected back to base from -2 EV up to +3EV with almost no visibile differences. The image I used had a much narrower dynamic range to begin with though, and that appears to make a huge overall difference to how much latitude there is to correct a raw image.
http://www.flickr.com/photos/ssphillips/2553178406/
Thanks for sharing….
SP
Also – it is fun to watch the waves in the water move as you move the yellow or blue slider.
Very nice presentation, Jeffrey! Linked from my blog …
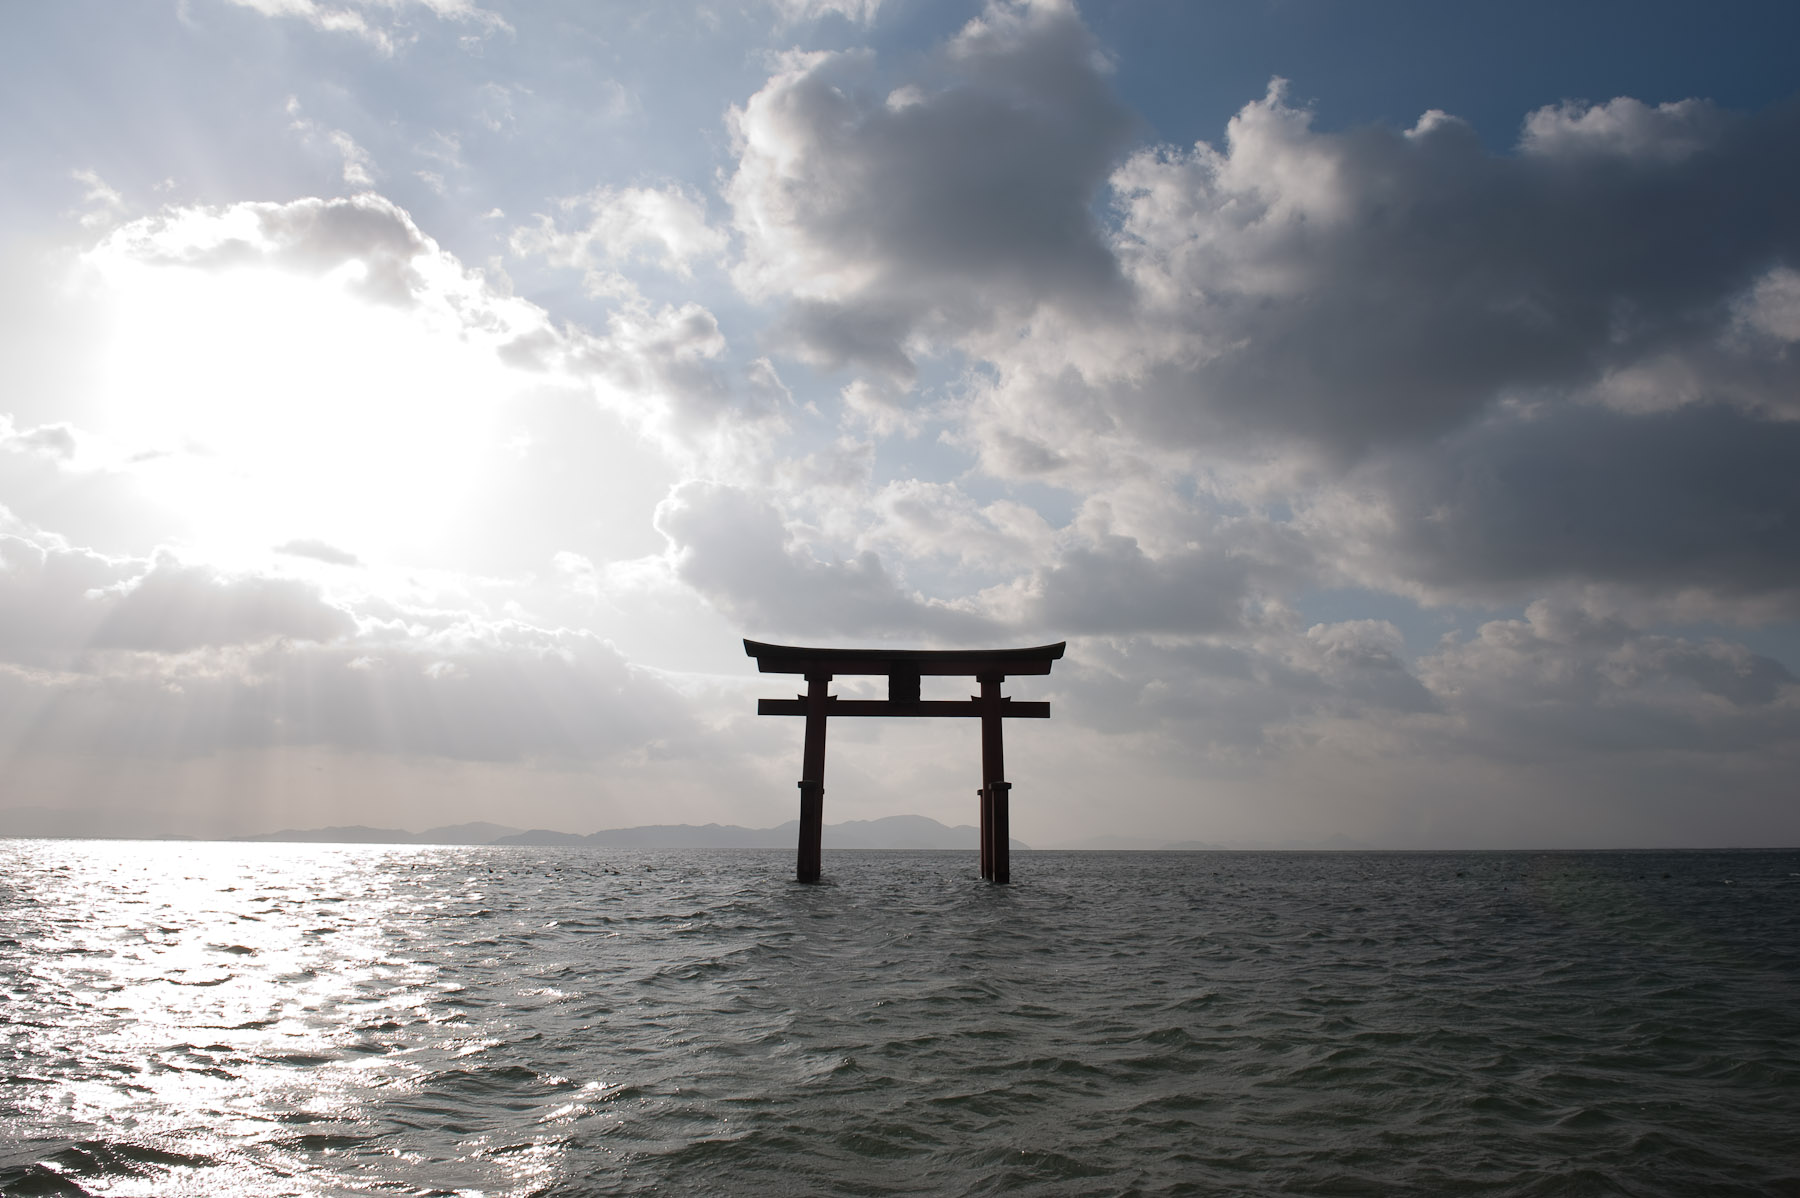
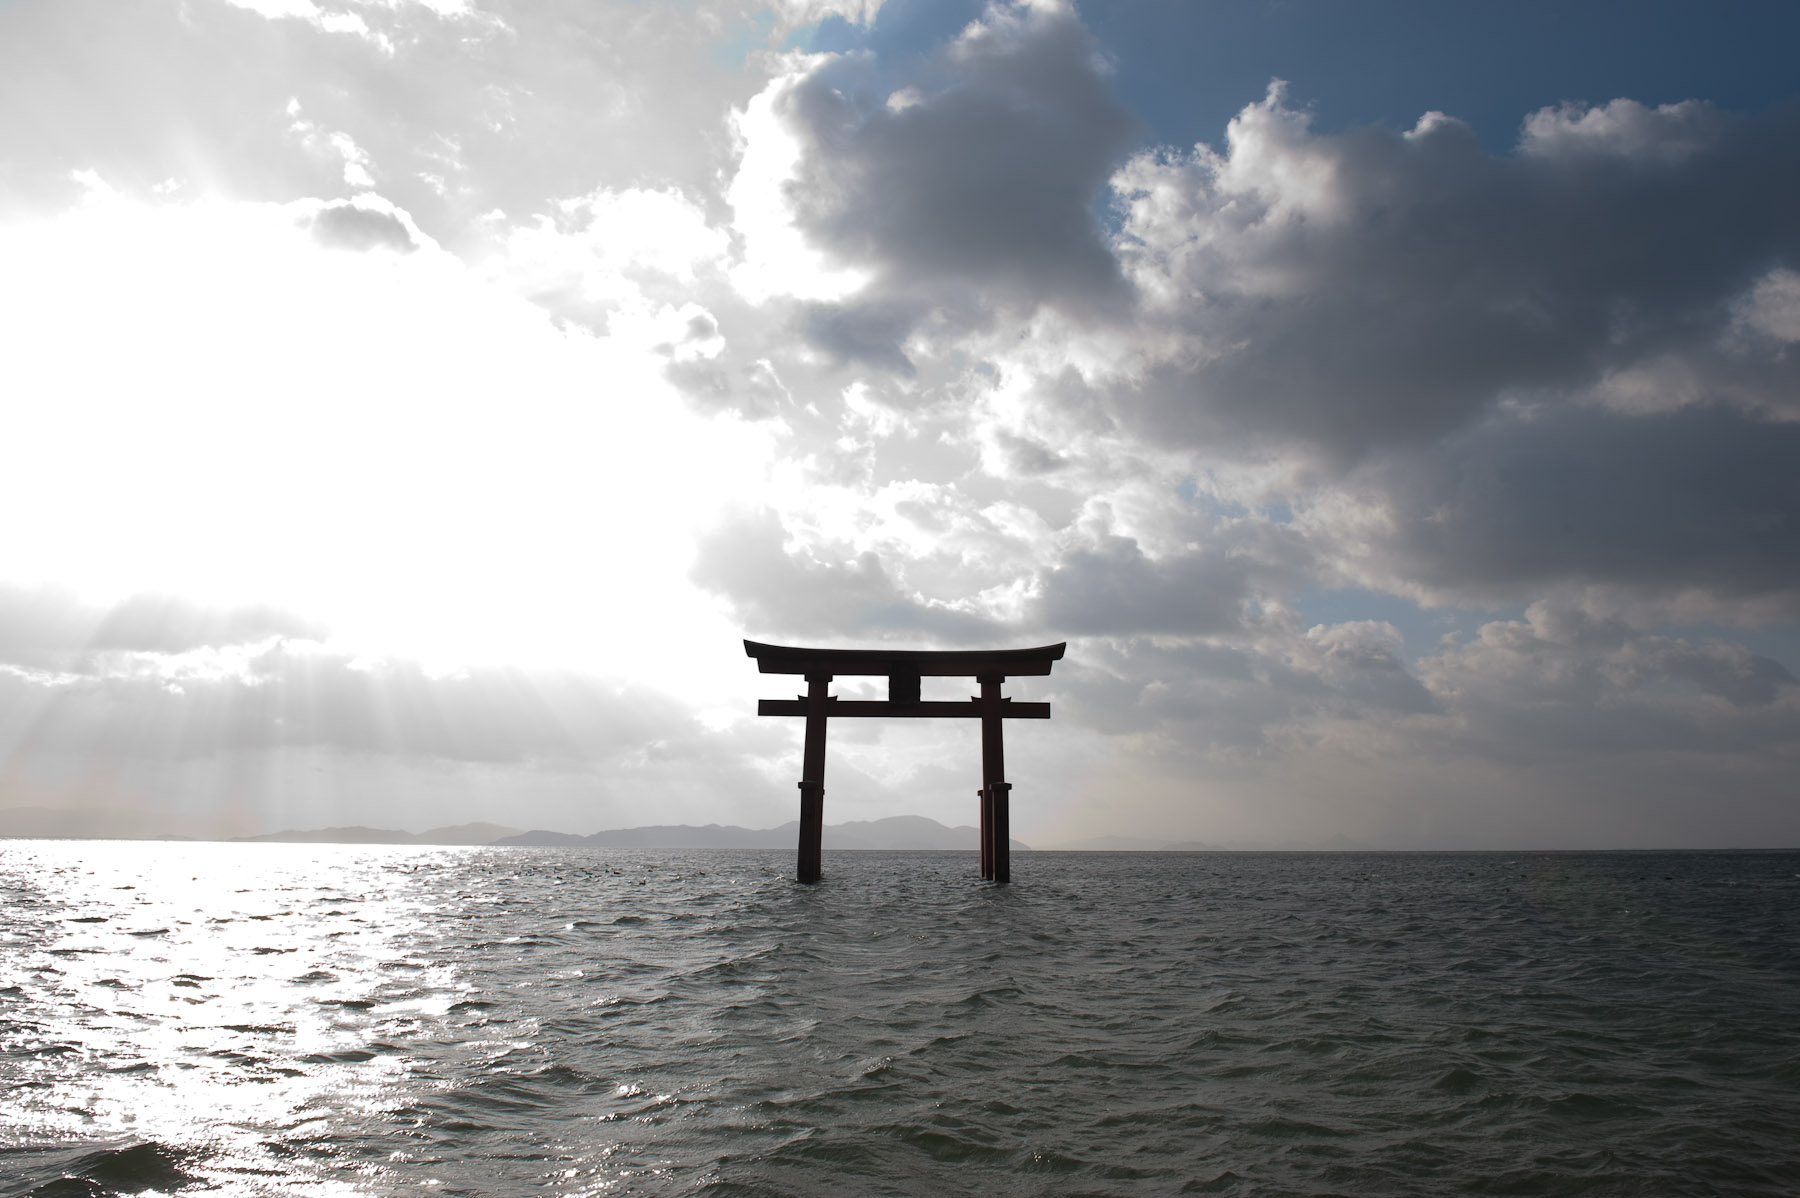
I was recently throwing out some old “SuperDisk” (120MB, wow!) archived material and came across the banner for the second (2002) incarnation of my blog, featuring this same torii gate, the color weirdly tweaked for an illustration effect: here
Scan of original 1998 photo (pre-digital) from a bicycle trip around Biwako is here.
Very interesting post. Thanks.
It confirms my instinct as a JPG shooter to err on the side of underexposure if anything.
Also, how did you generate the JPGs? Were you shooting in RAW+JPG, or were the JPGs generated later from the RAW files? If the latter, would this make a difference vis-a-vis the former?
I used the generated-from-raw JPGs seen in the top row as fodder for creating the bottom. One would think that the in-camera JPG engine is comparable to the in-Lightroom JPG engine, but without testing, I can’t speculate how comparable. —Jeffrey
Regarding why underexposure works better, here is what Tom Hogan has to say in his excellent manual on the D90 (similar manual available for D700 etc.):
Post-processing exposure changes are also more easily made with NEF [RAW] files (these are not really exposure changes, but changes of the linearity* of the exposure, which is why it works better to correct underexposed images instead of overexposed ones)…
That astrix indicates a long footnote that describes what is meant by linearity, but I’m too lazy to re-type that here.
@Ron – An overexposed shot that can be brought down will be much cleaner than an underexposed shot that is brought up. It’s better to tone down the highlights than amplify the shadows, from a noise standpoint.
@Jon – From a noise-control standpoint you are correct, but in terms of recovering detail you have more latitude when underexposing. As everyone knows, this is due to the linearity, polalarity, and the nuclear resonance characteristics of the gummy bears from which they fabricate the sensors.
For me the primary problem with shooting JPEG is not the exposure latitude, since modern cameras seem to come pretty close in their exposure decisions, and except for recovering blown highlights and extreme exposure adjustments, RAW doesn’t seem to be a big factor during processing for me. What I find most important about RAW is the ability to control color, be it ‘Color Temperature’ or individual color adjustments. With JPEG, the colors seem to be much more ‘baked in’ to the image, and adjusting a photo that was significantly misjudged at the time of exposure becomes very difficult. Since with RAW the color is not ‘baked-in’, making color adjustments is much easier and provides much better results.
I tend to photograph under varying mixed artificial light (theatrical lighting), where the cameras seem to always misjudge color temperature, and shooting JPEG has become a taboo. I cringe every time I have to go back to a photo taken 3 years ago when I was using JPEG, knowing that adjusting the colors will be a real ordeal.
I couldn’t agree more, except that I’m a sufficiently poor photographer that raw’s latitude in correcting exposure mistakes is a big benefit for me. As I get better, that benefit is reduced, but since I feel no need to pay attention to white balance while shooting, that’ll always be a great benefit for me. —Jeffrey
I leave my camera on Auto WB and get usually good results in my JPG shooting. Sometimes I tweak the WB in Lightroom, but I’ve never noticed any artifacts from this.
What I’ve wanted to do for a while is perform the same kind of experiment as Jeffrey’s above but with WB: take a perfectly balanced photo, then take JPGs incrementally removed from this optimal white balance. Say, one JPG per 100 K WB. Then “normalize” the off-kilter photos in Lightroom and see at what point artifacts creep in.
Great post! It just goes to show that while there is no substitute for a good initial exposure, shooting RAW is the next best option for us serious hobbyists who need to recover from “exposure disasters” (and white balance disasters) a little more regularly than the pros. I’d previously seen Ken Rockwell’s advice on JPG vs RAW and thought it was a little simplistic in describing who should use RAW and why. You’ve demonstrated it allows people still working on their photography skills to recover photos that would otherwise be unusable.
That’s a great example. I liked the -2 EV shot the best.
Actually, what i mean to say is that is a great example of the kind of shot where digital cameras still fall short of film. I think the point and shoot olympus film camera that i grew up using would have done a better job with that shot than a D700, because high exposures of that sort look better on film.
The DSLRs are improving faster than film, though 🙂
Jeffrey — you put a lot of work into the post — thanks for that. I was just looking around for some examples of “exposing to the right” and came across the post. Seems to me that the +1EV raw when adjusted down really does offer up more overall detail, but it also seems to lose a bit of contrast as well? Interesting. Thanks for the post — Brad
Nicely put together Jeffrey. Hopefully Engadget don’t steal this one..
WOW,this is amazing and VERY informative for an absolute”kiwi ‘beginner like me..thanks for this post
You generated these jpgs from the raw images yourself. They might not be representative of the jpgs generated by the camera.
If the camera decided to try to adjust the exposure when creating the jps by +2 then the differences wouldn’t be as extreme in the high end, and a little worse at the low end. It could also decide to adjust the contrast so little is lost at either end.
I really like the method you’ve created for comparing them, but I don’t think this is necessarily proof of the advantage of raw over jpg. Some cameras could do a much better job of the jpg creation, reducing the advantage of raw, while others might do worse, making it almost necessary for those models.
We really need to see comparisons for raw+jpg, preferably for several types of camera.
Your comments about other cameras perhaps doing a better/worse job are certainly valid. Also true that the built-in JPEG engine might have done something differently, though I don’t think it would be material. —Jeffrey
Not just other cameras, maybe your camera too. These jpgs were generated by Lightroom, not your camera. I would love to see the same comparison done on a raw+jpg pair from the camera.