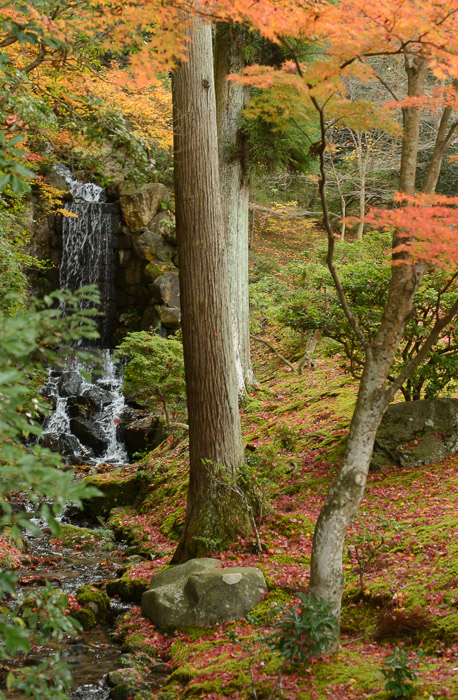
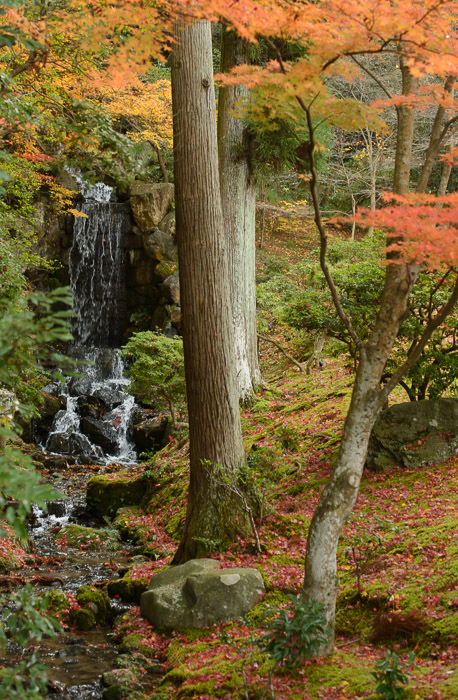
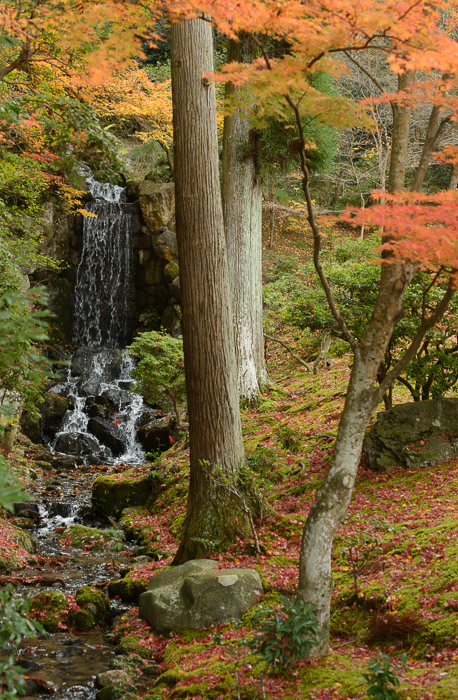
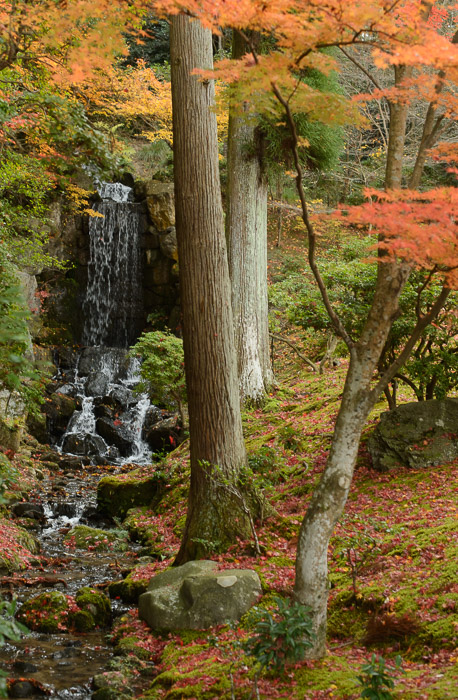
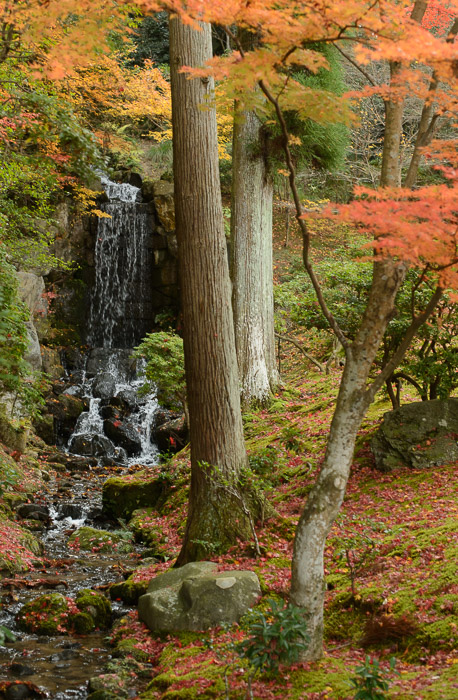
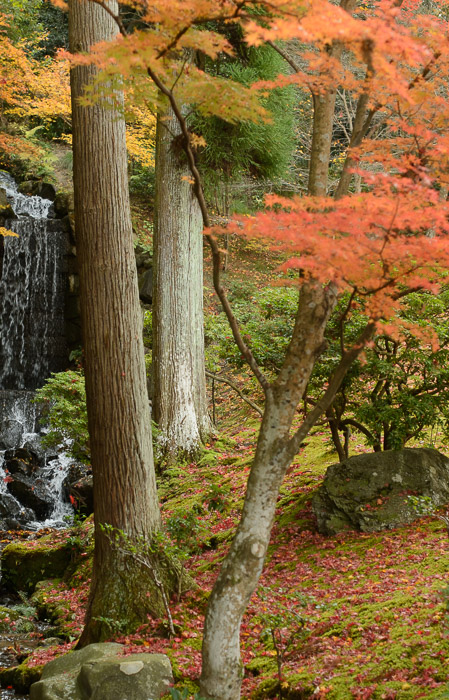
写真の上をマウスで左右にゆっくり動かすと「3D」な感じが出ます。
focusing on the tree in the middle
This post is about the art and technology of my 3D wigglegrams, but first a bit of context about the location seen above.
This wigglegram was taken during my first visit to Kyoto's Shugakuin Imperial Villa (修学院離宮) two years ago, a photographically-fruitful outing first posted about here, and most recently revisited a month ago here.
During the tour of the grounds, at one point you descend stone steps set in the side of a mountain....
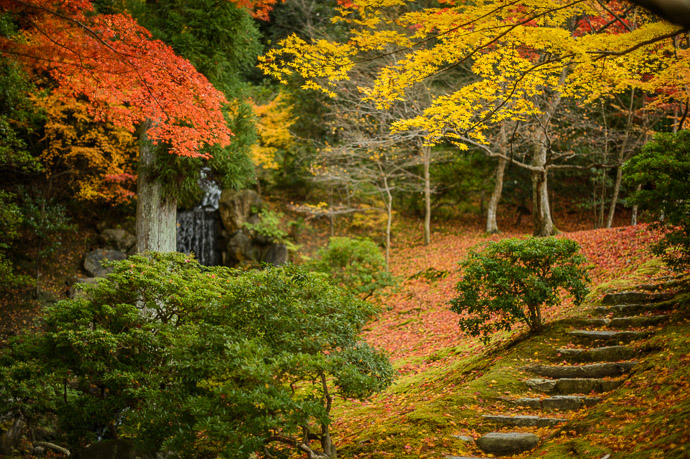
Nikon D4 + Nikkor 50mm f/1.4 — 1/125 sec, f/1.4, ISO 160 — map & image data — nearby photos
Stone Steps
There's a waterfall and a small stream... it's all quite picturesque.
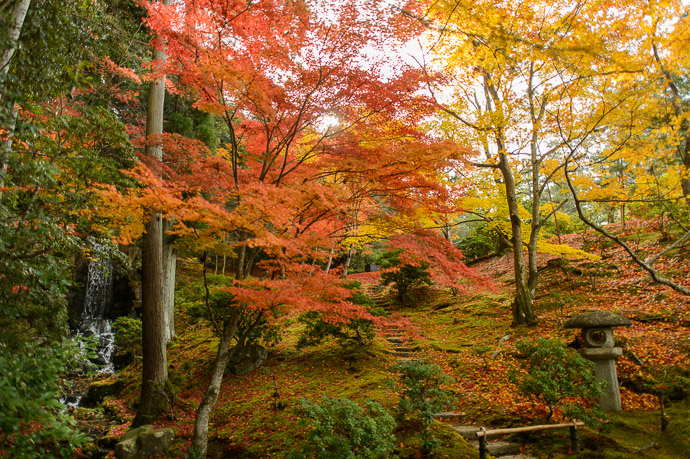
Nikon D4 + Nikkor 24mm f/1.4 — 1/160 sec, f/1.4, ISO 100 — map & image data — nearby photos
Wider View
As I described on that first post about the outing, the tour moves along briskly, so despite the wonderfully photogenic scenes, the tour is not amenable to careful or leisurely photography.
So it was with haste that I spent just over one second to fire off a burst of 14 frames for this new “wigglegram” thing. I had published my first wigglegram just a week and a half prior.
It's been just over two years since I took the photos for this wigglegram, and though I haven't gotten much better at taking the raw frames, over time I have gotten much better at preparing them for display.
“Preparing them for display” means aligning them up to account for camera shake while moving the camera (and my body) from one side to another during the shutter burst that might last one or two seconds. It turns out that I'm pretty bad at keeping the camera level, so the need to align them well is pressing.
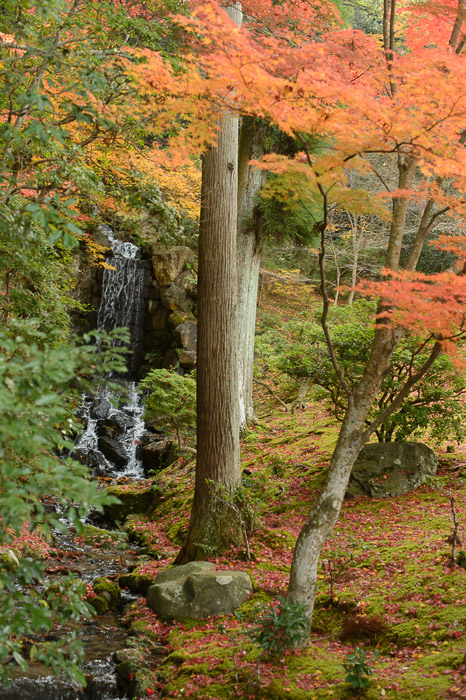
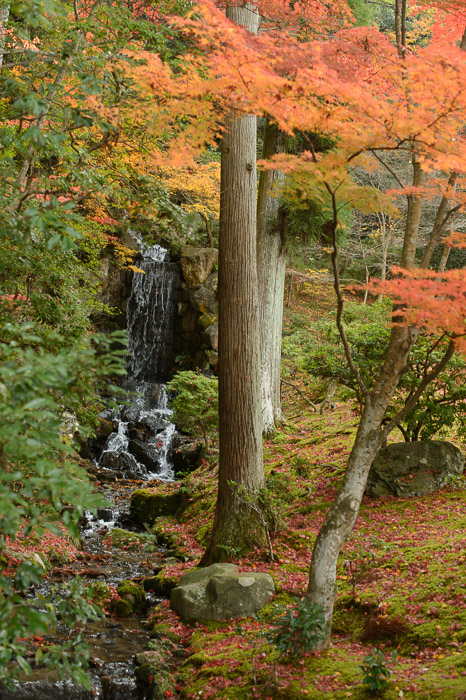
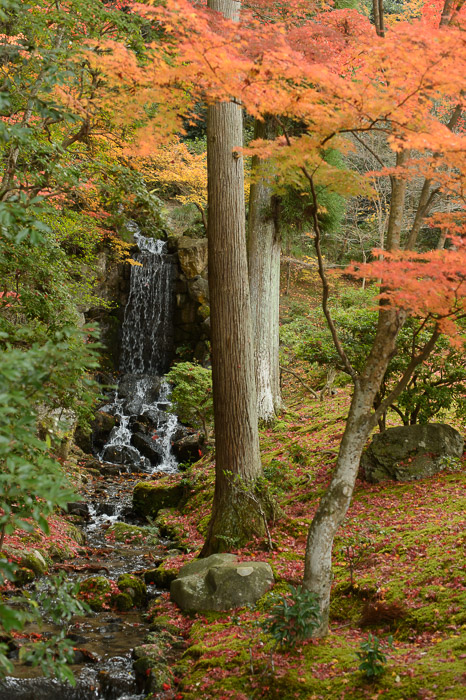
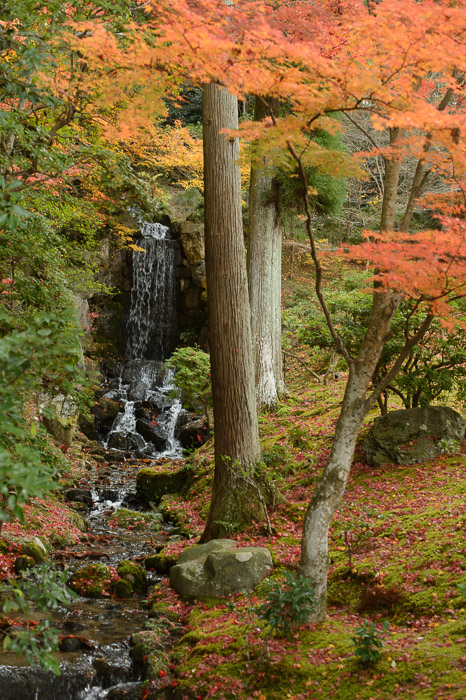
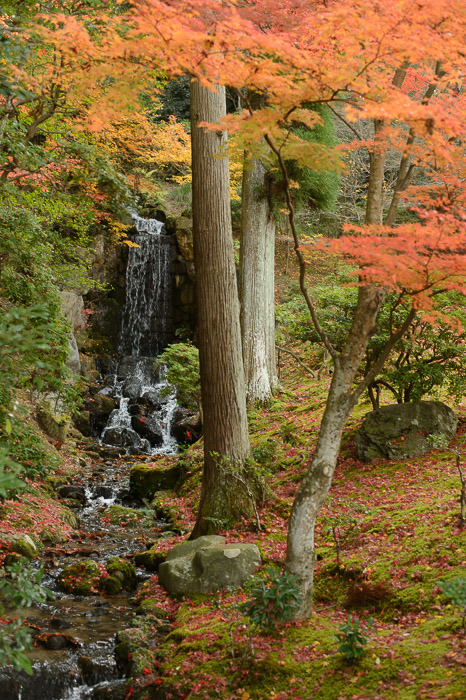
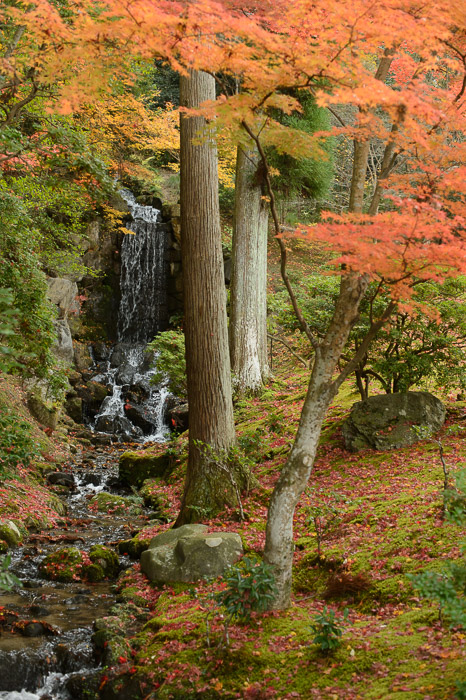
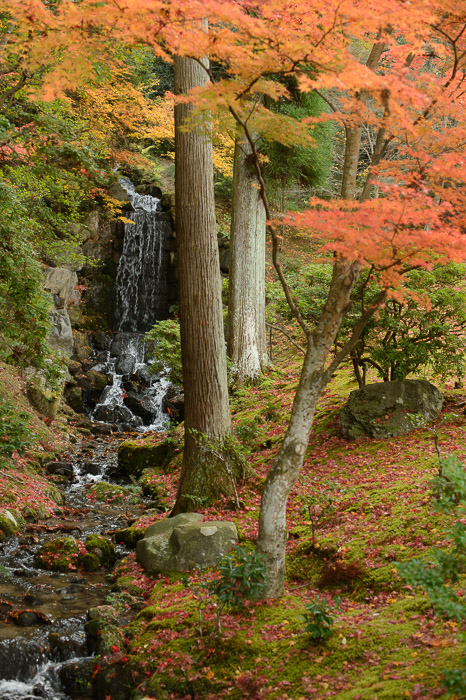
To show just how bad the original frames can be, here they are. (For the wigglegrams on this page, I'm using every other frame from the initial 14-frame burst, so these wigglegrams are seven frames long).
写真の上をマウスで左右にゆっくり動かすといろいろな撮影効果を楽しむことができます。
showing my unsteady movements
I'm pretty good at holding the camera steady for a long exposure (such as seen here and here, for example), but clearly not good at holding the camera steady while moving. The images need to be aligned individually to form a unified whole.
Alignment consists of adjusting rotation and skew:
Adjusting the angle of each image so that what should be vertical is indeed vertical. As an example, the seven shots in the wigglegrams on this page were adjusted by 1.23°, 1.36°, 0.7°, 0.8°, 1.27°, 3.24°, and 3.95° respectively.
Crop each image to restore a consistent framing of the scene across all images.
Further crop each image to the maximum intersection of what remains of all the images, so that each image has the exact same pixel dimensions.
This is neither easy nor fun to do by hand in Lightroom, and this was a severely-limiting factor in my early wigglegram production.
I knew there must be some way to automate the alignment, but I'm no good at pixel-level programming. Thankfully, the kind folks behind the Hugin Panorama sticher included image-stacking features, and I was able to build a system that automated the alignment.
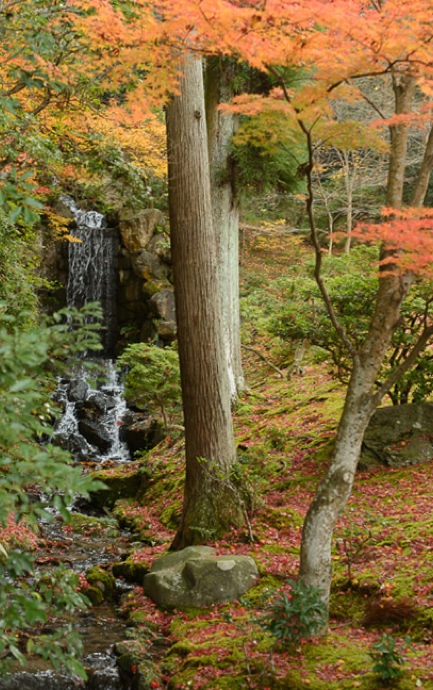
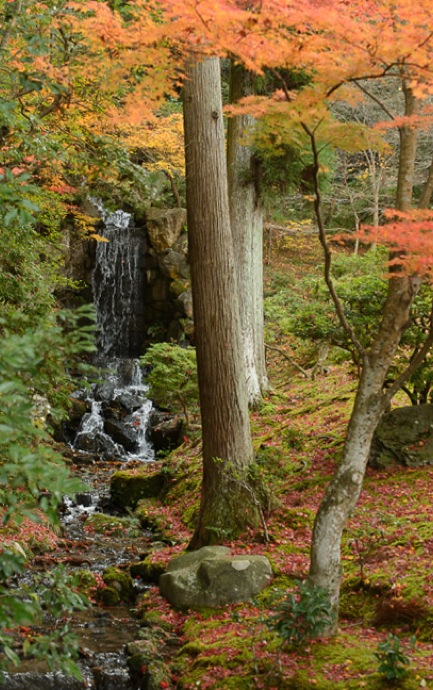
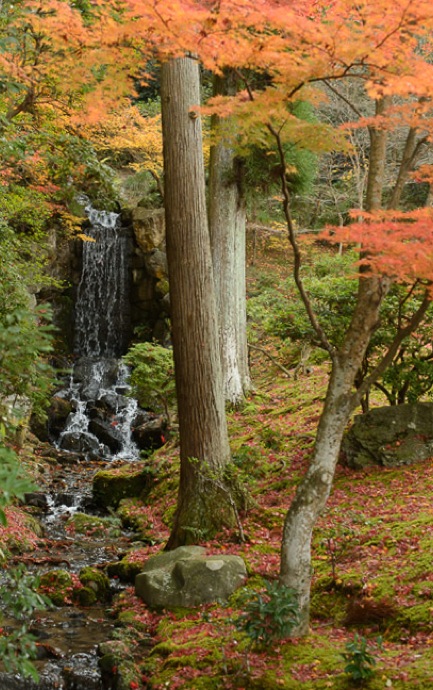
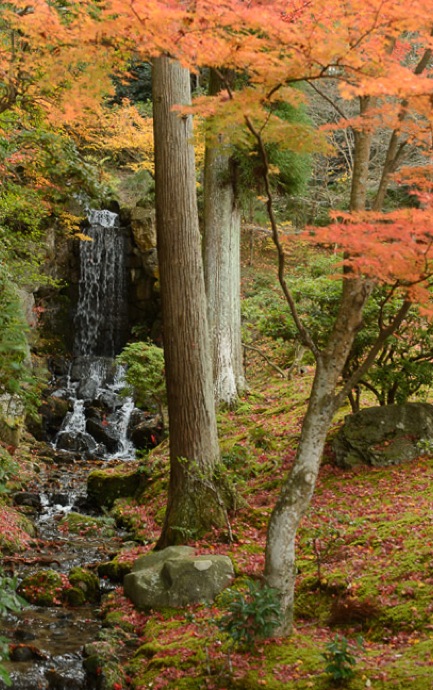
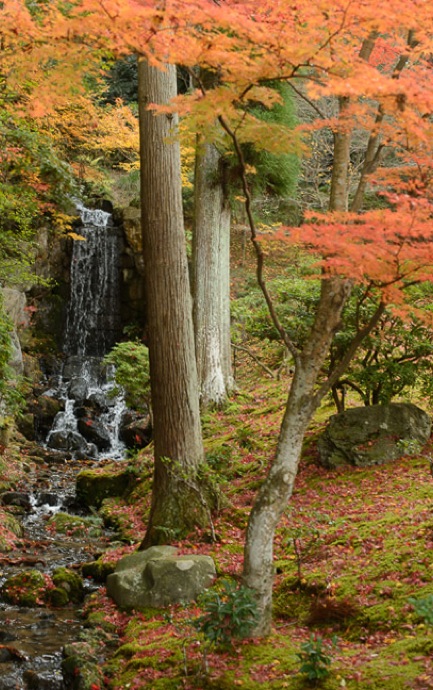
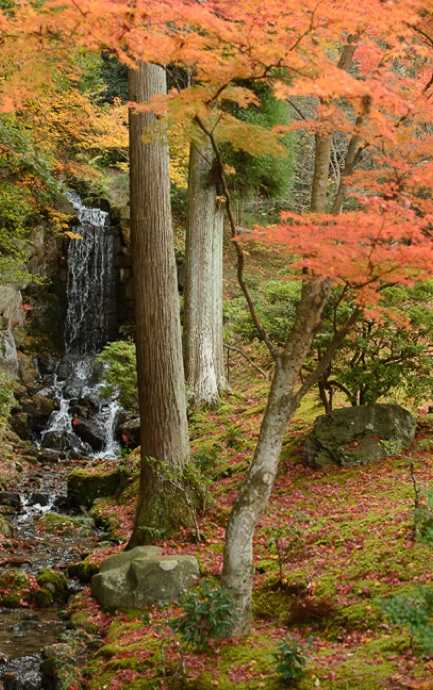
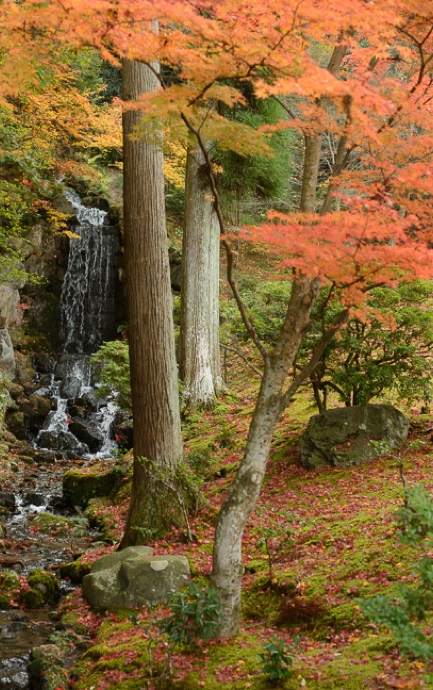
Results were.... spotty. Sometimes they were fantastic, and sometimes they were like this:
写真の上をマウスで左右にゆっくり動かすといろいろな撮影効果を楽しむことができます。
(ところで、この実記の一番上のウイグルグラムが私が作った物です。)
It's much better than the originals, but it still leaves a lot to be desired. Sometimes it would even lend a kind of Salvador Dalíesque morph to various parts of various images. It was a step in the right direction, but I needed a better approach.
Finally, a few months ago I started writing a Lightroom plugin to align images using user-provided hints and guidance.
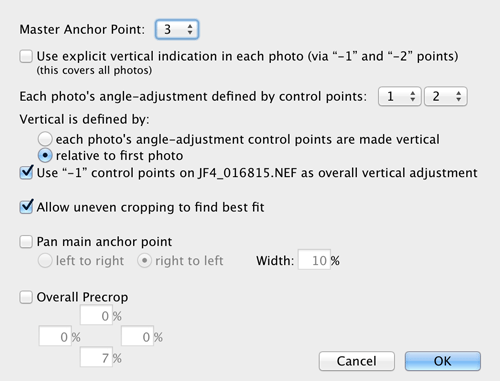
In Prograss
my plugin while creating the wigglegram that lead this post
At first I thought that aligning the images would be merely a technical undertaking, but it turns out that there's also an artistic component to choosing the alignment.
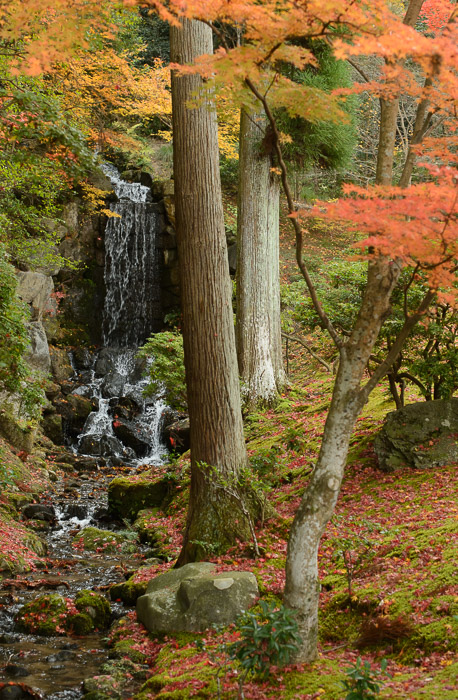
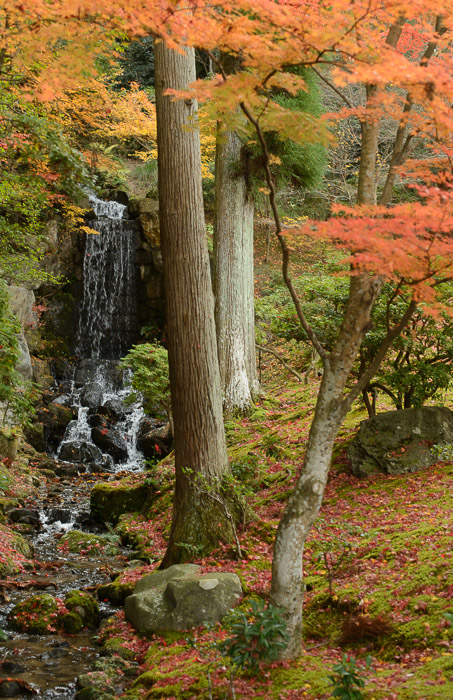
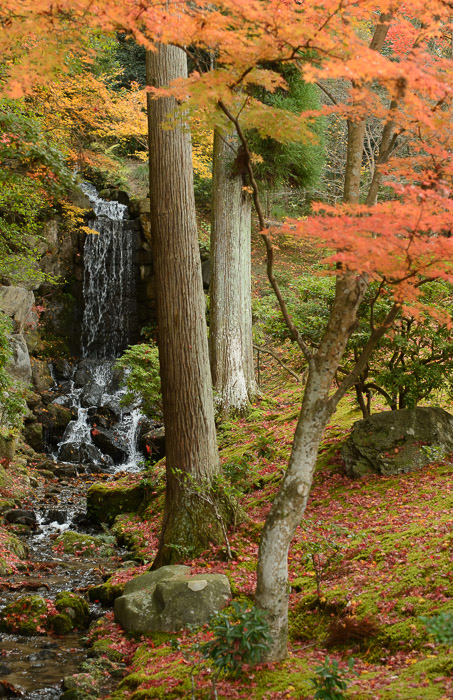
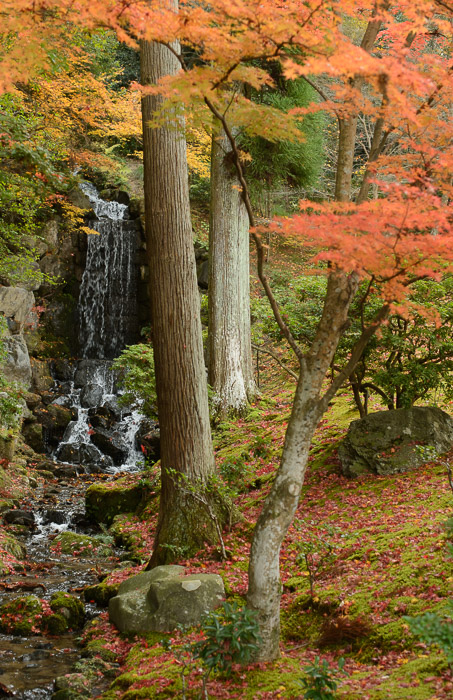
It may feel completely counter-intuitive, but you can take the same set of original and build wigglegrams with completely different focus points. For example, in the one at the top of this post, the focus point is the tree (referenced in the dialog above as “anchor point 3”), but here's one where it's the waterfall in the background...
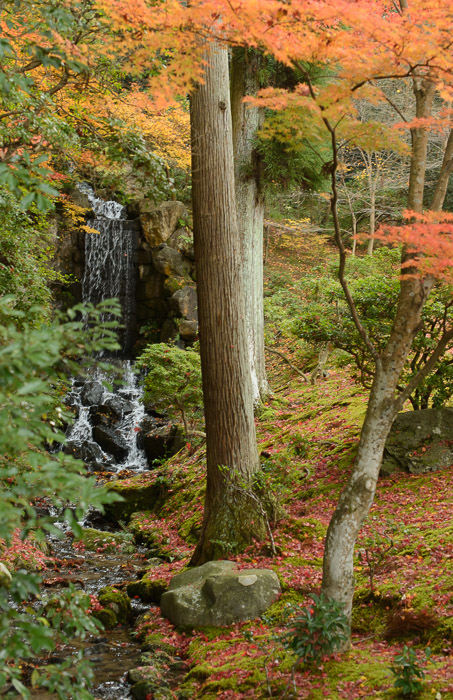
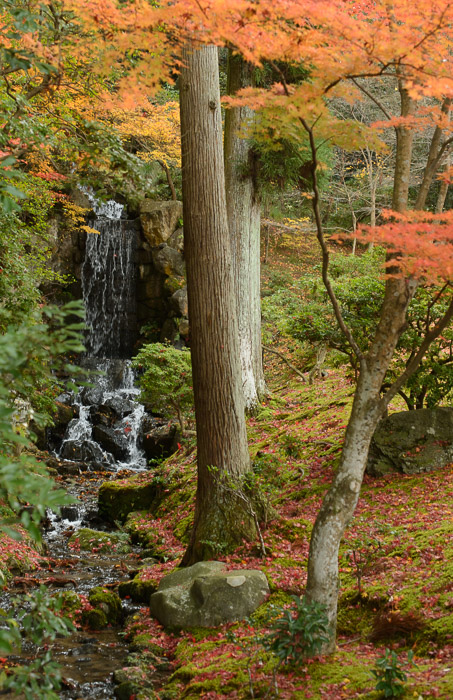
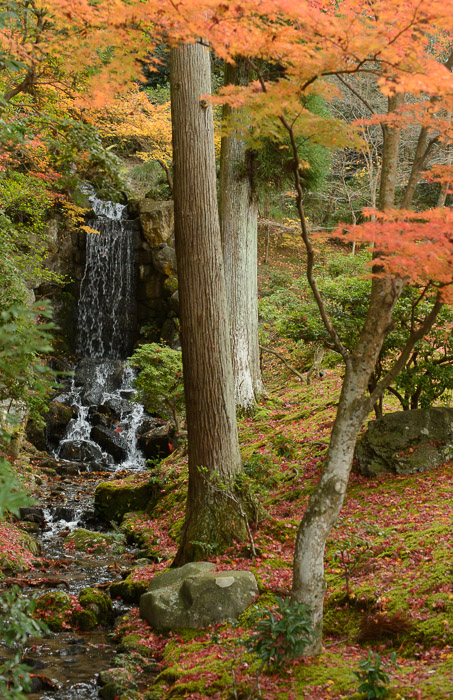
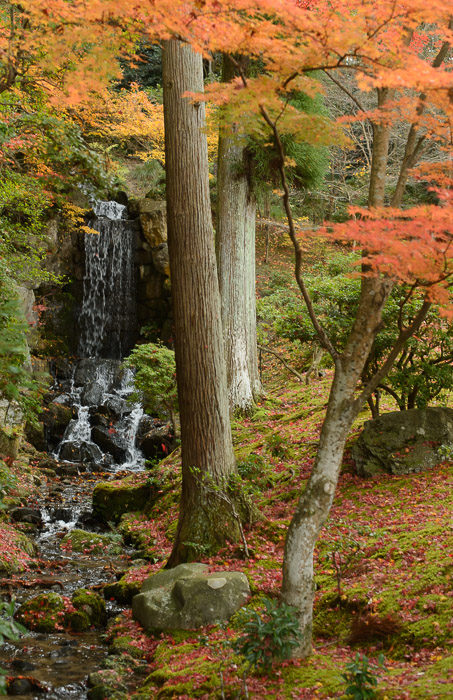
写真の上をマウスで左右にゆっくり動かすといろいろな撮影効果を楽しむことができます。
different feel
Like all the wigglegrams on this post, they're both built from the same original seven frames, so what's the difference? In the wigglegram at the top of this post, each frame is cropped so that a small orange leaf stuck to the middle of the main tree trunk is in the exact same location within each frame. That little orange leaf doesn't move from frame to frame; everything else does. This has the effect of the view rotating about the tree as you move.
In the wigglegram immediately above, the crop for each image is crafted so that the rock at the right side of the top of the waterfall doesn't move from frame to frame; everything else does. Here, everything seems to rotate about the background.
How can these completely-different sensations be built from the same originals? Doesn't it matter where the camera was pointing while the rapid-fire burst was being taken?
The key is to realize that when you focus on something with your eye (the tree or the waterfall or whatever), your perspective doesn't change. What changes is what you choose to keep unmoving in the center of your view.
Your perspective does change as you move your head to the side, just as the camera's perspective changes as it moves to the side. Once that perspective change is captured in the frames taken by the camera, when processing later you can use creative cropping to keep whatever you want “centered” and unmoving. In the examples above, the tree and the background, respectively, were kept unmoving from frame to frame, giving the feeling that that's what we were focused on while moving.
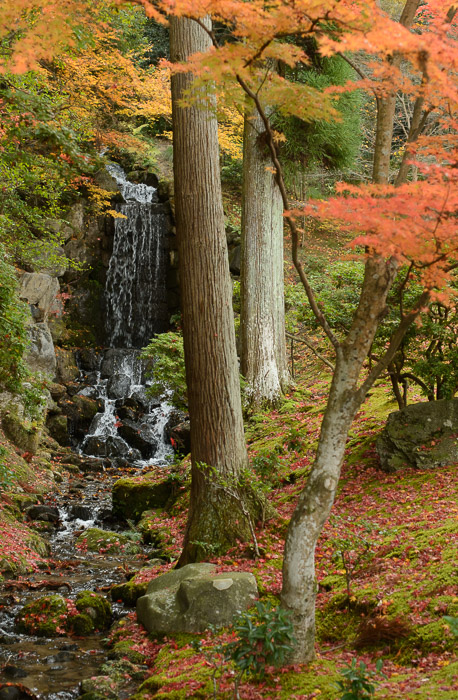
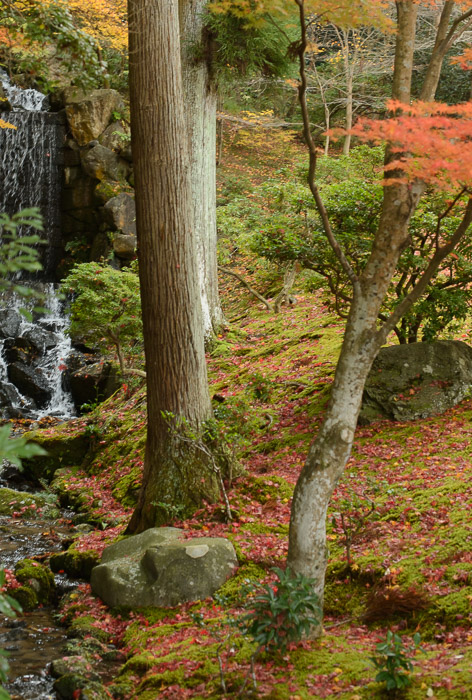
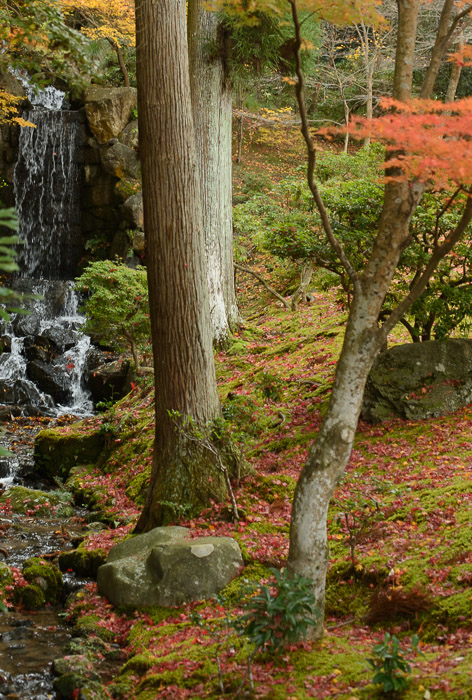
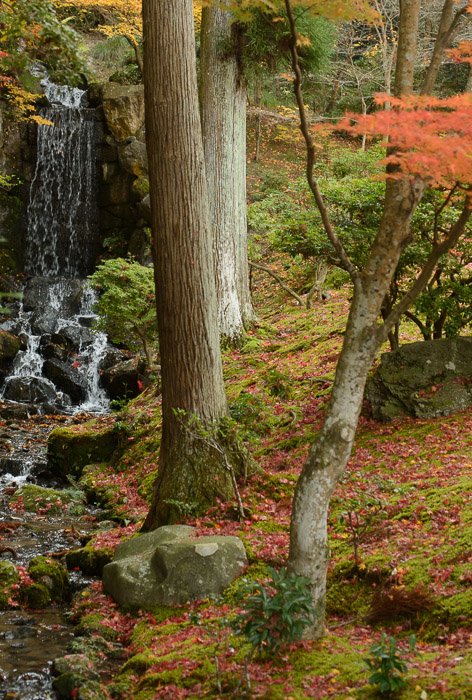
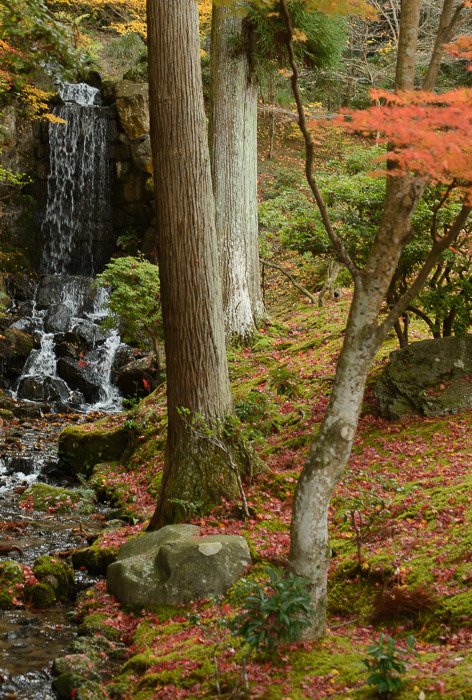
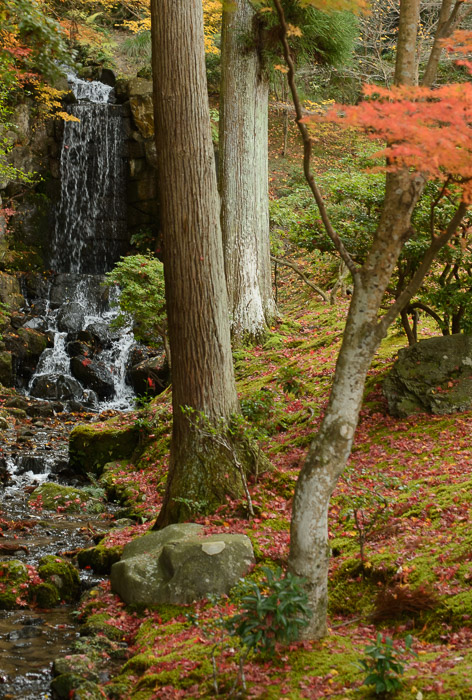
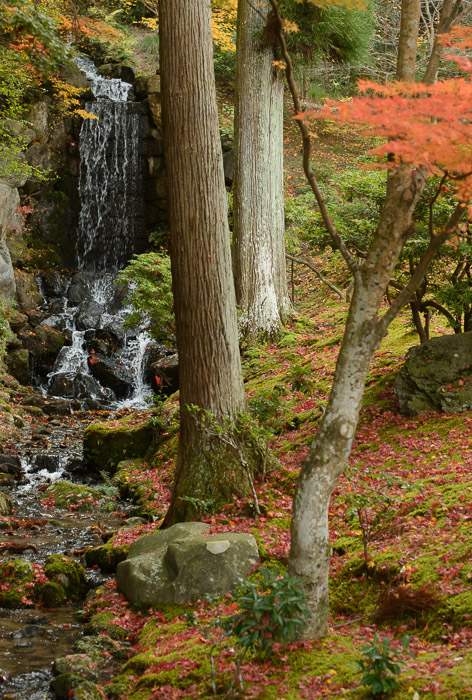
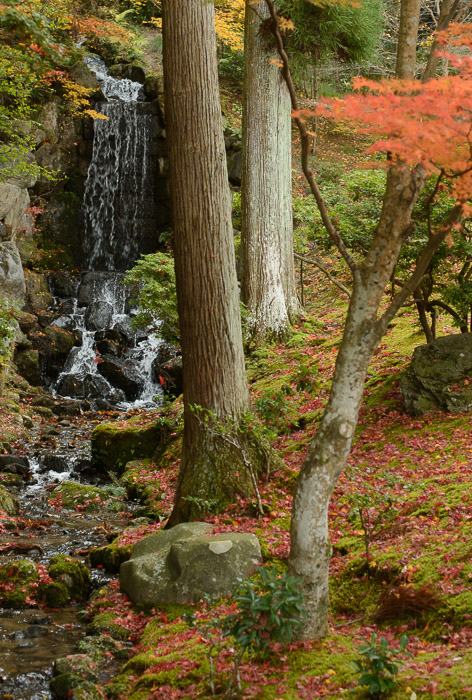
As a further example, here's a set of croppings where a yellow leaf in the near foreground was kept consistent across the frames:
写真の上をマウスで左右にゆっくり動かすといろいろな撮影効果を楽しむことができます。
a small yellow leaf in the foreground is fixed across the whole
This one is much less satisfying than the others, for two reasons.
One of the reasons brings us back to the question "Doesn't it matter where the camera was pointing while the rapid-fire burst was being taken?" Where the camera points for each frame determines what part of the scene is available to each frame, which in turn has a direct impact on what parts of the scene are available to all frames of the unified whole. After each frame is aligned so that whatever we want to be unmoving across frames is unmoving, we have to set the crop dimensions for the unified whole such that it's contained within every (likely rotated and moved) individual frame.
If the camera was physically kept pointing at the same thing while it was swept from one side to the other — say, kept pointing exactly at the small orange leaf in the center of the tree trunk — and the camera was kept perfectly level, you'd not have to adjust anything, and you'd keep 100% of your pixels. But in the real world in my shaky hands, the best I can hope for is that the camera is kept generally in the right direction. In the case of this wigglegram, I did try to keep that leaf in the center, so after adjusting the frames I ended up keeping (not have to crop away) a not-too-bad 67% of the pixels.
But with “Rotating About the Front” just above, where the physical camera aim doesn't match the aim we're crafting, I had to crop away all but 20% of the pixels.
So, the tighter crop destroys the big sense that I was hoping to capture, making the result less satisfying.
(A further side effect of small crops from across the various frames is that you can get some pretty wild effects due to lens distortions, which tend to exaggerate toward the edge of the frame. Taking a small crop that runs from the middle of the first frame to the edge of the last frame can see a square morph into a squished rectangle, or vice versa.)
The other reason it's not satisfying is that the subject matter doesn't lend itself to rotation about the foreground. It just feels better rotating about the tree, or the background.
But you don't even have to rotate.
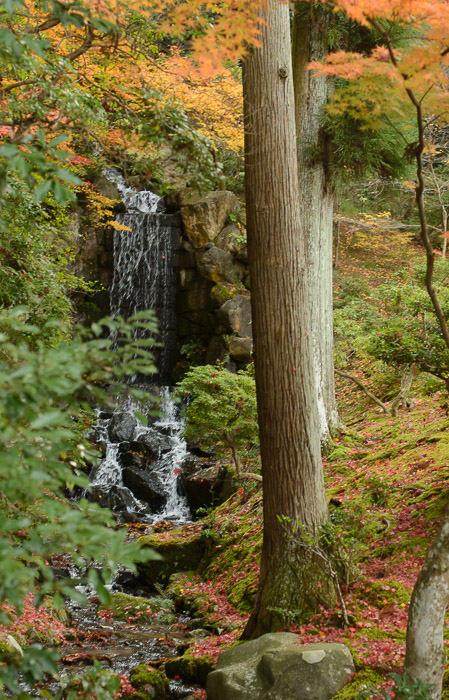
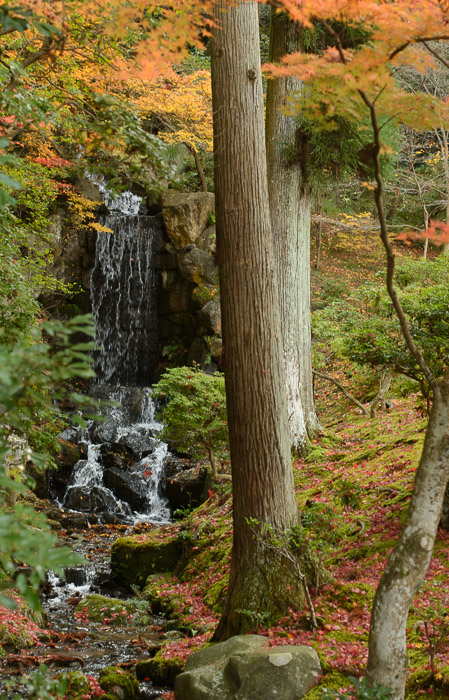
I realized this weekend that once you've adjusted everything so that whatever item you picked is unmoving from frame to frame, you can then go ahead and let it shift slightly across the view from frame to frame, to give a panning feel. For example:
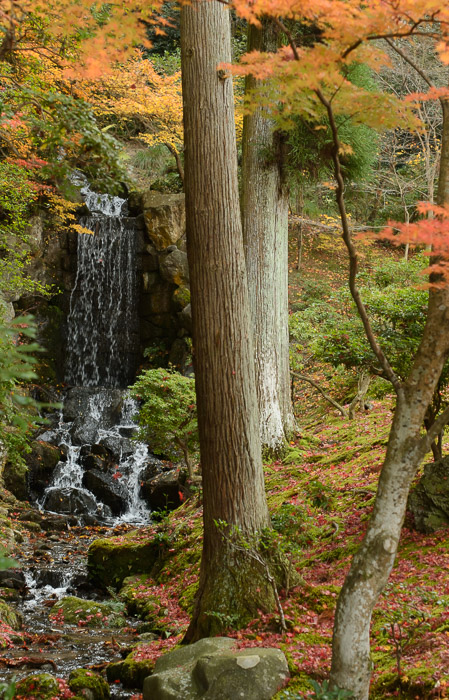
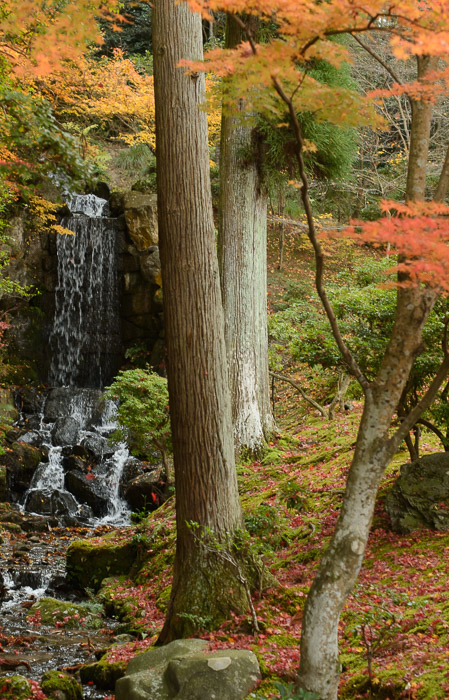
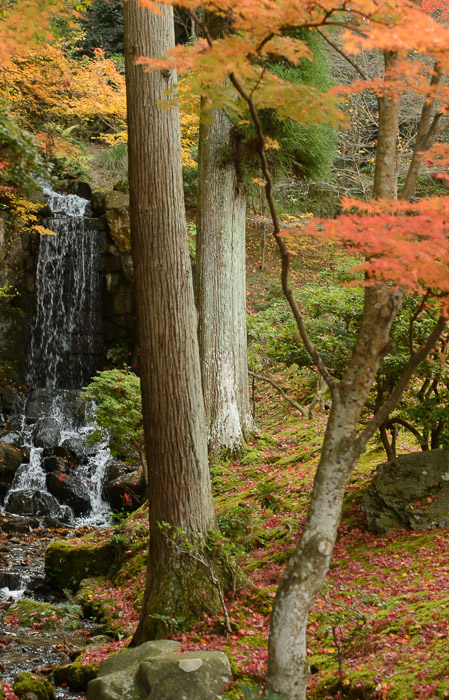
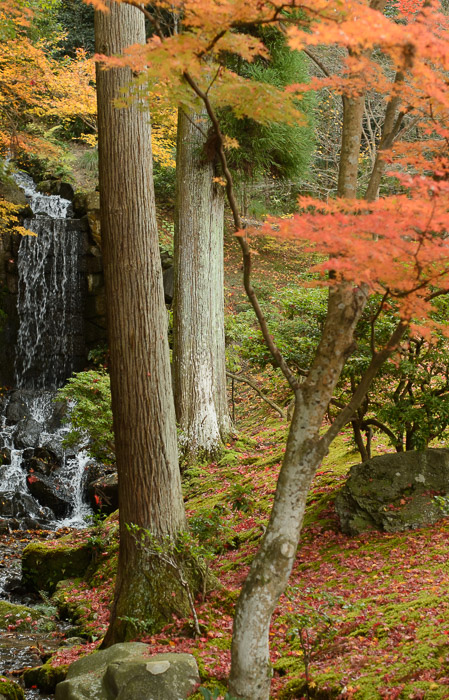
写真の上をマウスで左右にゆっくり動かすといろいろな撮影効果を楽しむことができます。
This is a completely different feel. Here, I set the waterfall rock as the unmoving part, but then had it move across 20% of the field of view between the first and last frame. This gives the effect of rotating about an infinitely-distant point: a pan.
Frankly, it's not very appealing here, but I can imagine cases where it'd be useful.
More importantly, the technique can be used to fine-tune the rotation point by giving the impression that the rotation point is in front or behind whatever point you'd made fixed. For example, in this wigglegram of three ladies posing for the camera, I set the fixed point at the shoes of the lady in the middle. But imagine if they had been jumping (like this), then I'd have no spot on any of their bodies that stayed consistent from frame to frame around which to rotate. But now I can solve it by zeroing in on a rock or something nearby, then using a slight “pan” one way or the other to throw the perceived center of rotation exactly where I want it: in the middle of the three jumpers.
(That's a poorly-written paragraph about a complex idea... I'll have to just go shoot an example sometime, to make it clear.)
Anyway, as you can see from the many wigglegrams on this page, all derived from the same original photos, artistic feelings play an important role in deciding how to present them. I lead the post with the presentation I liked best. YMMV.

The ‘panning’ effect is an interesting variation on your original wiggle gram sequences. I look forward to seeing where you take the idea.
The distant objects as fixed certainly has a more natural feel since you imagine distant objects not moving relative to you. However, the other options are quite interesting with the effect they give.
Do you envisage releasing the plugin to the world at any point or is it something you will continue to develop for your own purposes? It does look like something that could provide a lot of opportunity for experimentation.
In deciding what projects to work on for release, the biggest factor is how much benefit it brings to the world, divided by how much work it’ll take (to package for public consumption, document, and deal with feedback and questions). The denominator would be big, and with perhaps only a few folks in the world actually giving it a try, the numerator pretty small. It doesn’t seem a good value deal at this point. —Jeffrey
That is understandable. It’s a shame since it looks like an interesting technique to experiment with but there are more productive uses to make of your time. I shall enjoy seeing your results instead.
I find this fascinating.
The wigglegram with the background waterfall fixed feels natural, the panning one not so much. I think this may be because that’s just not the way the brain works. If you’re riding a train and looking out the window, your eyes naturally fixate on something for a few moments, then jump to the next. It’s nearly impossible to keep your eyes fixed relative to the train, which is what the panning shot is mimicing.
I commented earlier that I love your wigglegrams because they put me *there*, where you were, in a way that a still photo or even a video can’t. A wigglegram with background and foreground moving around a focal point in the mid-field (like the leaf on the tree trunk) feels more real in this way; a wigglegram with the focal point in the background, like the waterfall, feels more “remote”, like I’m watching from that train.
When you’re cropping to achieve these various effects, it’s like the effect of a shift lens, using a different portion of the image circle. For an even more immersive experience, it feels like the camera would have to rotate as it shifts to the side, so that the lens axis remains pointed at the focal point. This would allow for the proper perspective effects around the edges. You could probably simulate this with horizontal/vertical transformations; I feel like the math wouldn’t be all that daunting, though that’s easy for me to say if I have no intention of actually trying it. 🙂
I do wonder what these would feel like if the camera were mounted to a rail, like those used for timelapse photography, which would allow for all of that. Of course, that’s a lot more gear to carry and setup at shooting time; it’s the sort of thing I might encourage some photography student to embark upon as a senior project or master’s thesis.
Jeff- I think you’re thinking more along the lines of a videographer and are bridging the once unknown gap between time lapse, photography, and videography.
It’s a fun thinking exercise and I liked how you went through the visual impact of each wigglegram.
Hope to see more of your work, whether it be wigglegram or more traditional forms.
Alvin from NYC.
Are you aware of Microsoft Photosynth? It does exactly this but it does all the hard work (alignment) for you.
An example:
https://photosynth.net/preview/view/7fbc0f2d-0f4f-4306-9170-d6d146b77c5a?autoplay=true
It’s free.
Very cool… I had heard about it as a technology that existed, but didn’t know it was available for use. It’s not quite the same in that for these simple cases I have more control and get much better results with my wigglegrams (see this Photosynth I just made from the original photos used on this post), but it looks like they let you do so much more, and do it so much more easily. I’d love to make a Lightroom plugin for this! —Jeffrey
I love your wigglegrams, and it was interesting to read the details on how you make them.
I love this technique! Have you tried not moving the camera, but just adjusting the focus point during a wigglegram so that the DOF will change as you view the photo? I wonder what kind of effect that would have?
“StereoPhoto Maker” automatically aligns, centers images where you want, etc
perfect for Wigglegrams
“StereoPhoto Maker” alínea automaticamente, centra imágenes donde uno quiera, etc
No hay nada mas perfecto para crear Wigglegrams