Over the last month or so I've added a bunch of new Google Earth interaction to my Geoencoding Support Plugin for Adobe Lightroom. Especially interesting for those without a GPS unit or geoencoding old photos without a tracklog is the ability to navigate to a location in Google Earth, then import that location directly to a photo.
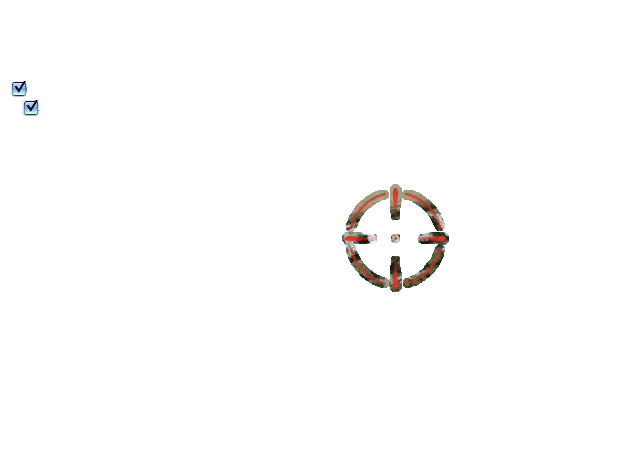
However, part of the problem is understanding exactly the location that will be imported. It's the center of the view screen in Google Earth, but unless you zoom way up, it's hard to visualize the exact spot that will be used. I've seen crosshairs for Google Earth out on the web, but didn't like any of them for choosing locations, so I built my own and include it with the plugin. (That's it in the upper-right corner.)
Its main features are that it leaves the central area mostly unobscured, but the very center has a red dot, to leave that central location absolutely unambiguous. This all might sound like a trivial thing, but I can't tell you how much of a difference it makes. (But I'll try: a lot.)
Here's a photo of Anthony during our recent trip to Ishigaki Island in the far south of Japan, after our Day 2 visit to the beach...
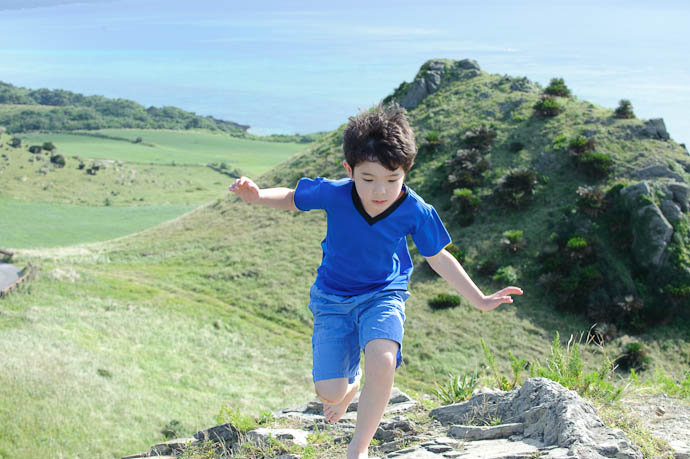
Nikon D700 + Nikkor 70-200mm f/2.8 @ 70 mm — 1/500 sec, f/9, ISO 800 — map & image data — nearby photos
Braving the Winds
If I were to navigate to the location on Google Earth to geoencode the photo, I might end up with a view like this:
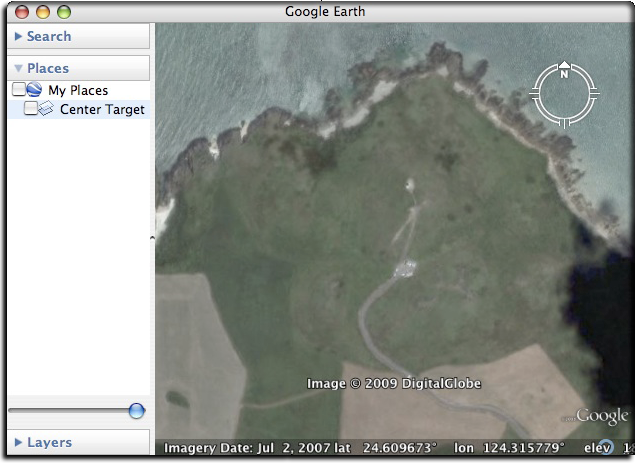
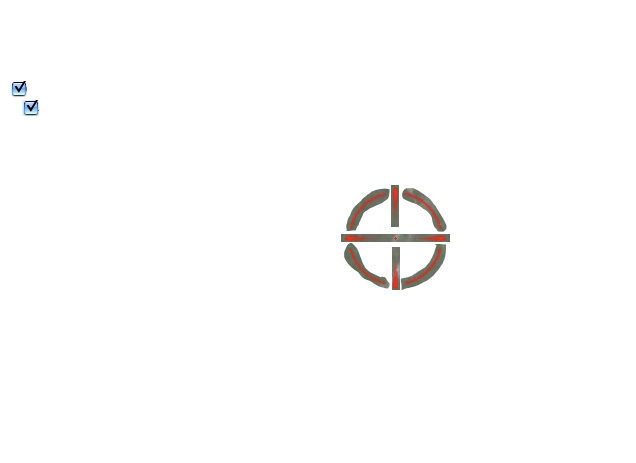
To be as accurate as I want to be, I'd have to take the time to zoom much closer to get a better feel for the location that was in the center, but turning on the target makes it much easer. Click the “Center Target” checkbox in the photo above, or here, to toggle the target on and off.
Unambiguous.
Here's another example, trying to pinpoint an apartment in Paris (a location I picked only because the photo-realistic Eiffel Tower is cool)...
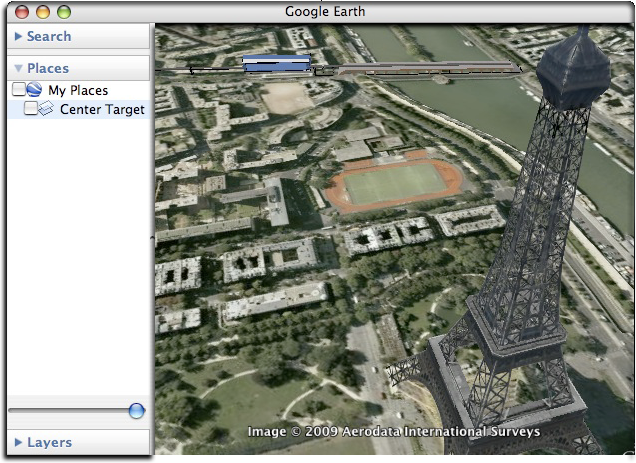
To get that specific corner of that specific building would normally require zooming way up, which is fine if it's just one photo, but it gets old quickly if you have a bunch.
Anyway, the target is included with my plugin, but I thought I'd post it here for all to enjoy.

You’re right, that crosshair is invaluable for when my GPS logger stopped recording tracks recently >:( It was good to be able to keep the zoom level far enough out to see the “bigger picture” so to speak.
Now, if you could somehow get LR to recognize a keyboard shortcut to open your Geoencoding plugin (or even a shortcut letter to the Plugin Extras menu..) that would REALLY speed up short of embedding a GE window into the plugin and being able to select photos as you go 😉
I just reloaded the firmware on the logger, hopefully I won’t have to do that again (almost 100 photos *sigh*)
About speeding up, have you tried the new Reverse-Geocode tab? It could just as well be named “Speed Geoencode”. —Jeffrey
This has been an AWESOME addition to the plugin. I love being able to use Google Earth to do my geoencoding. The cool target and the fact that the information pulls the elevation too. WOW!
Thank you very much
Thanks for that, Jeffrey. It’s really useful. When I want to send someone a screenshot from Google Earth, I always have to open it in an image editor and add a red circle. Thanks to you, not anymore.
“About speeding up, have you tried the new Reverse-Geocode tab? It could just as well be named “Speed Geoencode”. ”
Um… I hadn’t… But since I had to encode about 70 more photos manually (but my tracker is fixed for the future) I gave it a shot.
WOW… Speed indeed! I was looking at the reverse encode section only for filling in the location fields in bulk, I didn’t expect to be able to encode photos individually without having to go back to the Library grid (I should probably read directions some time). This plugin as a whole is worthy of being it’s own stand-alone program. That it is fully integrated into Lightroom is the icing and the cherry!
hi lafayette louisiana
a lot of boat swamp & trails especially inour bayous and waterways
LQQKING FORWARD TO USING YOUR CROSSHAIR THINGY FOR GE
thanks for posting /sharing it.
Thanks a lot. This solved a problem for me to get coordinates of a specific point very quickly.
Hello Jeffrey ,
I’m a happy user of about all your plugin of Lightroom and enjoy them , appreciate your work.
Geotaging is an interesting one . I was wondering if it was possible to make directly appear the MAP in lightroom publishing using longitude and latitude given by the camera ? Thank you .
J-Pierre
I’m not sure what you’re asking, but if the camera is encoding the latitude and longitude into the photos, Lightroom should be reading that data automatically, and the photos should show up at the proper location in the Map module. You shouldn’t need any plugin for that. —Jeffrey
After an update of Lightroom, the cross hairs in photoshop disappeared. Relaunching the plugin made no difference. I down loaded the crosshair from your sight, and it immediately reapperaed – problem solved.
Until…
I relaunched lightroom with another catalogue – and the crosshair did not reappear – and refuses to when I check, uncheck and recheck the tickbox in Earths sidebar as shown on your site.
What am I doing wrong?
There’s no integration between Lightroom and Earth that could cause the crosshairs to disappear, so if something strange is happening, it’s happening completely within Earth. The crosshairs won’t be saved in Earth across reboots of Earth unless you move it to “My Places”, so be sure to move it there. —Jeffrey
Ok so while building something for minecraft BTE (build the earth, just look it up, kind of a big project) I noticed that google earth didnt have a crosshair. Now I found this and it worked great, but what interested me was how it works.
First we need to understand the KMZ format. A KMZ is just a ZIP file with kmz as ending, which can include any files, but mostly has KML, which is a waypoint XML format.
This file has the crosshair as a png and a single KML file that declares a screenoverlay.
ScreenOverlay basically only has 3 important values:
The Image which will be used.
The Location on the screen where it will be placed.
The Location on the image that is placed on the screen location.
In this case, OP has placed the middle of the image in the middle of the screen.
Im writing this in case another curious soul comes across this, so they dont have to read through the documentation themselves.