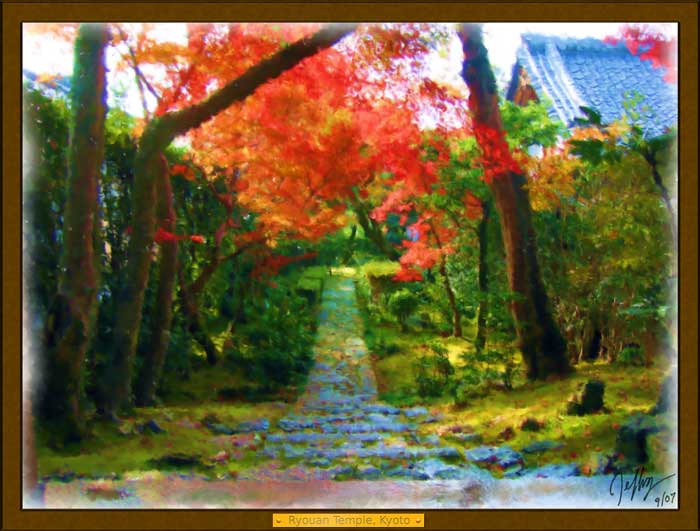
The image above is a tiny version (click to enlarge somewhat) of a “painting” I made from a photo I took at Ryouanji (龍安寺 — the Ryouan Temple in Kyoto Japan) a couple of years ago. One of the toys I picked up on my trip to The States is a Wacom Intuos 3 pen tablet, which came with a copy of Corel's Painter Essentials 3 that I used to paint-ize the photo.
Corel's product is a mixed bag. It's just fantastic when it works, but it had a tendency to crash on me every five or 10 minutes, just disappearing without a trace (losing all my work in the process). I got into the habit of saving my work often.
I contacted Corel support, who basically told me to get lost
because, although I paid for their product, I didn't buy it directly from
them. That kind of “support” makes my blood boil. A web search for a fix
found a lot of people angry with Corel for a total lack of support, but no
solution to my problem. ![]()
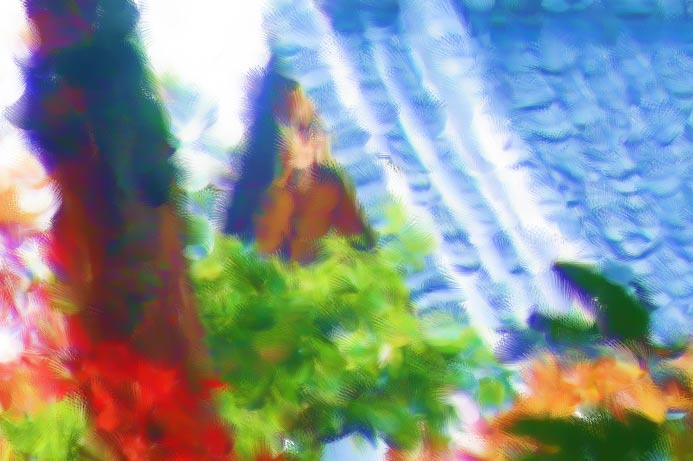
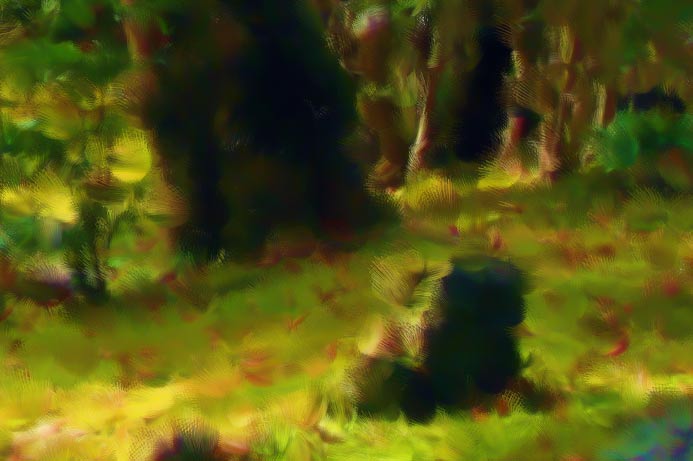
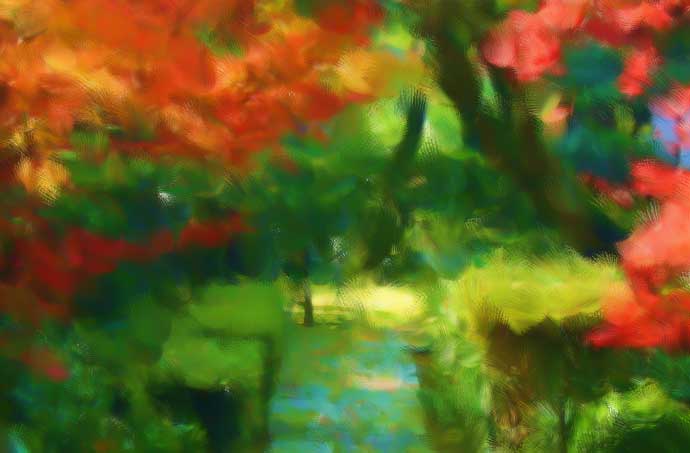
Anyway, back to the painting, perhaps this should be filed under “easily self-impressed,” but I really like the results I was able to achieve between crashes. Here are some full-resolution crops....

Roof Near the Upper-Right Corner

Stump Near the Lower-Right Corner

End of the Path in the Center
I then loaded it into Photoshop and built up the frame, signed and dated it, and added a brass nameplate....

Content creation like the nameplate is not my strong suit in Photoshop. Well, not much is, but I've been able to do a few nice things, such as this photo touch-up for a friend's new-year's card, and some other things that I've written about before and are linked to in the “Followups and Related Posts” box below.
In creating the nameplate, I used five separate layers: the plate itself, the text, one for each brad holding the plate to the frame, and a final layer with which I tried to add a bit of sheen to the metal. It's all wholly pedestrian to a Photoshop expert, but was a fun challenge for me to try to figure out. It still looks sufficiently fake that I'll probably go back to futz with it further, but I'm not sure what it really needs.
What I really need to do is to find a place here in Kyoto where I can have the painting part (sans the frame) printed big-sized on high-quality rag paper (I think “rag” is the kind of paper that would make this look good). Then I need to find a real frame for it, and put it on the wall. I actually do have a small version of the original photo on the wall of my room, as can be seen slightly in the background of a picture on this post.

There is also a process that prints on actual canvas at very high quality. I think IRIS is the name.
Jon
Back in the day when I was working deeply with Photoshop, there were a few plugins available (pity they weren’t portably written to survive Photoshop version changes) that did wonders like creating abstract-like paintings from any image and such (and a suitably fast 80846 to reduce the wait times once the plugin was applied).
Regarding Corel, that’s indeed pretty sad, but not surprising 🙁 They’re rumoured to be a pretty mean company.
Don’t know when you wrote this, but the company that produces prints on Zenfolio does print on canvas boards or stretched…..
Another point that I have not tried, you might make a “virtual copy” of a print in lightroom from RAW, and make the adjustments to each. Bringing out shadow detail in one, and highlight in the other.
Much of the detail exists in RAW, and even in photoshop you can bring it out.
1. Use the magic wand to capture highlight detail, go to layer, levels and adjust.
If too far out, you can click menu icon at top, and adjust individual colors.
Like if a sky is burned out, dragging the bottom right icon in RED, reduces
it to show more details in the clouds. Then adjust GREEN AND BLUE.
2. Do the same to capture shadows, and adjust.
3. You can also play with the mid-range to make things look more balanced.
You do not need a tripod this way, and it seems so much simpler. You can do anything in Photoshop that we used to do decades ago in a Darkroom, and much more. It is also faster.
Think of Photoshop as a modern Darkroom, instead of a computer program…..
Play around with Photoshop, there are so many things you can do with it, that few ever try, many never use a majority of the features in the version they have. It is like having a Nikon D200, then only using it on automatic.