| UPDATE: | A much improved version of the chart used in this post is available as Jeffrey's Autofocus Test Chart. |
In my previous post, I worried that there were focus problems with my new Nikon 70-200mm f/2.8 lens. I'd based this on a few test pictures taken while visiting the park with Anthony, and concluded with the realization that I need to do more rigorous tests to discount the possibility that my own errors were causing the problems.
I later posted a short summary of this to a forum at Phil Askey's the most excellent Digital Photography Review (see thread here), and got some comments reiterating that it might be my fault. Modern SLR camera auto-focus works on finding contrast, and while I think that the subjects in my test shots stand out with high contrast from their background, some of them also had highish-contrast aspects within the background, so it's possible that the autofocus latched on to them instead of my intended target.
I've never run into this problem with my 18-200mm f/3.5-5.6, either because it doesn't have focus problems, or even if it were to have one, because its depth-of-field is much deeper. With the zoom at 200m, a subject 5 meters (16 feet) away has a depth of field of about 5.3 inches at the lens's fastest aperture of f/5.6, more than twice the depth as the new lens at its fastest aperture of f/2.8 (a depth of field of only about 2.6 inches). Testing the new lens wide open (at f/2.8) places the most demand on all aspects of focus (camera, lens, and me).
So, today I did more tests.
Focus Test Charts
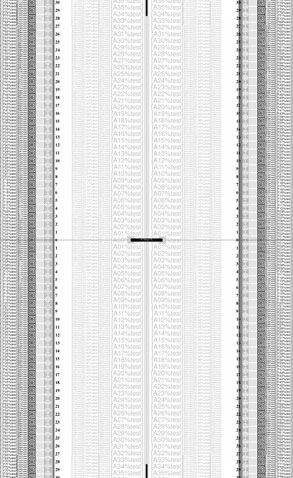
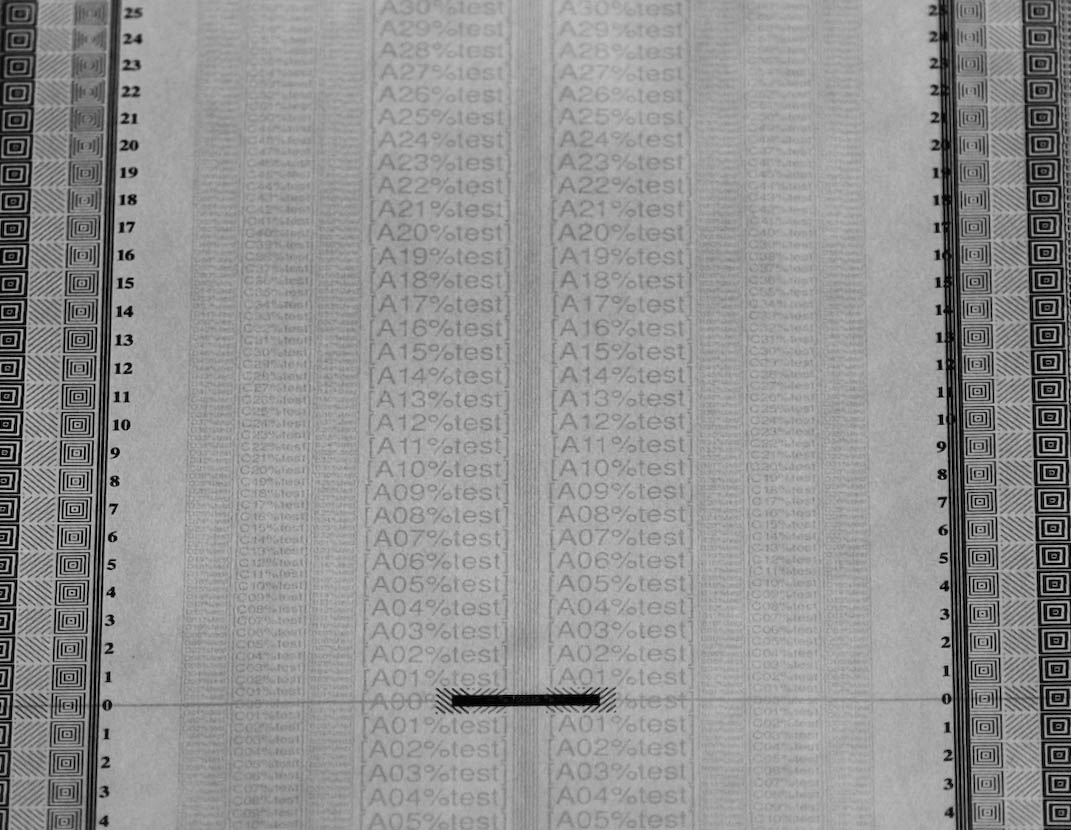
There are many focus test charts available — I've used this and this previously. I've learned a lot with them, but felt I could do better, so I finally made my own. A very shrunk version is shown at right.
The black bar in the center has very high contrast from the background, surrounded on all sides with very low contrast. The auto-focus can't latch on to the low-contrast surroundings, thereby guaranteeing that if the camera focus spot is pointed anywhere near the center bar, it will focus on it and only it.
The chart is tipped back away from the camera, so that everything below the black focus bar is closer to the camera than the focus bar, and everything above the focus bar is further away.
A properly working camera and lens (and operator ![]() ) focusing on the black
bar should result in the black bar being in focus, as well as everything to
its left and right. That includes the far edges of the test chart, which
have various repeating high-detail patterns and text. Things above and
below the main focus line, because they are different distances from the
lens, should get progressively out of focus.
) focusing on the black
bar should result in the black bar being in focus, as well as everything to
its left and right. That includes the far edges of the test chart, which
have various repeating high-detail patterns and text. Things above and
below the main focus line, because they are different distances from the
lens, should get progressively out of focus.
There are numerous little features about my chart that make it more useful than the others I've seen, but I'll save that discussion for a later writeup. One thing I'll mention now is that the focus bar is surrounded not by blank white, but by text — low-contrast text that is invisible to the auto-focus, but not in the final picture. It helps a lot.
Here's a close-up of the focus bar and the low-contrast text that surrounds it (which doesn't look so low-contrast in this image, but does so when printed, at least on my printer):
When printed at 600 dpi, the black bar is 1.8mm tall (a bit over 1/16th of an inch).
Here's a close up of the detail seen to the left of the focus bar:
That repeats up and down both sides of the chart.
Retesting my Nikon 70-200mm f/2.8 VR
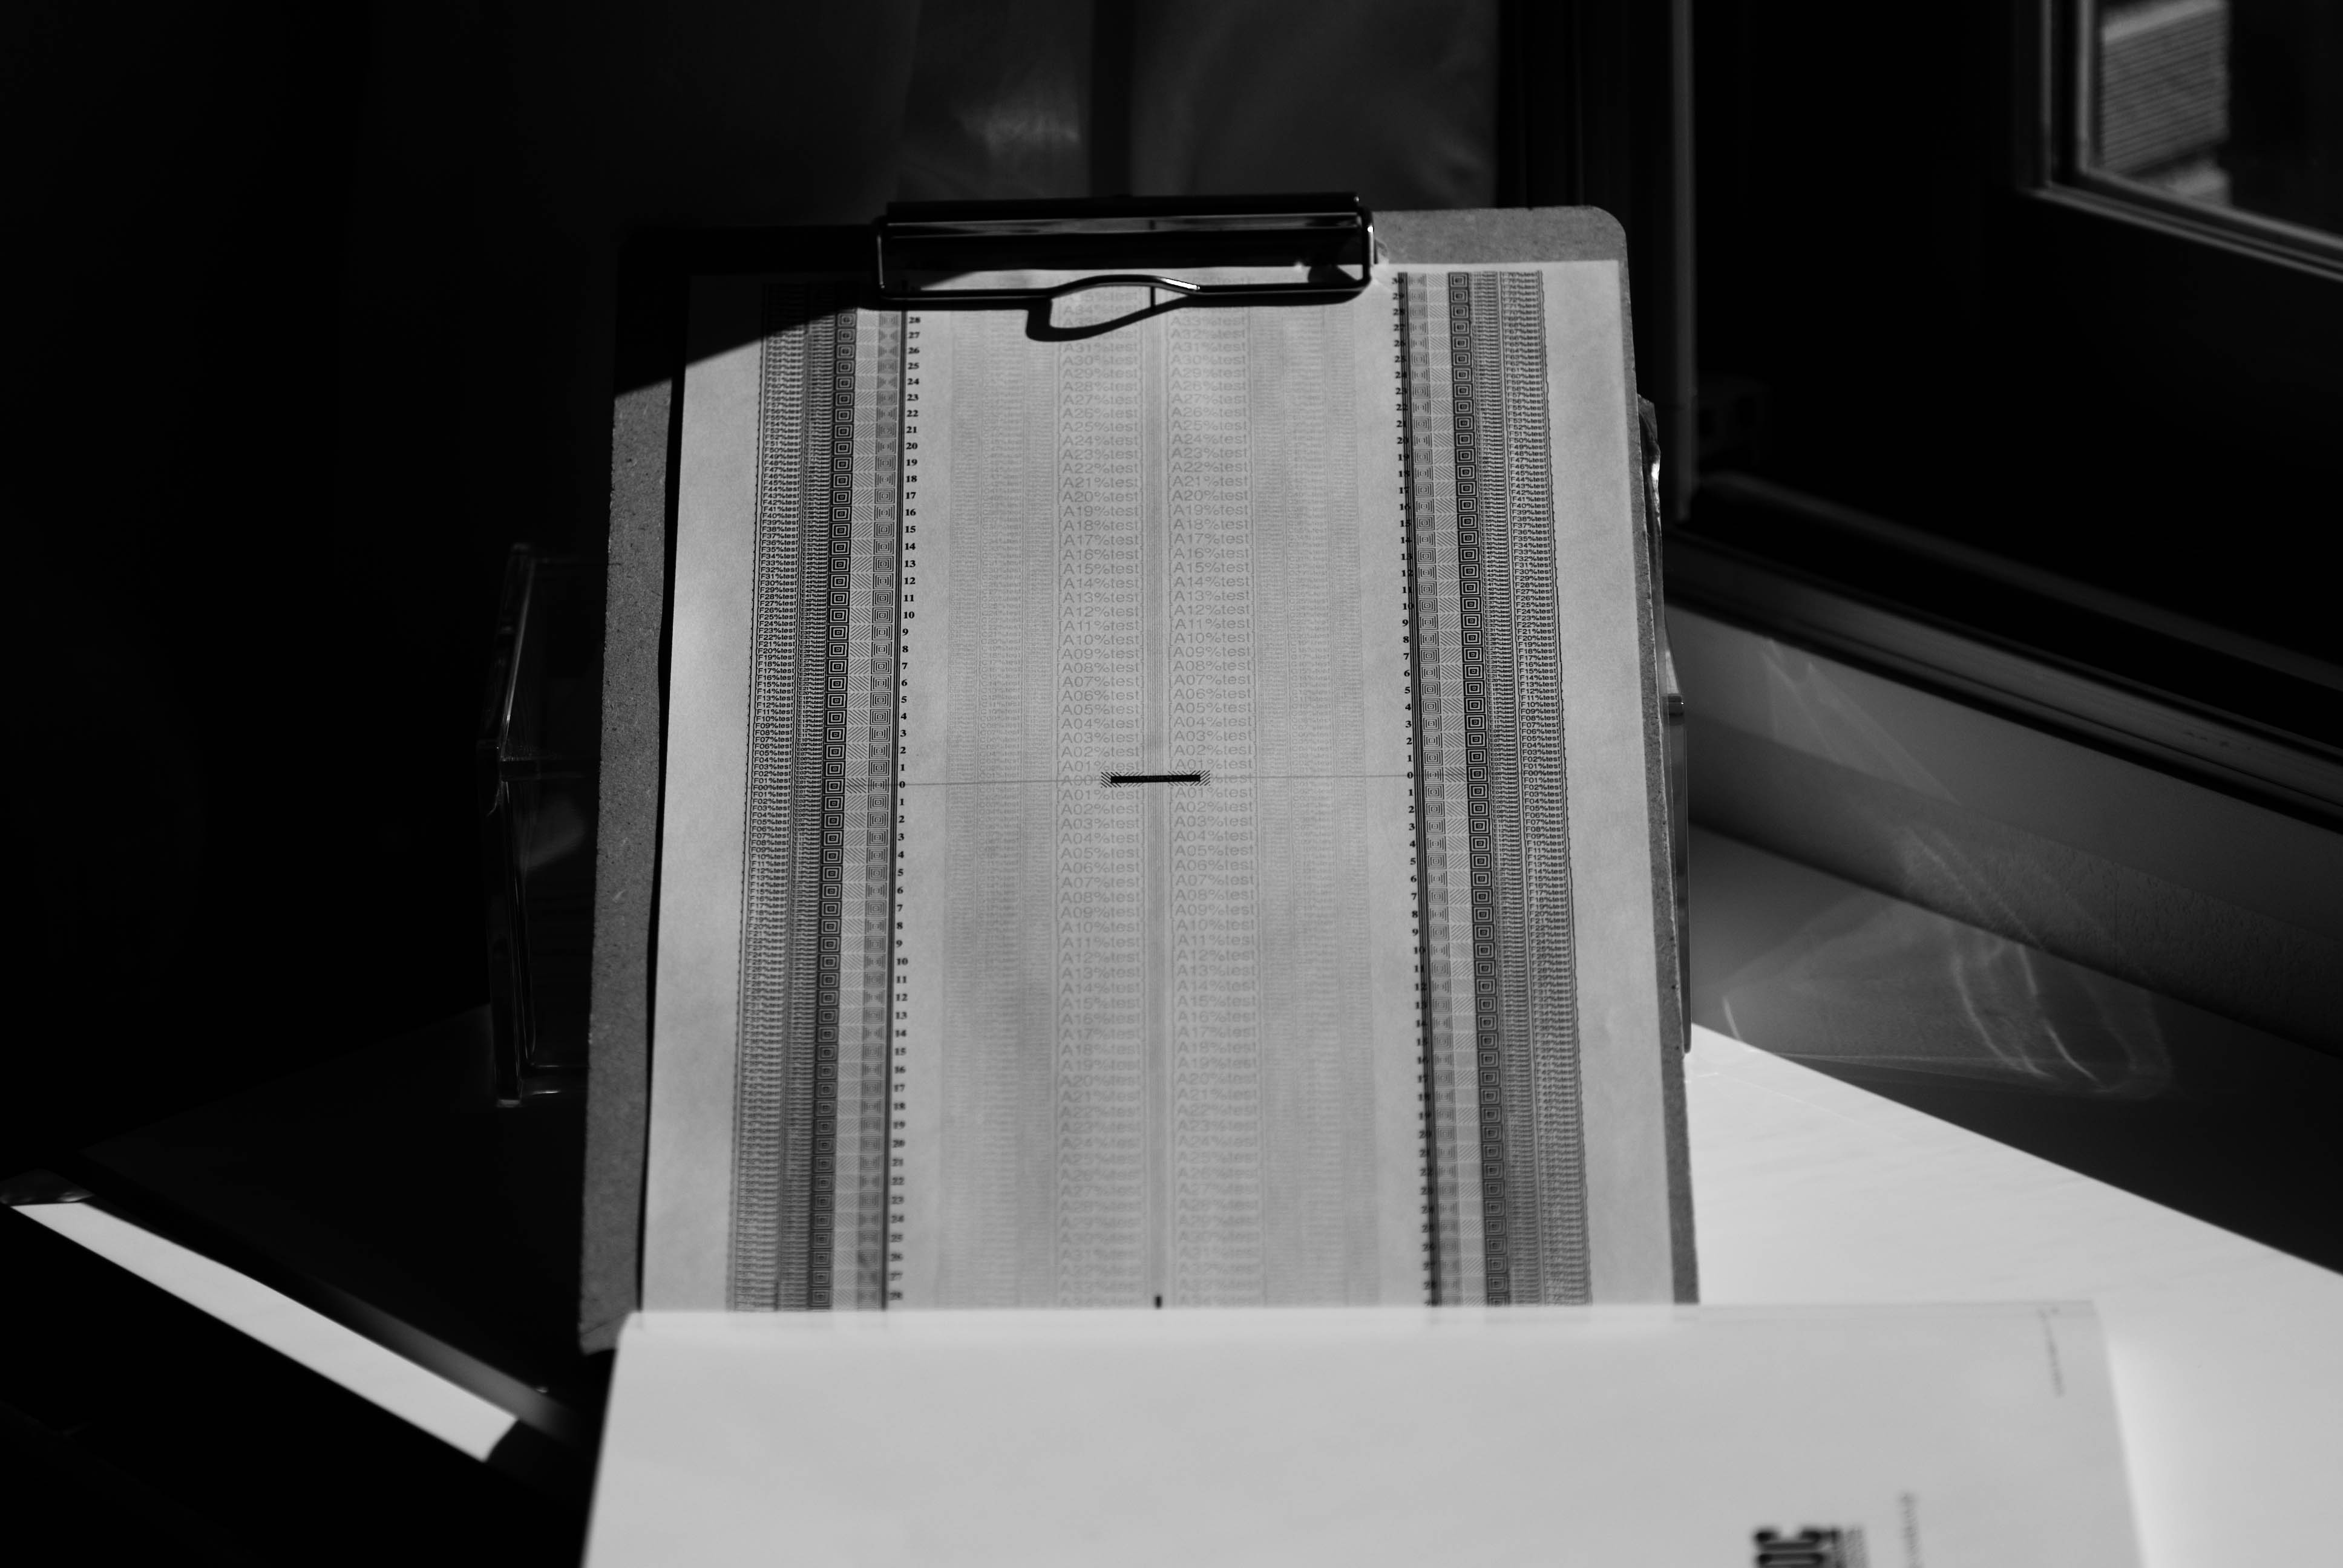
With the new chart in hand, I set it up in the sun by a window. Here's what one shot looked like:

Nikon D200 + Nikkor 70-200/2.8 VR — 200mm f/2.8, 1/5,000th sec, ISO 100
Focus point is about 3.4 meters (11 feet) away
Acceptable focus extends about 0.6 inches in front and behind the focus point
Here's a full-resolution crop with exaggerated contrast to highlight the low-contrast area, showing that the focus bar is in front of the in-focus area. This matches exactly the results I saw before.

Here's a test at the other end of the zoom range: 70mm:
Nikon D200 + Nikkor 70-200/2.8 VR — 70mm f/2.8, 1/4,000th sec, ISO 100
Focus point is about 1.8 meters (5.9 feet) away. Minimum AF for this lens is 4.9 feet.
Acceptable focus extends from about 1.3 inches in front of, and 1.4 inches behind the focus point
Here's the full-resolution crop.
Compared to the test above, more of the chart is in focus, and the focus changes more gradually. This is because the chart is not at such a steep angle to the lens, and also because at this distance and focal length, the depth of field is more than double. So, it's harder to pinpoint just where the center of focus is, but it seems to me that its at about the 7 to 9 range (black numbers on the left; you can scroll the image), and not the 0 that it should be:
Conclusions
It's still a work in progress, but I'm now more confident of my technique and of the results: I have a bit of back focus with my camera and/or lens.
Any chance you will make the chart available ?
Doh, yes, sorry, I forgot.
I’ll try to prepare it properly over the weekend,It’s here. Best results when printed on high-quality matte photo paper (e.g. for Canon, MP-101).In short: ensure that autofocus can NOT lock on the gray parts (which is dependent on your printer, the paper, the lighting, and the camera), and ensure that there is PLENTY of gray area around the sensor when pointed at the focus line, to ensure that the autofocus can lock on the focus line and only the focus line.
Realize that the sensor may actually be in a slightly different spot in the scene than the mark shown in the viewfinder (which is necessarily dependent on how your place your eye to the viewfinder, among other things).
Use plenty of light, a low ISO, and a very fast shutter speed. The overall sharpness is not particularly relevant; you want to know where the focus line lies within the vertical range of what’s more or less in focus. In all but extreme closeups, it’s best if it’s smack dab in the middle.
[UPDATE: see the Jeffrey’s Autofocus Test Chart page for verbose details on how to perform a test properly]
Thanks a lot for the advice. I will try that on my newly bought D80.
When you say very fast shutter speed, are you thinking 1/500 or more ? I will use the chart with a 17-50mm lens.
When I mention a fast shutter, it’s to allow for a reasonably sharp image not marred by camera-shake induced blur. Such blur would not change the focus, but could hide the results. As a general rule, when trying to track down a problem in one area, you want to make other areas as problem-free as possible.
With a 17-50, 1/500 will be more than enough unless you’re drunk.
Oh, and I forgot one other thing: shoot in aperture-priority mode, wide open.
I’ll use a tripod then, that should take care of any shaking problem 🙂
Make sense to open wide to have the smallest depth-of-field, I mean shooting at f/32 would miss the point of the exercise.
Is there a way to obtain your “Target” – Printed optimally – or pdf for printing “at home”? Payment would be expected – of course.
Good article!
Helpful!!!
Thank You!
My chart is a do-it-yourself kind of thing… for something pre-made, consider LensAlign. —Jeffrey