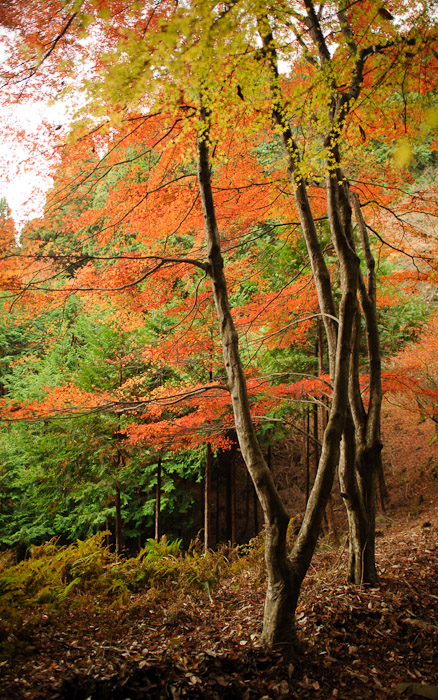
Nikon D700 + Nikkor 24mm f/1.4 — 1/500 sec, f/1.4, ISO 1000 — map & image data — nearby photos
Moody
Last autumn at the Jingoji Temple (神護寺) in Kyoto Japan
I'm mixing things up today by dipping into the large backlog of stuff I want to post, to my trip last December to the Jingoji Temple in north-west Kyoto.
今日の写真は去年の秋の神護寺(じんごじ、京都市)の裏にある散歩道。
This location is actually only about a mile away from the Kuuya-taki Waterfall that I've been posting about recently, but it's a very mountainous mile and the two locations feel worlds apart. To drive between them, for example, would take a considerable time because it entails a long loop into the city and back.
I'd made a few introductory posts from that trip, including “On The Path To (and From) Northwest Kyoto's Jingoji Temple”, and one of the temple buildings appeared as “Inspired Artistic Temple Shot By Paul Barr” and its neighbor in the temple complex provided for “Simple Temple Sliding Wall”, but otherwise I've not tapped into the beauty of the place.
But I won't do much in this post, either; all the photos on this post were from a short path in the mountain behind the temple complex.
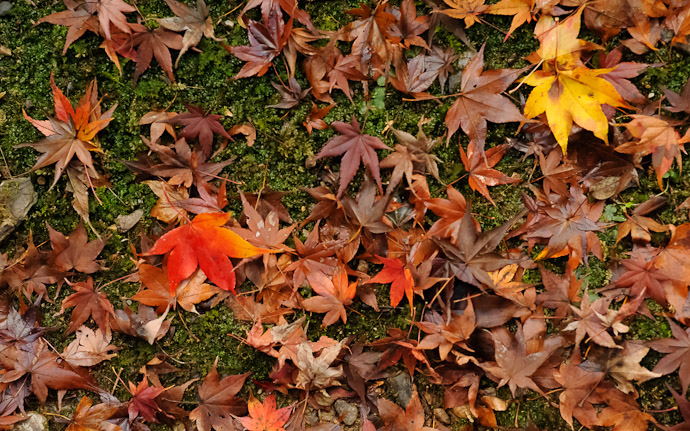
Nikon D700 + Voigtländer 125mm f/2.5 — 1/320 sec, f/4, ISO 6400 — map & image data — nearby photos
Discrete Patches of Color
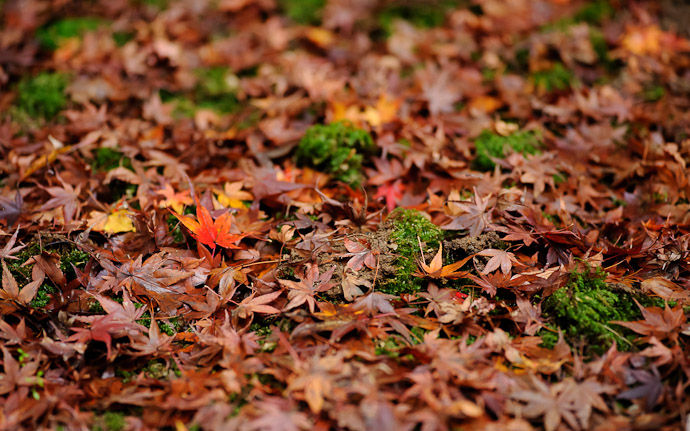
Nikon D700 + Voigtländer 125mm f/2.5 — 1/400 sec, f/2.5, ISO 2500 — map & image data — nearby photos
Different Patches, Different Angle
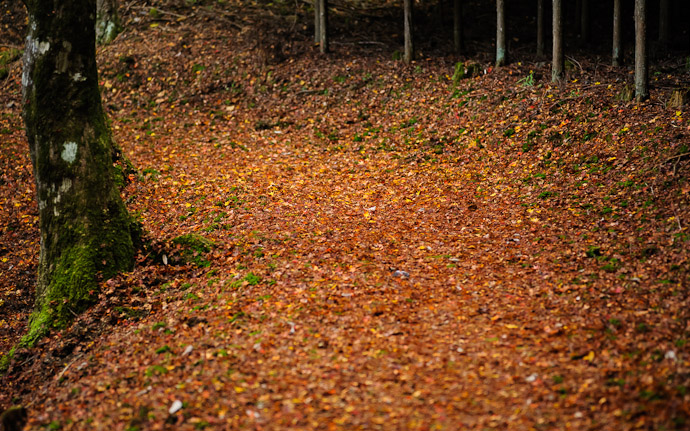
Nikon D700 + Voigtländer 125mm f/2.5 — 1/400 sec, f/2.5, ISO 2800 — map & image data — nearby photos
Wider View
this is the path
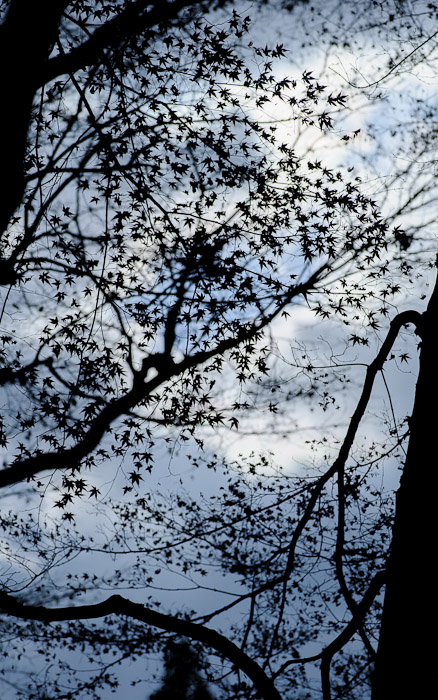
Nikon D700 + Voigtländer 125mm f/2.5 — 1/8000 sec, f/4, ISO 560 — map & image data — nearby photos
Dynamic Weather
It alternated between gloomy and brilliant sun, with the mostly-cloudy sky yielding generally gorgeous light, such as in the lead shot (which is almost straight out of the camera). Later in the day we got some photogenic rain, a big rainbow, and not too bad of a sunset.
A change of lens and a big change in the exposure yields quite different results:
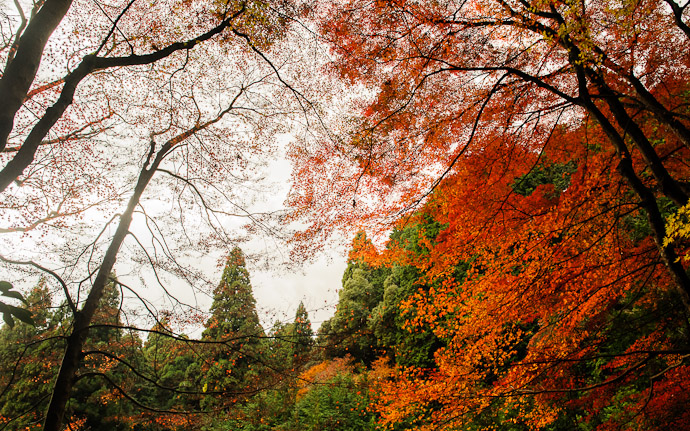
Nikon D700 + Nikkor 24mm f/1.4 — 1/500 sec, f/6.3, ISO 1000 — map & image data — nearby photos
Closer To What It Felt Like
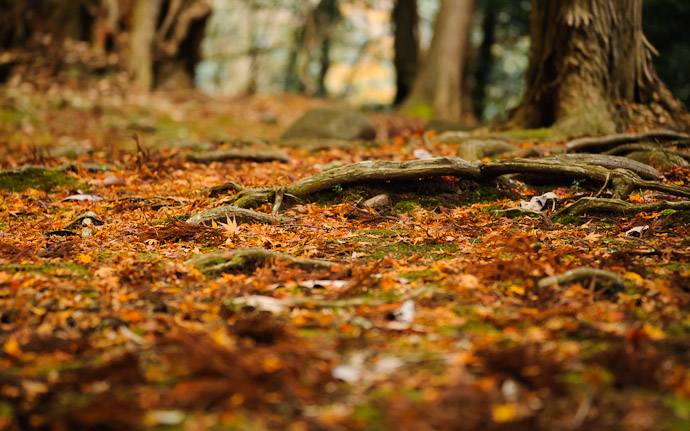
Nikon D700 + Voigtländer 125mm f/2.5 — 1/200 sec, f/2.5, ISO 2200 — map & image data — nearby photos
Roots
this area had some character
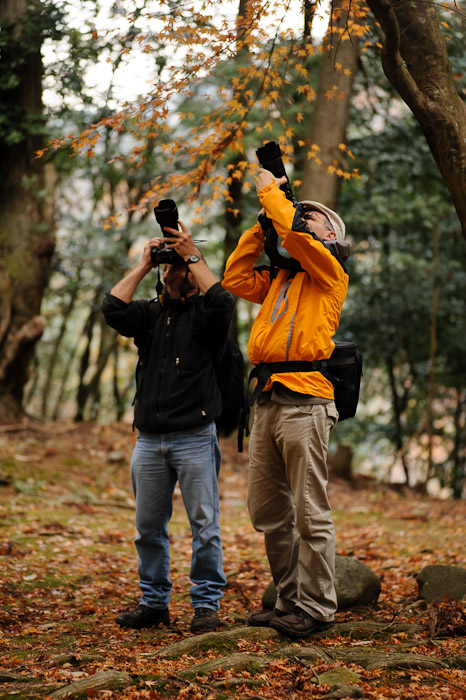
Nikon D700 + Voigtländer 125mm f/2.5 — 1/200 sec, f/2.5, ISO 1800 — map & image data — nearby photos
Friends
this area had some characters
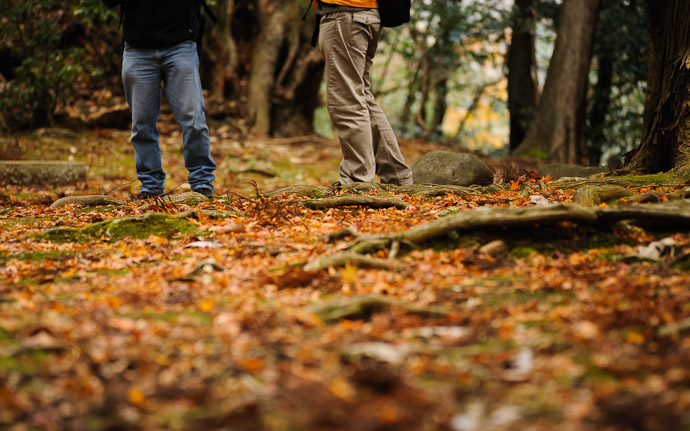
Nikon D700 + Voigtländer 125mm f/2.5 — 1/200 sec, f/2.5, ISO 1800 — map & image data — nearby photos
Character with Characters
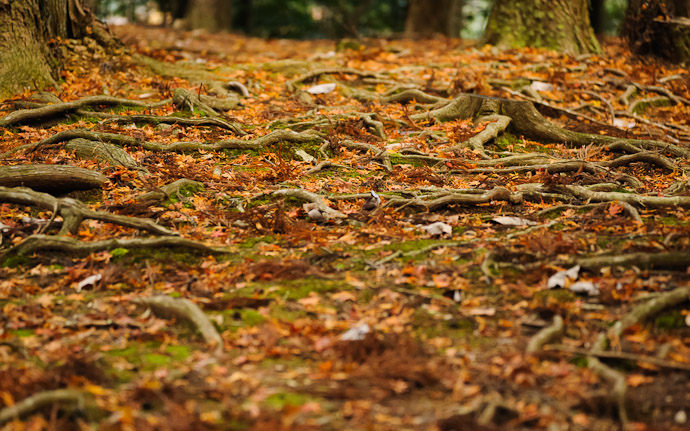
Nikon D700 + Voigtländer 125mm f/2.5 — 1/200 sec, f/2.5, ISO 3600 — map & image data — nearby photos
Busy. Really Busy
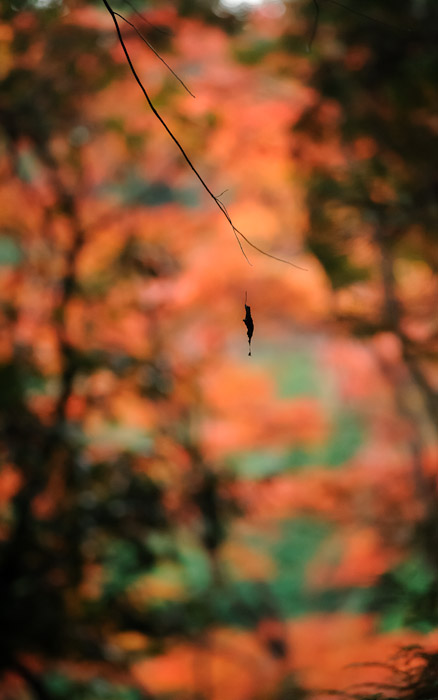
Nikon D700 + Voigtländer 125mm f/2.5 — 1/400 sec, f/2.5, ISO 5600 — map & image data — nearby photos
Alone
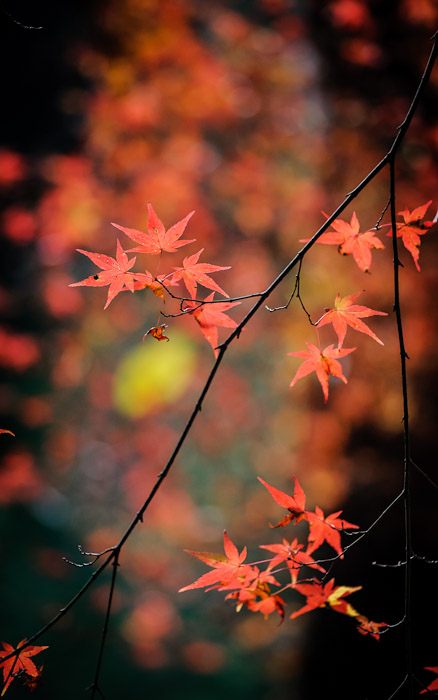
Nikon D700 + Voigtländer 125mm f/2.5 — 1/400 sec, f/2.5, ISO 2200 — map & image data — nearby photos
Backlit
I'm a sucker for backlit foliage
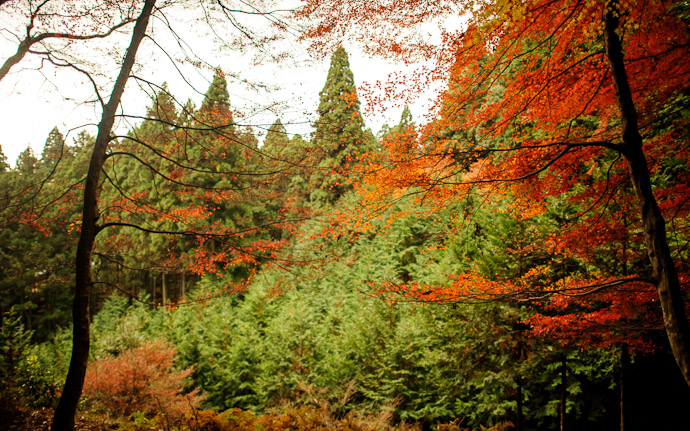
Nikon D700 + Nikkor 24mm f/1.4 — 1/2000 sec, f/1.4, ISO 1000 — map & image data — nearby photos
Sense of Depth
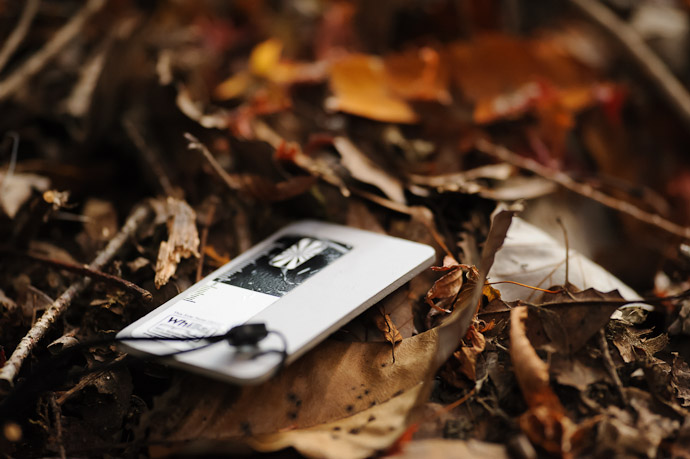
Nikon D700 + Voigtländer 125mm f/2.5 — 1/400 sec, f/2.5, ISO 2800 — map & image data — nearby photos
Due Diligence
but I still had trouble with the results
I'm feeling less and less confident with my technical ability to set a reasonable white balance. I take a lot of white-balance readings like in the photo above, and often when I use them to set the color balance in Lightroom, the image just snaps into place, but it seems equally often that the color gets pushed wildly, often towards what feels unnaturally “overcolored”. I had to manually pull back on most of these because the “correct” color was just off-the-charts orange.
I don't mind making an adjustment to suit to taste, but I'd like to have as a base the technical ability to set the “correct” color, then stray from there if I feel like it, but sometimes I take all the steps that should produce the “correct” color and it looks horribly unrealistic. I wish I knew where I was missing a link.
That’s frustrating with the WB issue.
Hopefully you’re on top of these, but the usual problems include:
– Making sure the grey card is actually clean.
– Illuminating the card with the appropriate light. This can sometimes be tricky in mixed-lighting situations such as yours (e.g. blue/grey light from the sky, and yellow/green light from the foliage around you).
– Sampling the right point (the 100% view using LR’s dropper can help you avoid sampling noise colour).
Usually (as you know) it Just Works, but sometimes the planets just don’t want to align.
Then we move on to things like the effect of custom ACR profiles (poor ones or those inappropriate for this lighting can make things seem very “non-linear”)….
It’s actually better (I think) to do it in not-100% view because LR takes a sample from averaged pixels. With some magical keyboard/mouse combination while the eye-dropper is active you can change the grid size. About the lighting, the key to your point (I think) is to avoid direct reflections (the kind a mirror would make) and to get only indirect/diffuse reflections, the kind that allows us to see objects. The black/white sticker on the thing is glossy, so easily throws up direct reflections, so it’s best to avoid unless due care is taken. Making sure the card is clean? Hmmm, now there you may be on to something! —Jeffrey
Have you tried an ExpoDisc for setting the white balance? I have had good success with one, particularly when there are two or more light sources of different temperatures. (Although, I haven’t tried it on the oranges present in fall leaves).
I also shoot a Color Passport for color calibration.
I would avoid the black/white sticker on a WhiBal card not because it is glossy but more because there is no guarantee it’s as spectrally neutral as the grey card itself.
My point about mixed lighting is more for when you sync the WB to another photo: the light illuminating the grey card should ideally be the same light illuminating the subject, and it’s not always feasible to stop and put the grey card into the actual scene you’re photographing (for example due to time constraints, the fragility of the subject, or your own safety). It’s sometimes surprising when you start analysing where the light falling on your subject has actually come from. A related issue is when using these cards in extreme weather and we need to not have the light reflecting off our hi-vis weather protection onto the cards.
Because it fills the lens the ExpoDisc is great for setting in-camera WB (e.g. for video recording) but I otherwise find it awkward for field use. I do also work with ColorChecker Passports as well as WhiBals, but the same issues apply as discussed above: keep them clean and be aware of exactly what light is falling on them.
I am using Spyder Cube and I have as well Color Checker develop preset per lens in Lightroom and the results are really good. The grey card seems to me not sufficient.