Anthony's First Bike
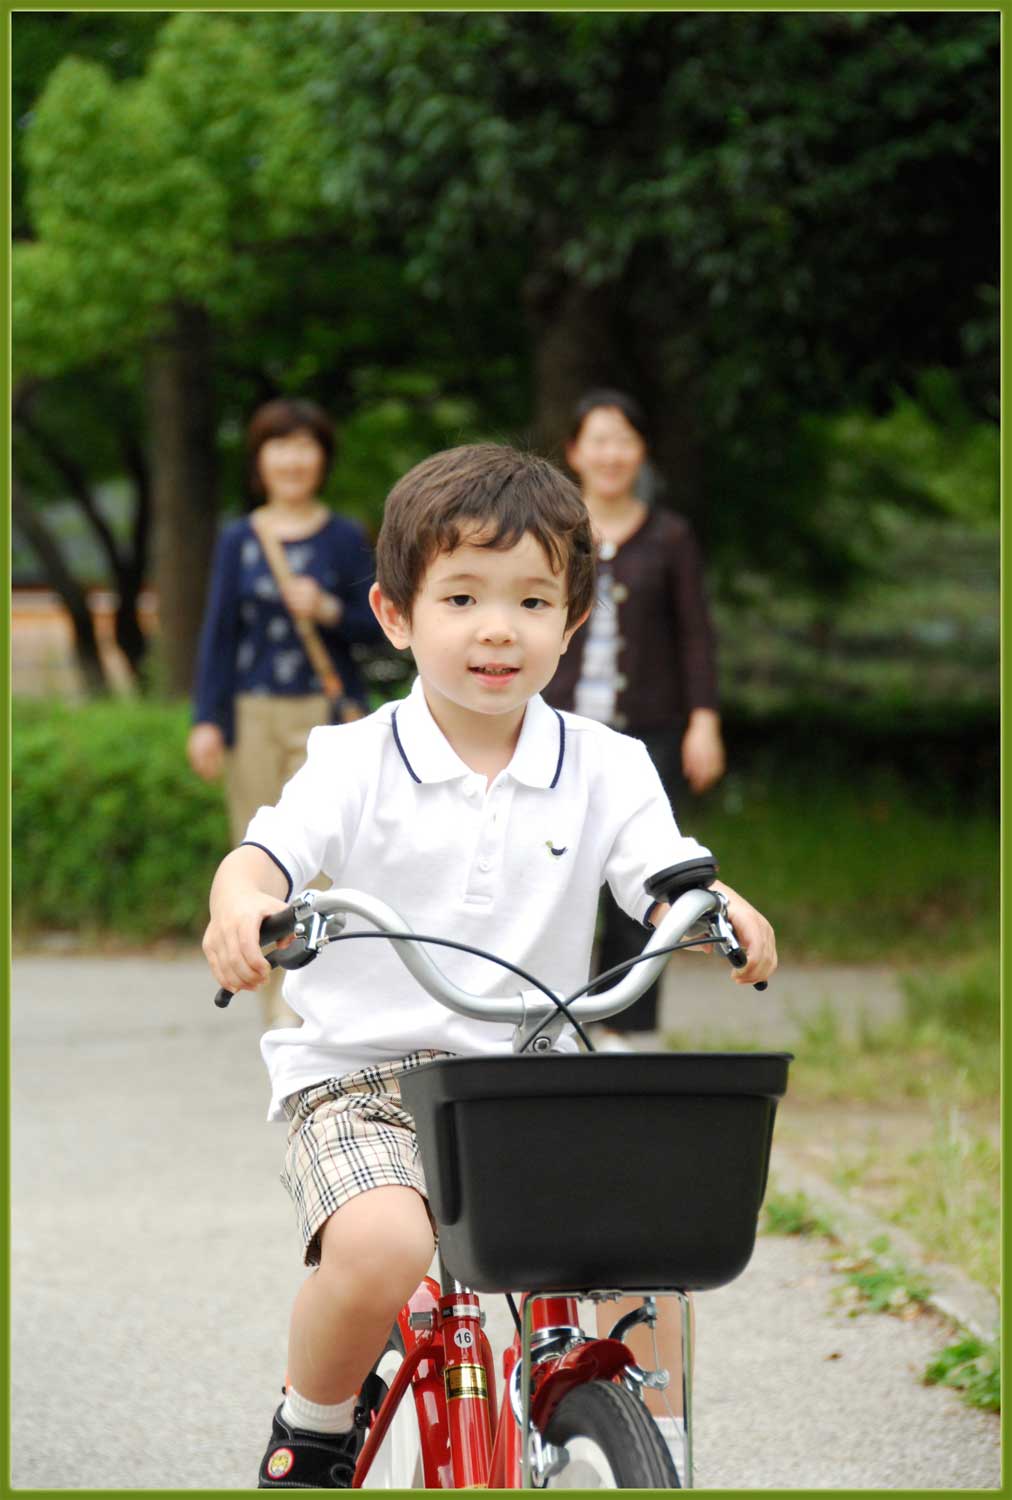
Fumie (R) and her mom (L) in the background
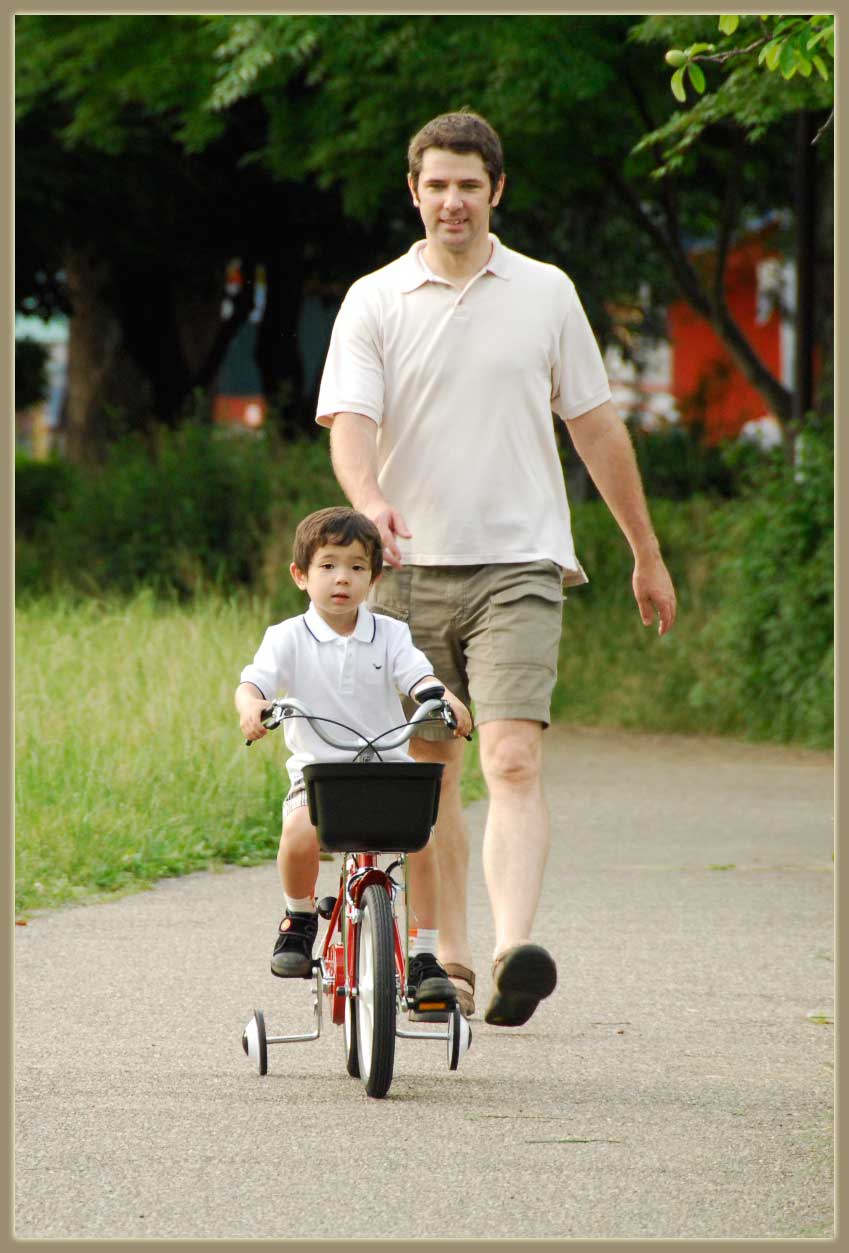
Fumie's folks have been wanting for some to get Anthony his first bicycle as a present for his starting preschool (which is a “big boy” milestone). Fumie's Dad was in town (from Malaysia, where he's stationed for work), so today was the day.
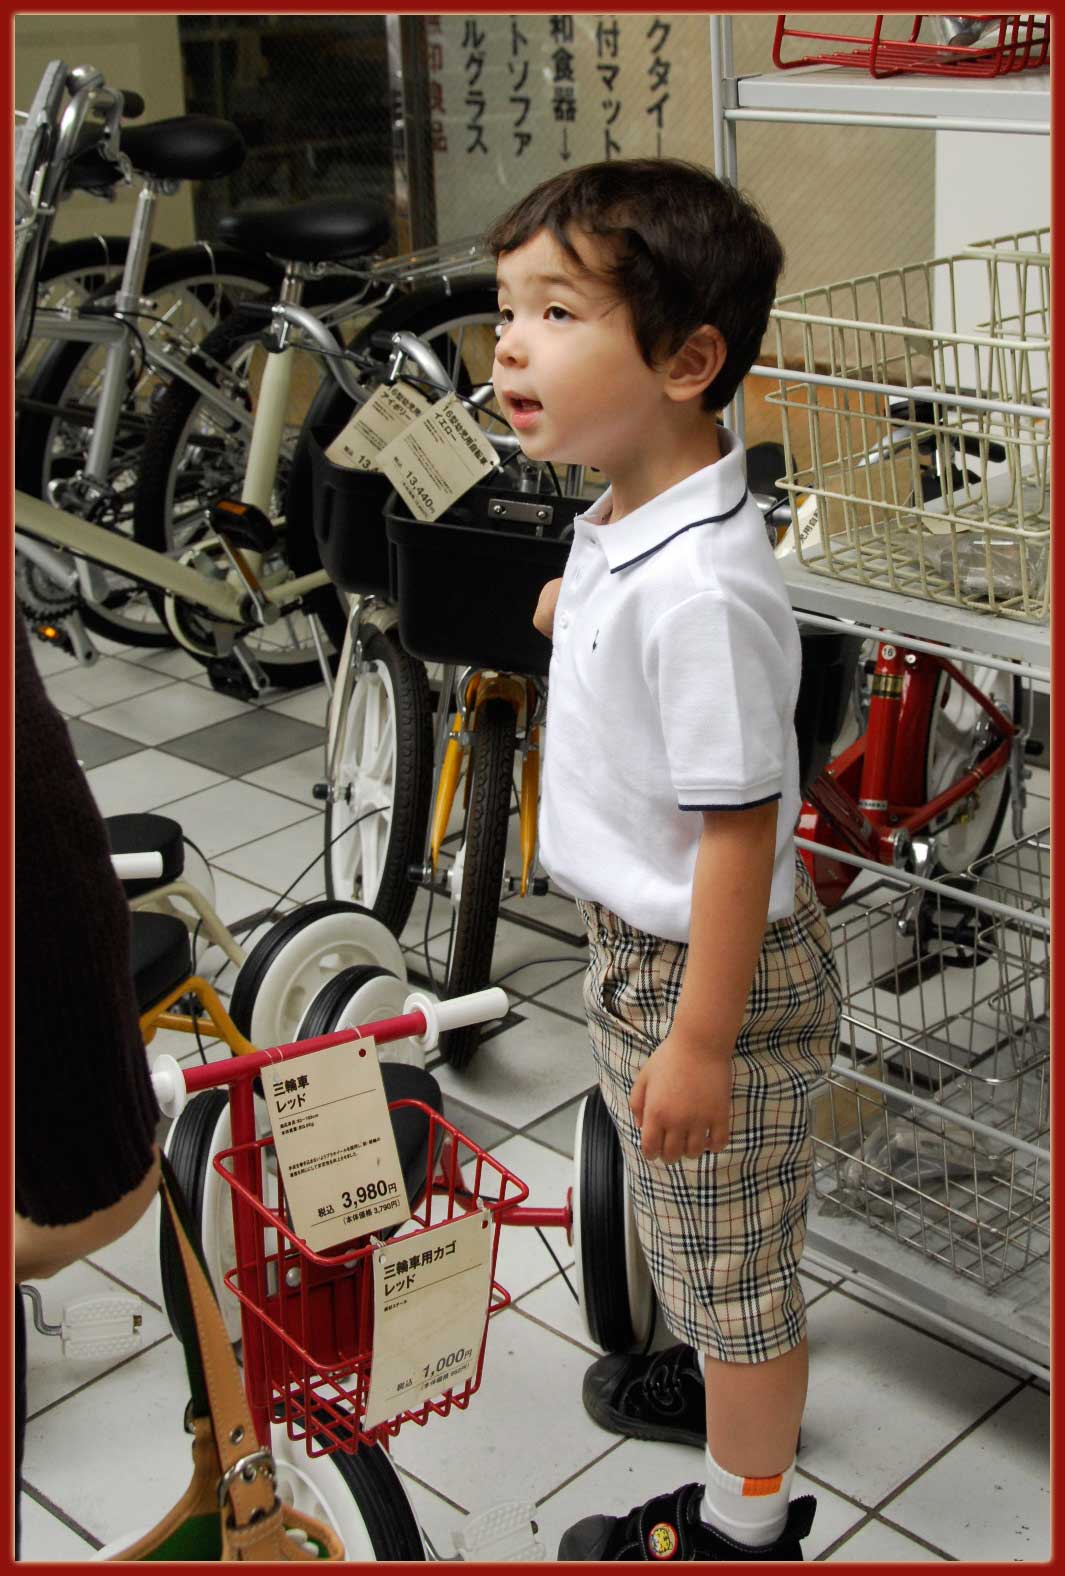
We went to the store, and Anthony picked out his present. He had a choice of silver, yellow, and red, and had not a moment's hesitation when picking red.
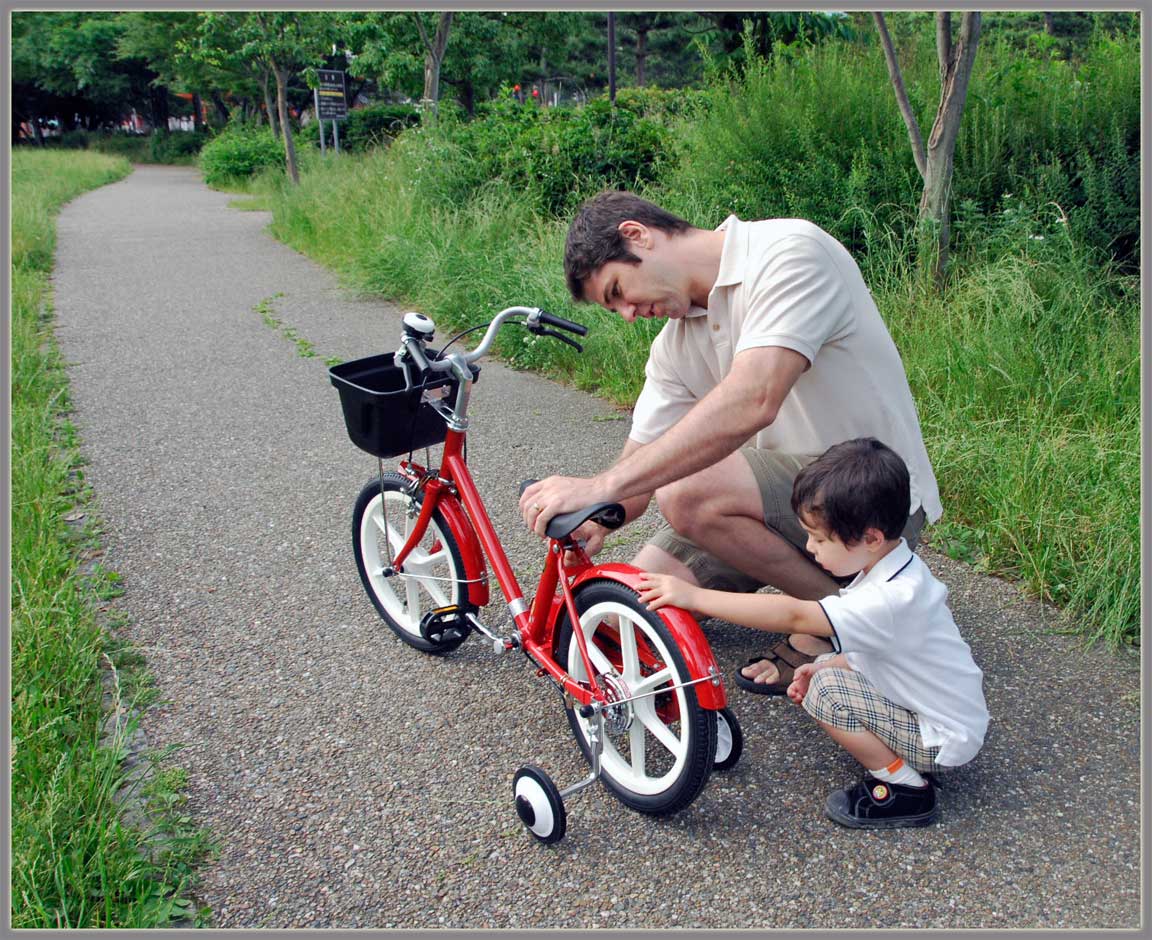
We went to a park near the house, and gave it a try. The seat came a bit too low. It was much easier for him once it was raised a few inches.
Off we go!
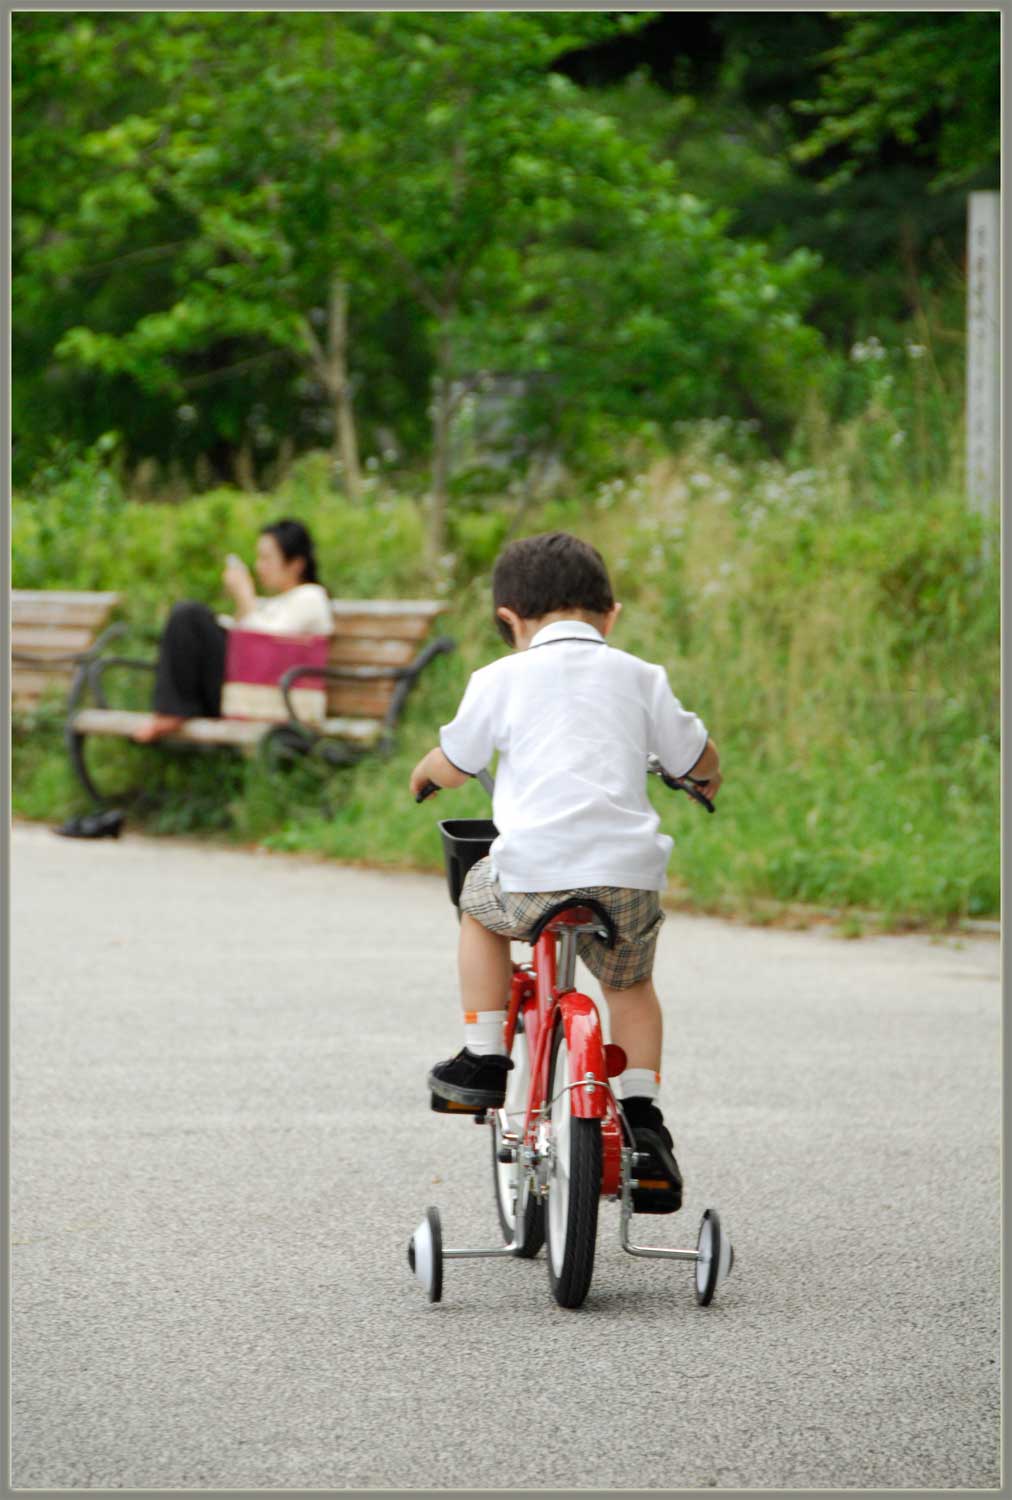
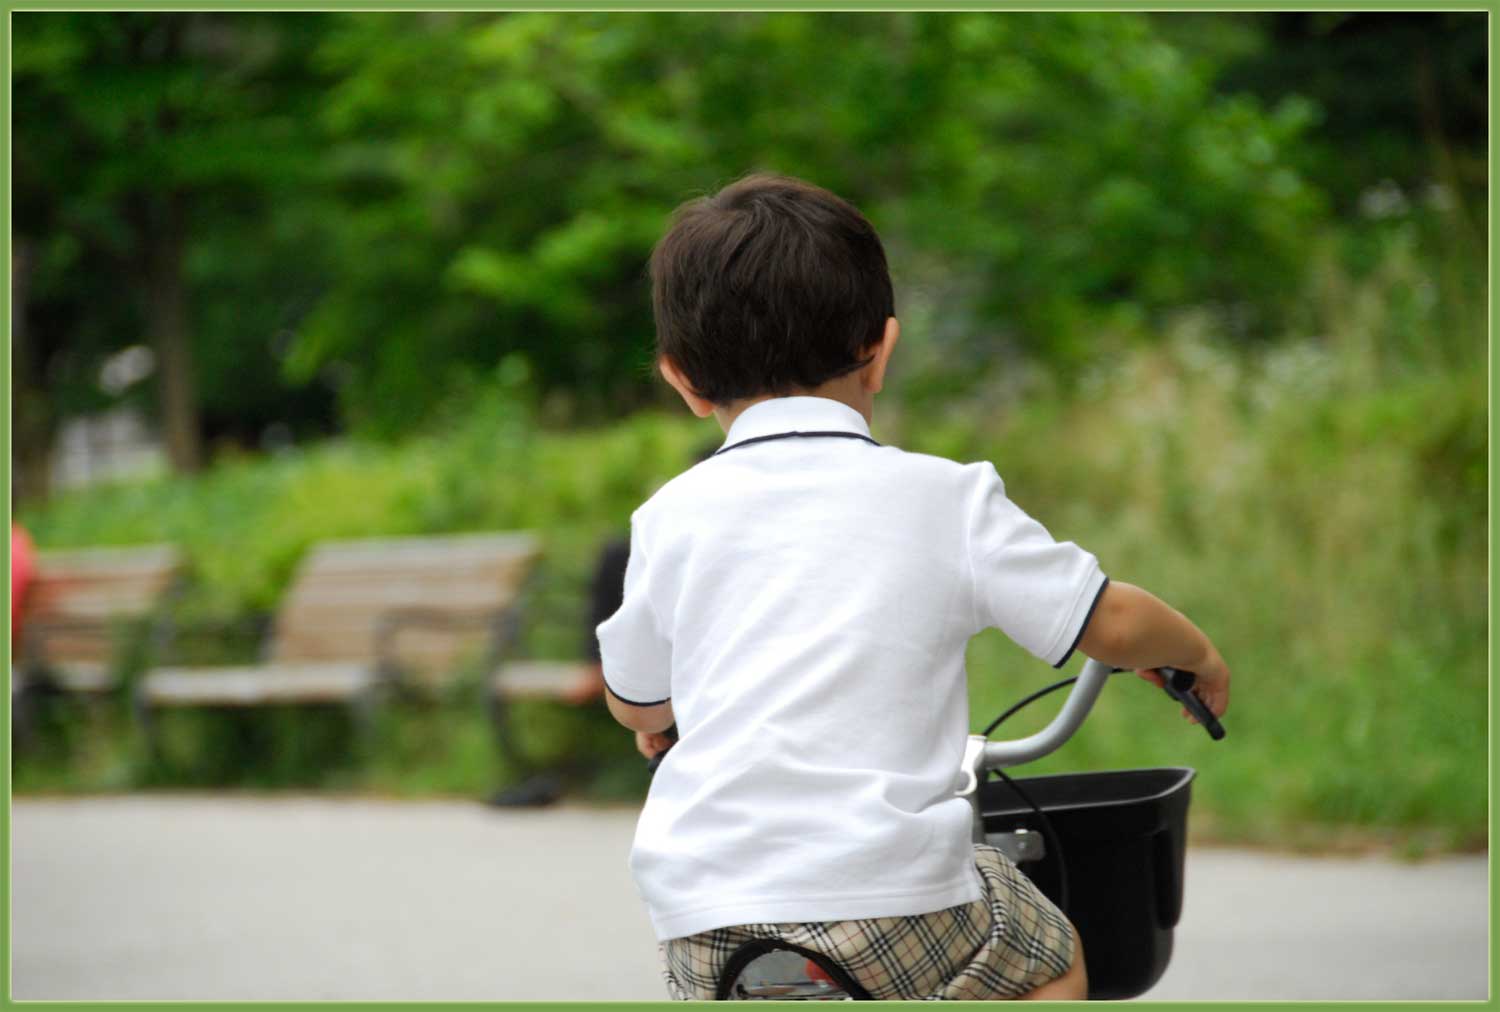
The little park we were at had an oval walkway around it, as you can sort of see in the center of this satellite photo if you zoom up (if you switch to the “map view”, it's more clear, but smaller).
Anthony went around the oval -- a distance of about 200 meters (220 yards). It was slow going, as he wasn't used to it, and there were slight slopes to contend with. It took over 6 and a half minutes to make that first 200-meter circuit. Of course, Fumie or I followed along with him the whole way (the whole time he was on the bicycle, actually).
Then he went again. And then again, and again and again, with one of us in tow.... 18 times, for a total of 3.6 kilometers (2.25 miles)!! And then there was the third-of-a-mile ride home -- he/we really got a workout.
 |  |
He'd also gotten better at riding, because by the time he was toward his 18th cycle around the park, he'd cut the time down to 100 seconds (for an average speed of 4.5 mph -- that's a trot for daddy!).
By the way, I know all these statistics because I'd left my GPS unit in the bike's basket, and it recorded a tracklog of the whole thing. (That's the map view of it there in yellow).
I used the GPS data to geoencode all the photos here, which you can see if you view their Exif data.
In the end, he was tuckered out, but was still able to ride home and park his bike in his own spot, which, of course, made him feel quite proud. Thanks Obaa-chan and Ojii-chan (“Grandma and Grandpa on Mom's side”)!
Lance Armstrong, watch out!
he’s so cute :>
i’d be glad to see / read when he made his first meters without the additional wheels!
He’s really cute — once he does make it to two wheels, get yourself something to keep up — otherwise he’ll want you to run after him.
And, you might consider a helmet…I know it’s not really needed at this age or where he’s riding, but it’s a good practice.
When time comes to take out these two liitle wheels, do the following:
1. Take out the little wheels.
2. Remove both left and right pedals. Remember that to remove these two, turn the right pedal nut counter-clockwise and the left one clockwise. Once removed, you should see an ‘L’ and ‘R’ sign. Sorry if you knew about this.
3. Push down the saddle to the maximum.
4. Take Anthony to an “almost flat” wide area and ask him to use his feet to push the bike, straight and looking to the horizon. If the area is not flat, but “almost flat”, take him down-side and once he’s riding at 1mph encourage him to hold his feet in the air while looking at your satisfied eyes. Keep repeating this, even if he fells, for some 10-15 minutes or as long as he enjoys it.
5. Go home.
6. Next day do it again, this time for 20 minutes or so.
7. Once he’s able to ride some 10-15 meters without touching the ground and falling down, put all parts together and he’ll be ready to ride normally without the need of the little wheels.
It is a question of confidence. My 4 kids learned this way. Two of them were able to ride after the first 15 minutes, both aged 4. The key is to have them look hight, at you, not at the ground. The alternative of holding the saddle will take you more time, sweat and tears.
Wow, this looks like excellent advice, thanks Carlos! I know already about the time/sweat/tears of the holding-the-saddle method, so I’m excited to try this right away! —Jeffrey
I learnt from my son that actually the adult shouldn’t hold the saddle but the kid’s neck! (It’s also better for the adult’s back.) By this method it wouldn’t be necessary to take off the pedals. I write this just in case there is someone else like me who reads all these comments. 🙂 By the way thanks for the (private) link with the photos of my family. I feel VERY honored to get those pics from a professional photographer like you!!! Very nice memories. For instance the one where my son holds his ears to protect them from the lightening sound or the pic of our 3 bikes. And the trip to the waterfall was the paradise, a fairy tale!!!! Thanks so much! Furthermore I really appreciate that thanks to this blog I feel connected to my beloved Kyoto!!! Your son is so lucky to have such a sheltered childhood with such attentive parents! Ah, and I had to laugh about your story of your volleyball training in the Mommies’ League! 🙂